2016 Thermaltake CaseMOD Invitational Season 2 - HUFFER Build
Hello,
I am Rakesh Sharma from INDIA. Representing my country at 2016 Thermaltake CaseMod Invitational Season 2 with a unique casemod reflecting my passion towards Jet-Engines. Being from an engineering family background I always had a great attraction towards machines and engines, but unfortunately ended up as a Software Engineer in real life.
And Jet-Engines are such a beautiful artwork of engineering with great sound and power, which makes me little more passionate about. Now through this CaseMod I will try to showcase (likewise) one essential equipment used for starting a Jet engine.
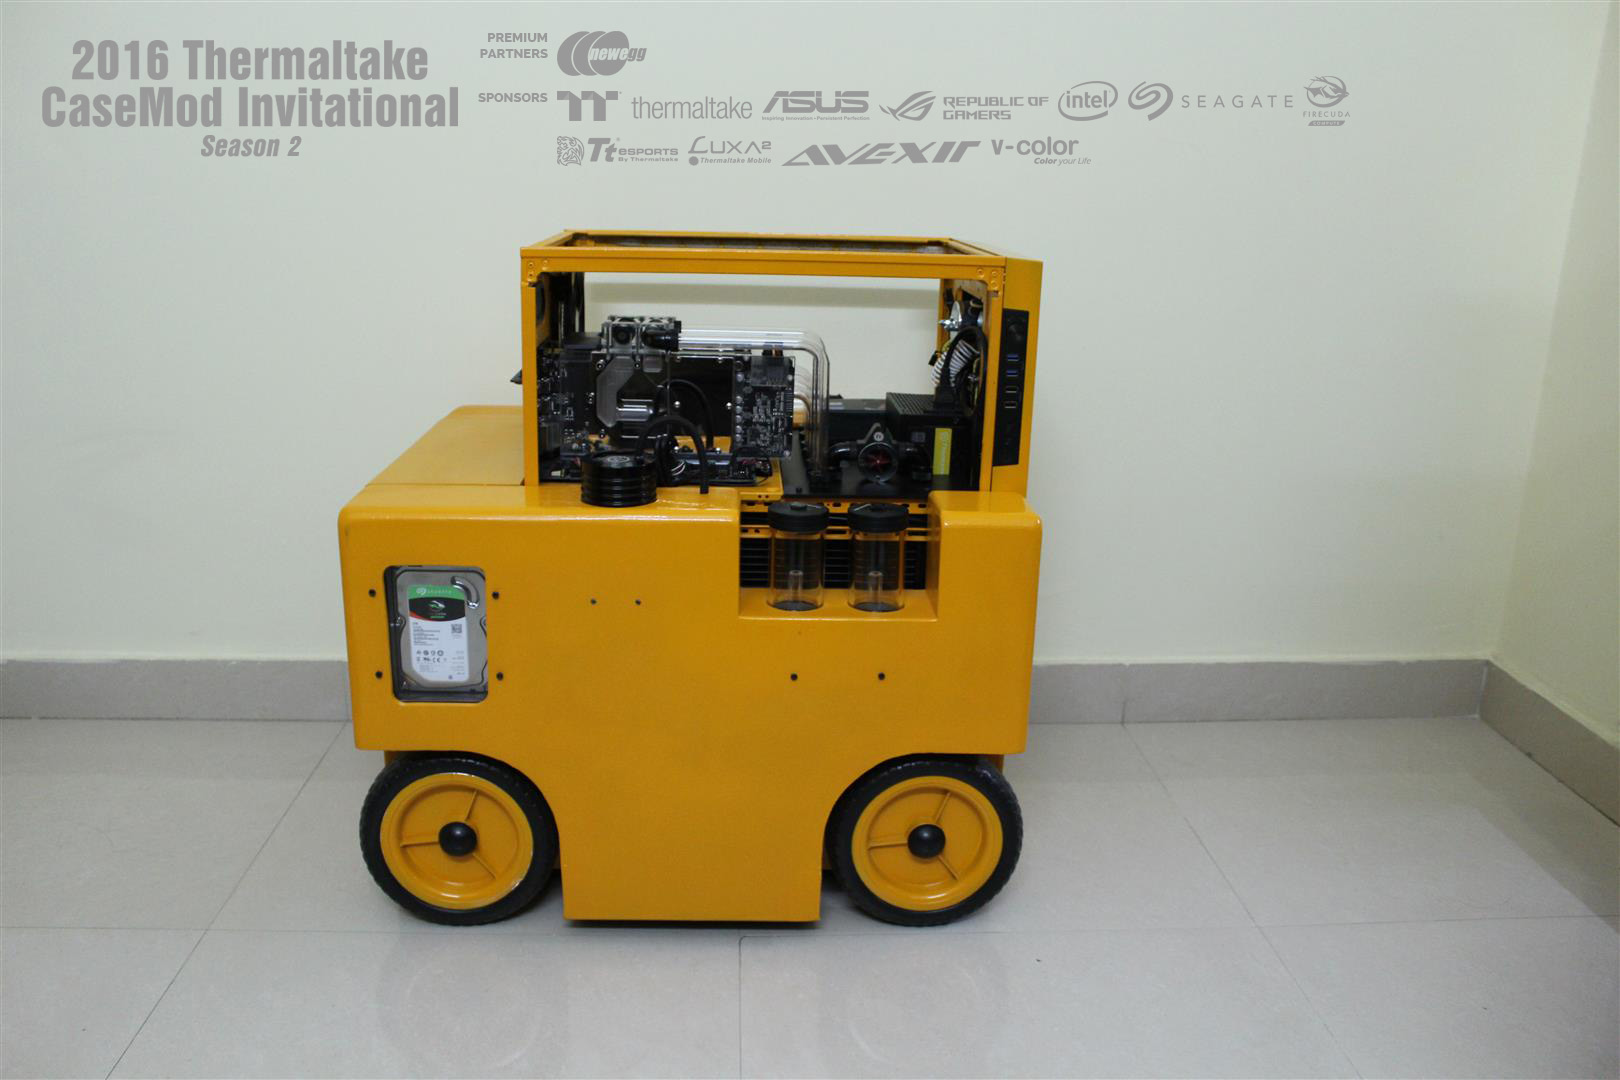
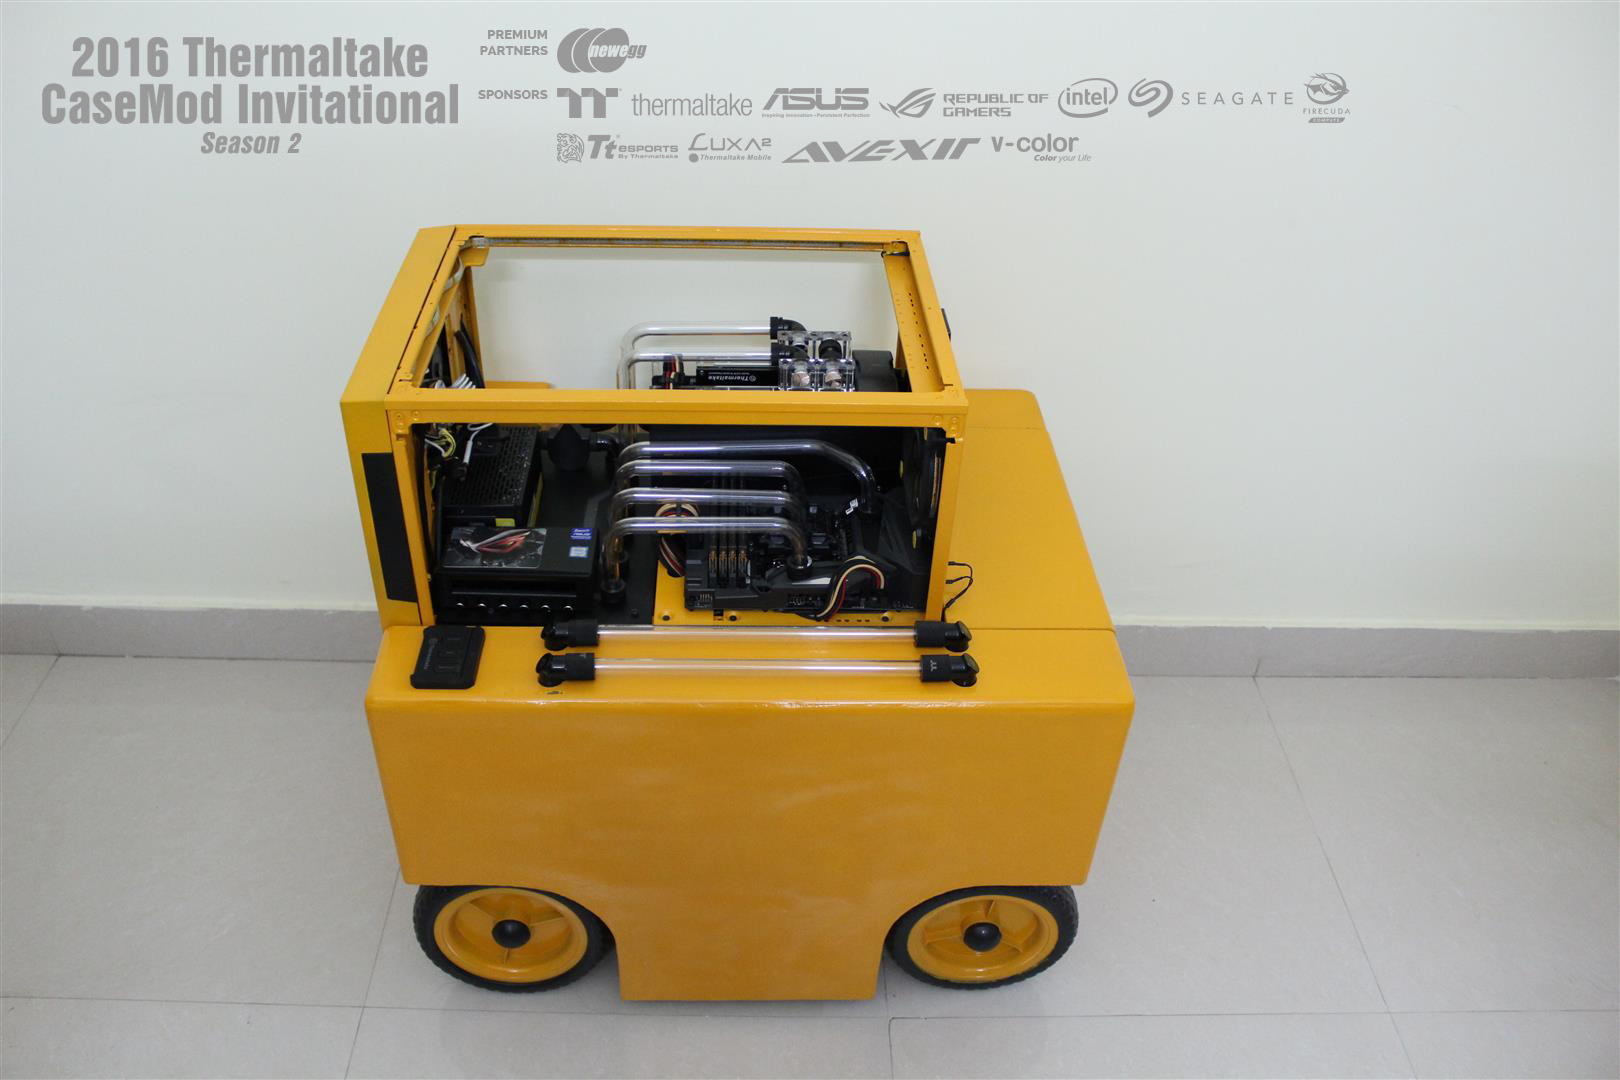
The MA-1A Air-start cart or the 'HUFFER' cart.
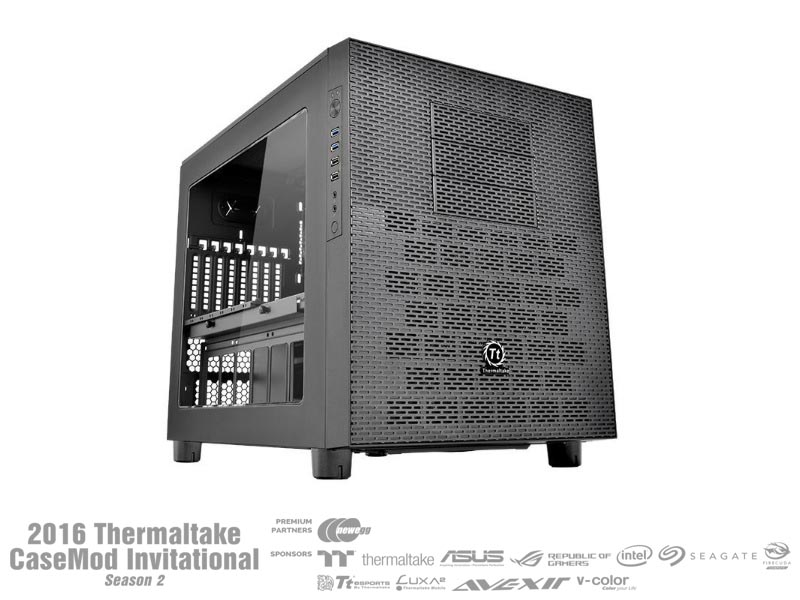
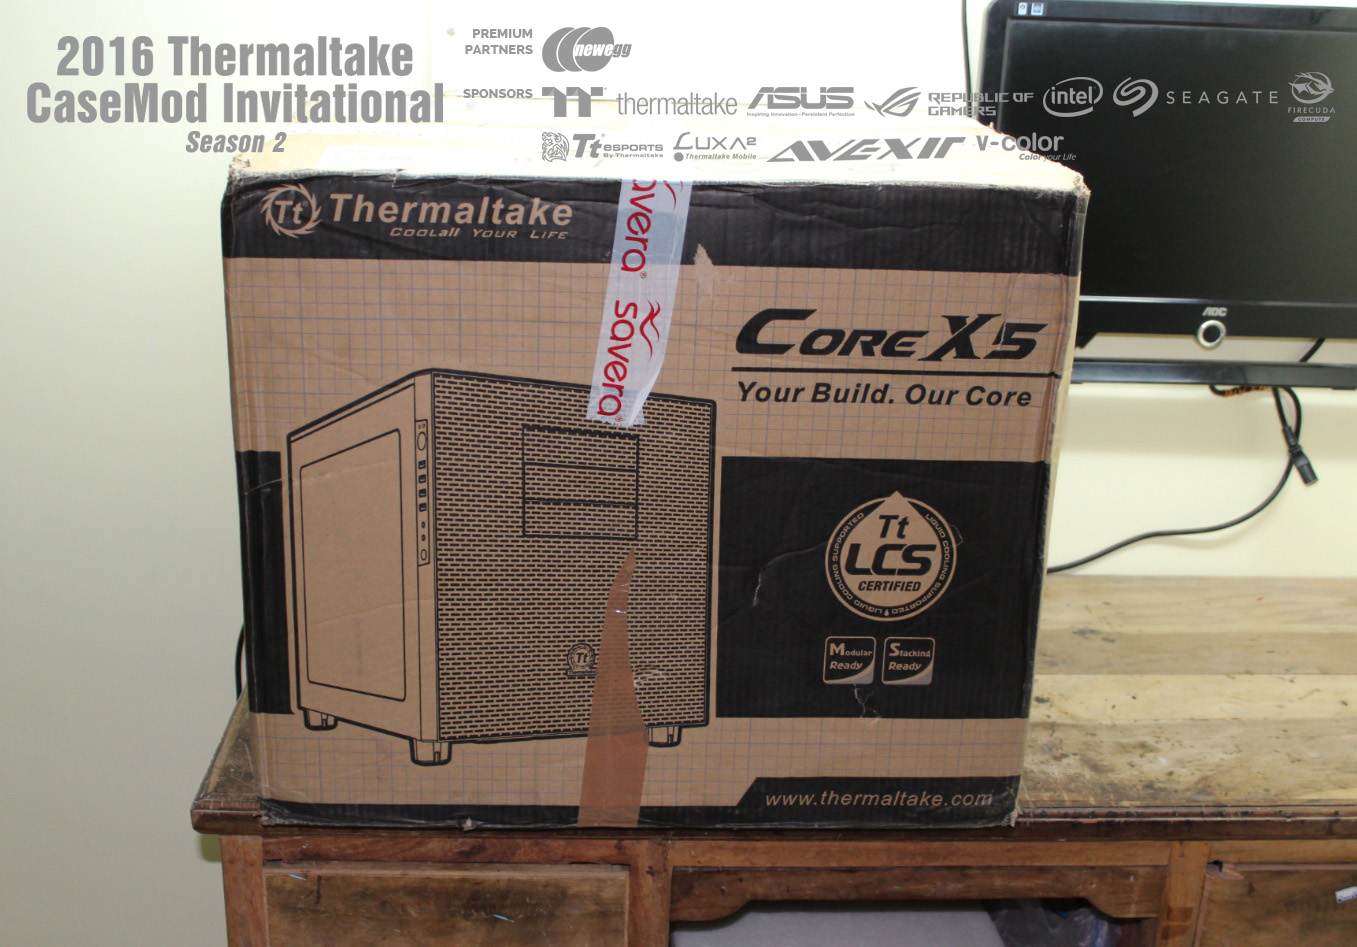
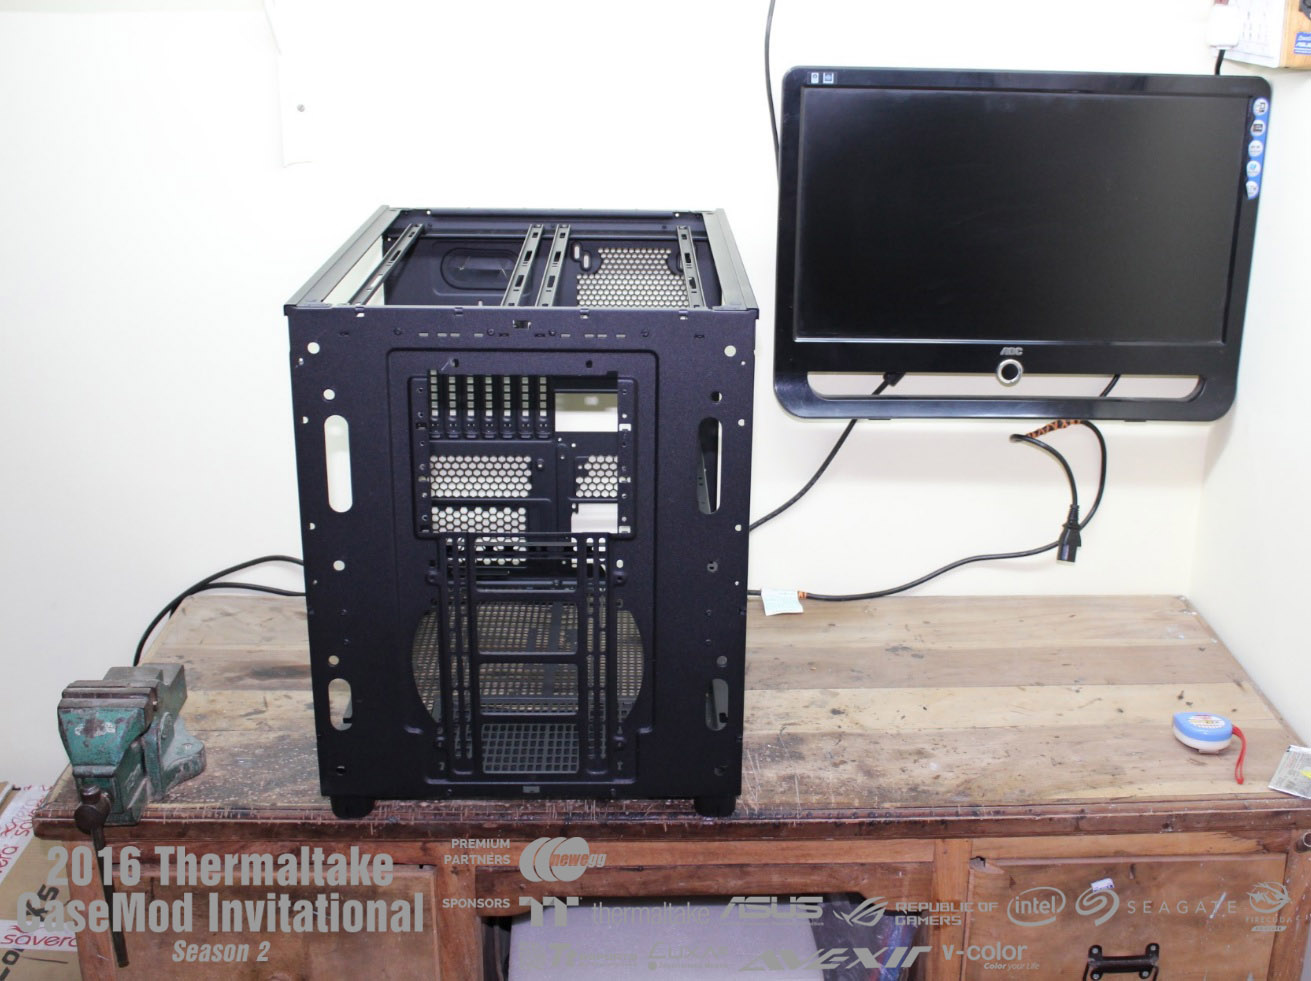
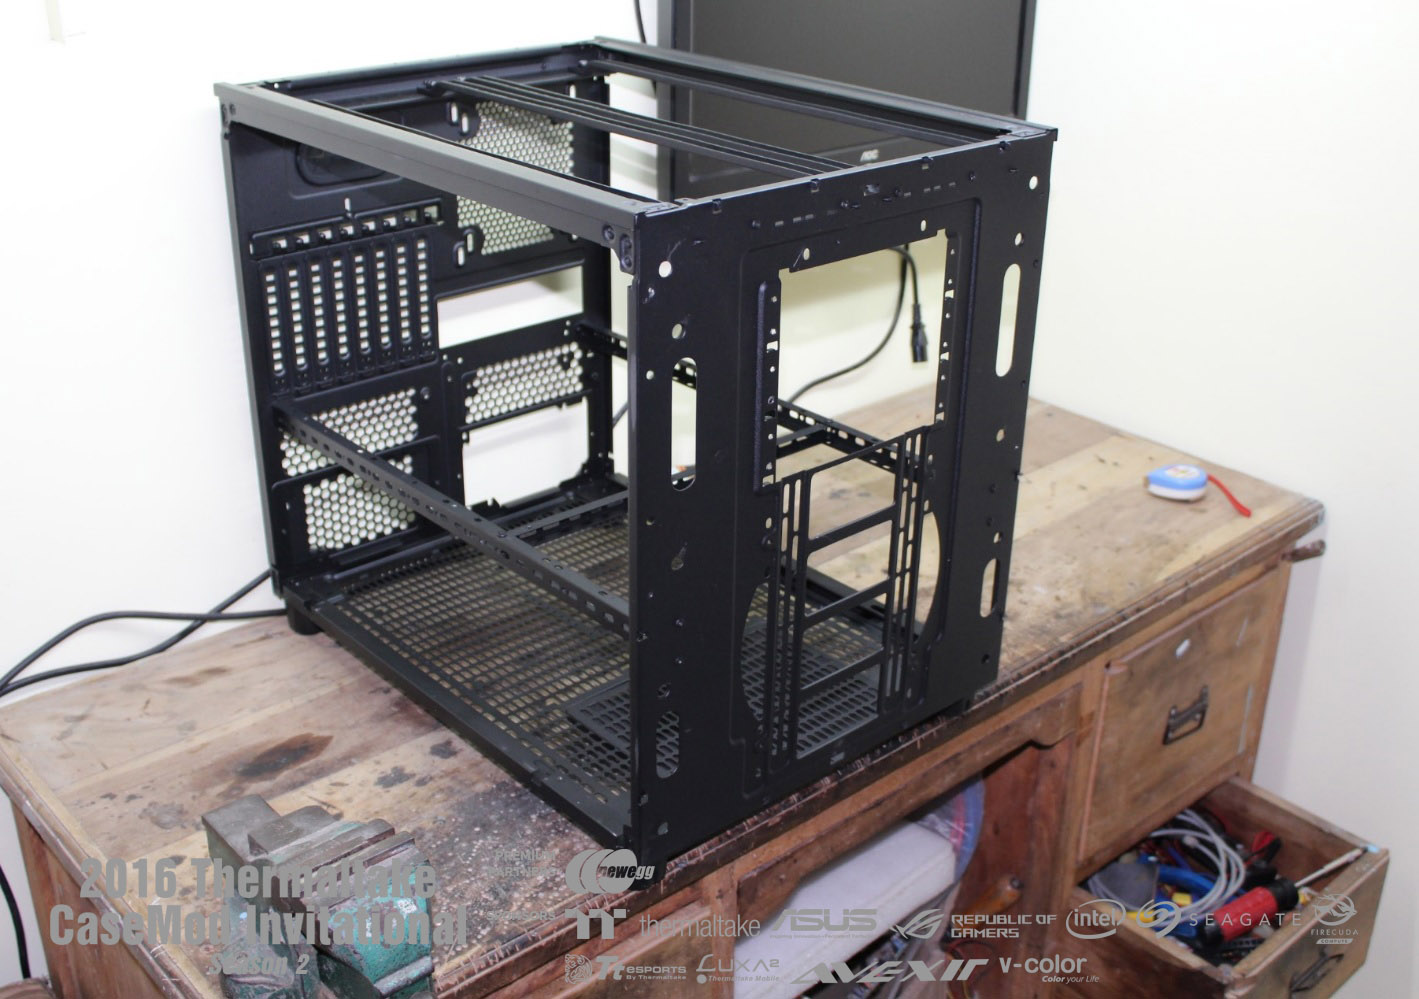
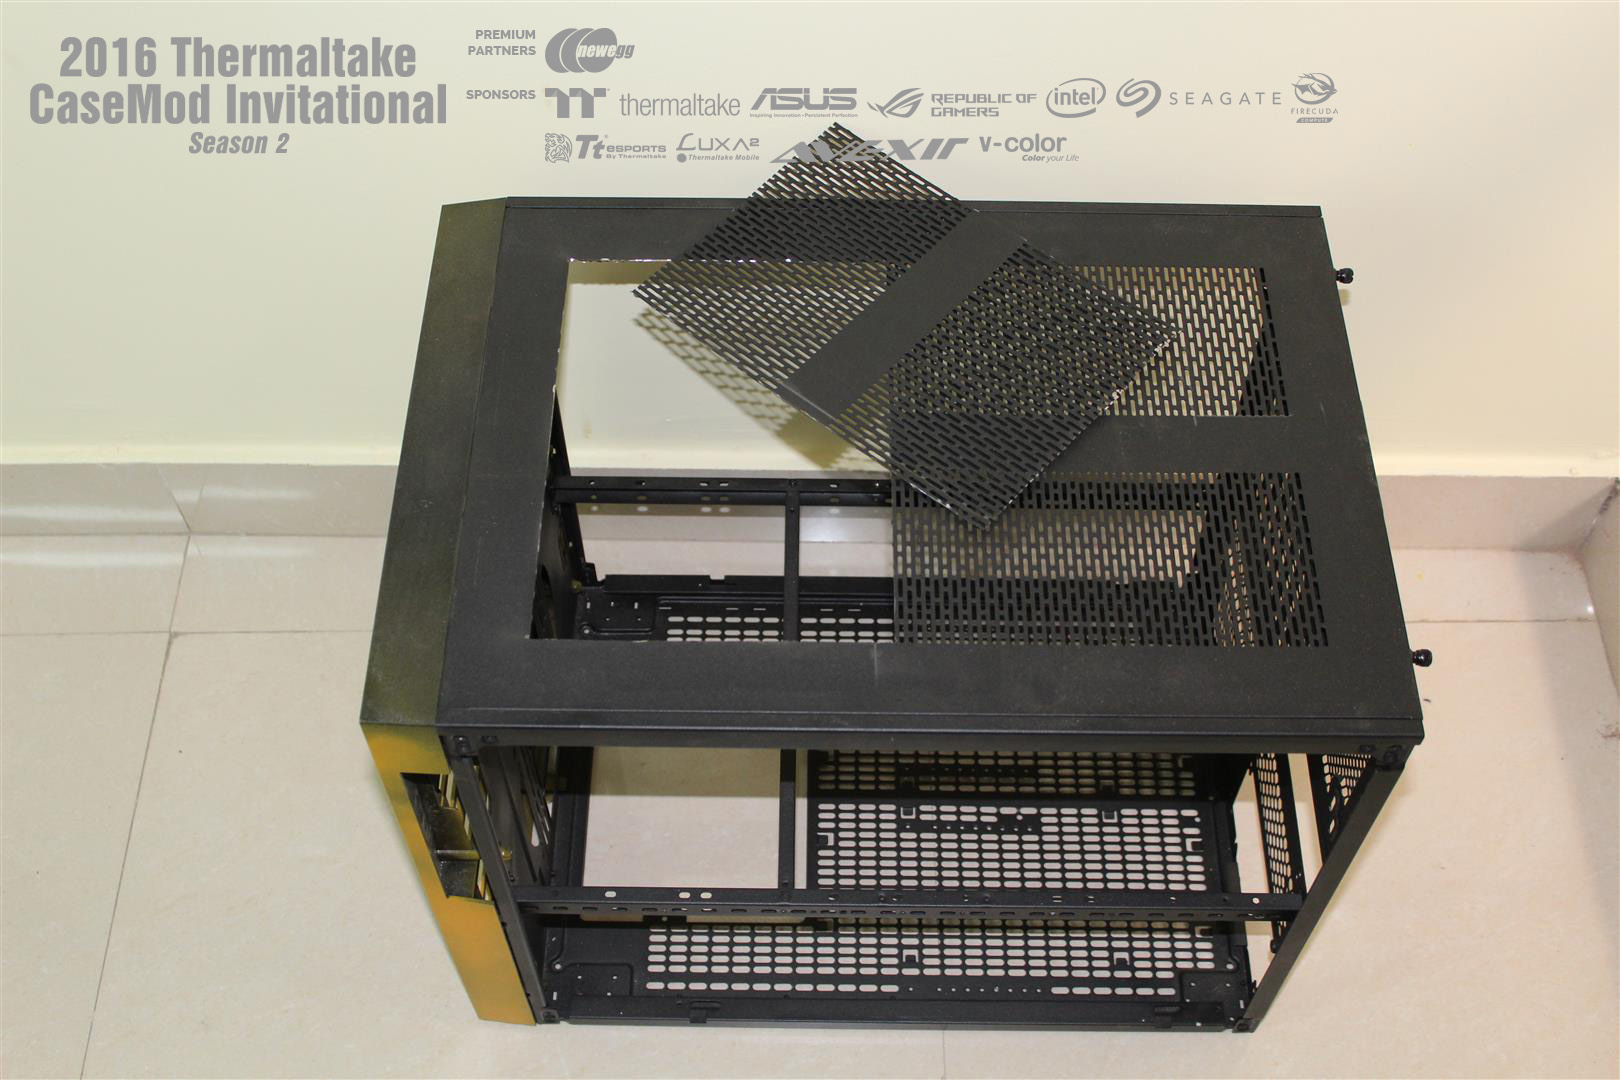
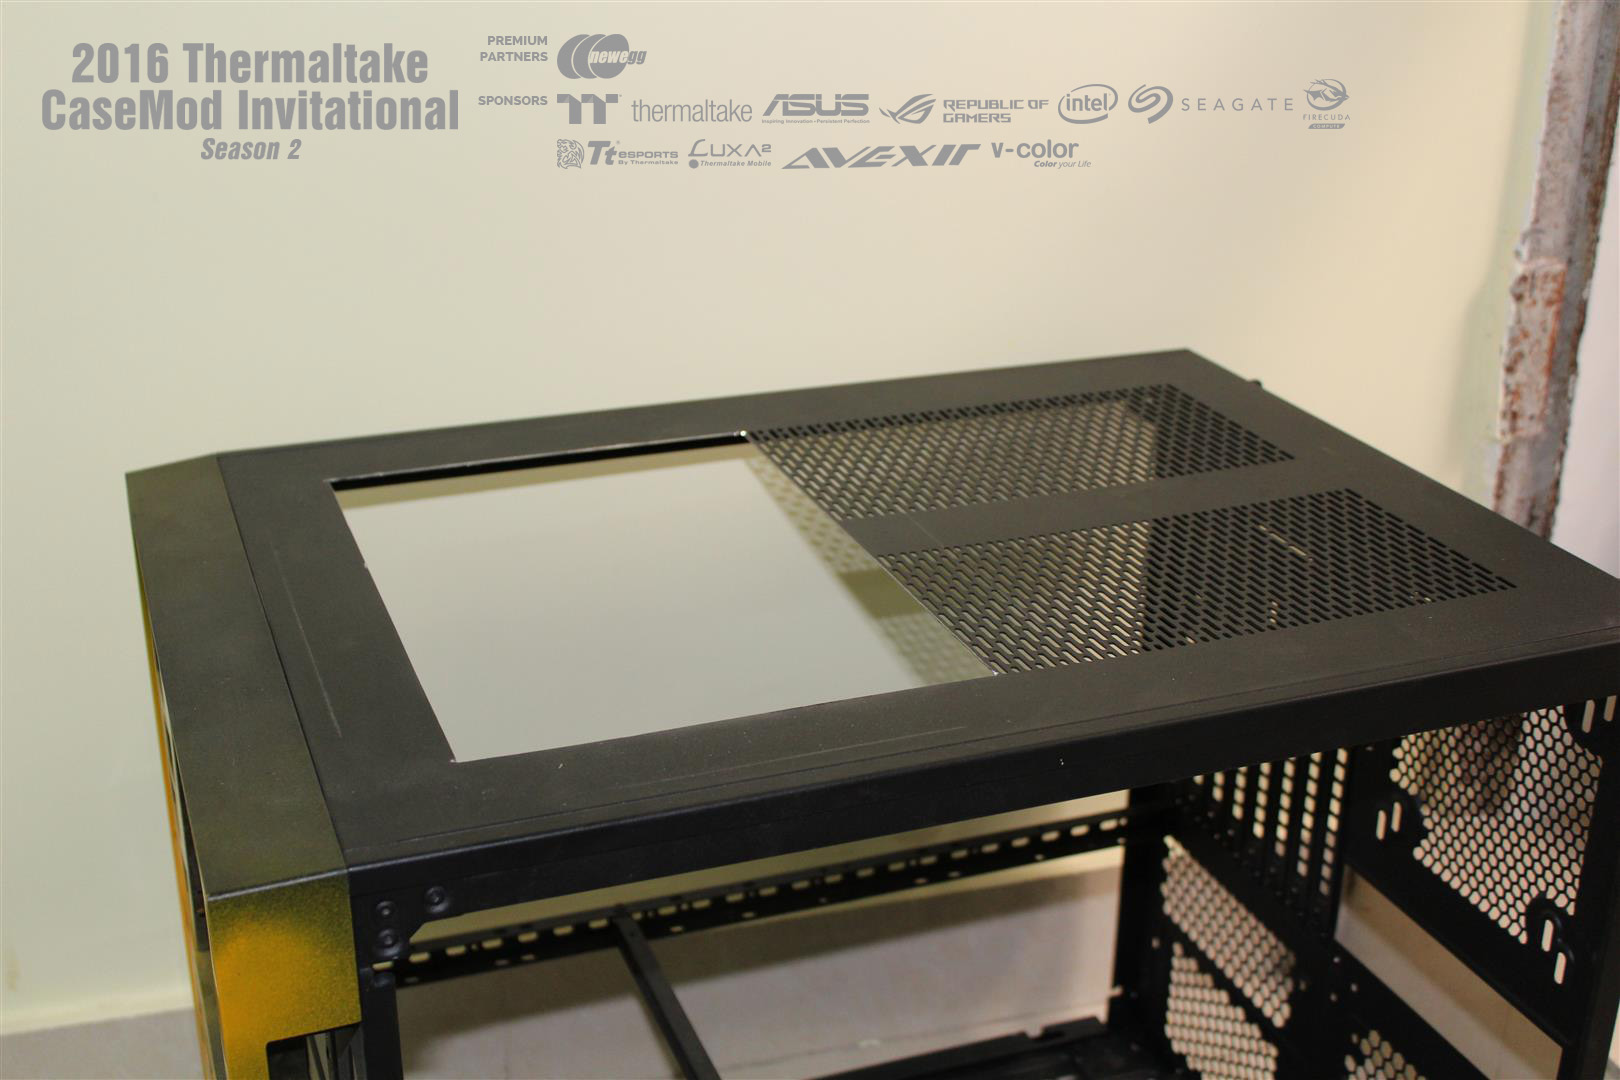
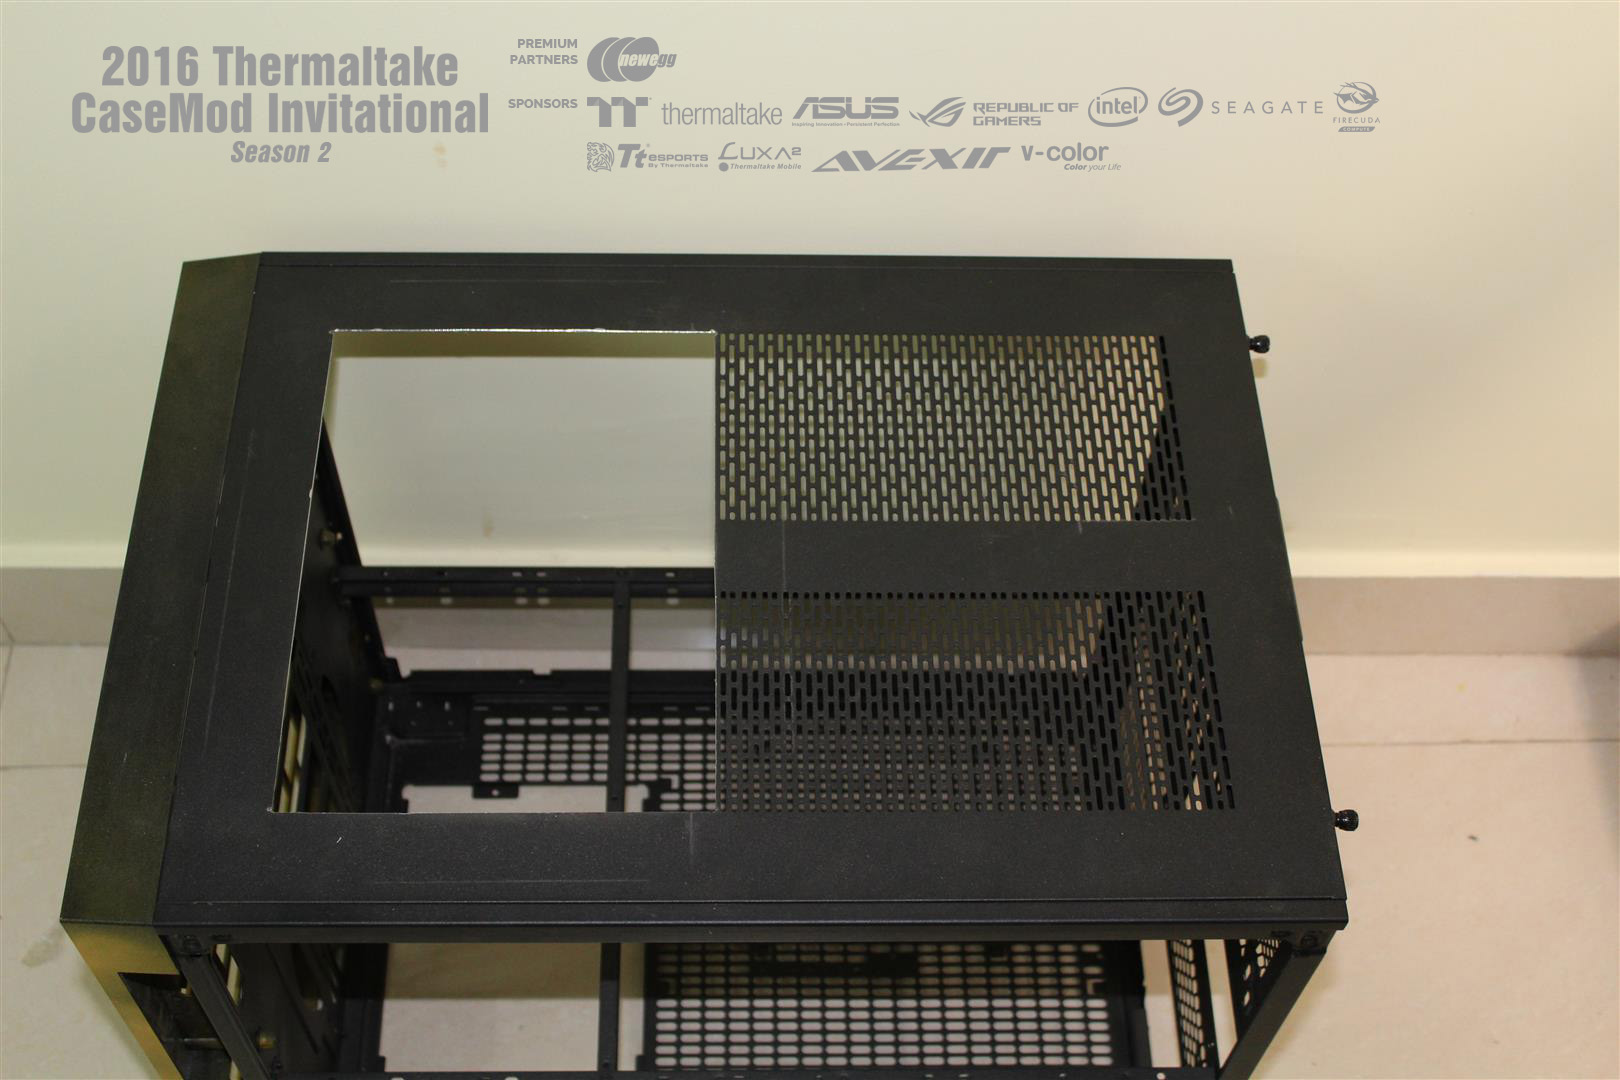
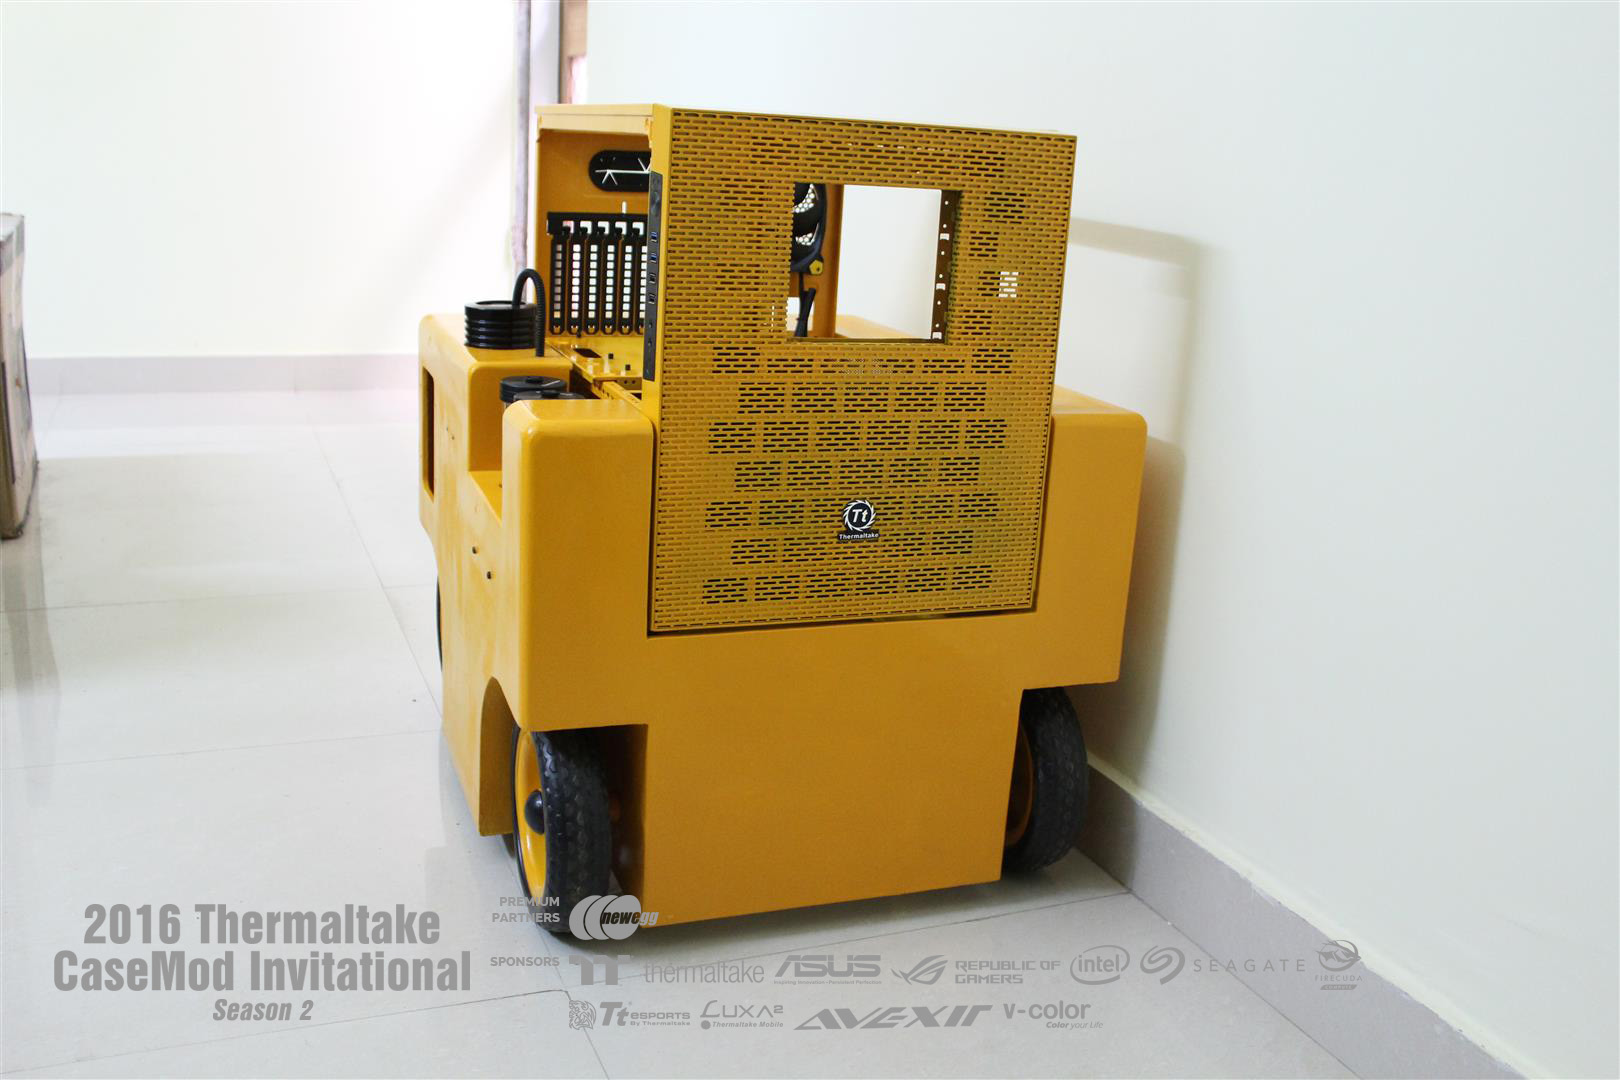
For this CaseMod, I will be modifying the Thermaltake Core X5 ATX Chassis.
ABOUT BUILD IDEA
MA-1A Air-start cart, some people called it the “Huffer", is a start cart used to start Jet engines. This cart generates high velocity air, this air is then fed into the aircraft jet engine, causing it to spin or spool up with sufficient RPM for starting. The cart's air delivery system is powered by a small turbine engine. This thing has started many well known aircrafts like Lockheed F-104, Boeing B-52 and YB-49, a flying wing design bomber aircraft commissioned for service with the U.S. Air Force shortly after World War II.
* Thanks to AgentJayZ for sharing this video.
And if you love the sound of starting of a turbine engine as I do, forward the video time to 5:42 Enjoy..
Due to its rugged design, MA-1A start cart is still used to start modern Fighter-planes and commercial airliner's engines at many countries around the World.
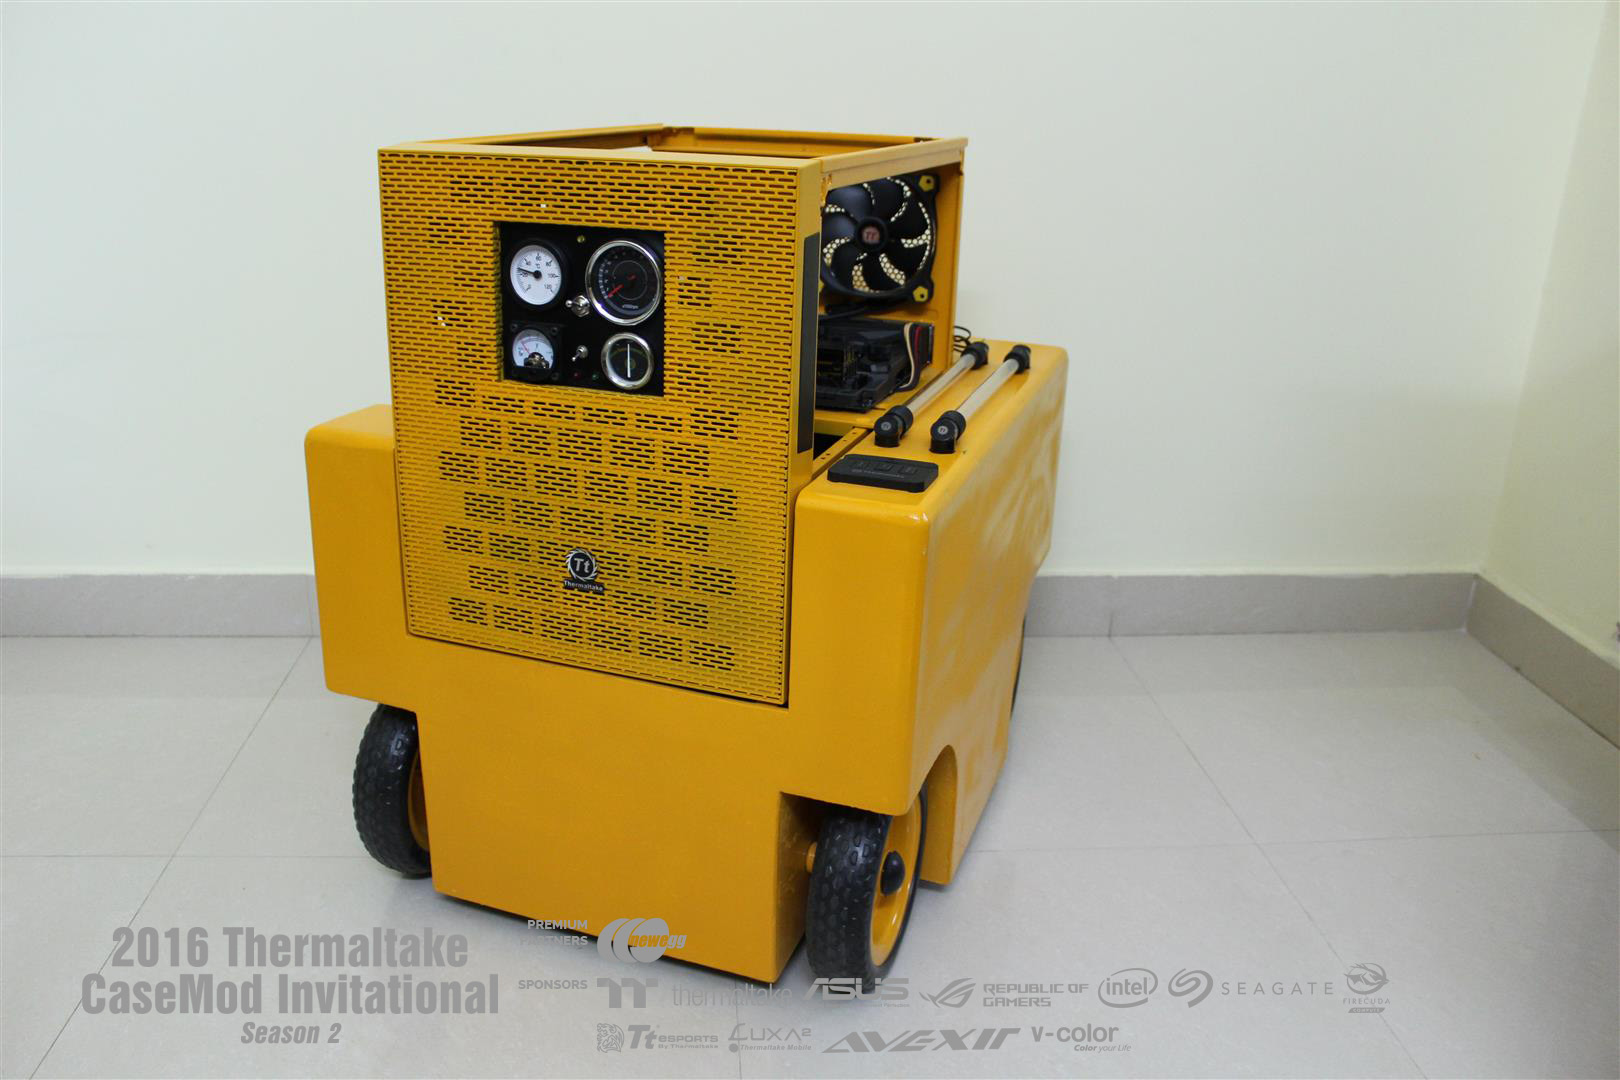
My Case mod is focused on this “Huffer" design, with the Thermaltake Core X5 case showcasing as the main engine unit.
PREMIUM PARTNERS

SPONSORS


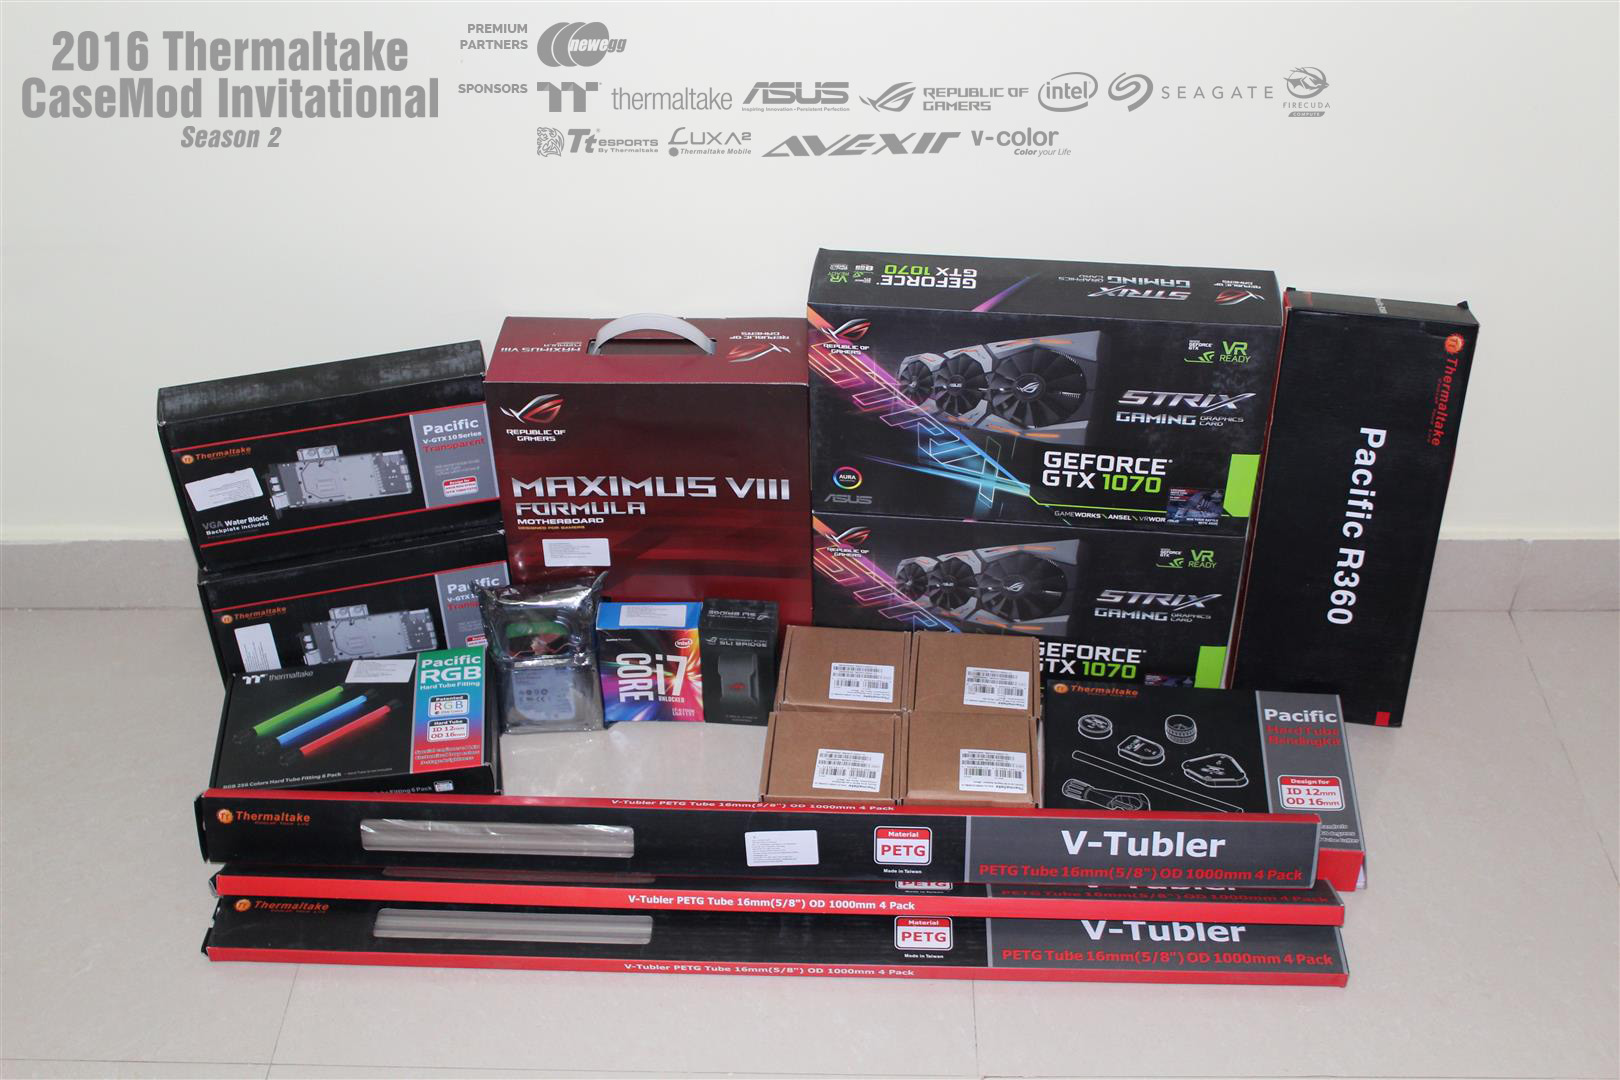
HARDWARE
CASE
Thermaltake Core X5 ATX Chassis
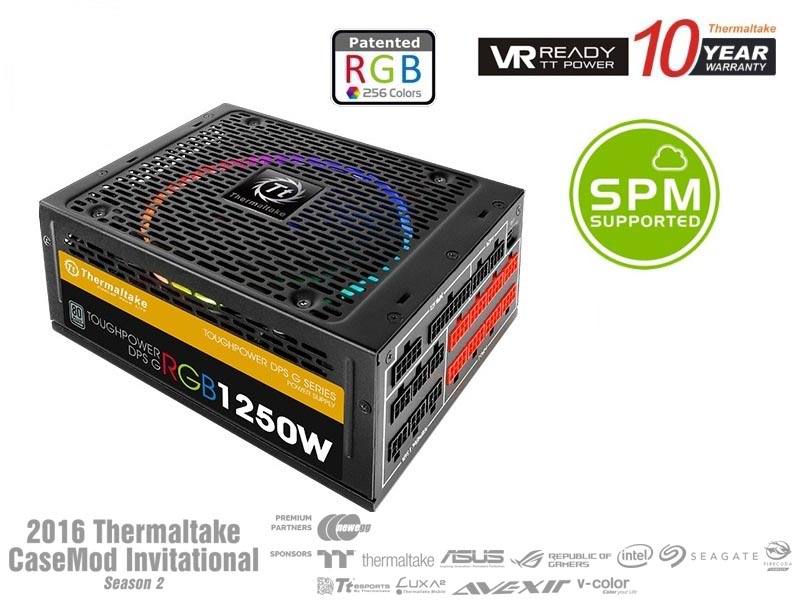
PSU
Thermaltake Toughpower DPS G RGB 1250W Titanium
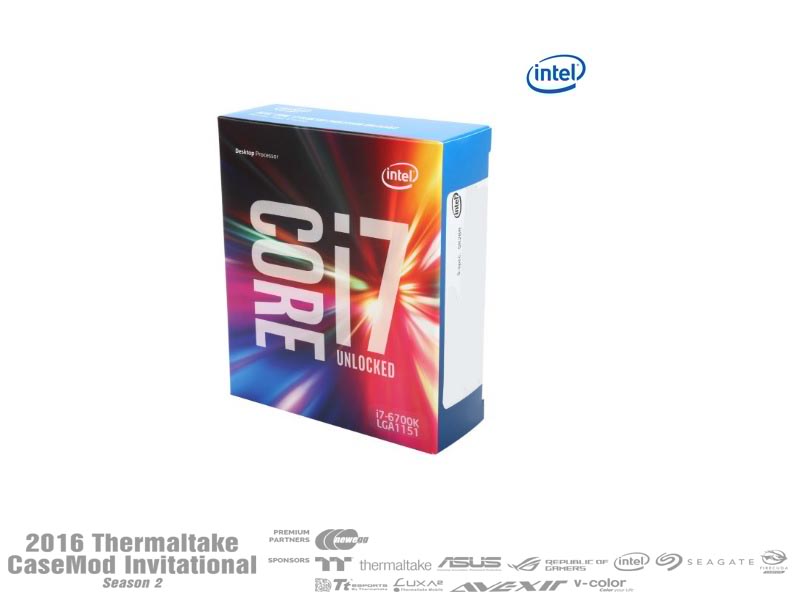
PROCESSOR
Intel® Core™ i7-6700K Processor
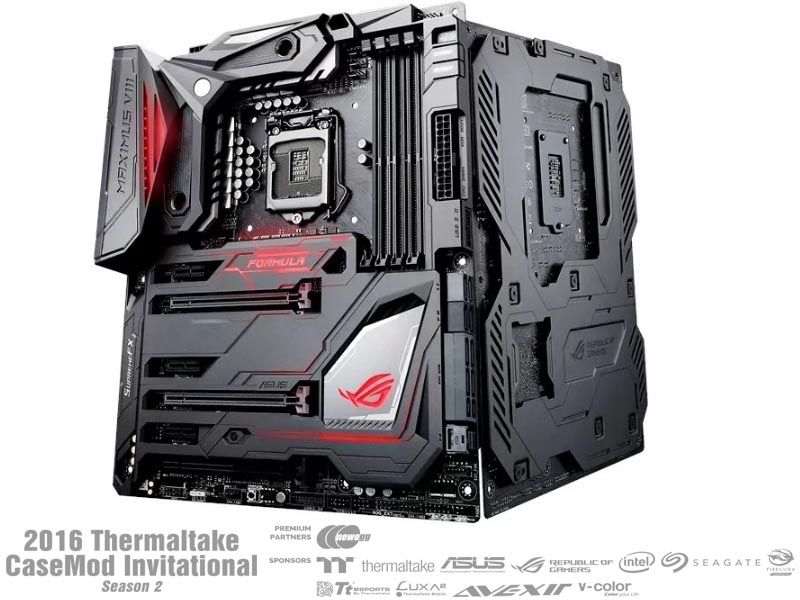
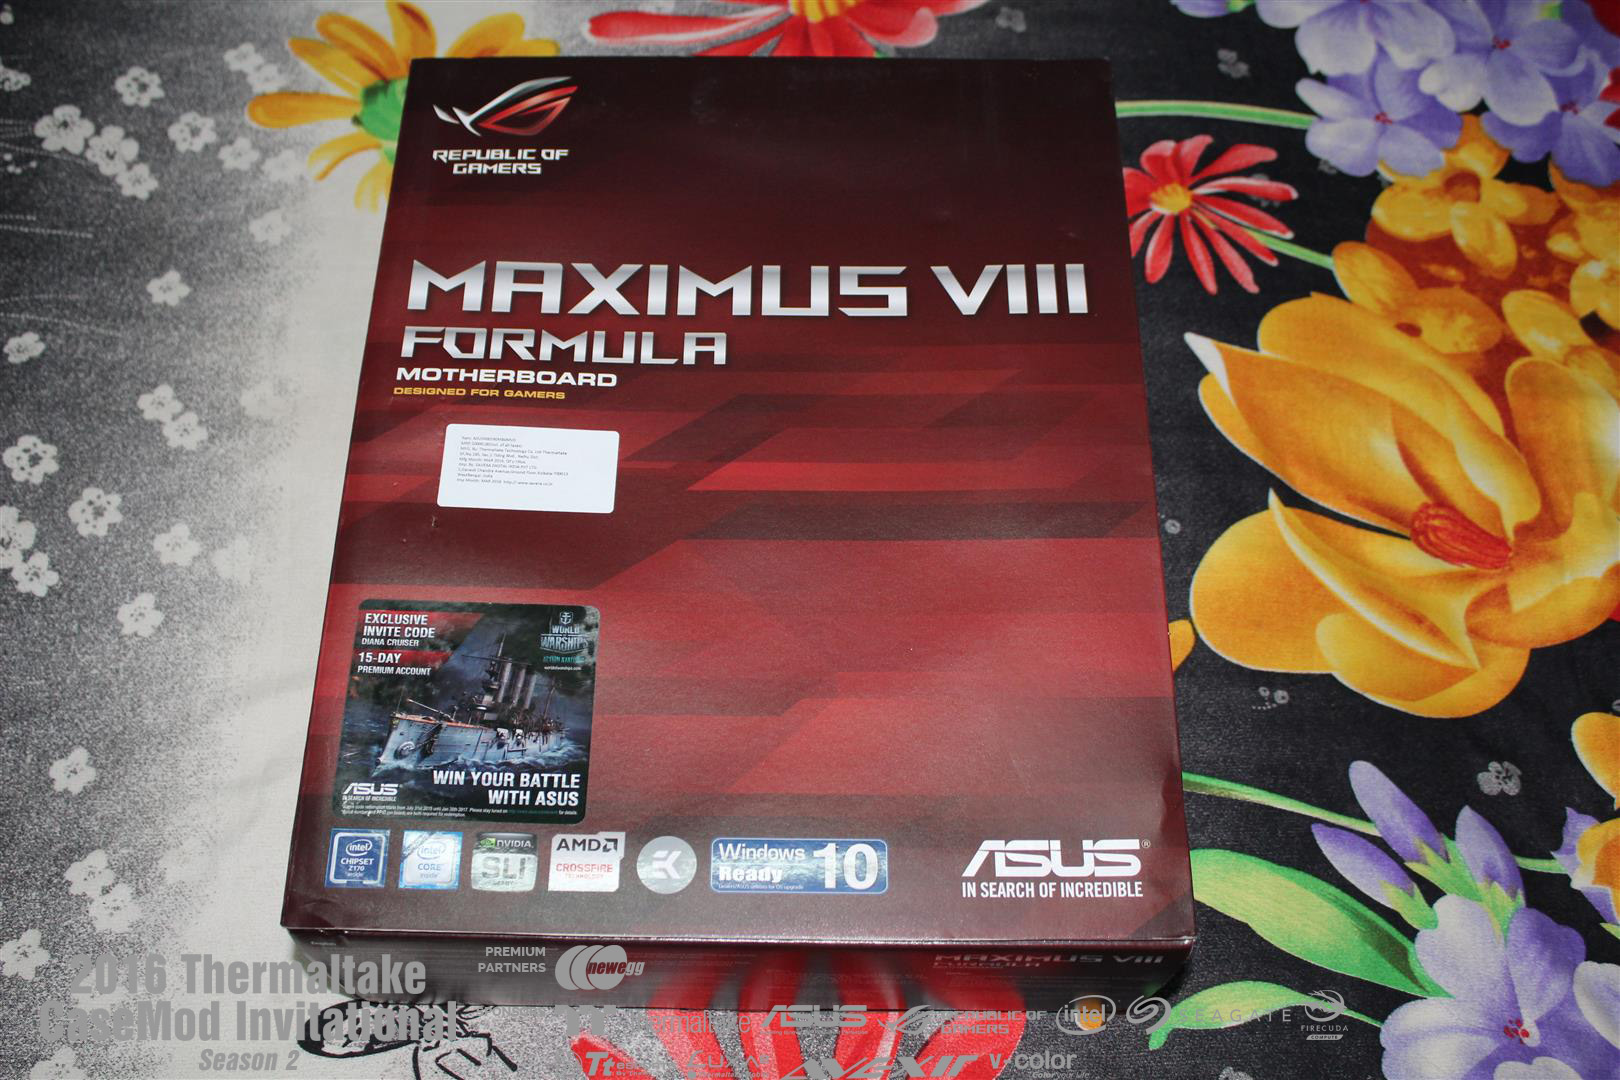
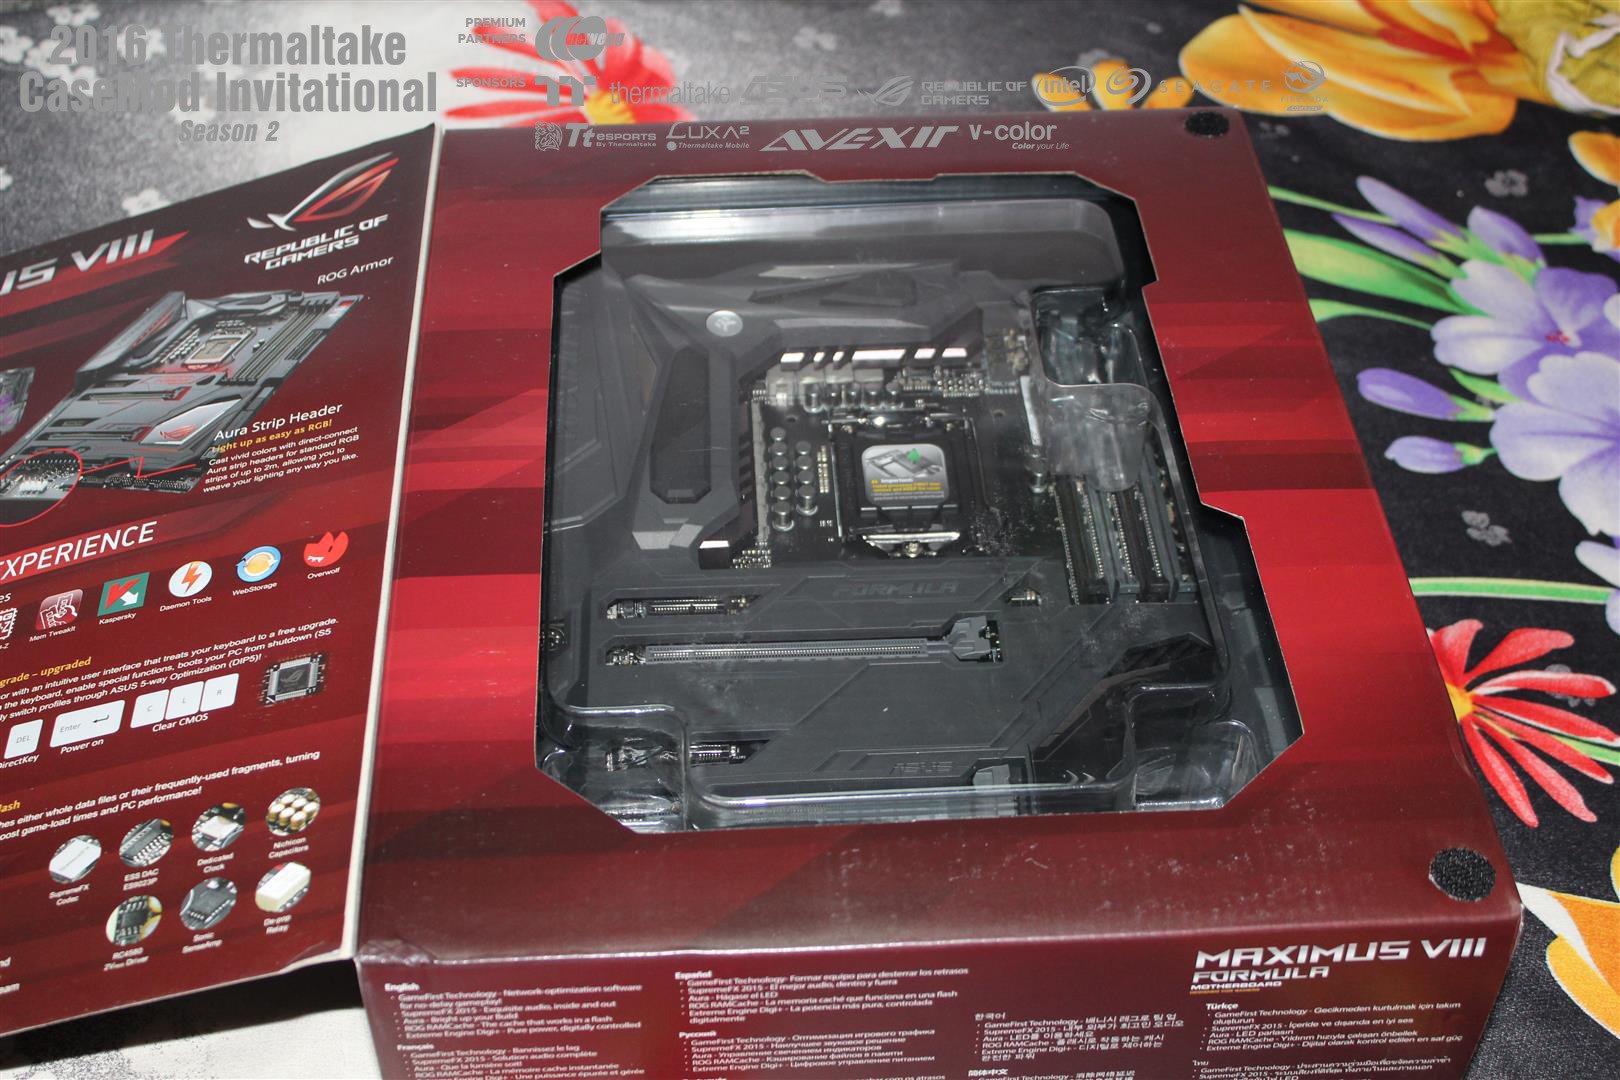
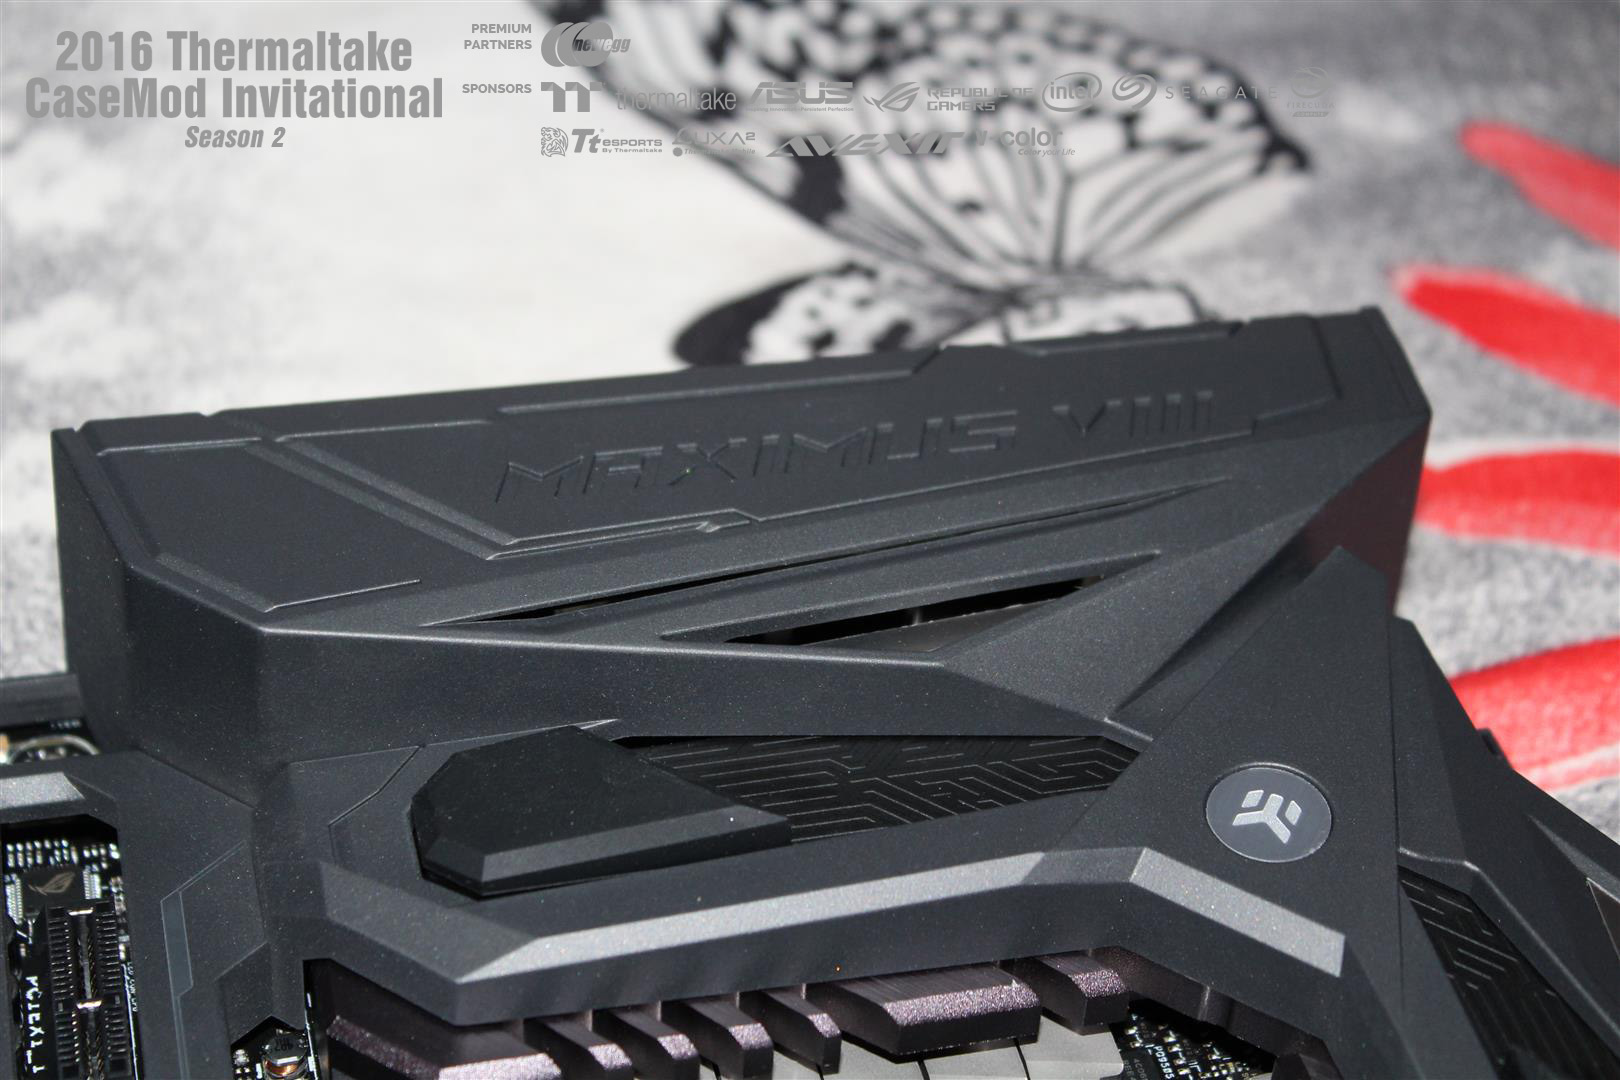
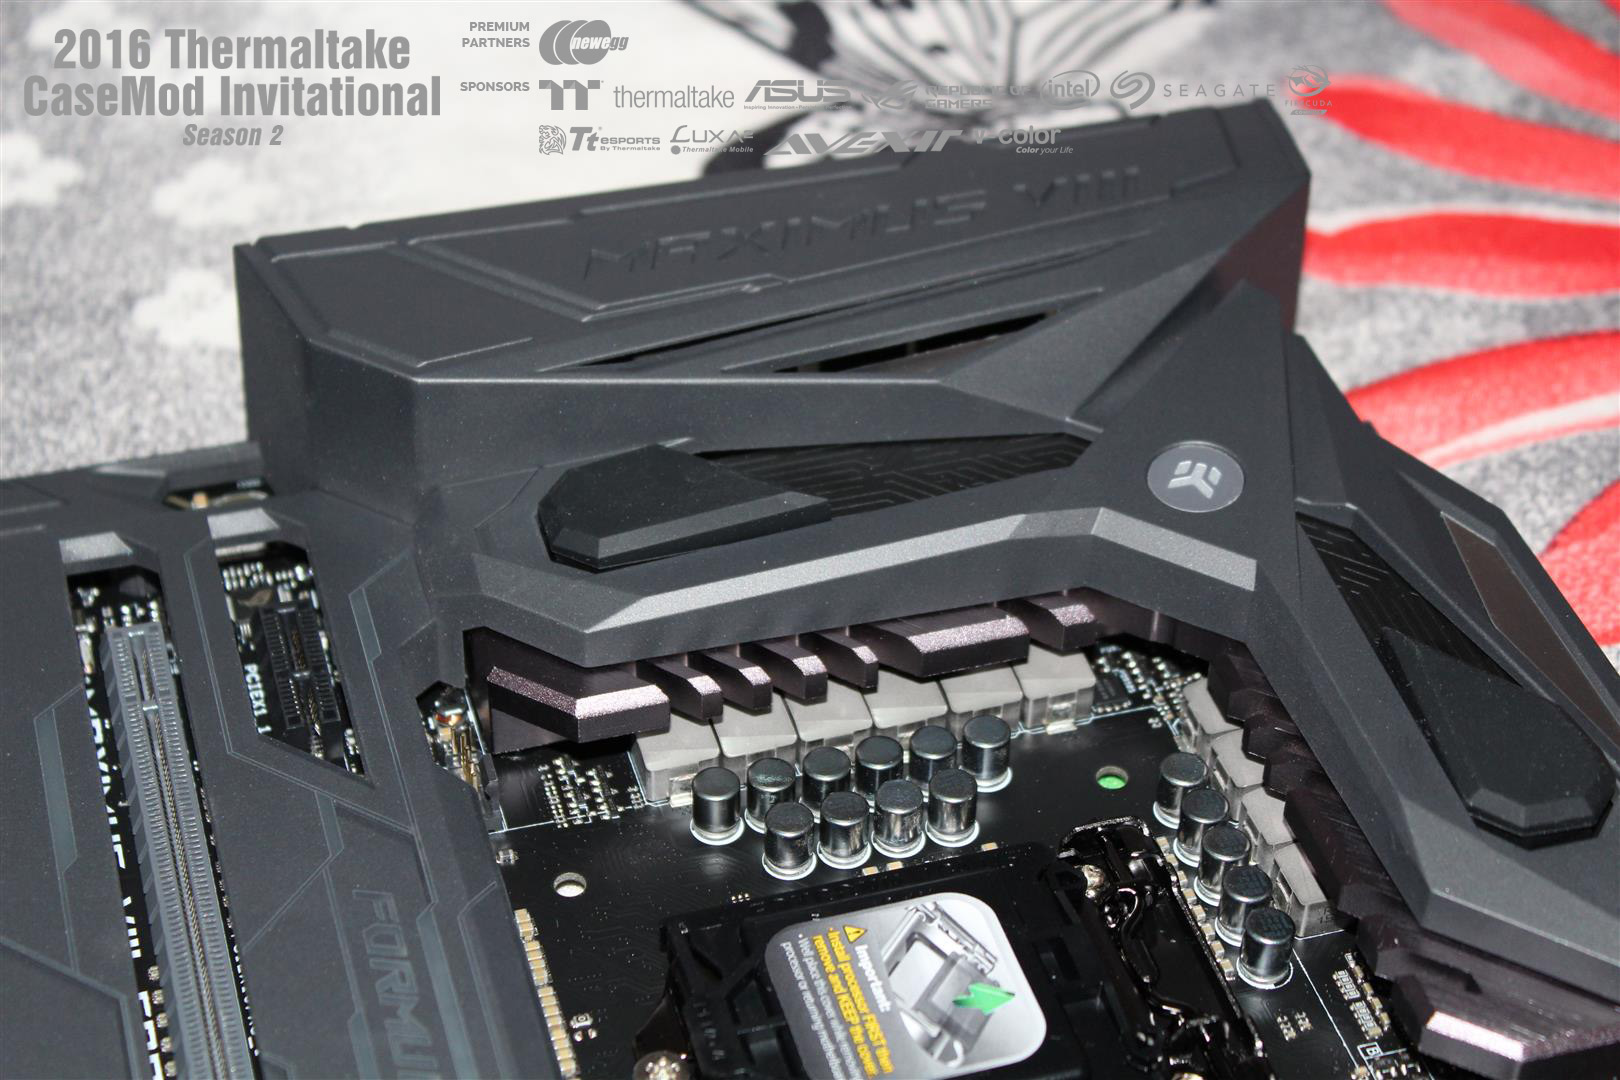
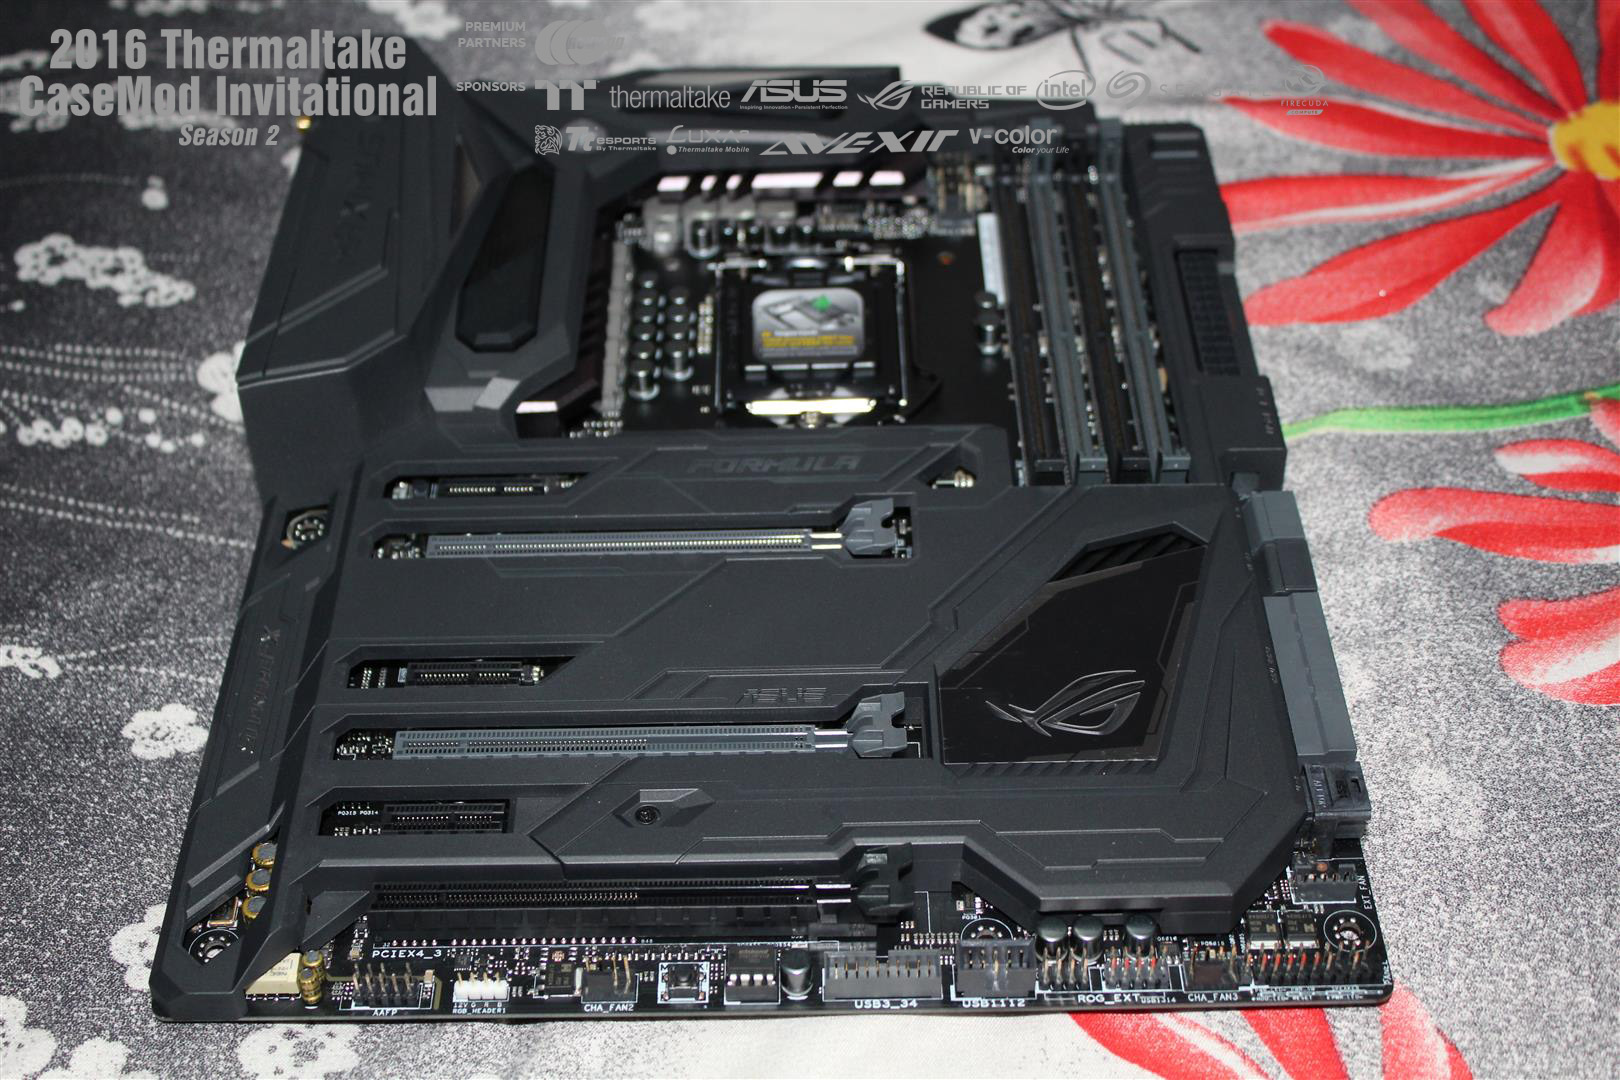
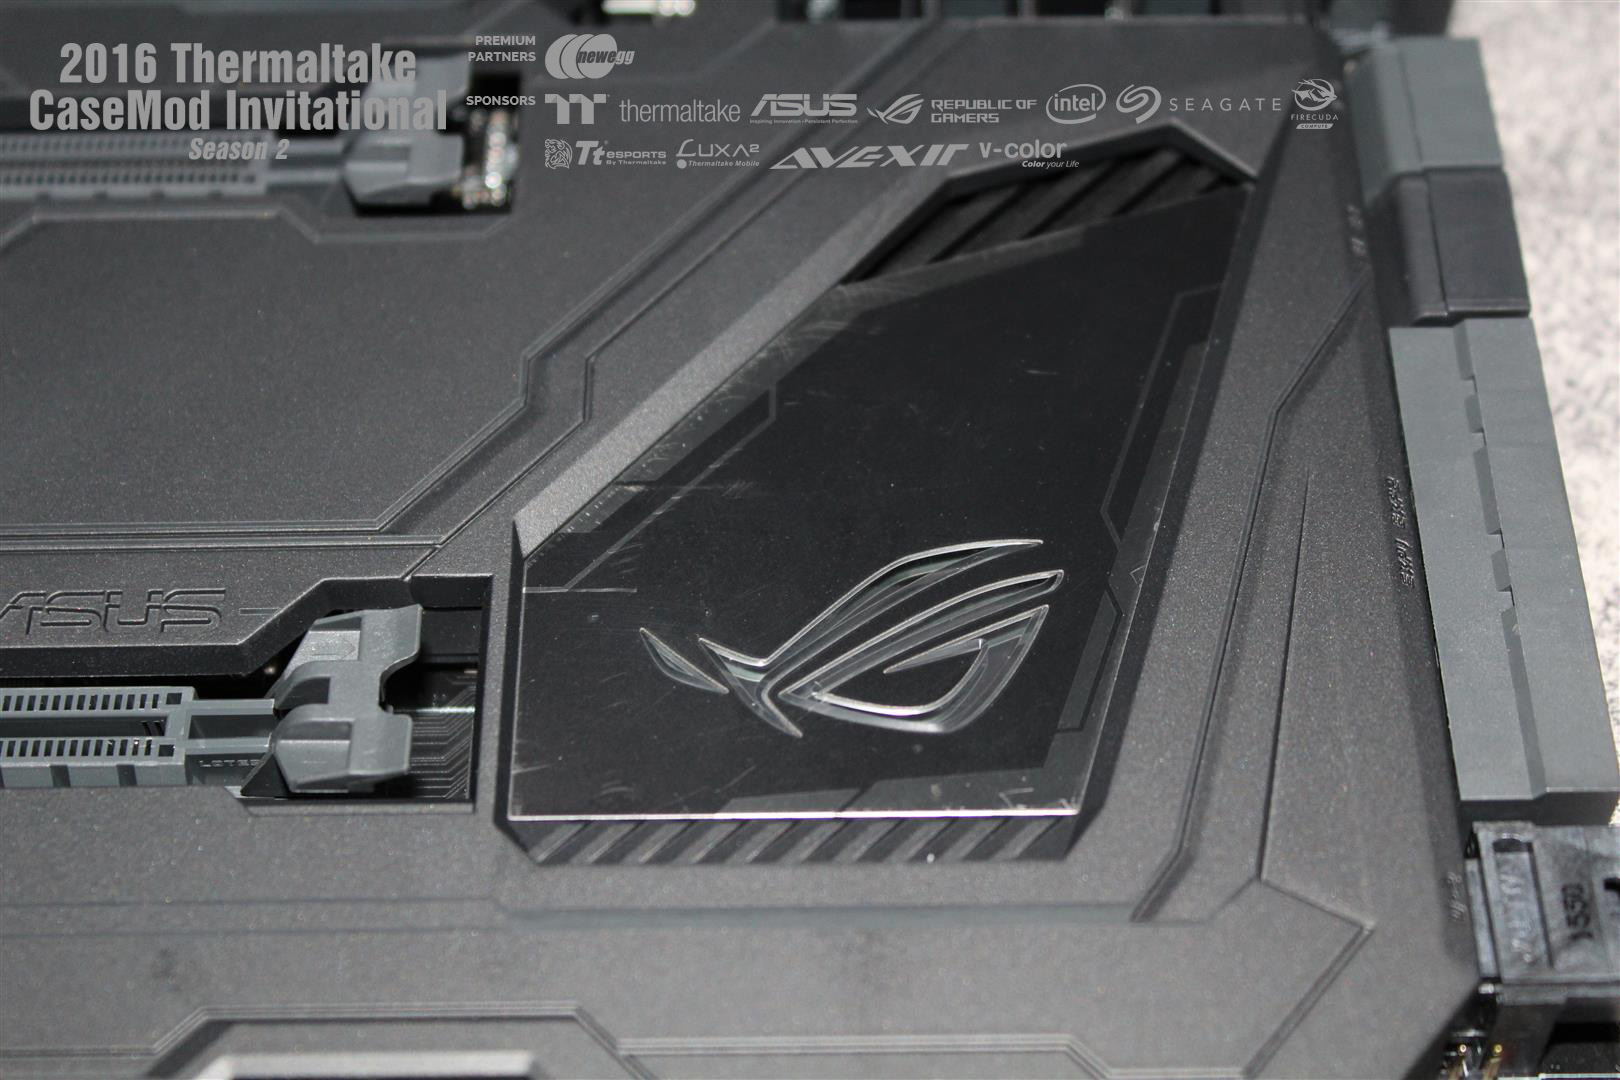
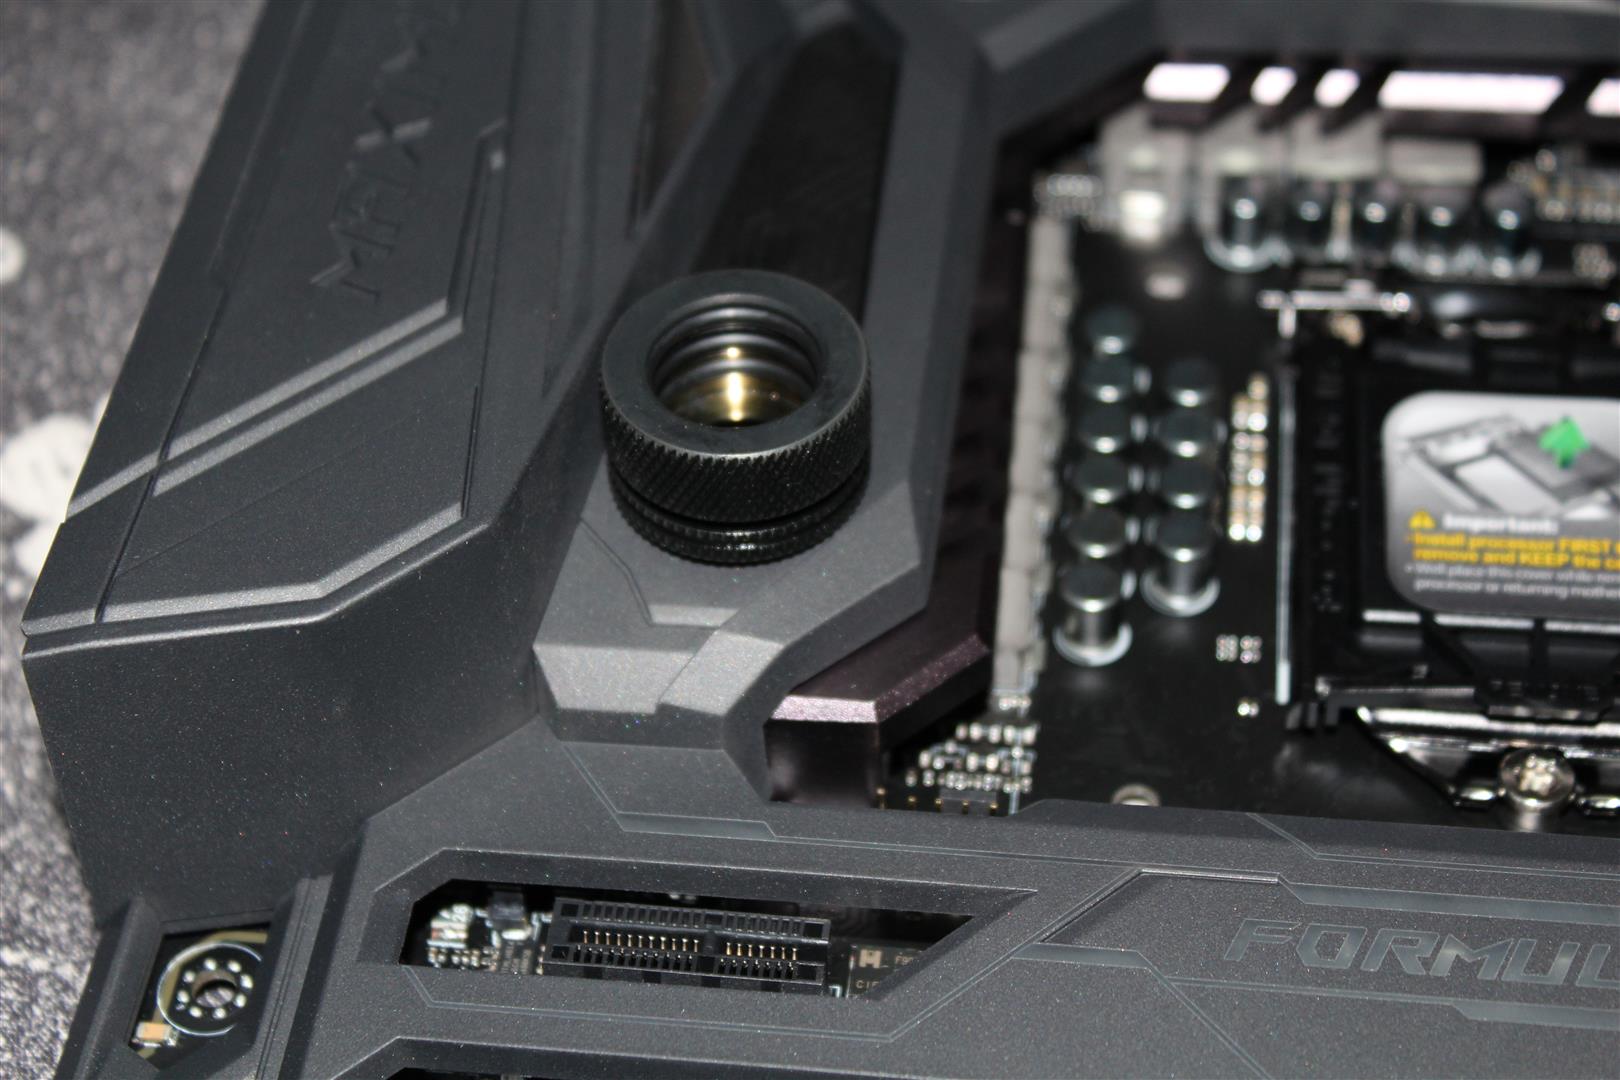
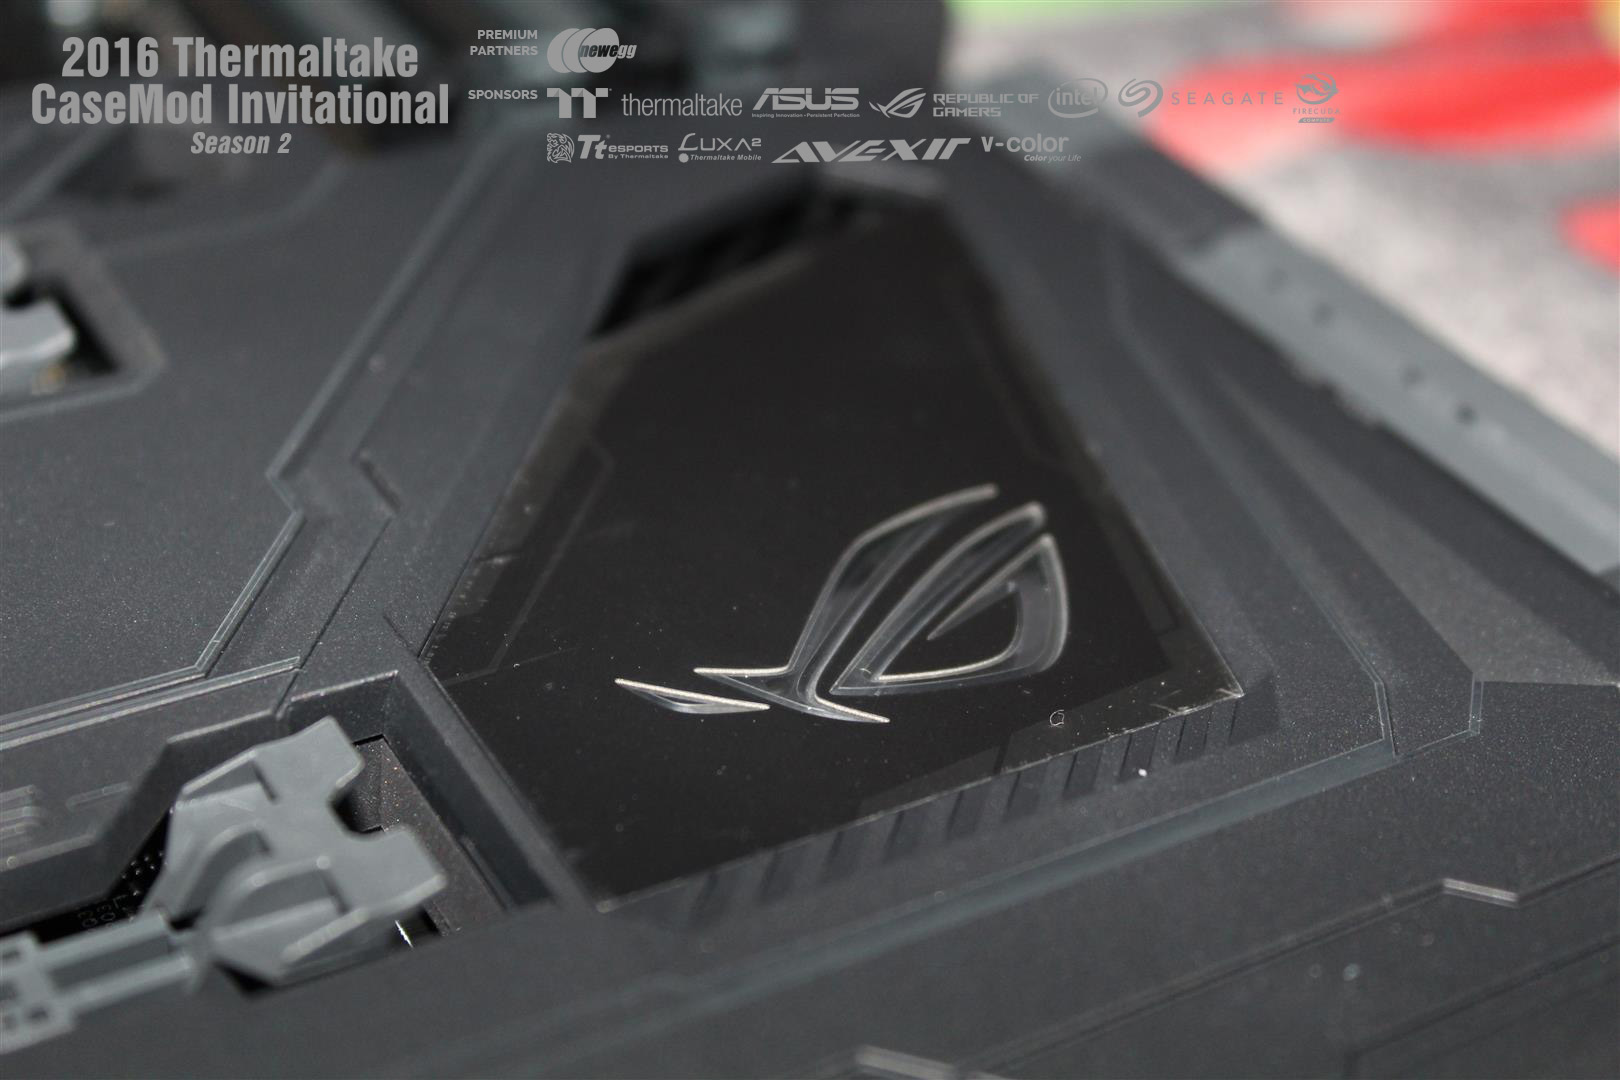
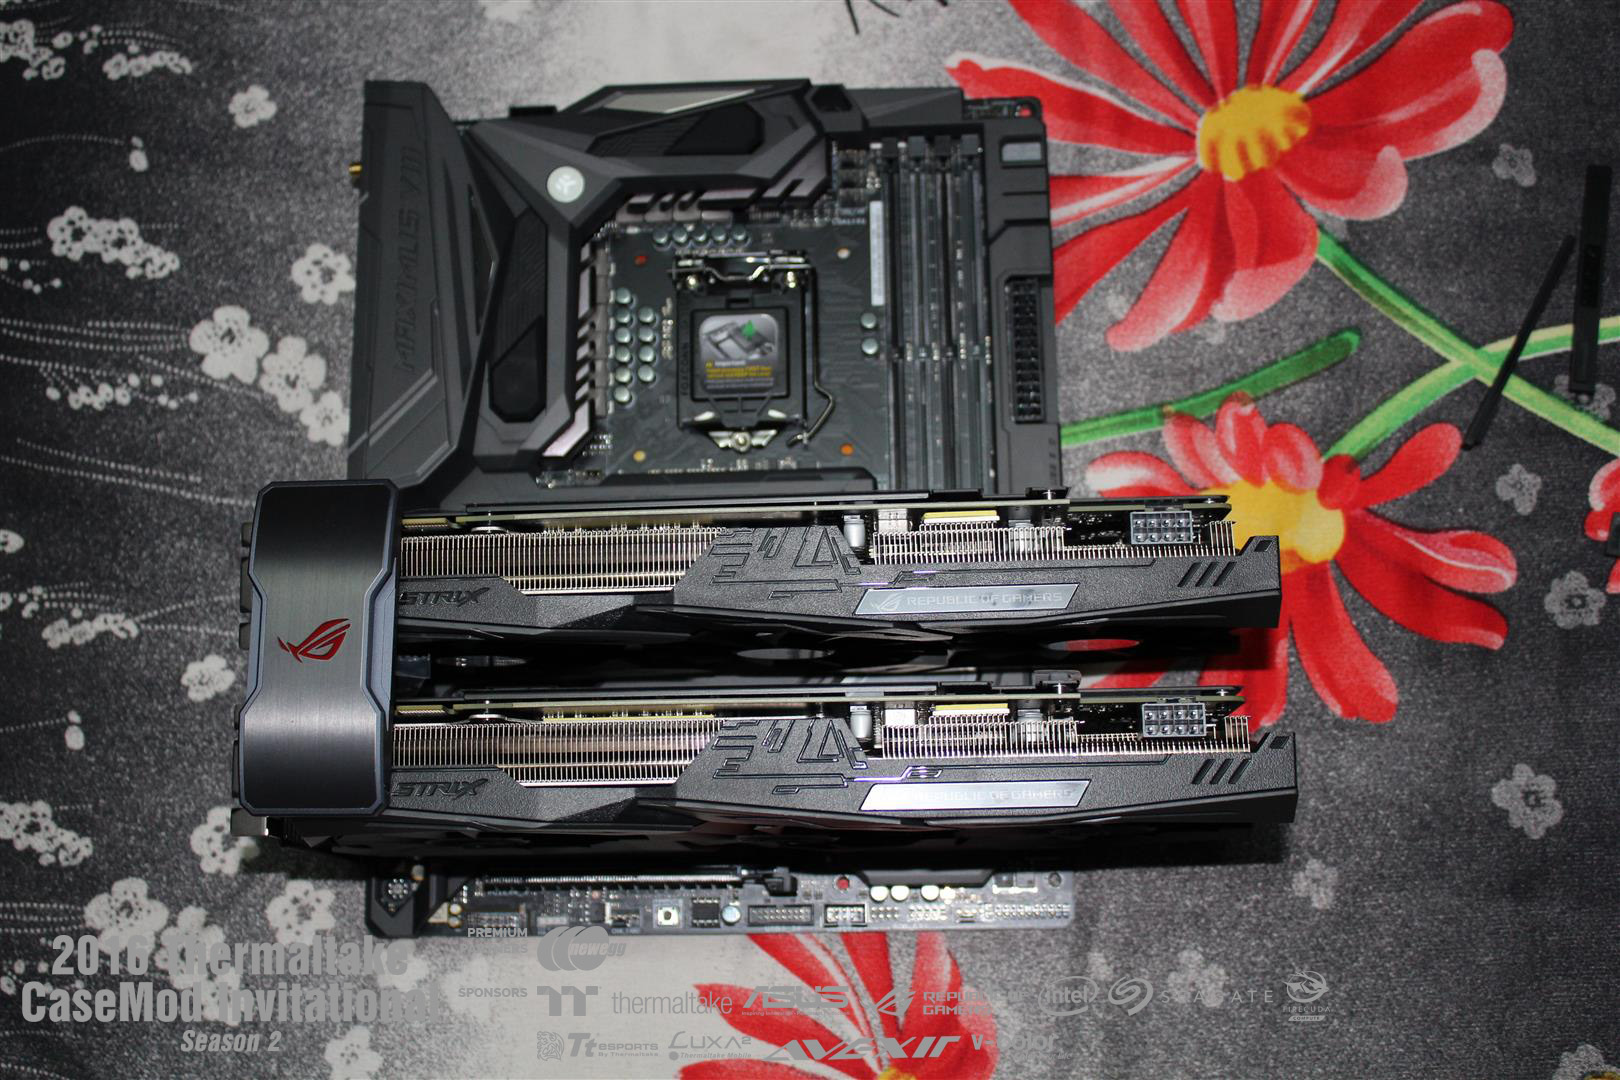
MOTHERBOARD
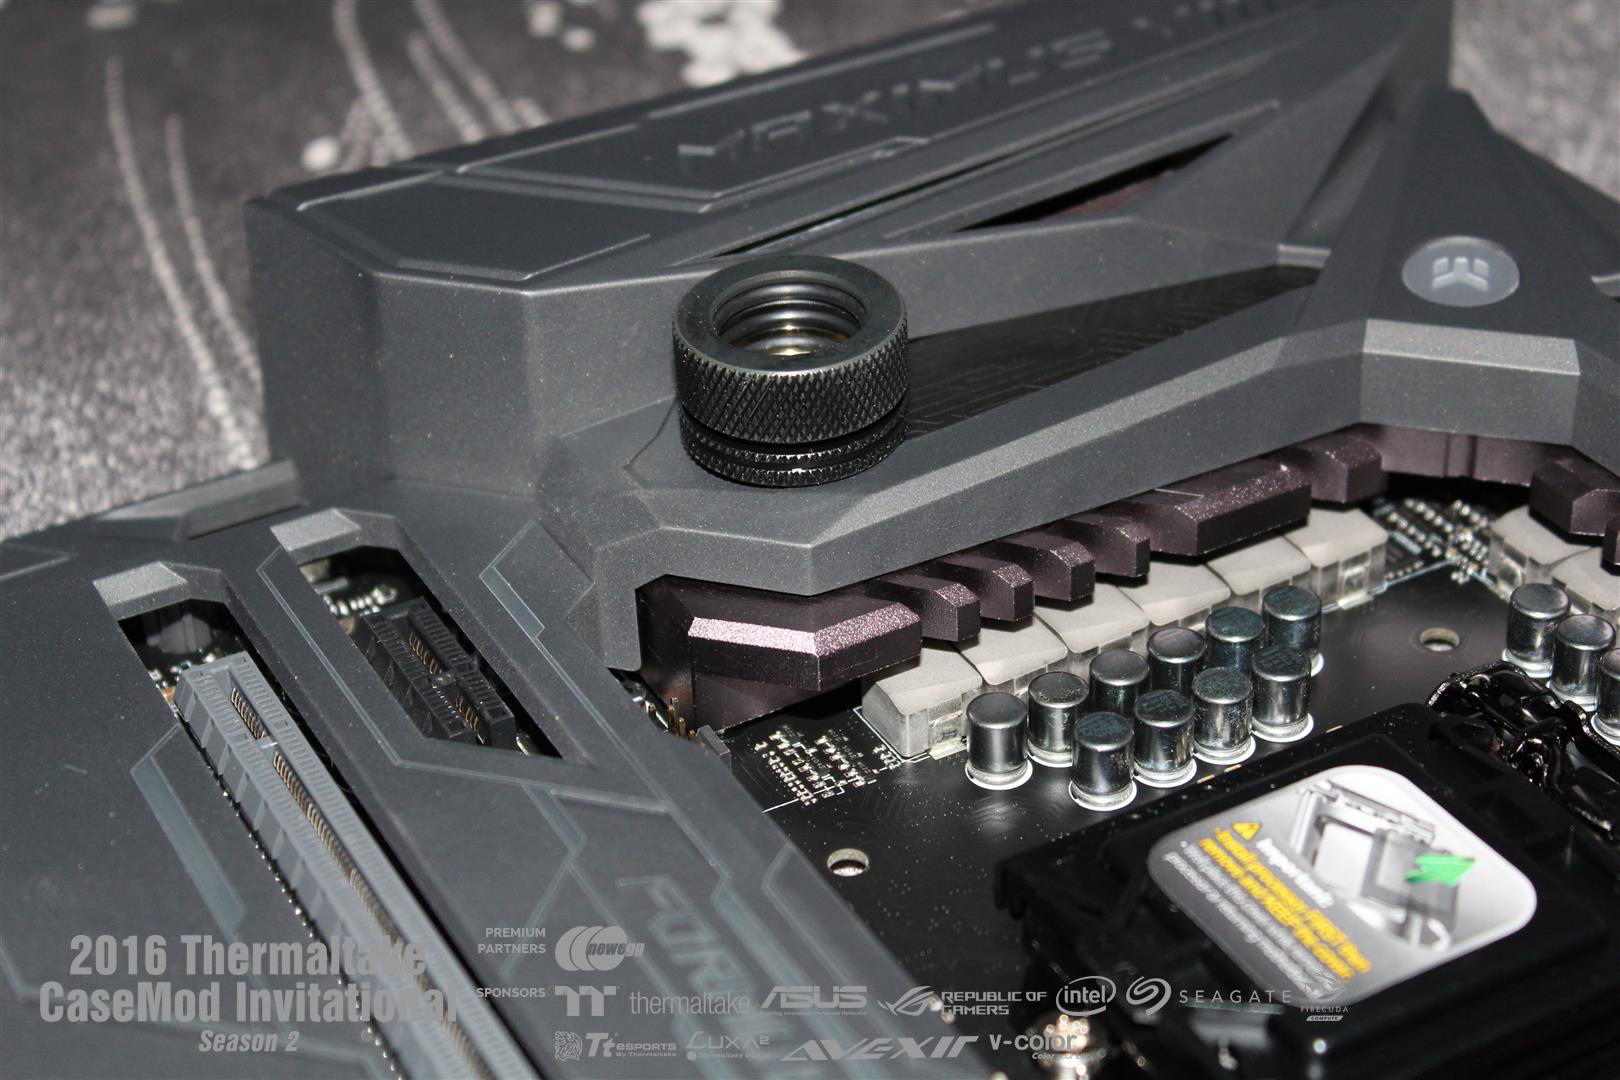
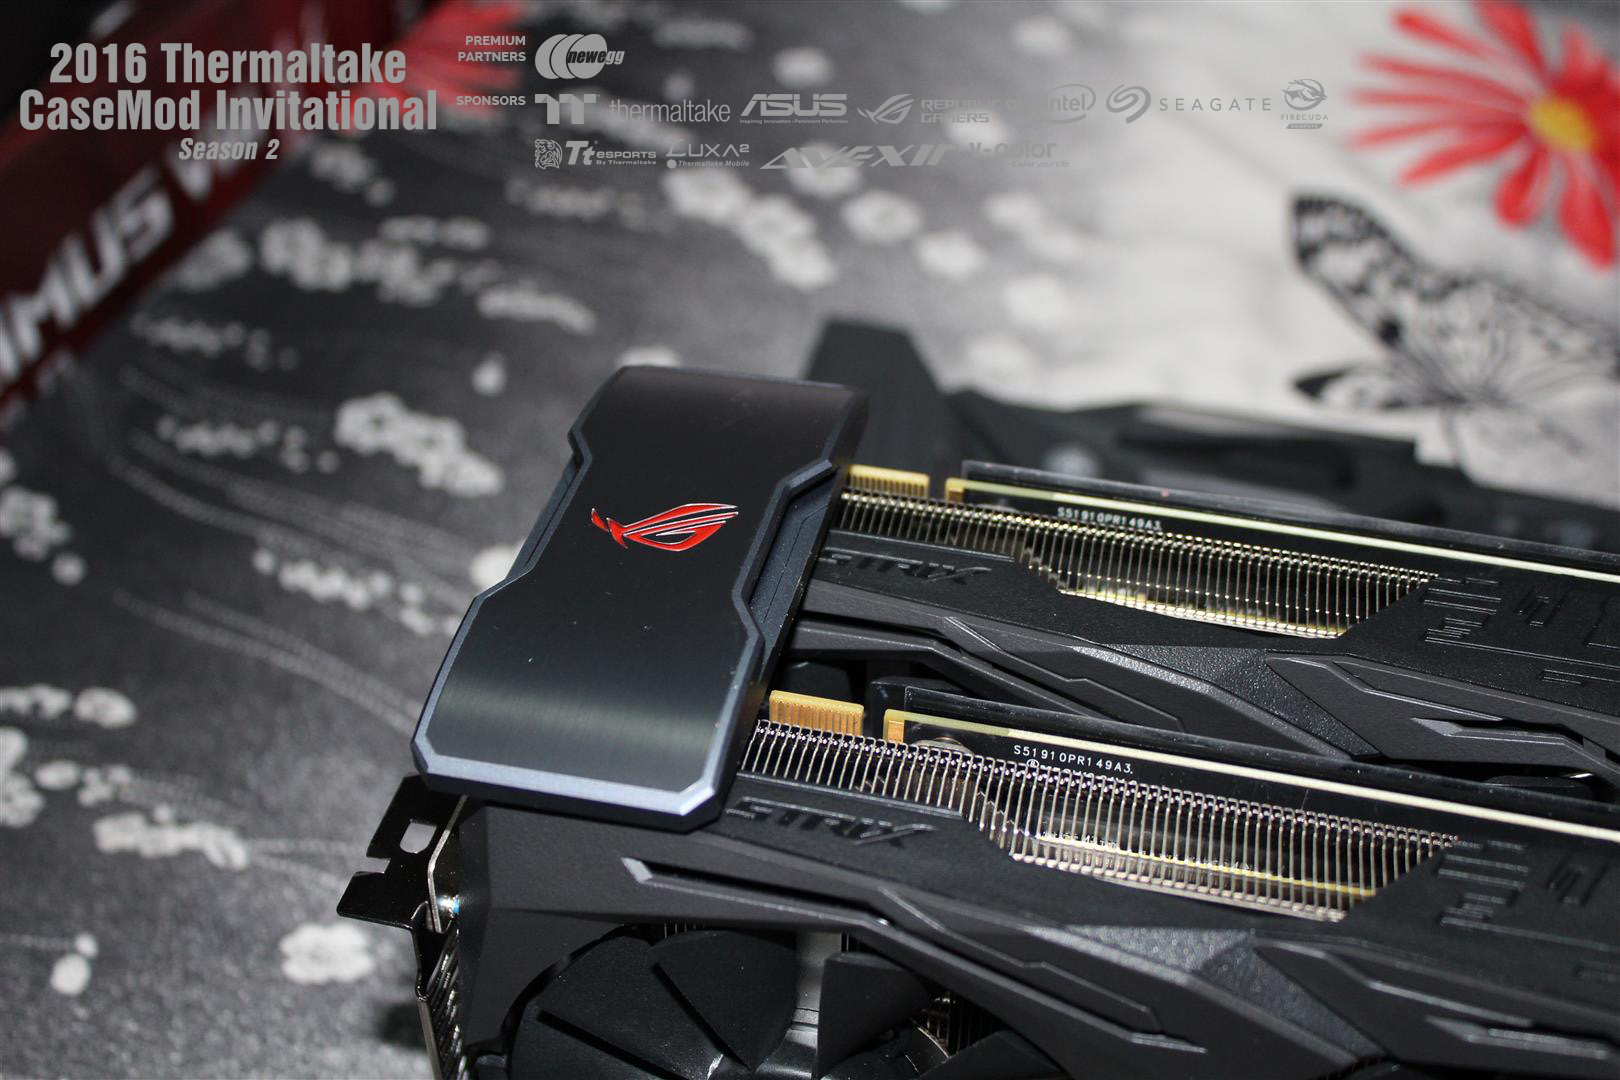
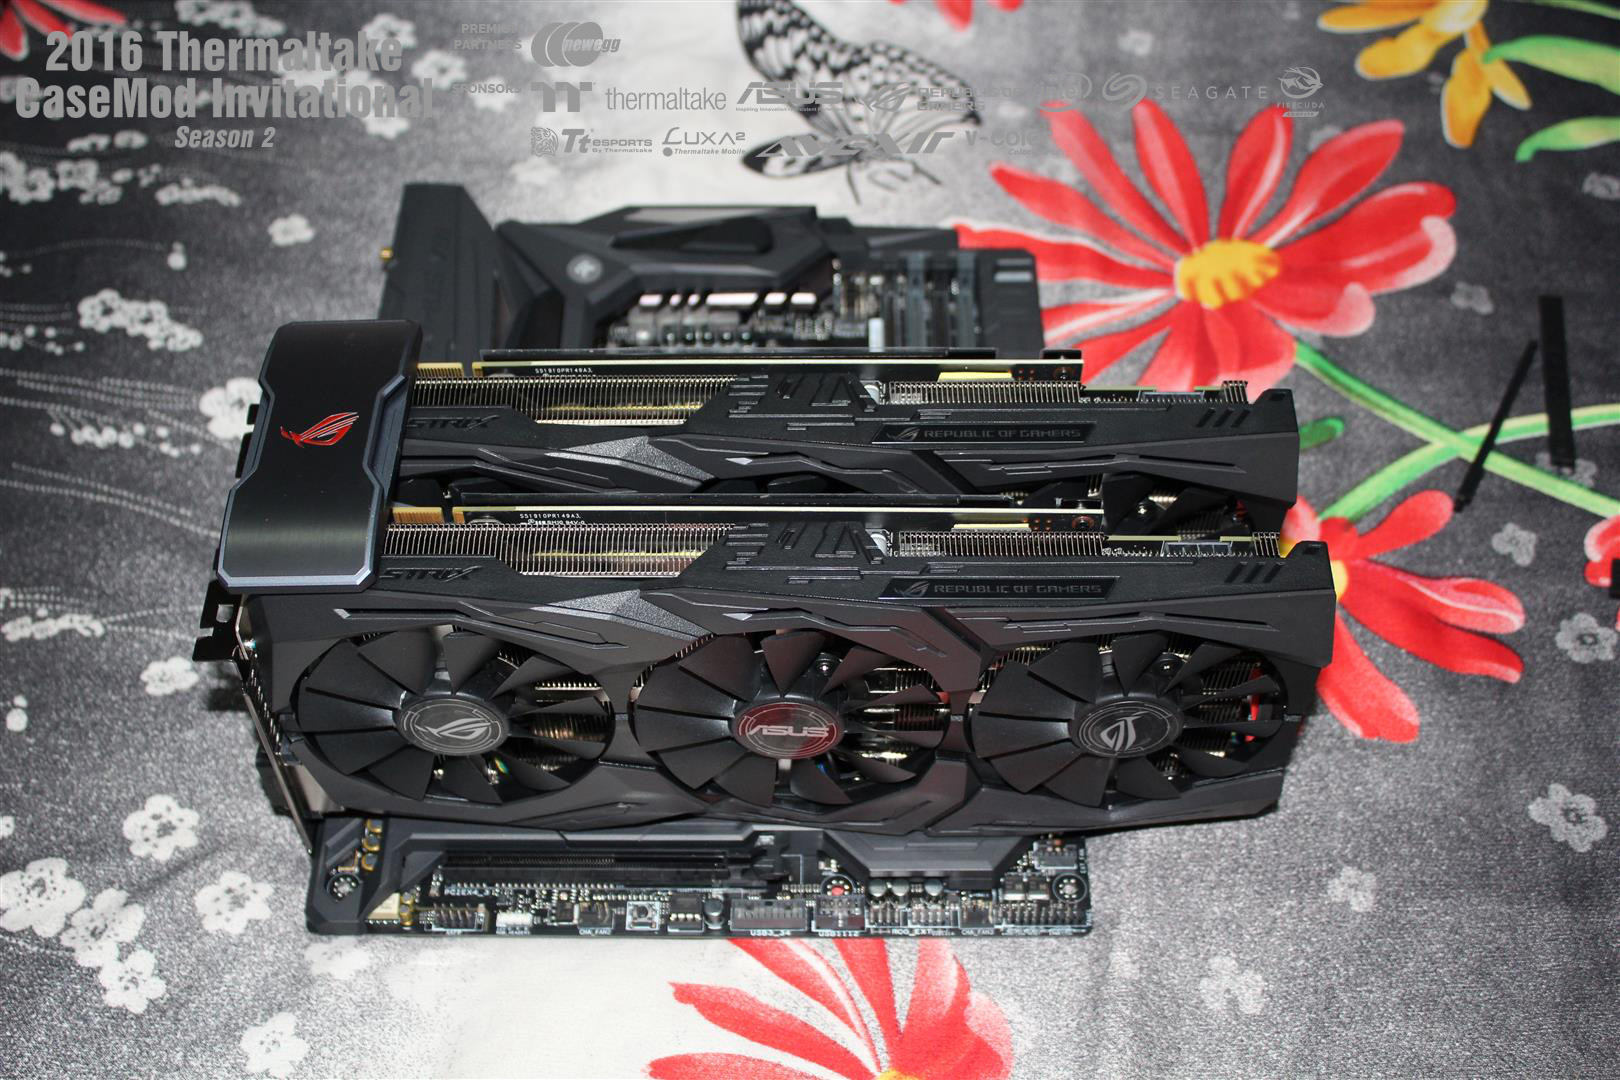
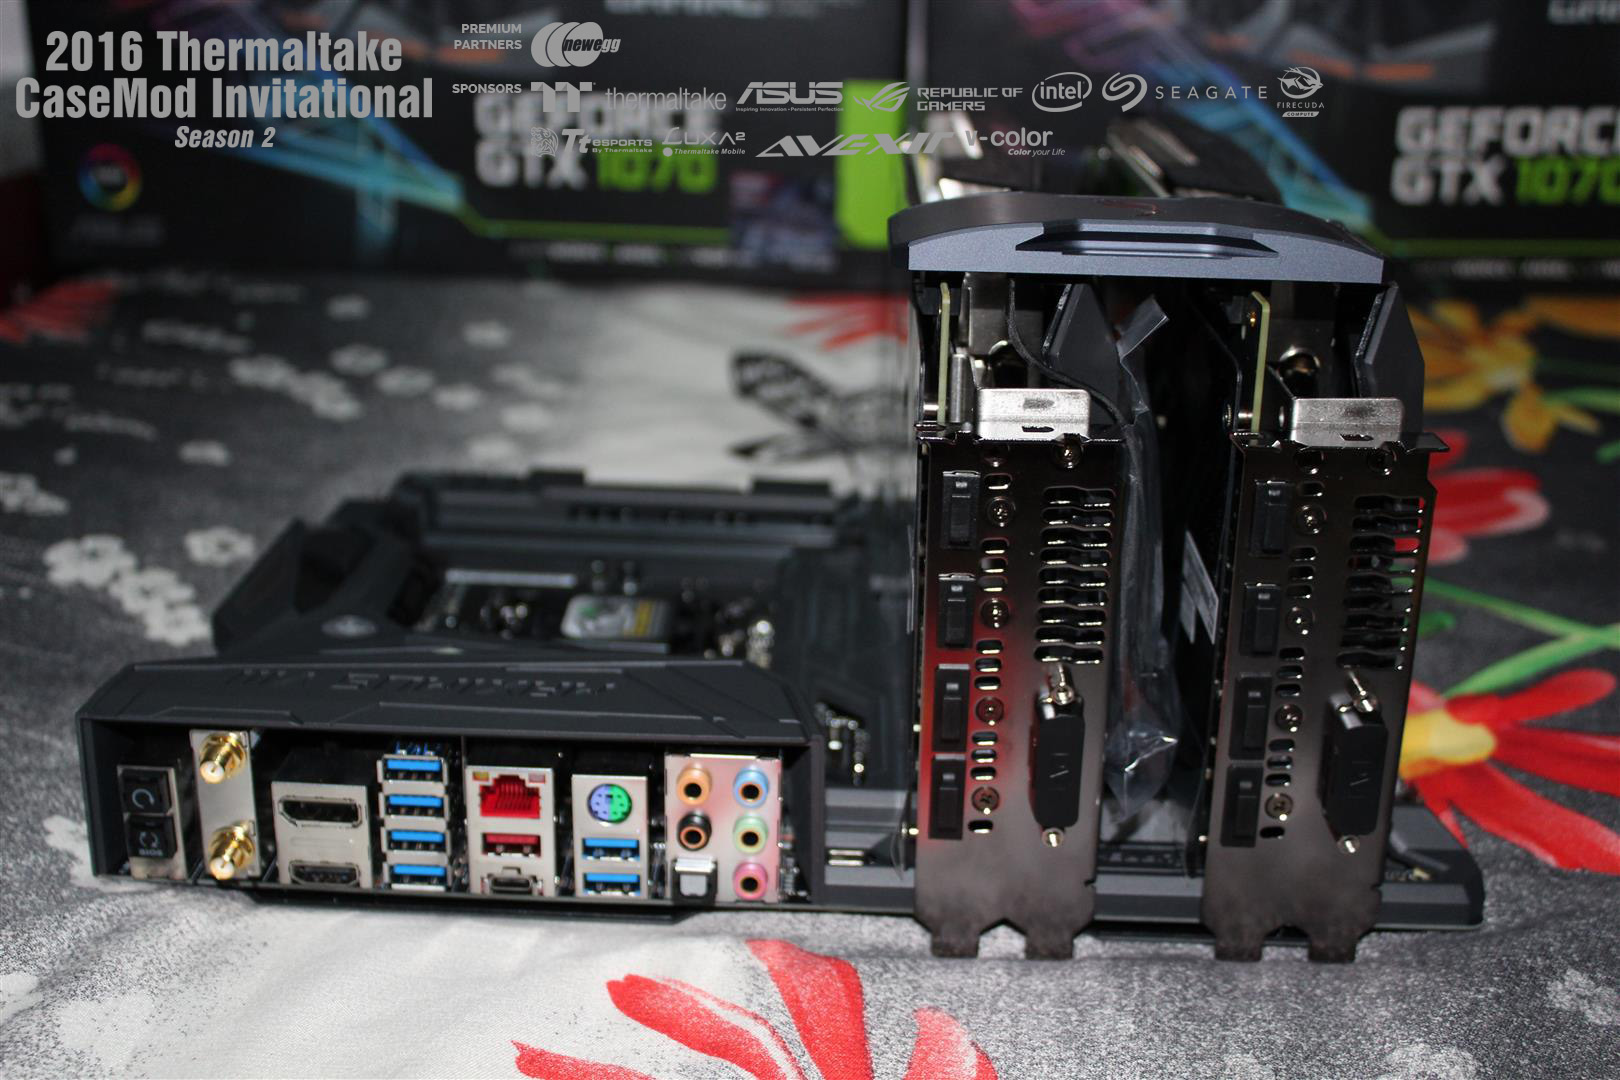
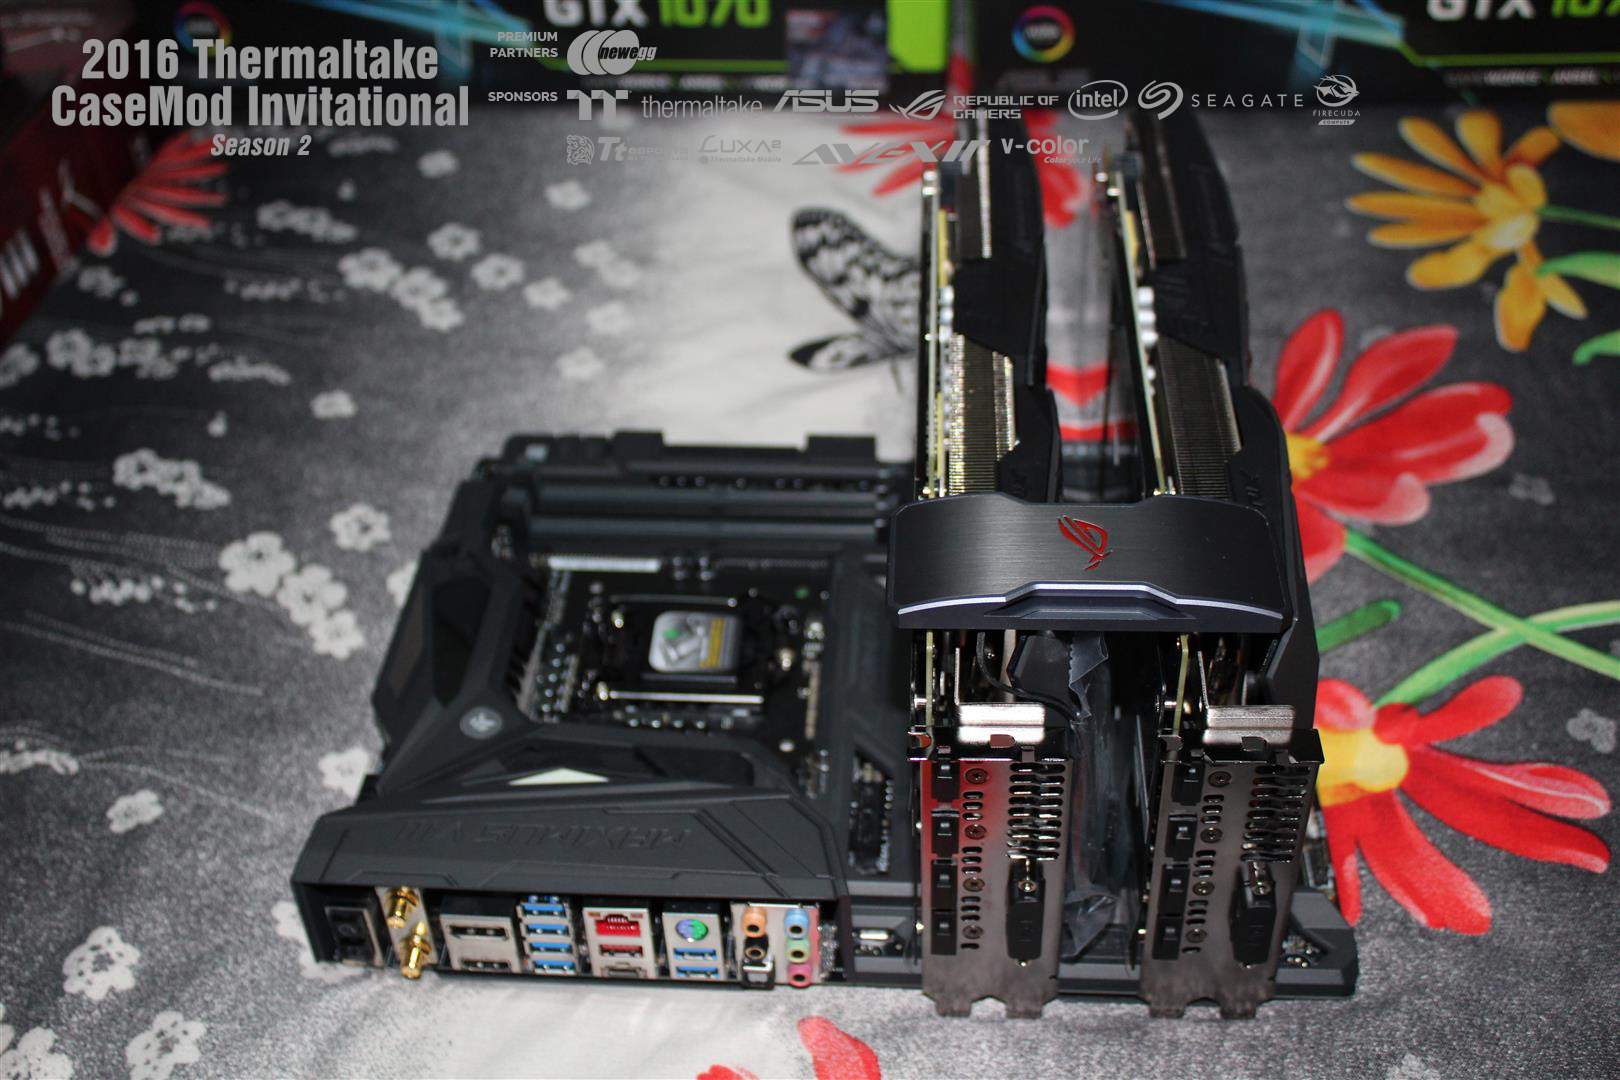
ASUS ROG MAXIMUS VIII FORMULA
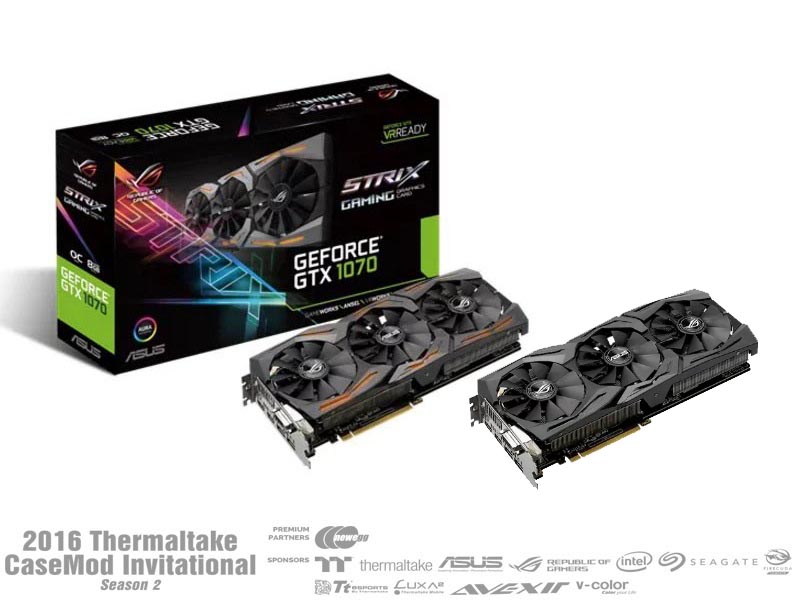
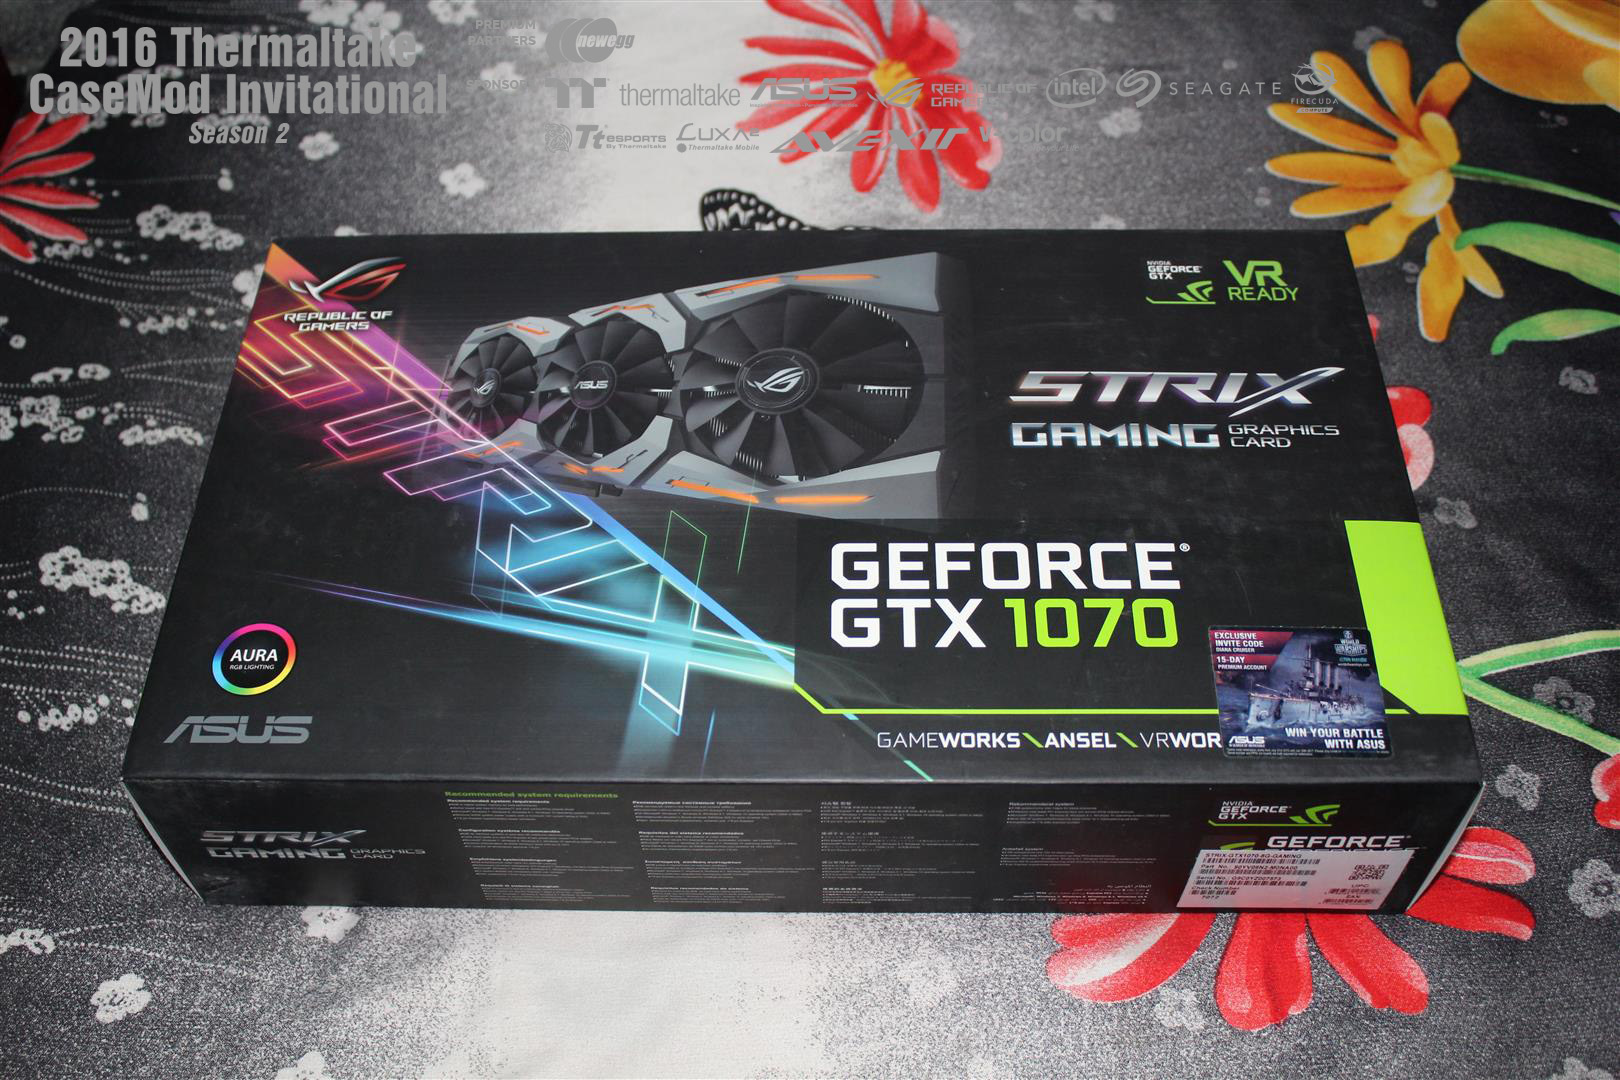
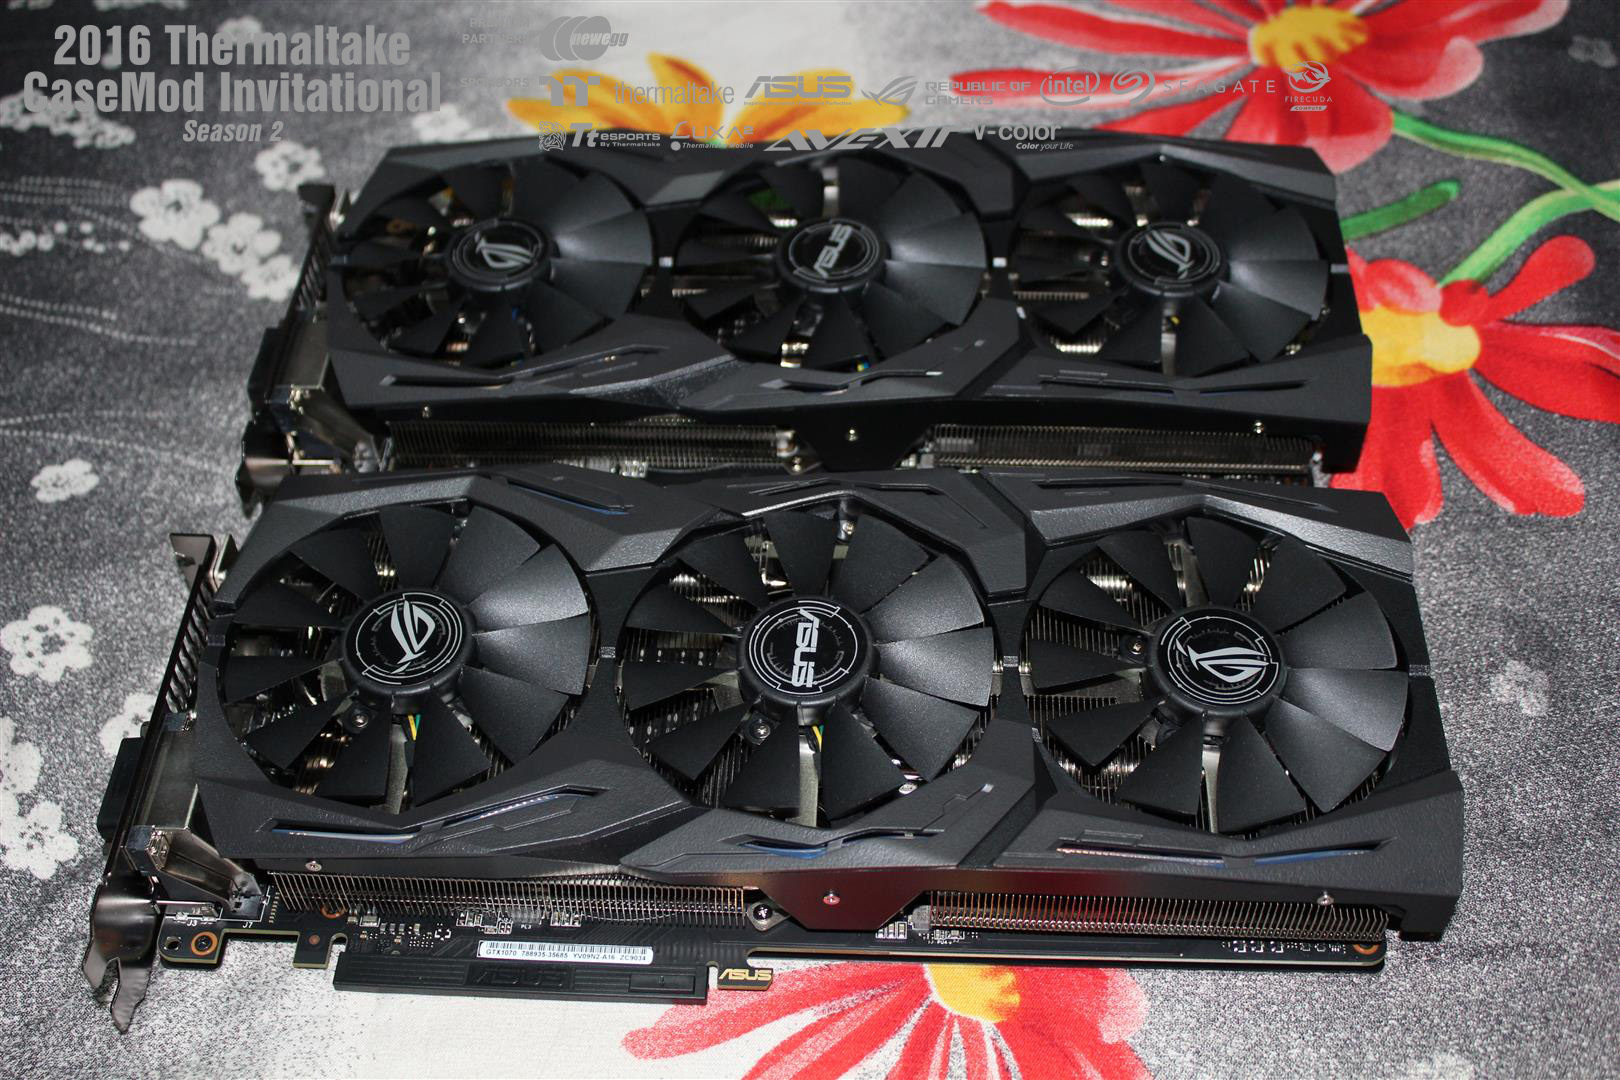
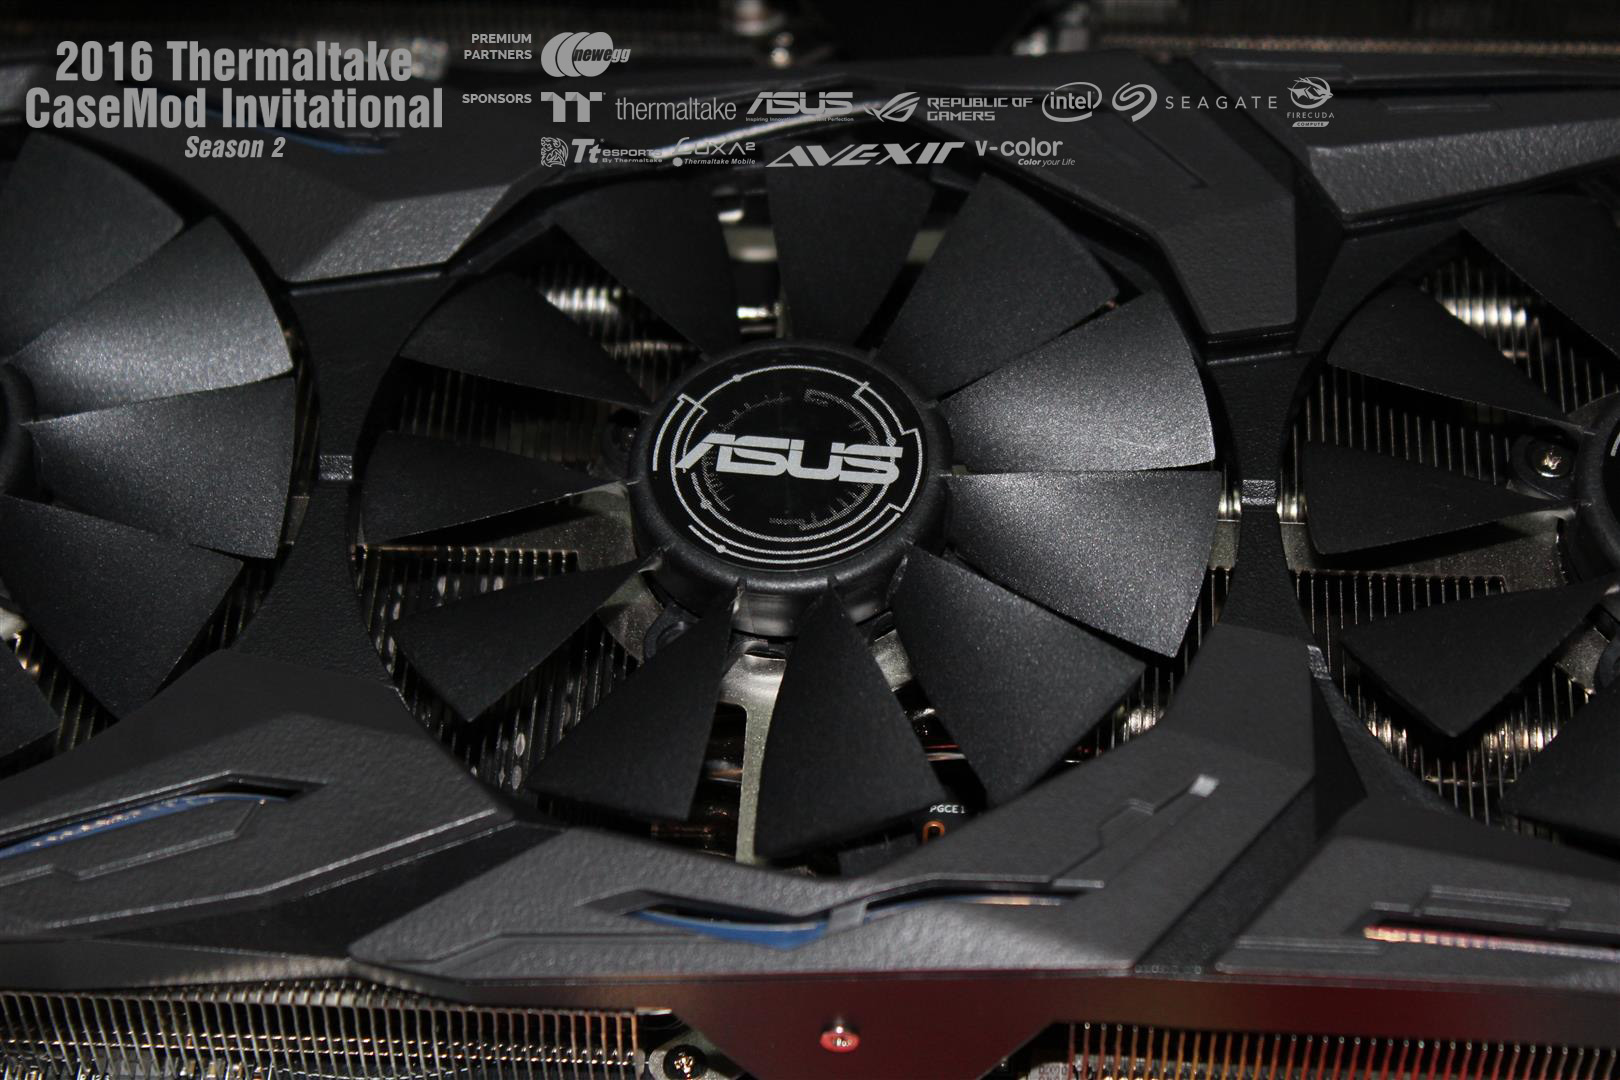
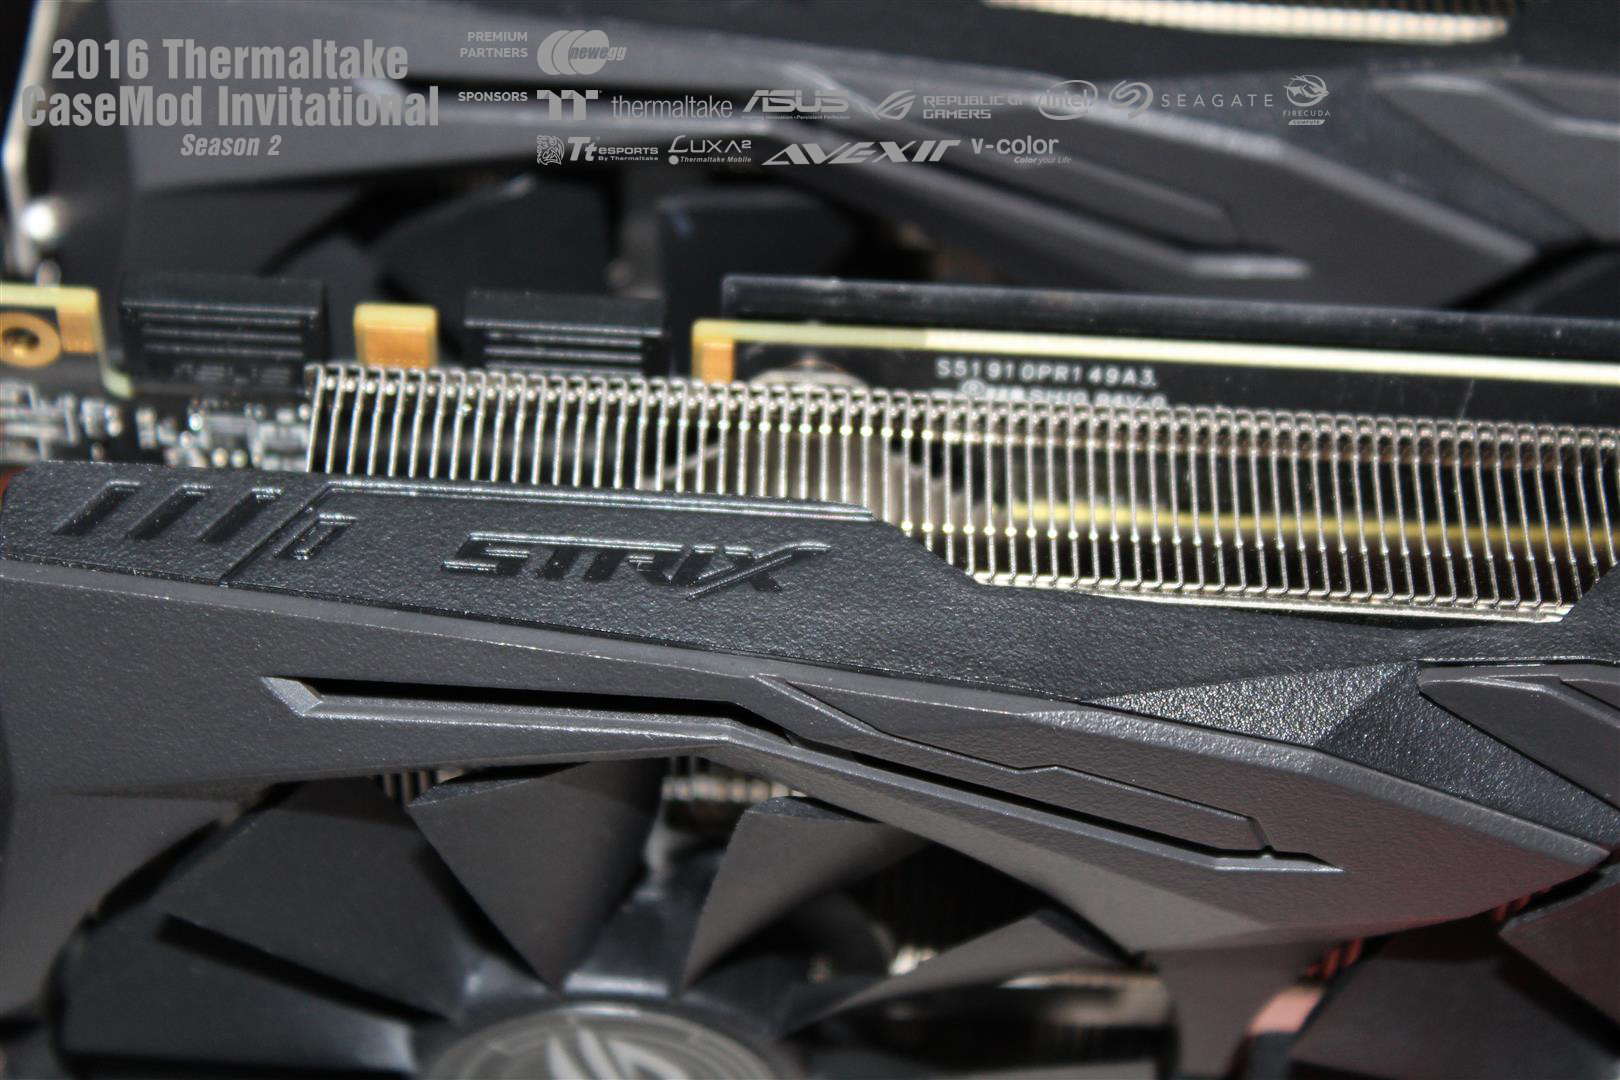
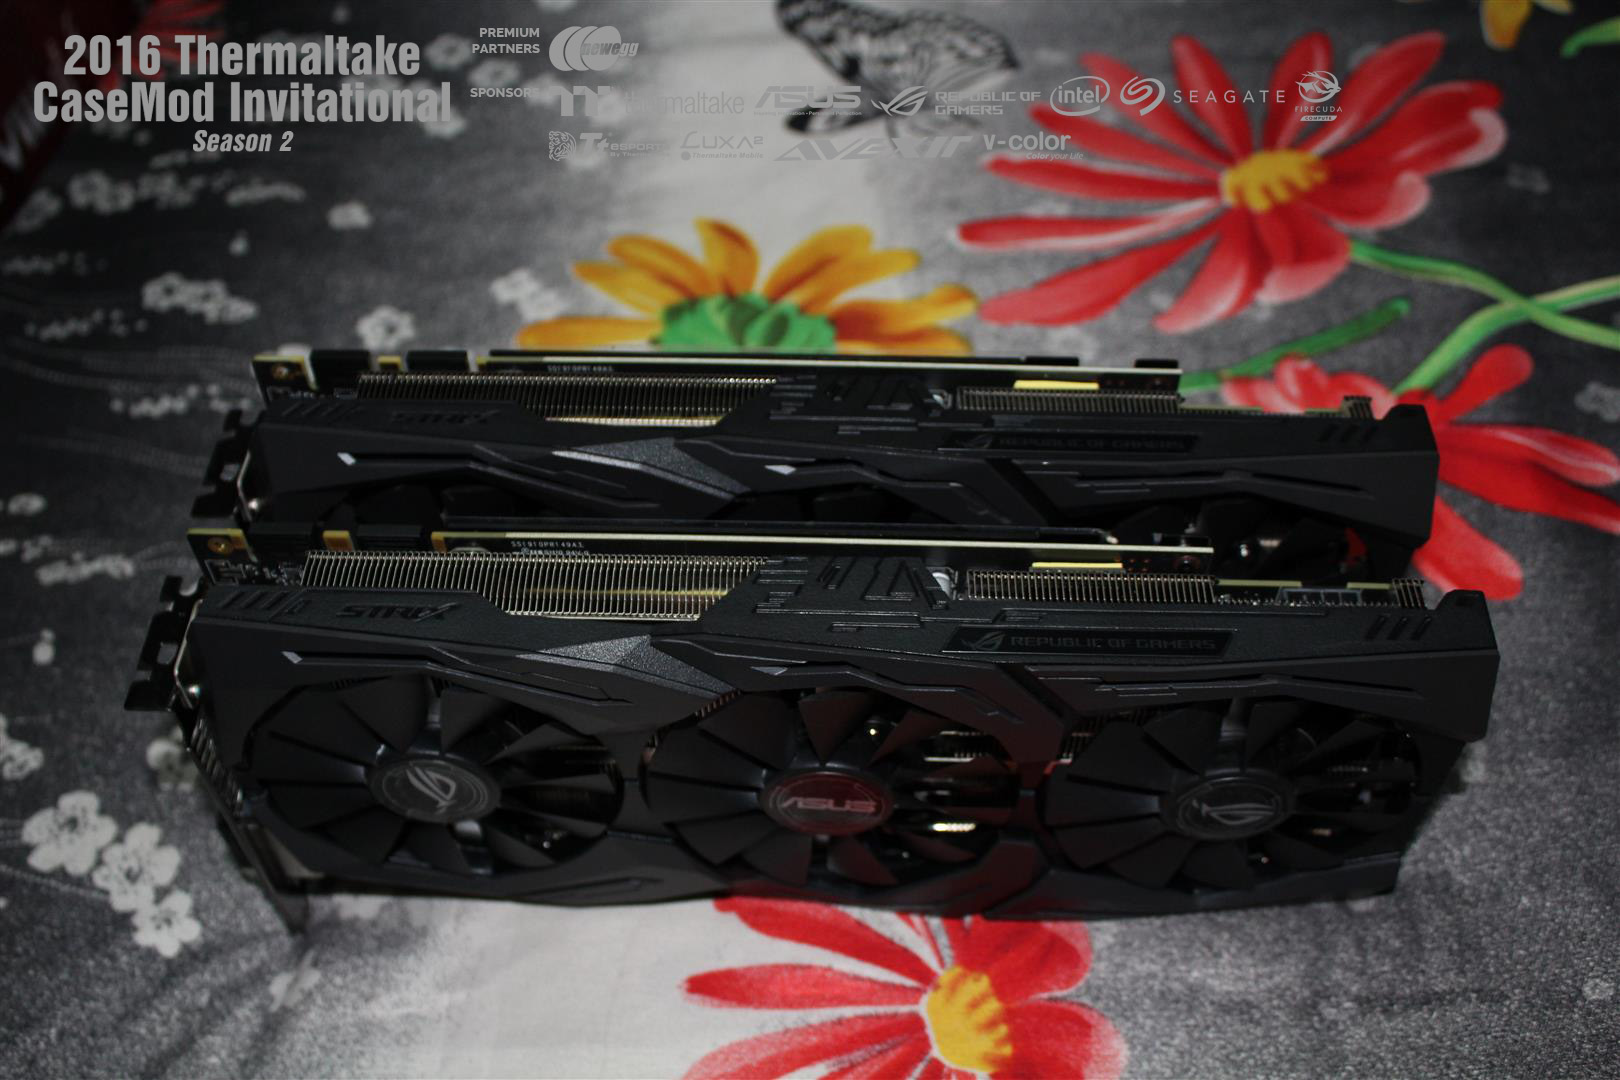
GRAPHICS
ASUS GeForce GTX 1070 STRIX
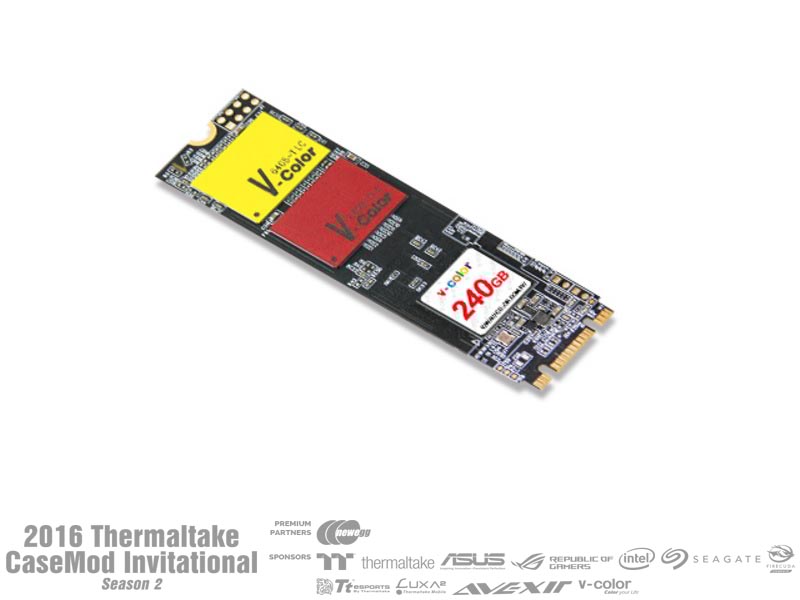
SSD
V-color VLM 100 M.2 SSD
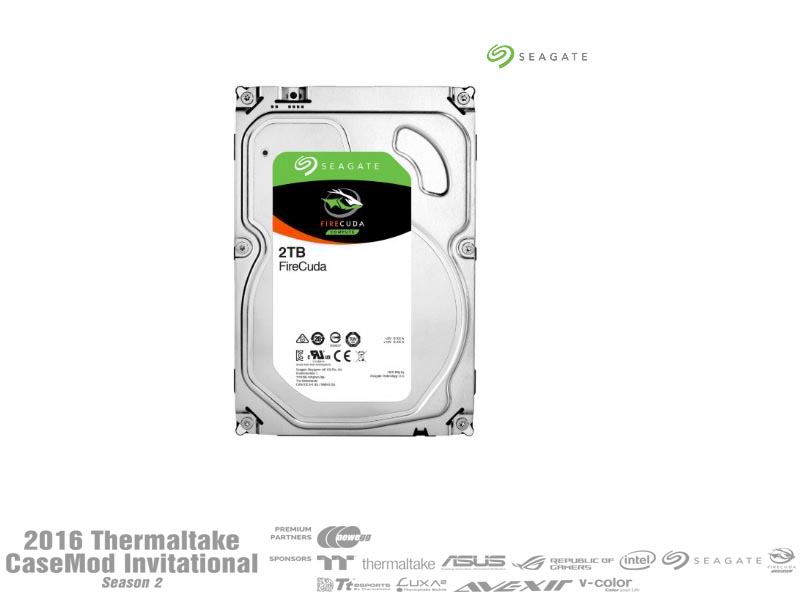
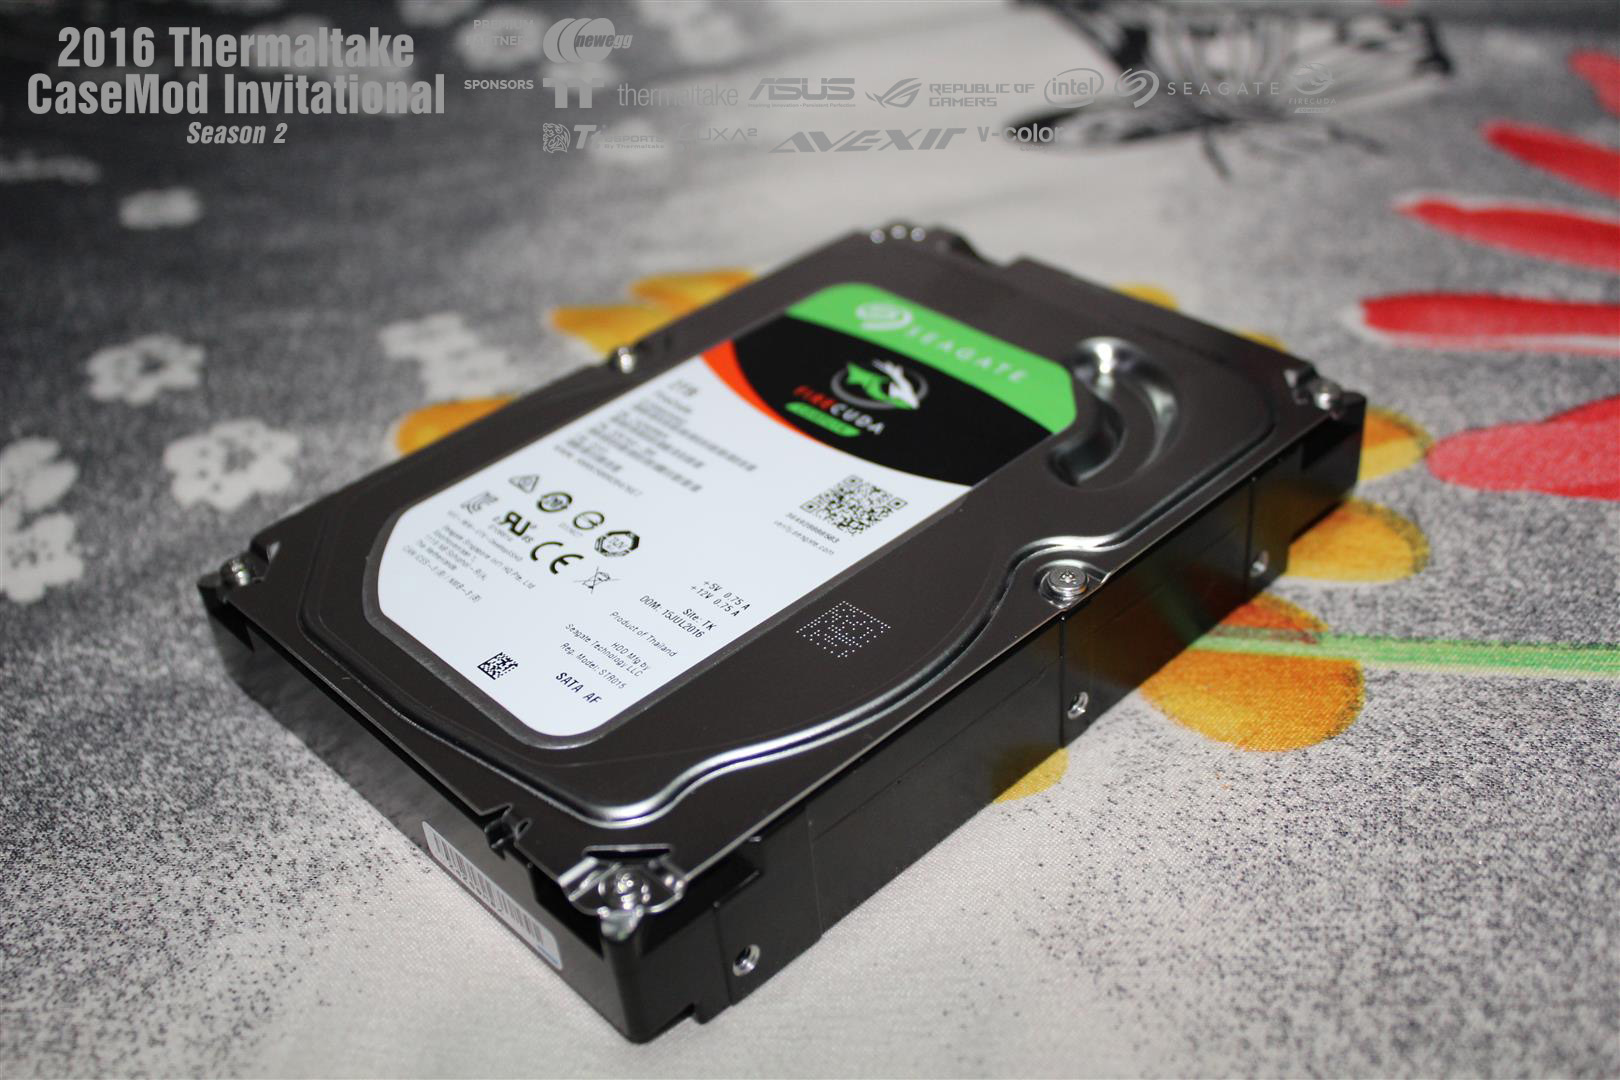
HDD
Seagate FireCuda 2TB
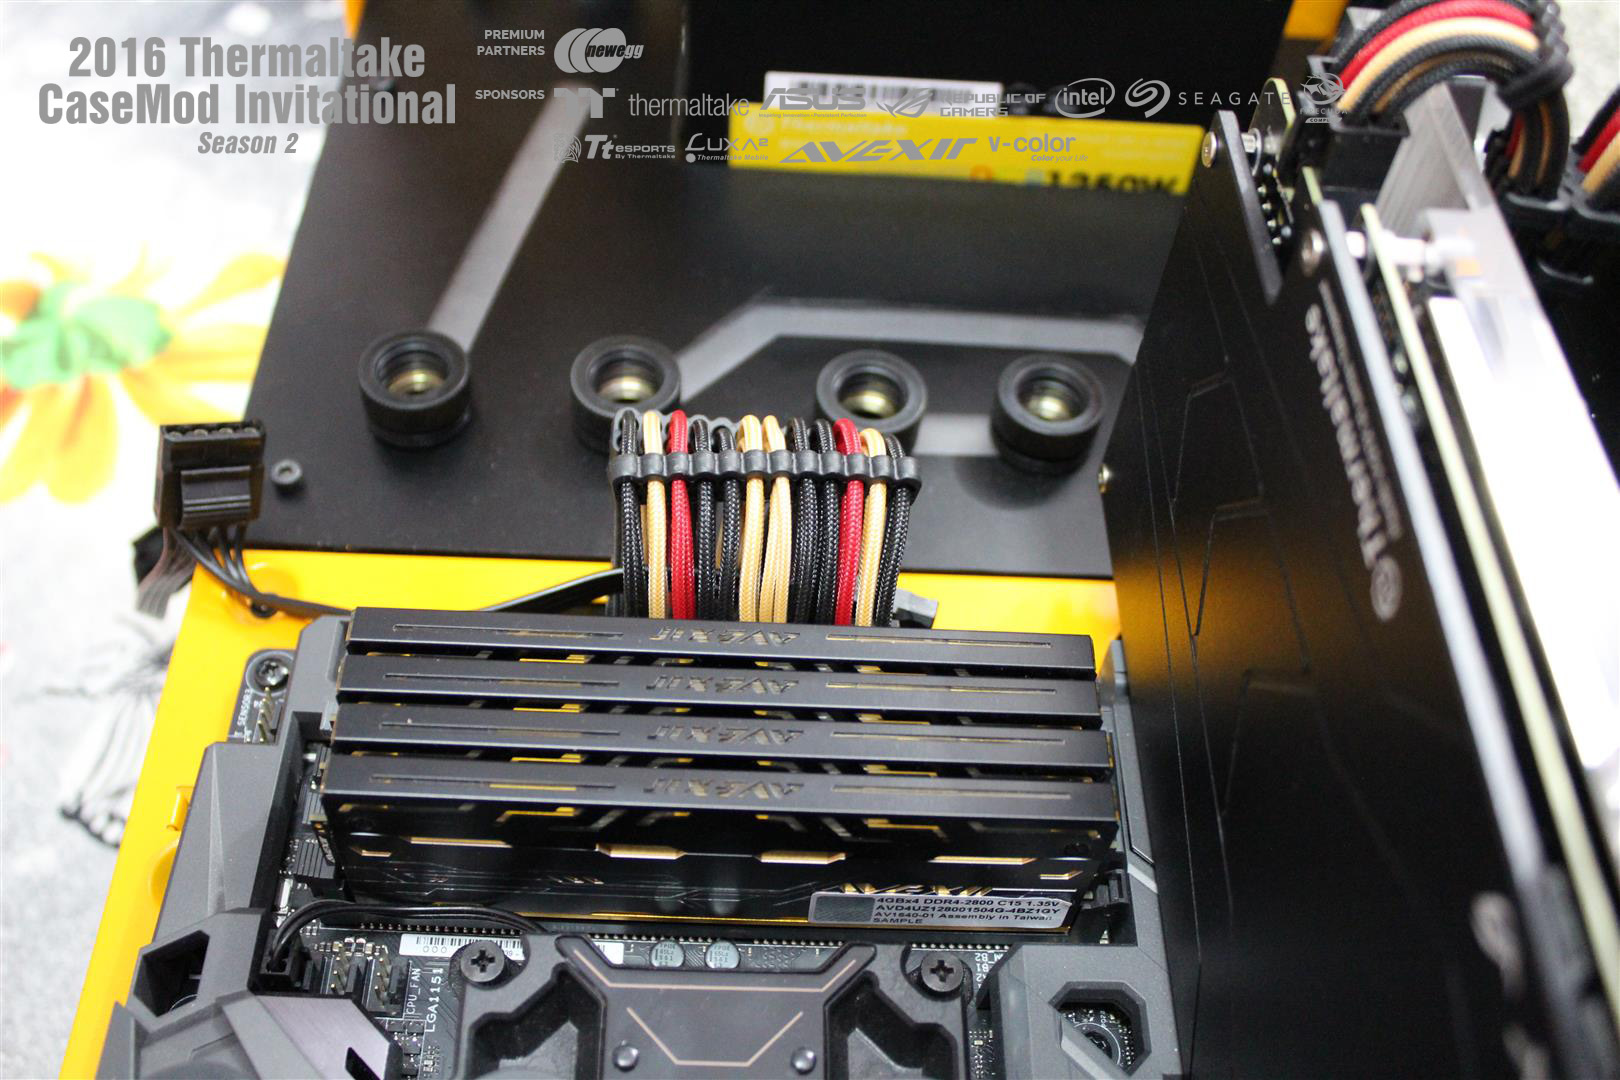
RAM
AVEXIR

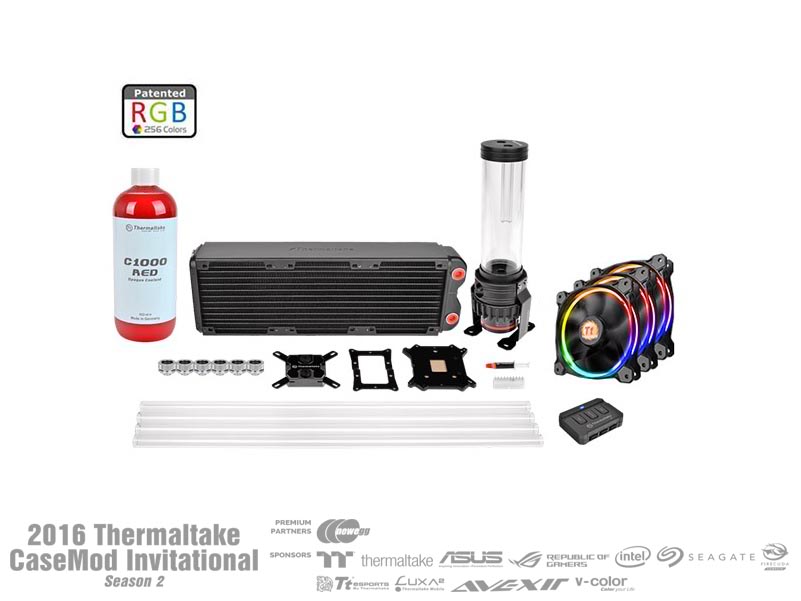
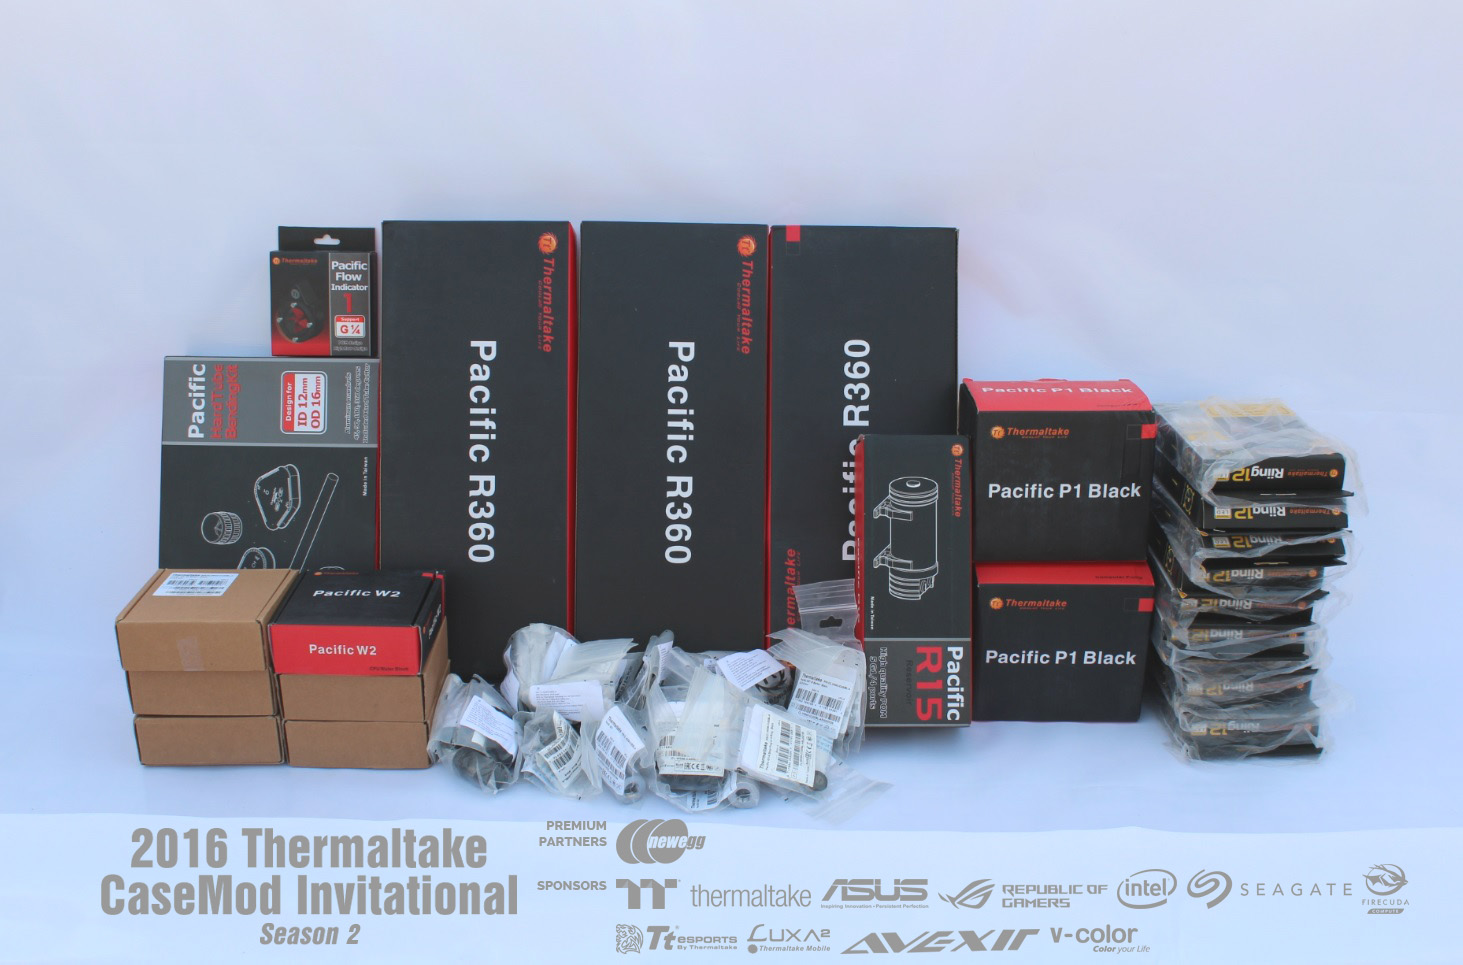
COOLING
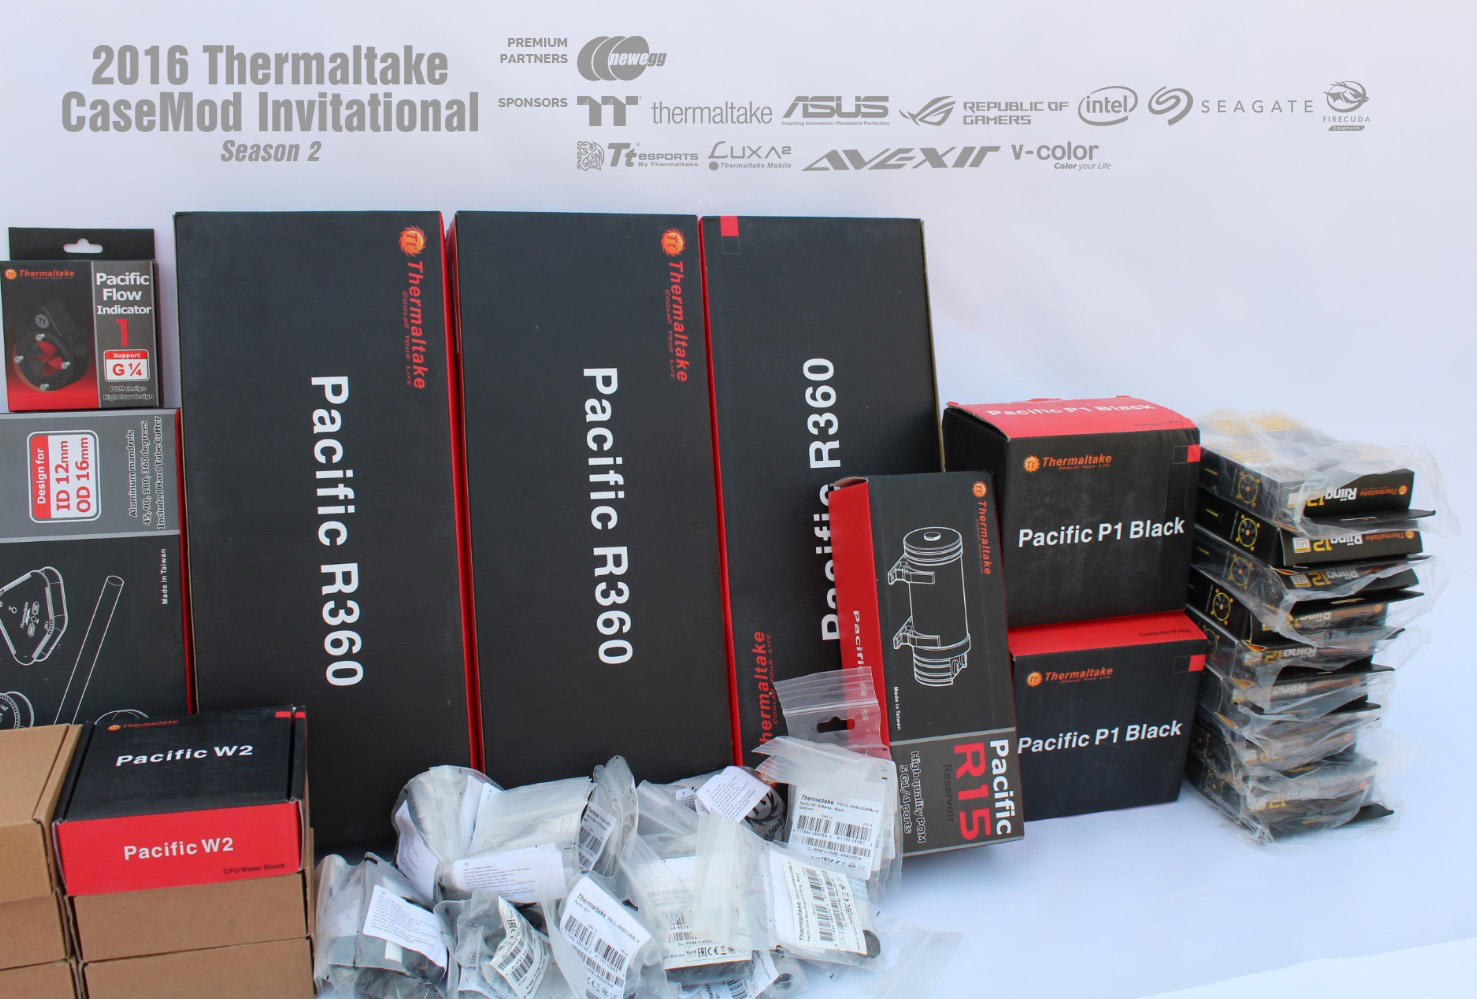
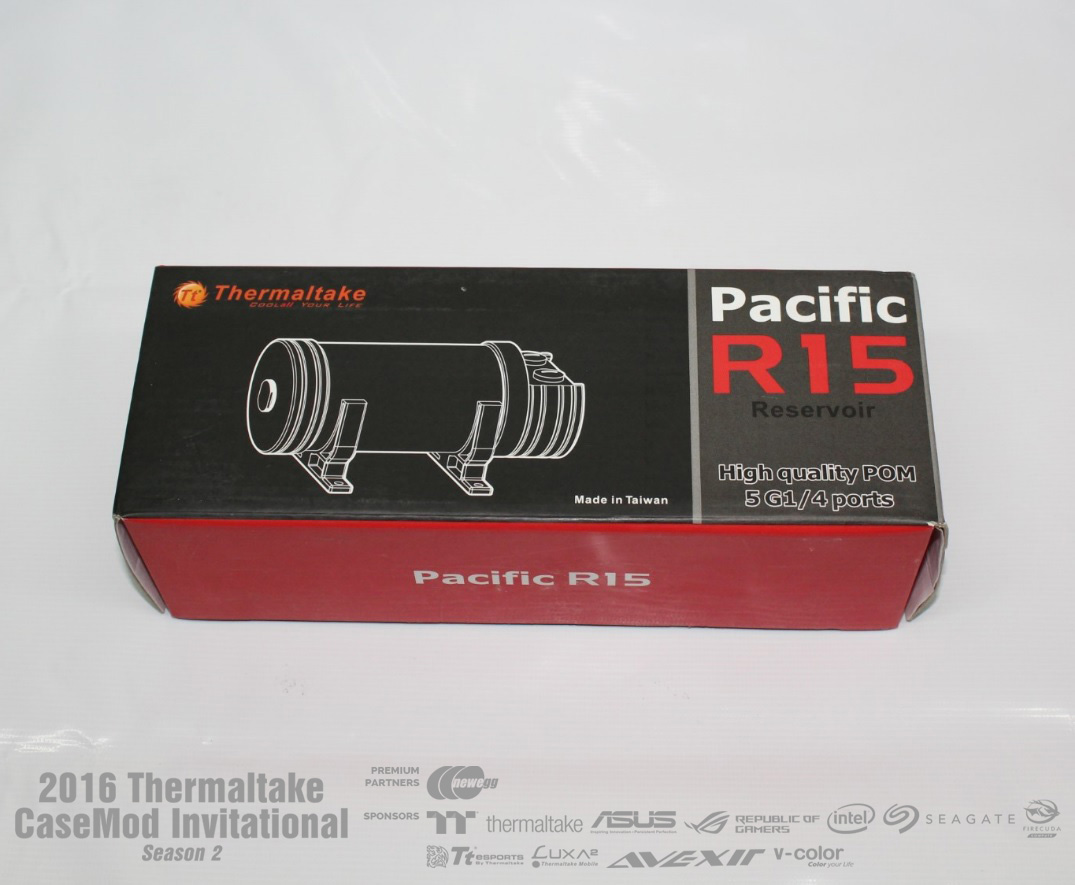
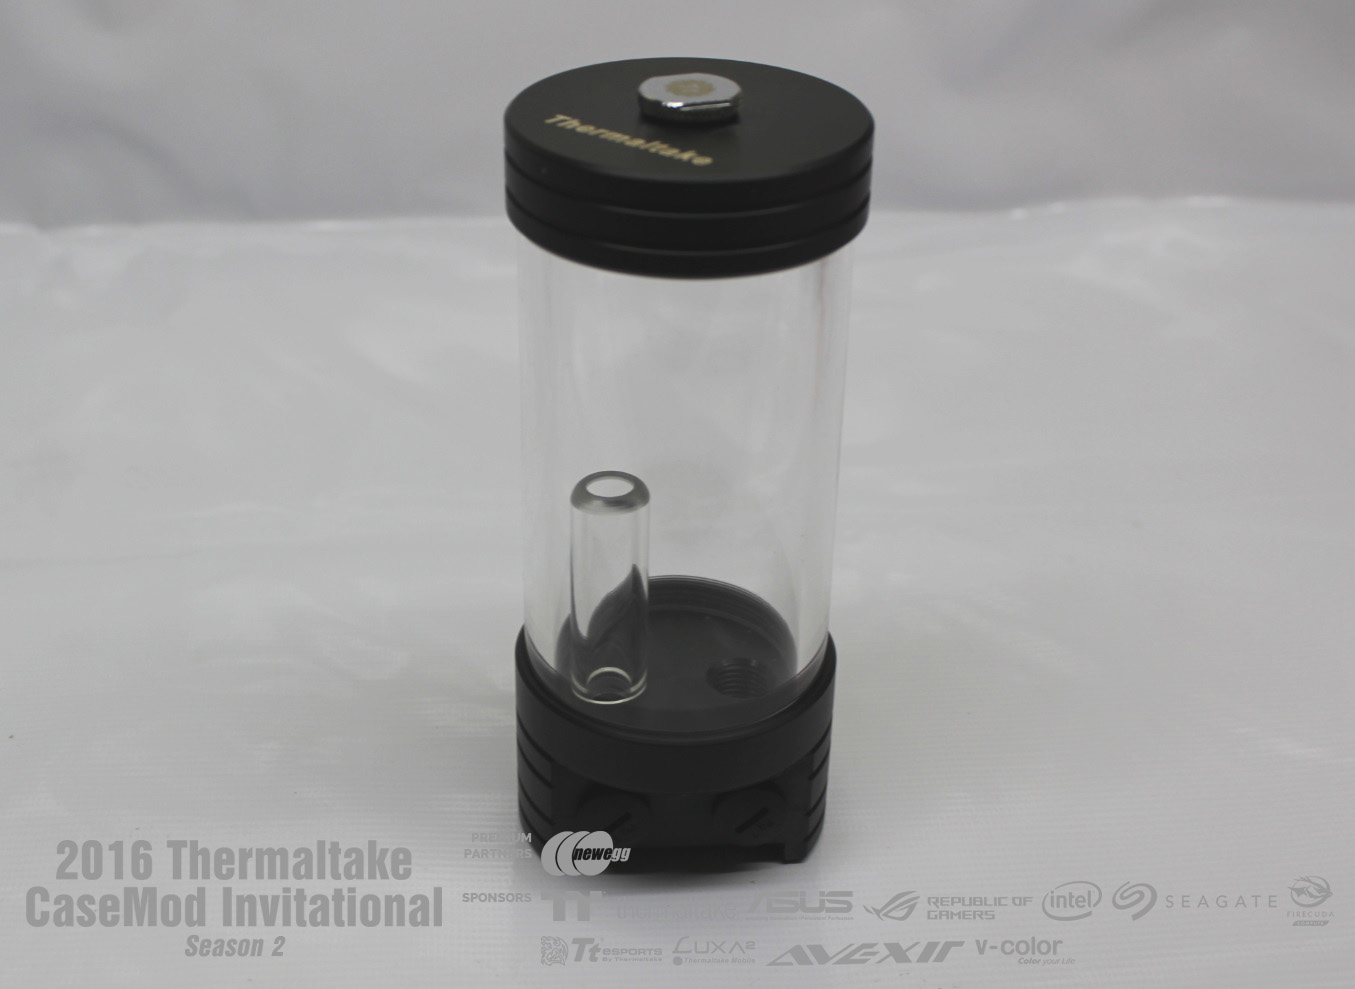
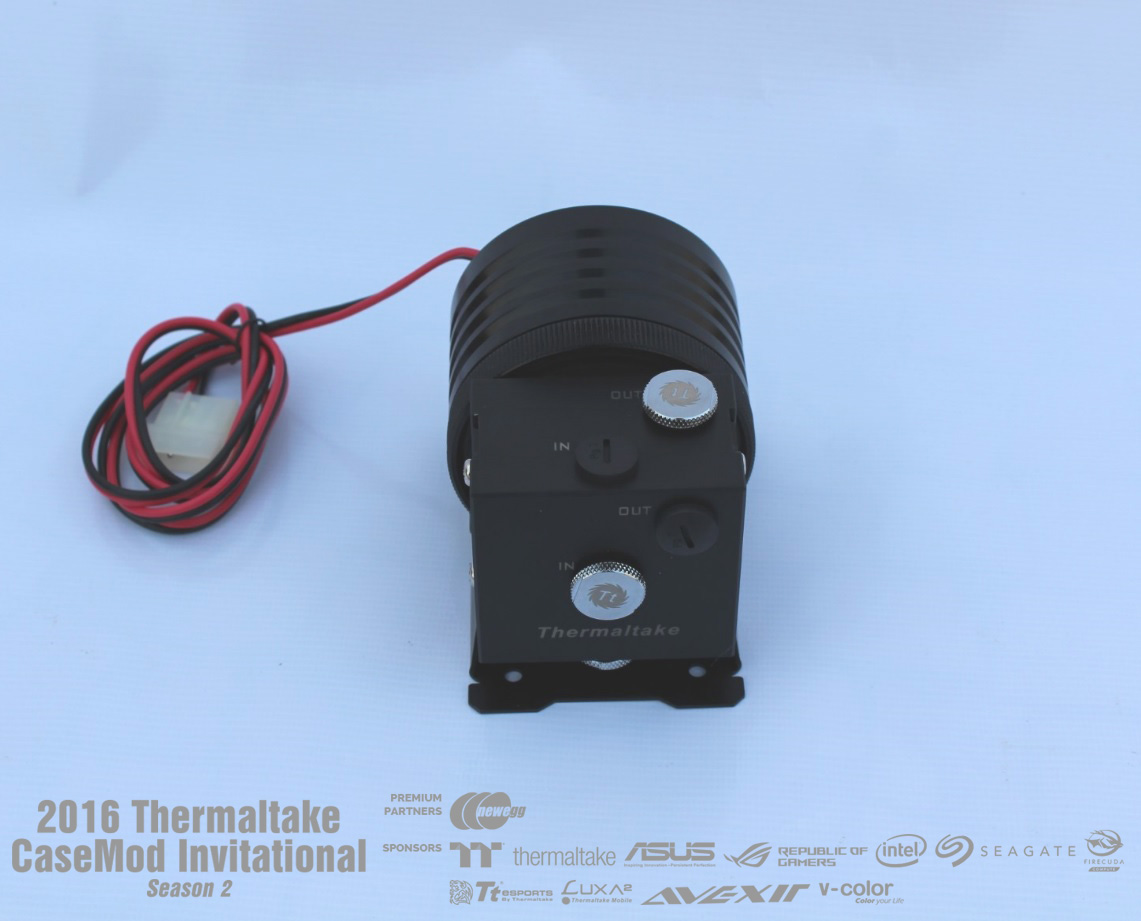
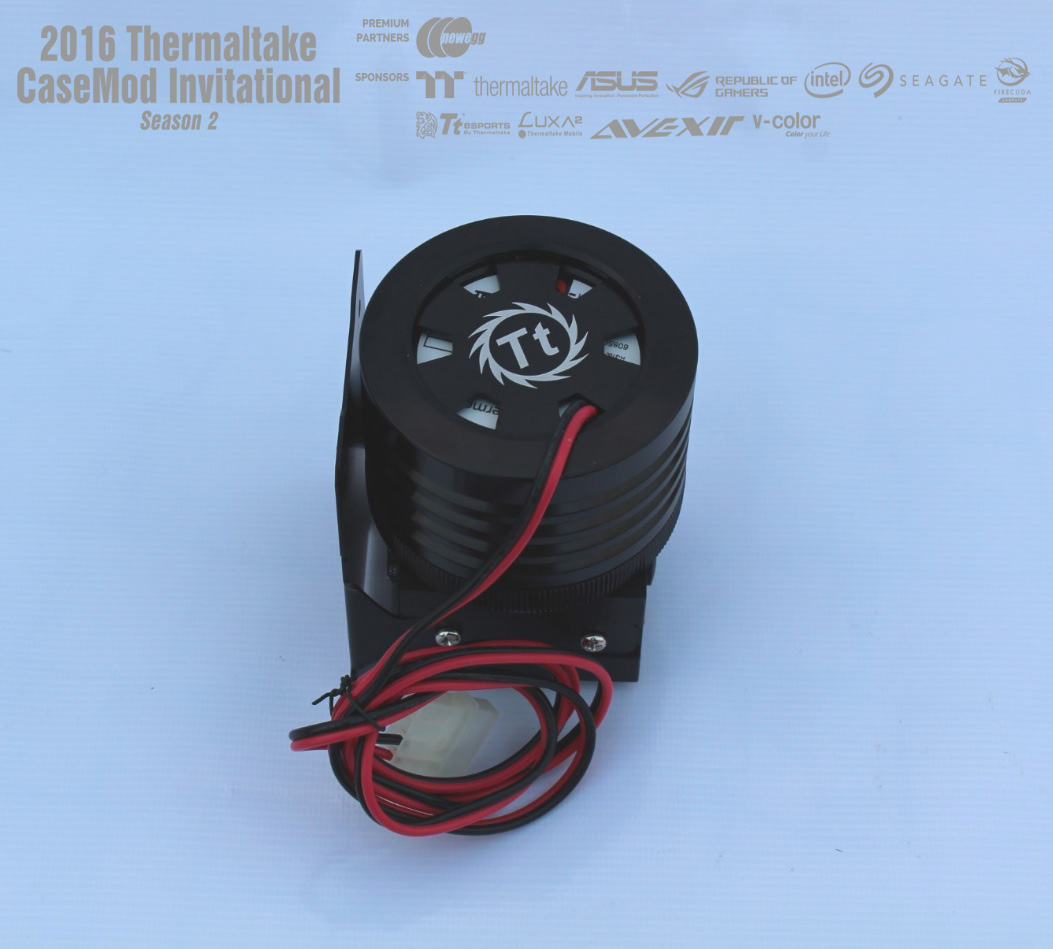
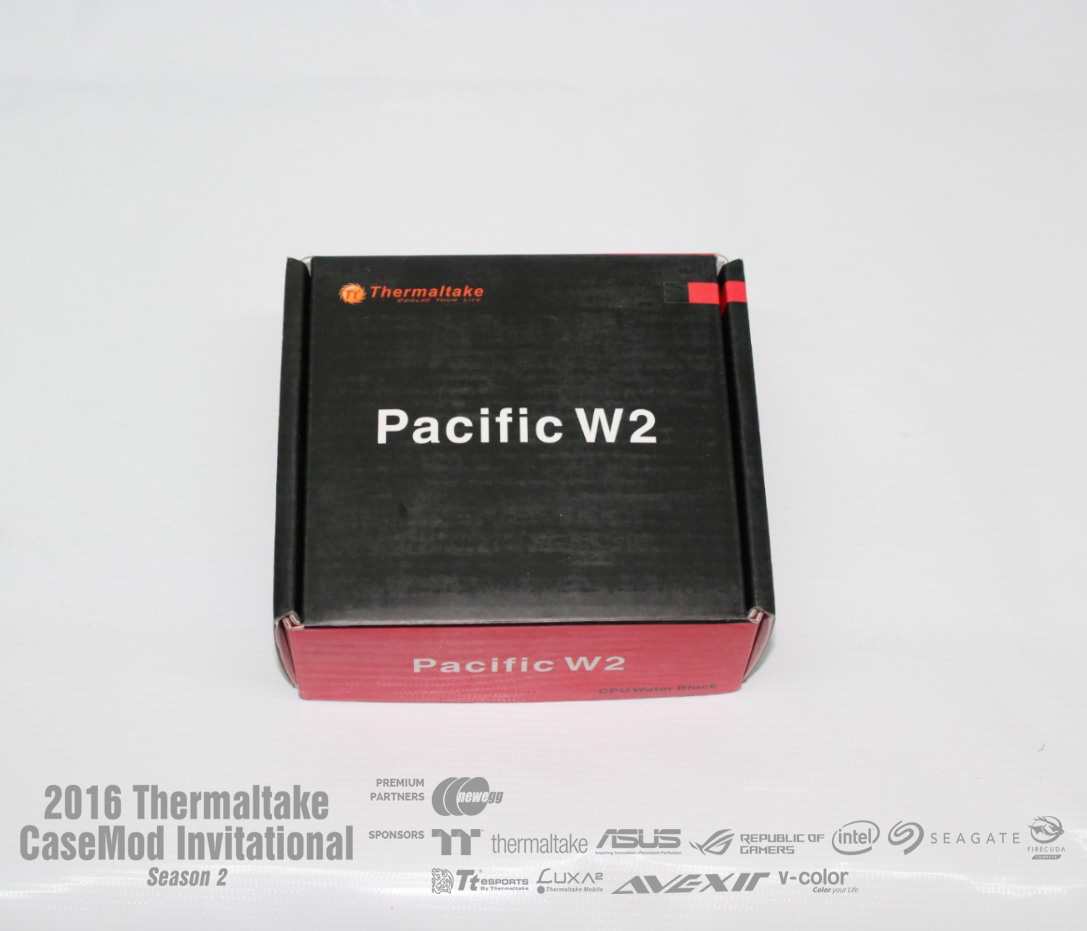
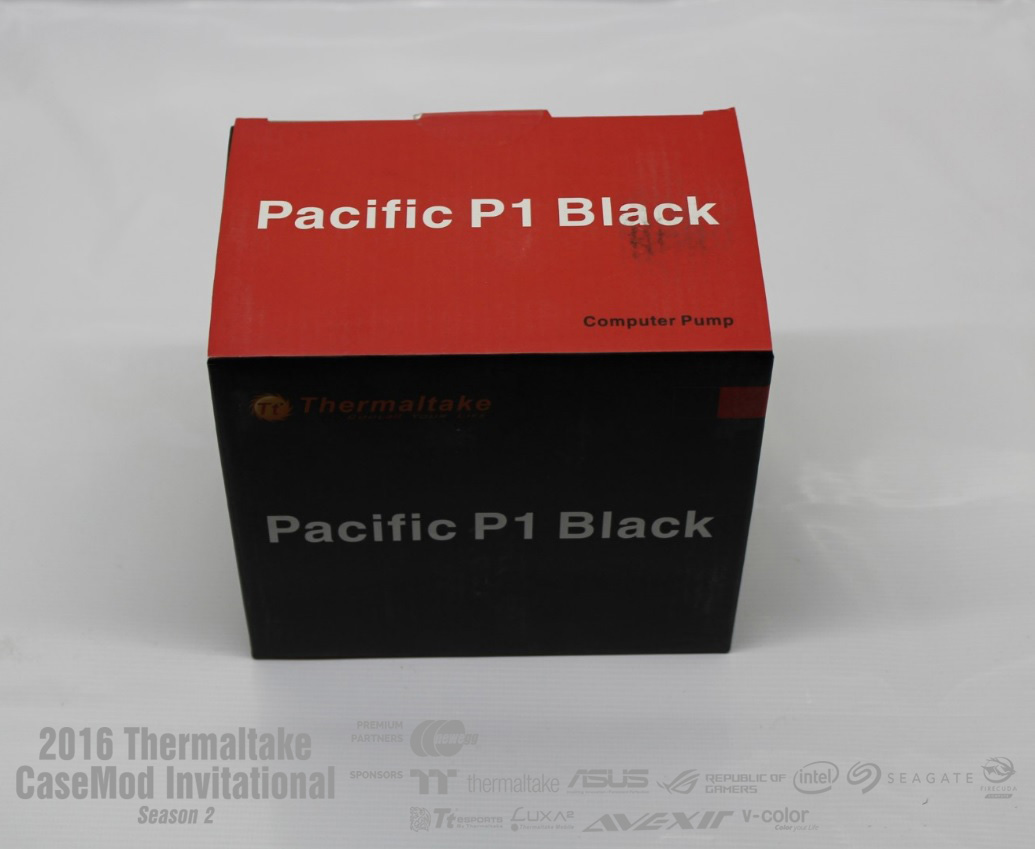
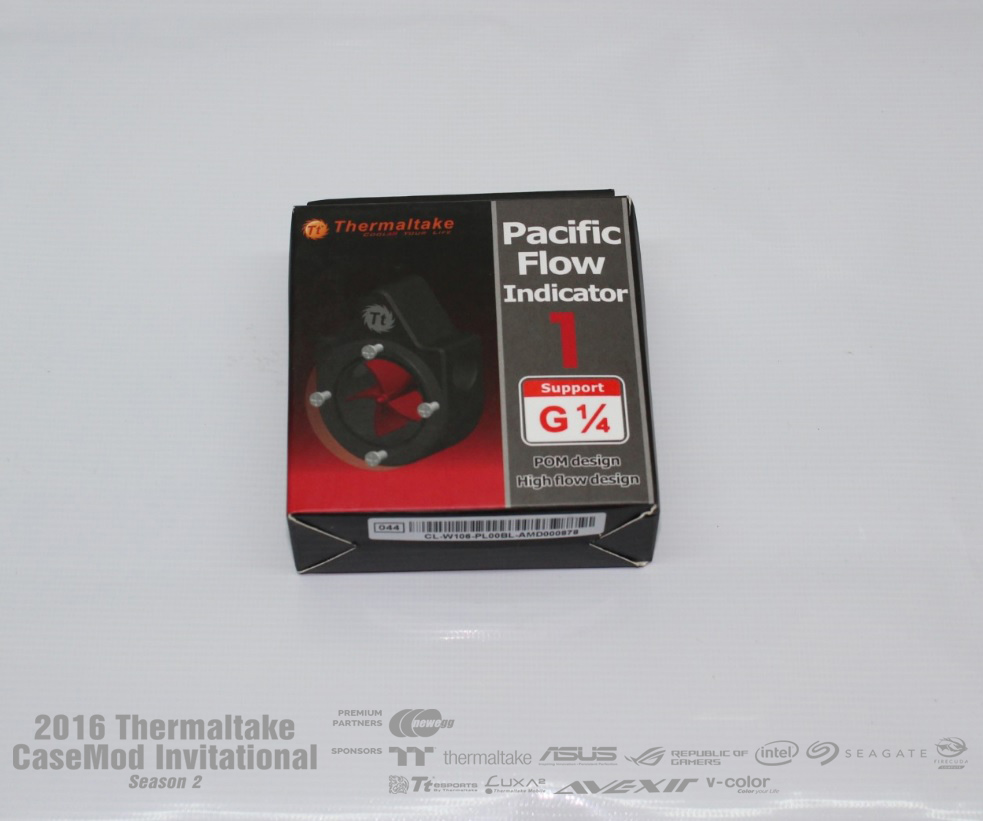
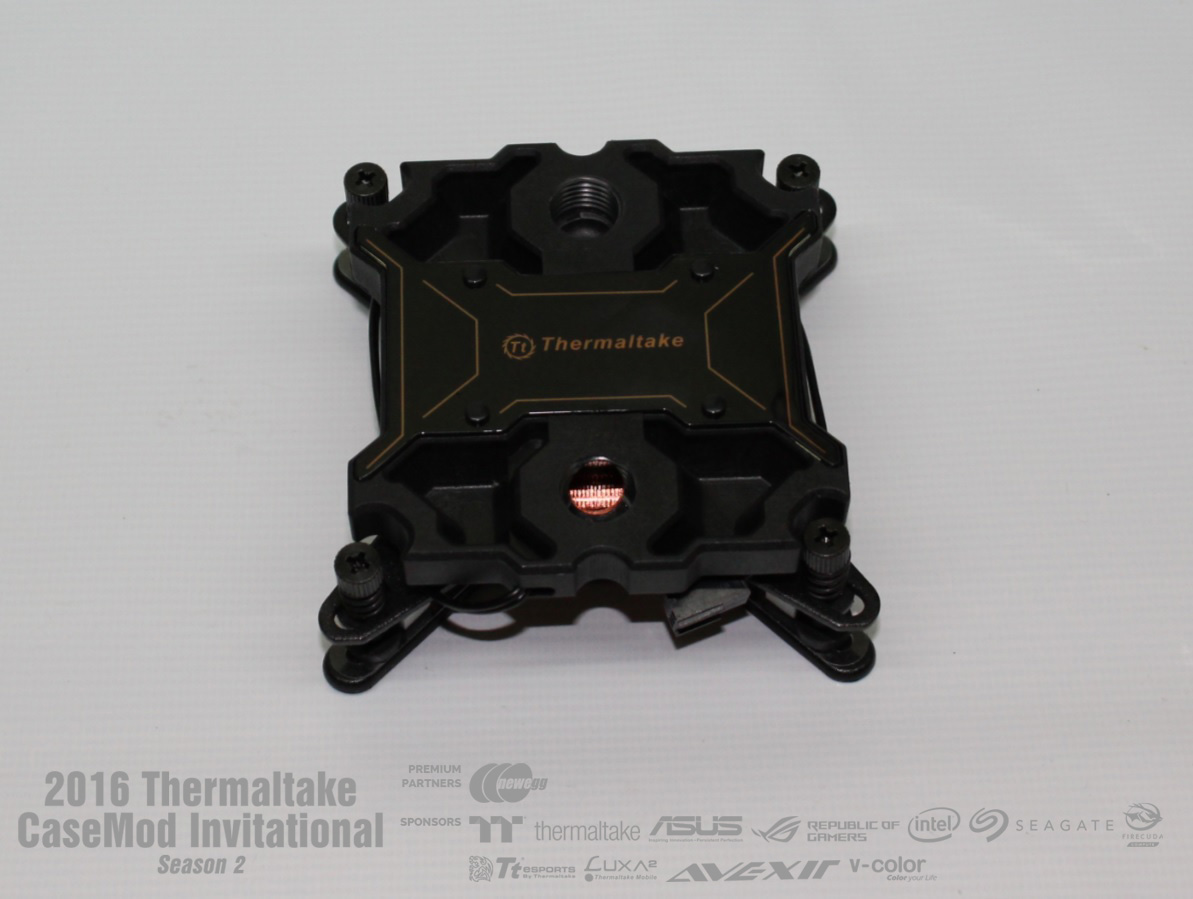
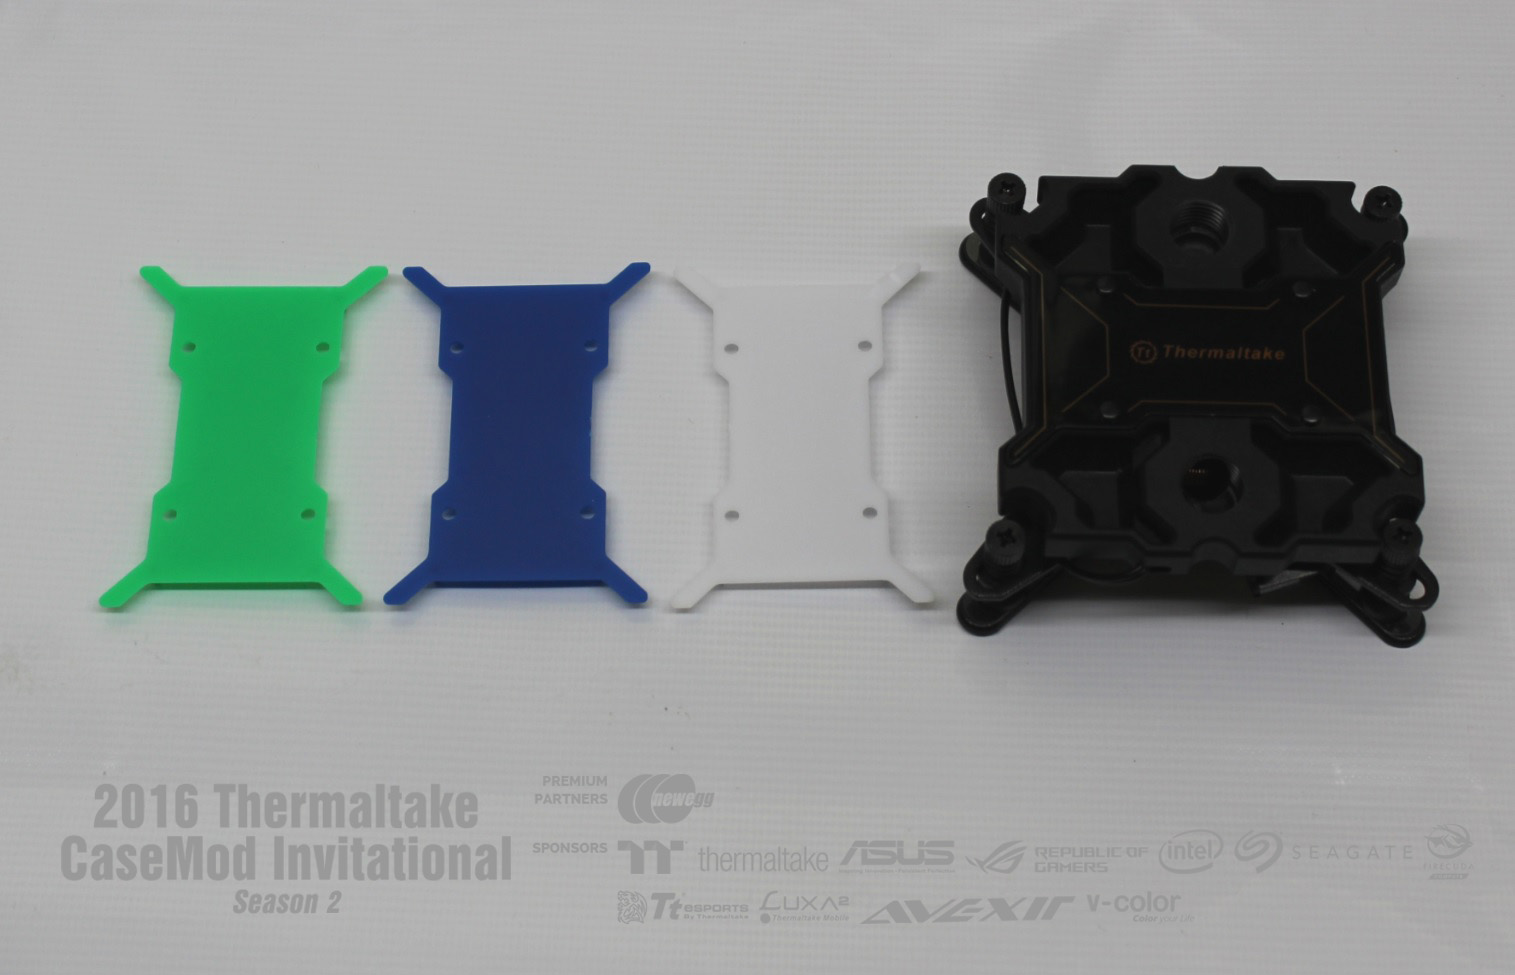
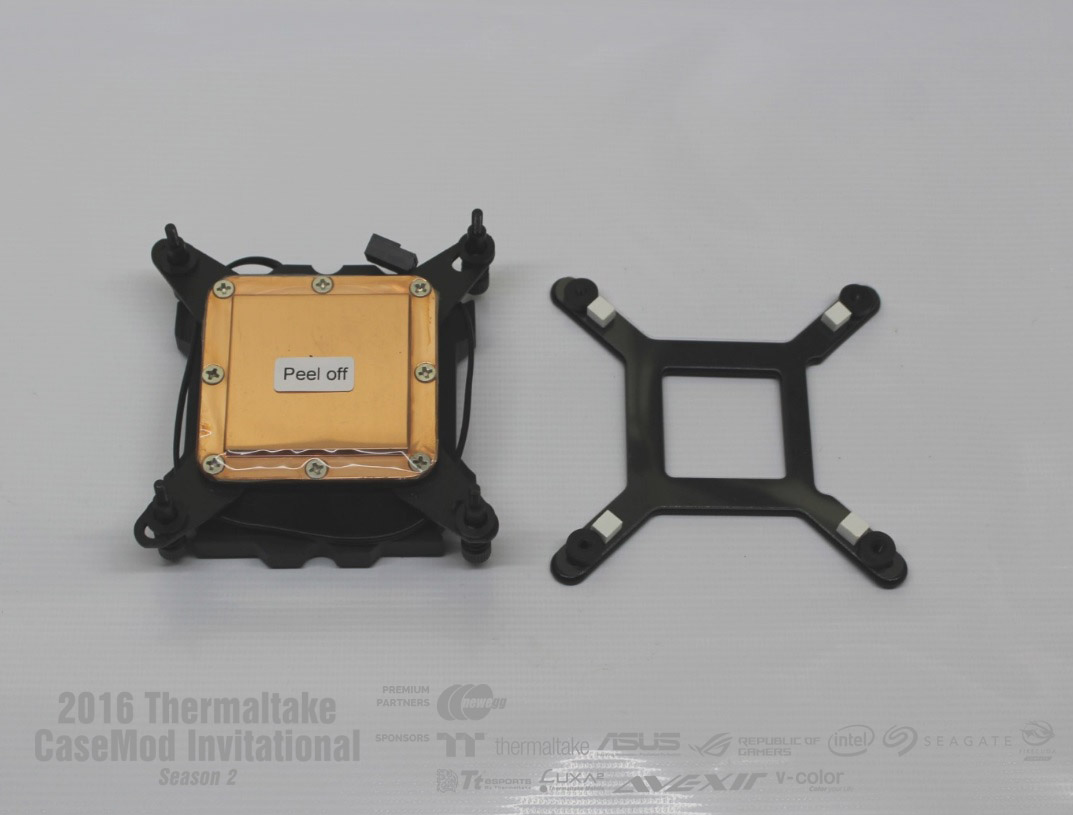
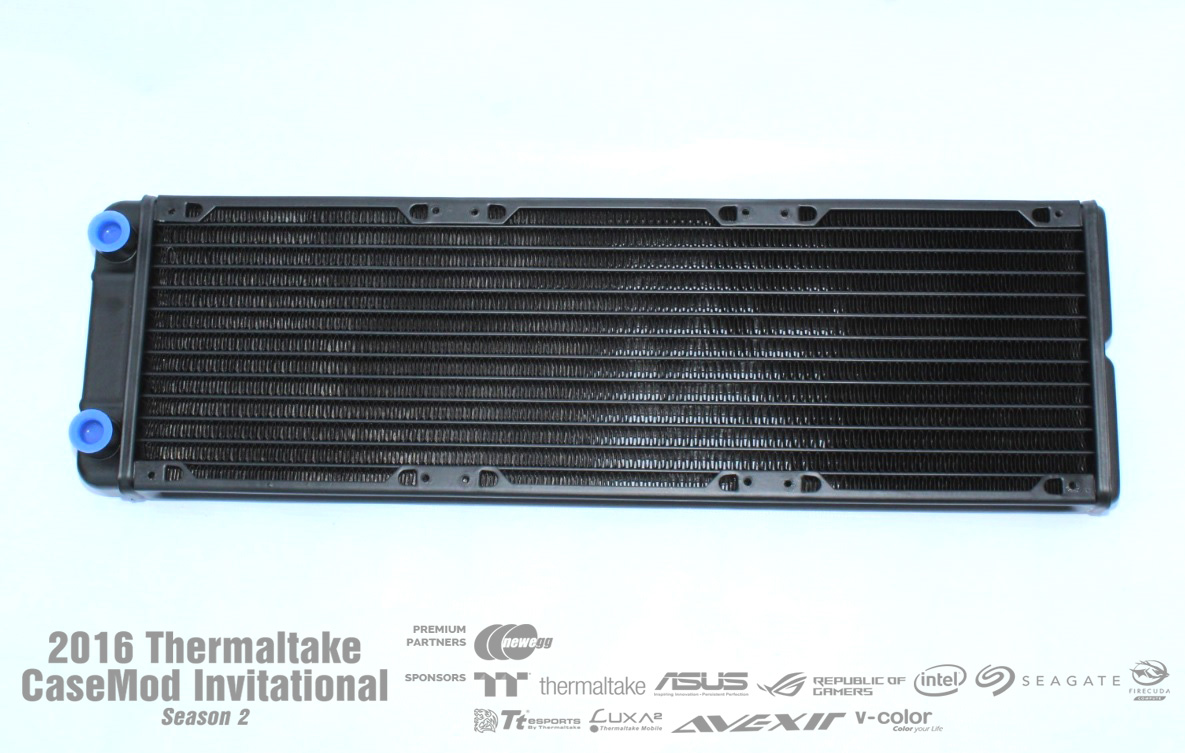
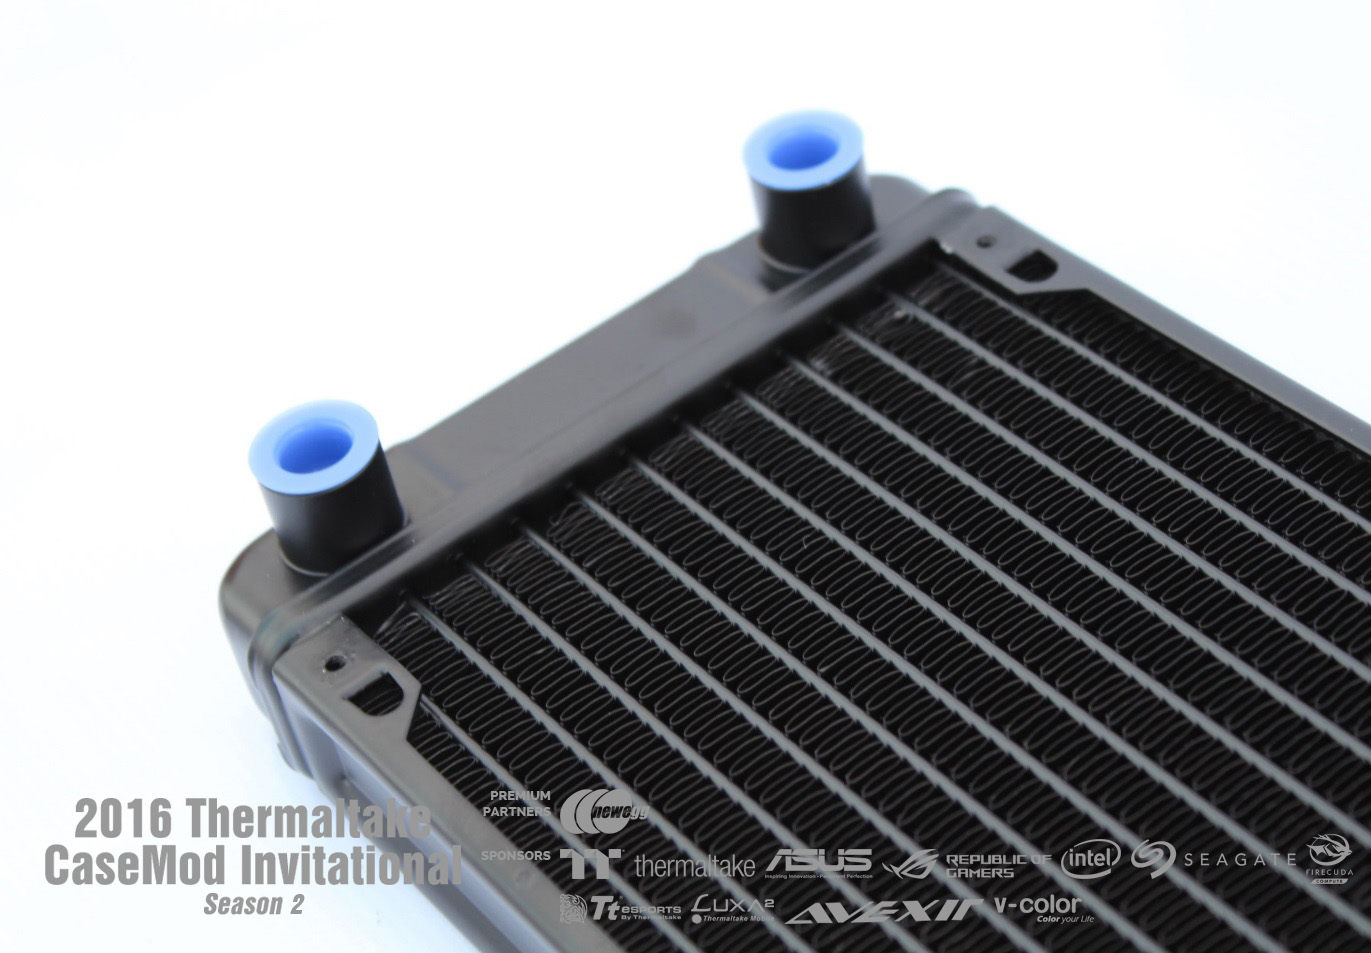
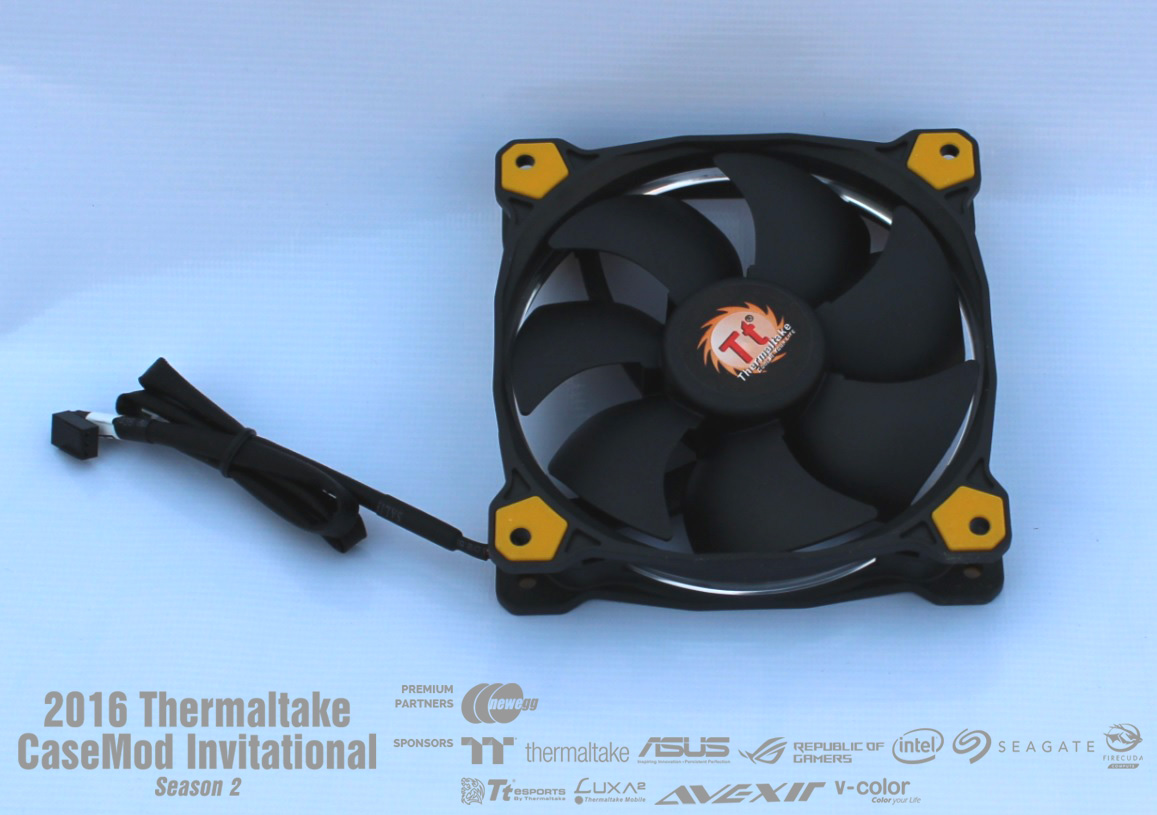
Thermaltake Liquid Cooling Solution and accessories
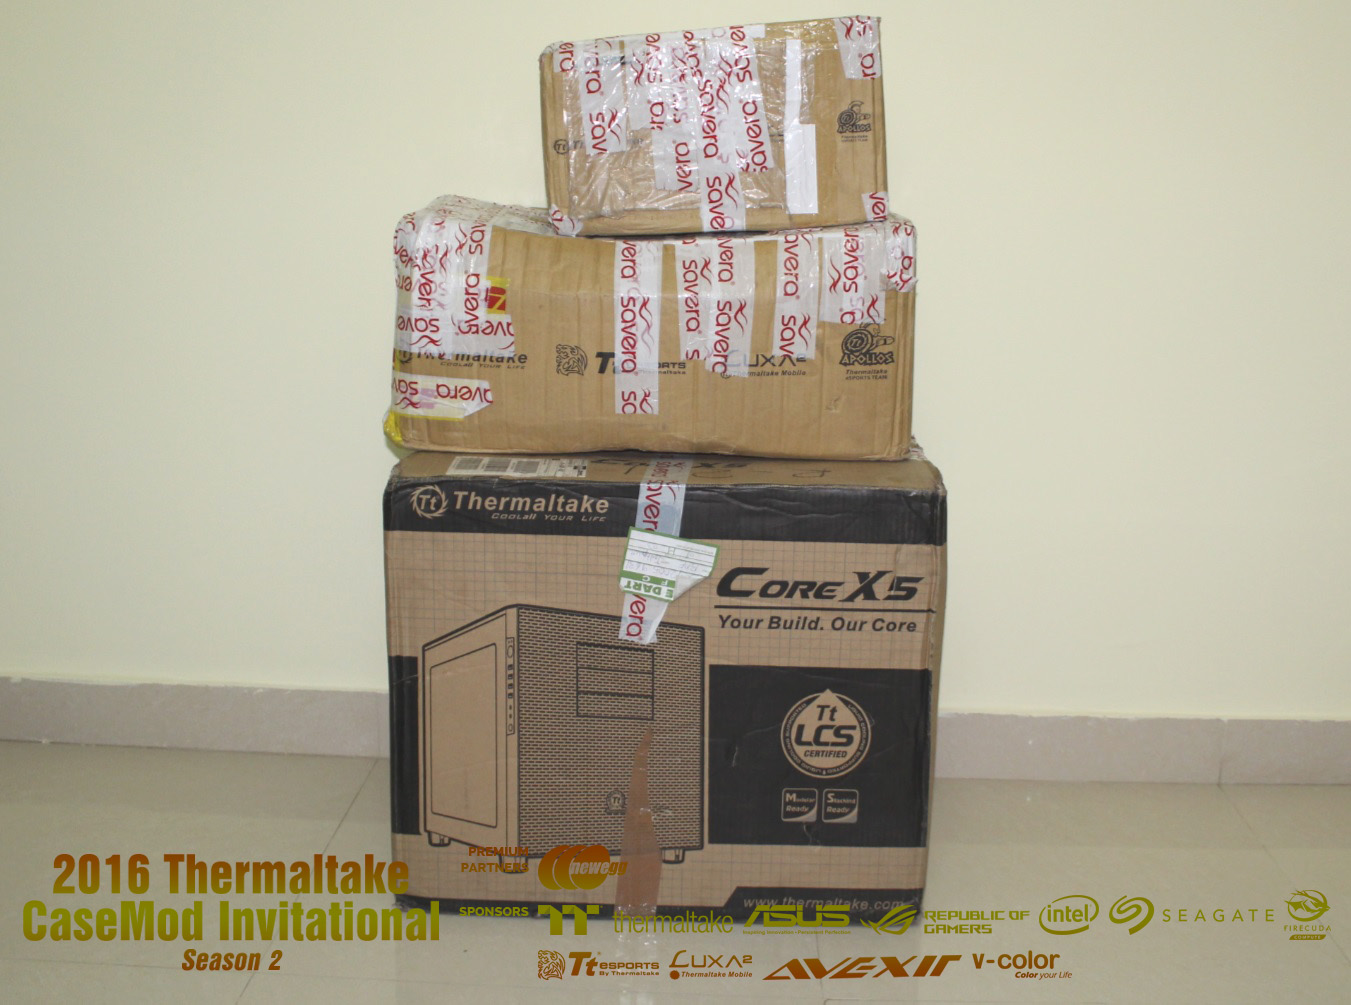
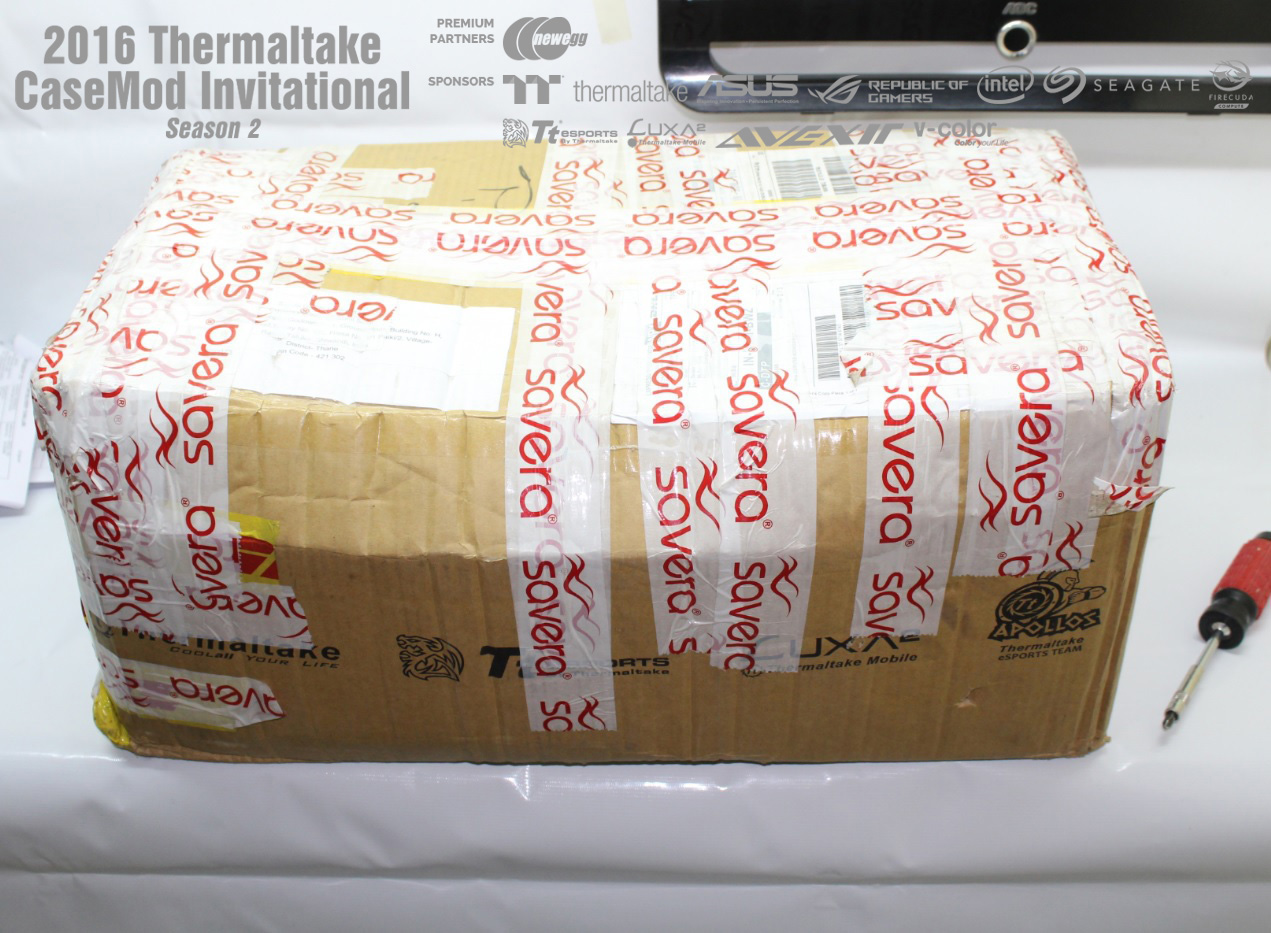
UPDATE : 5-Nov-2016
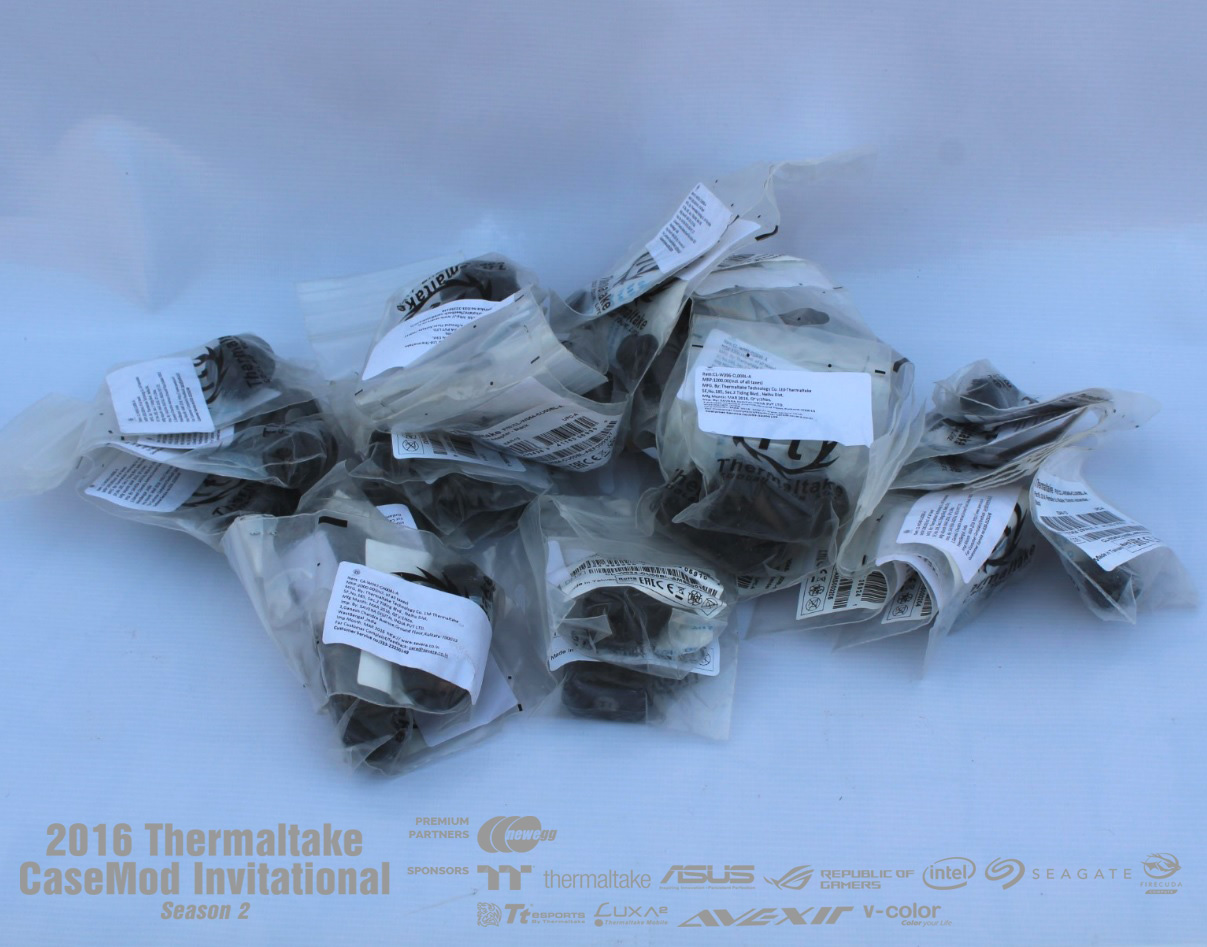
Finally after waiting for long, I received my first shipment from Thermaltake.
Very excited… Now build work is no full throttle.
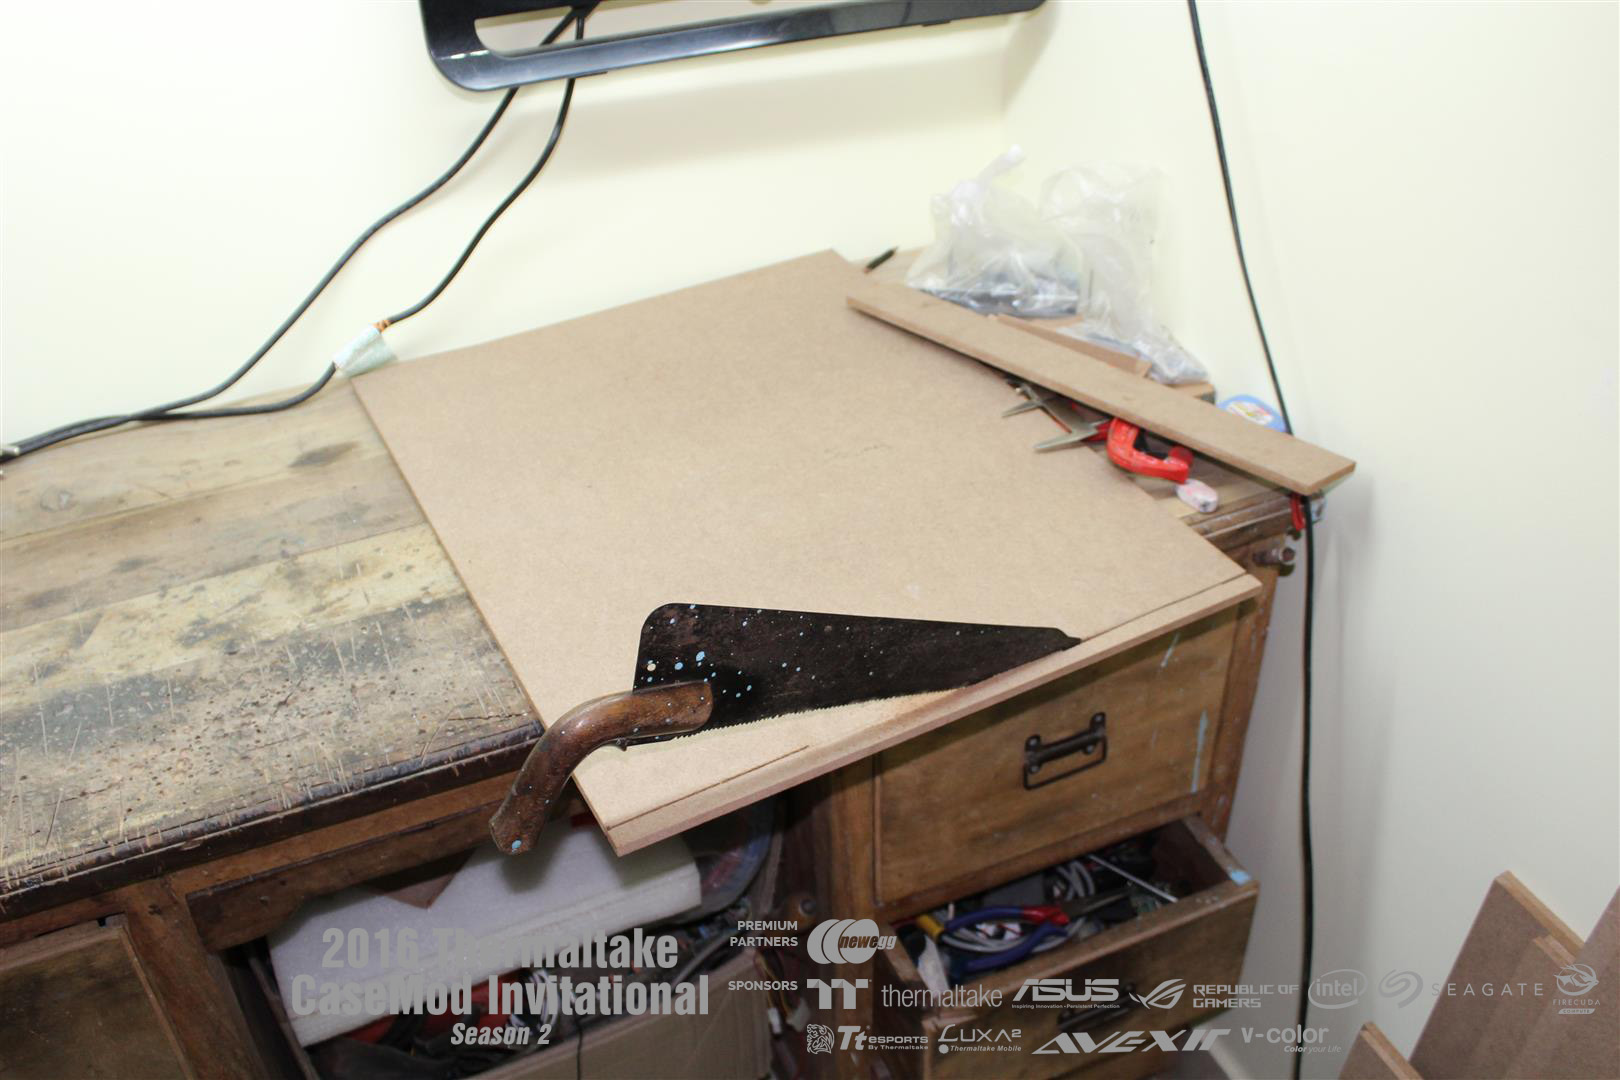
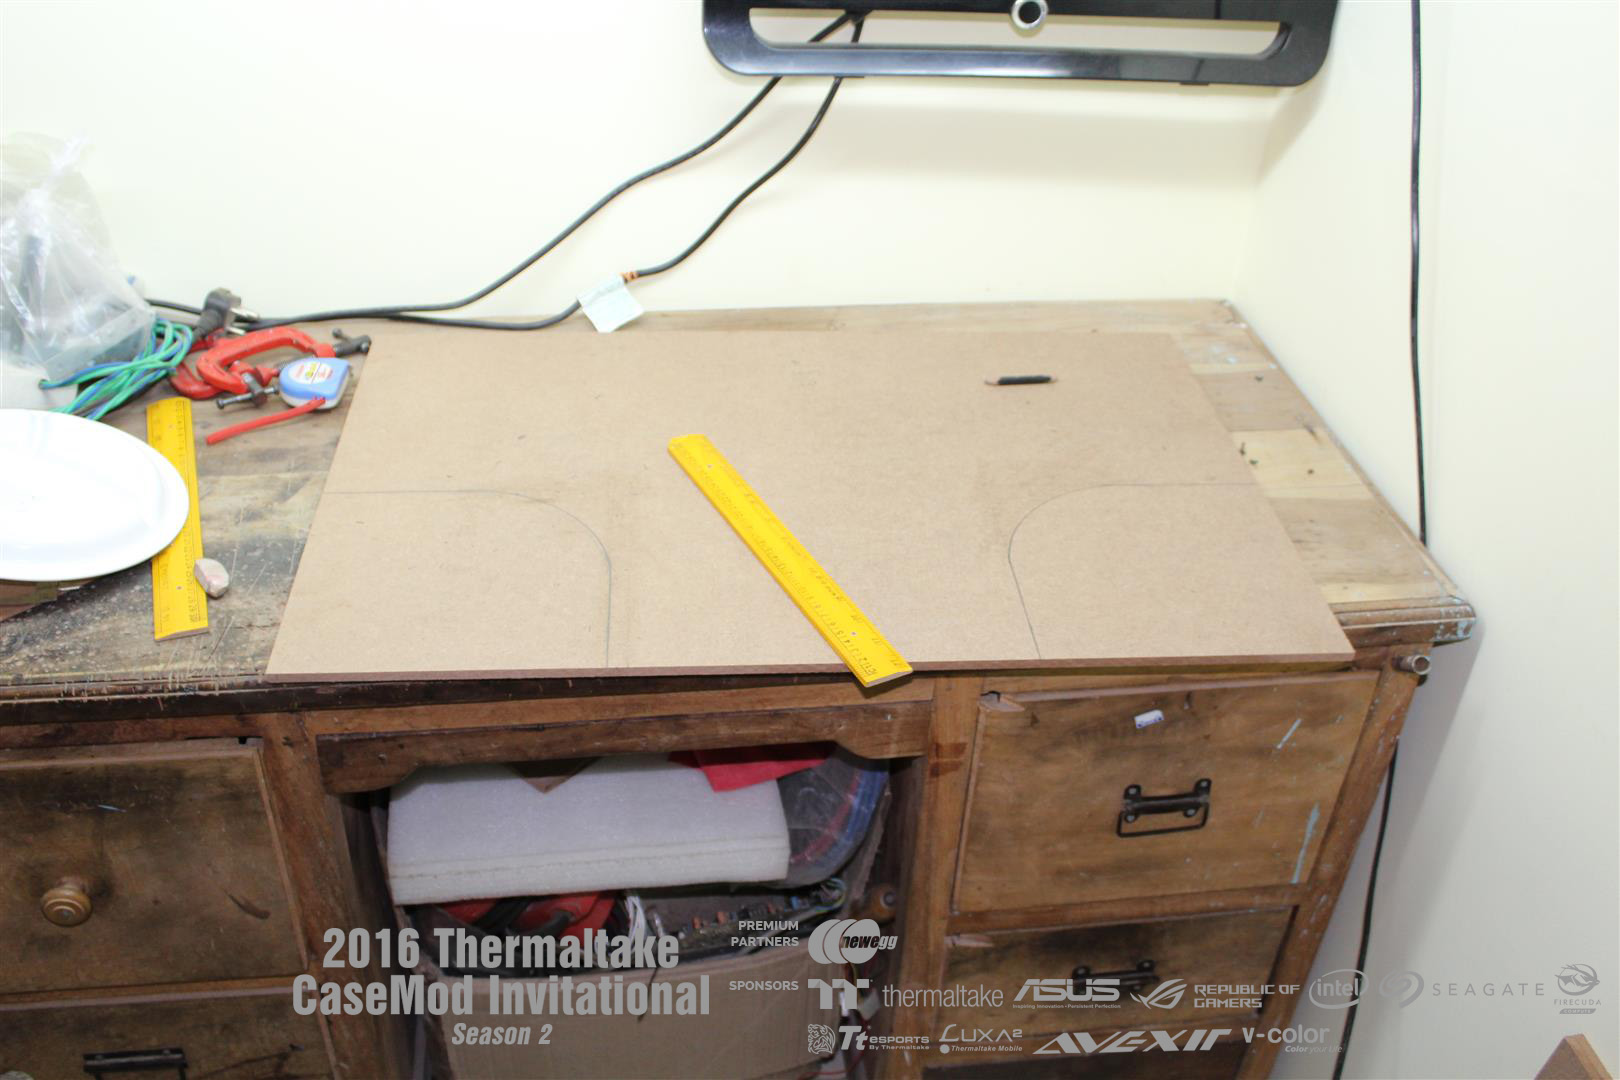
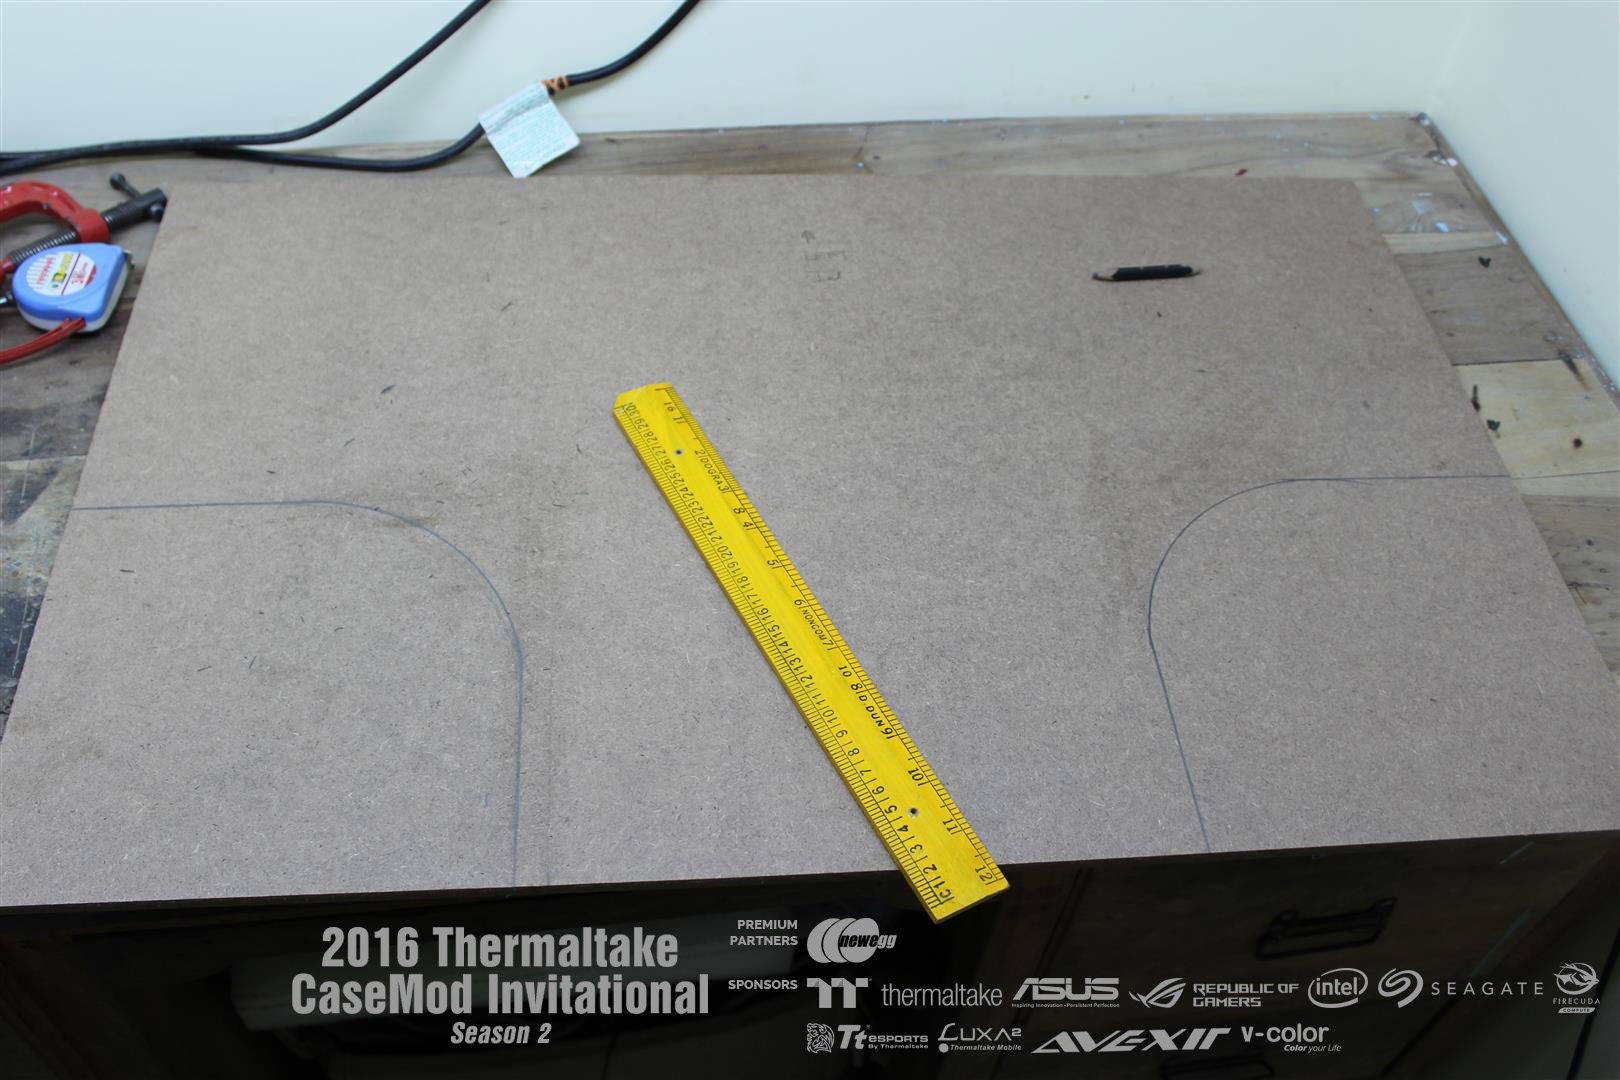
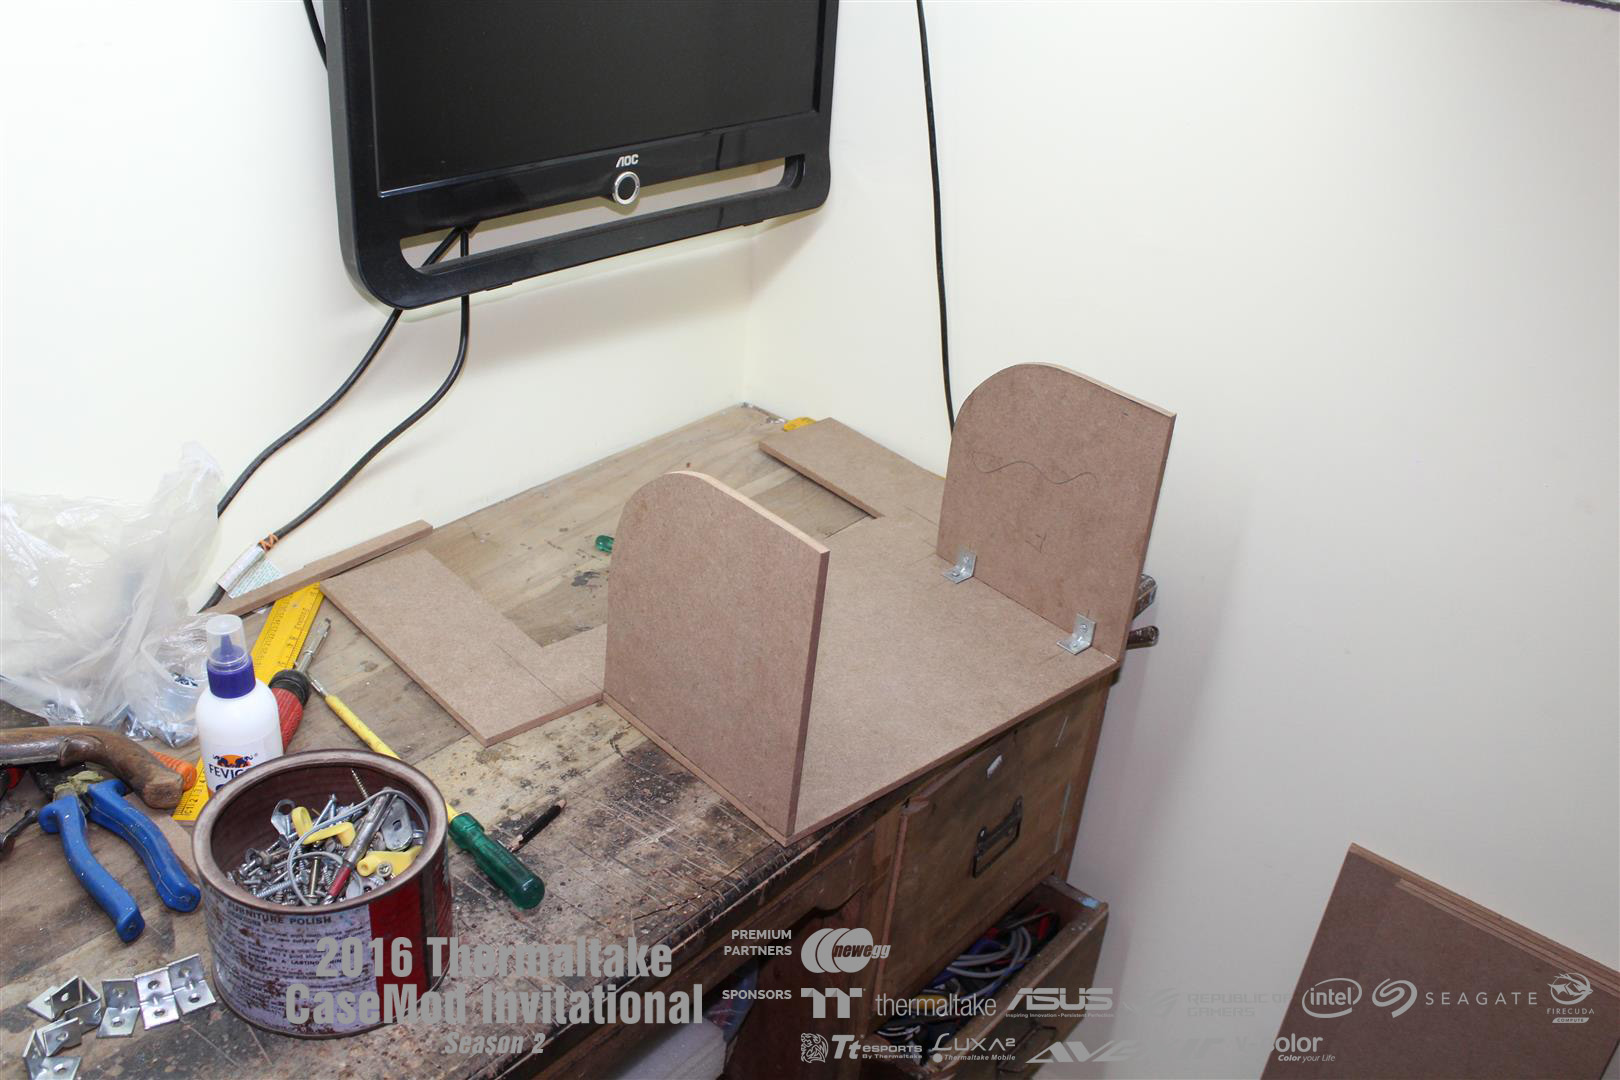
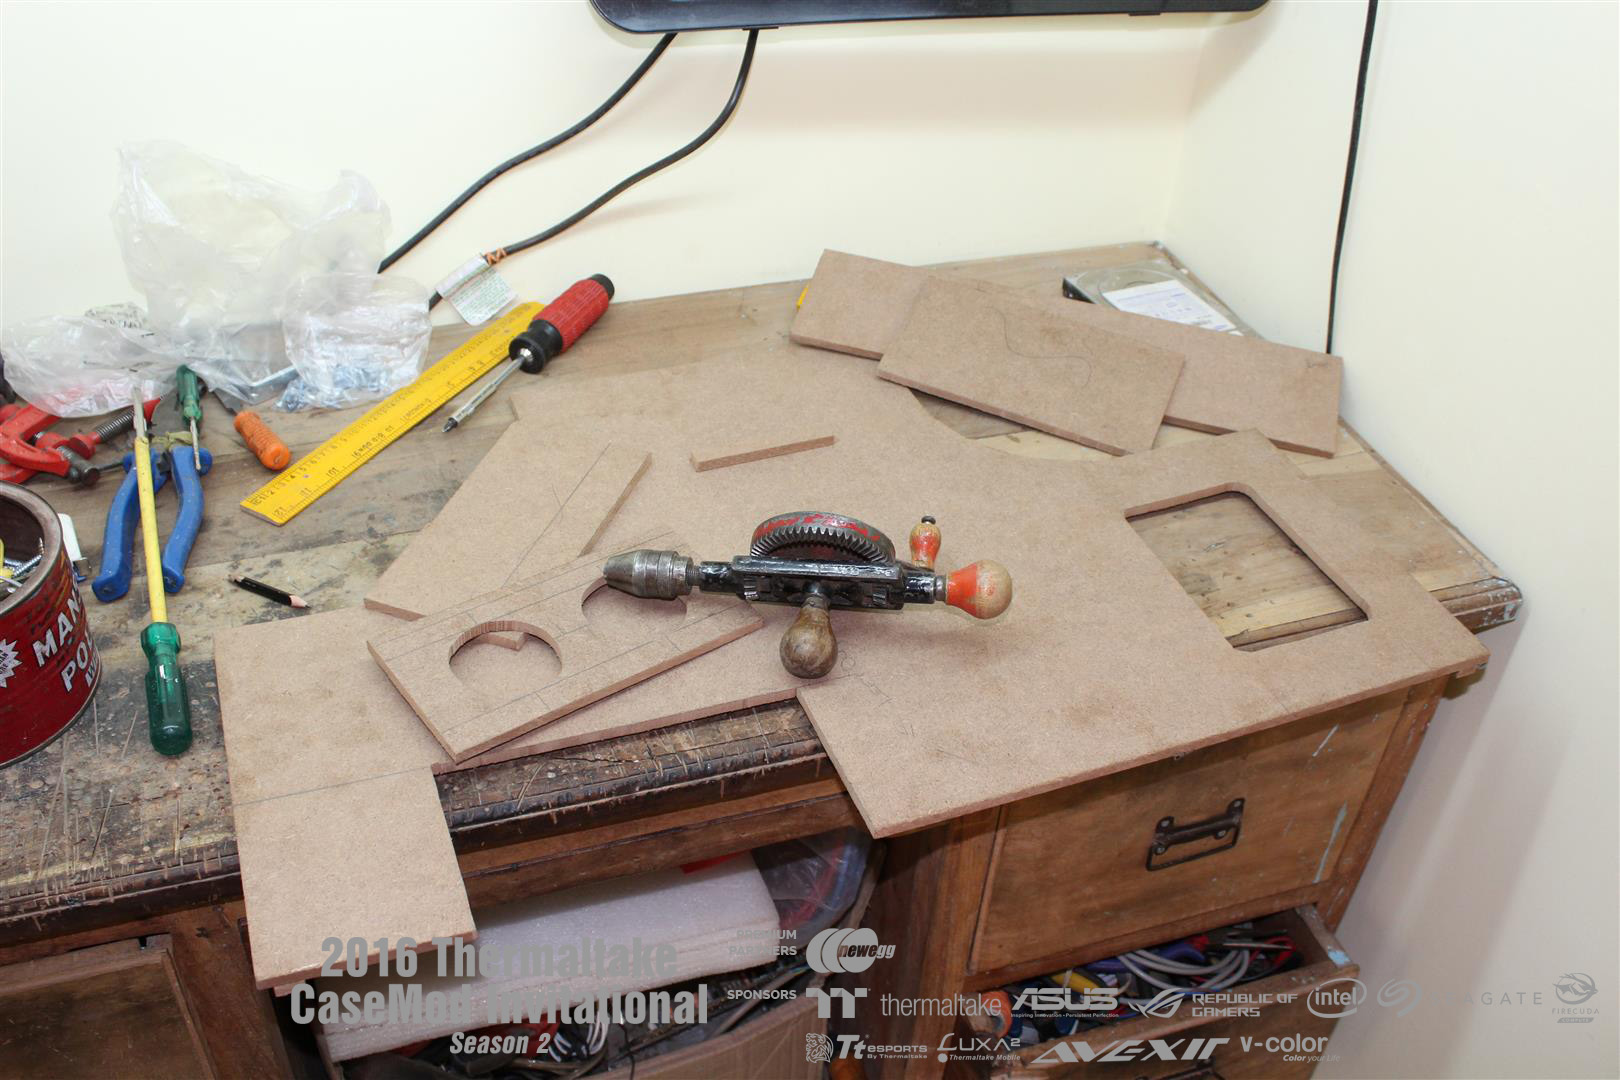
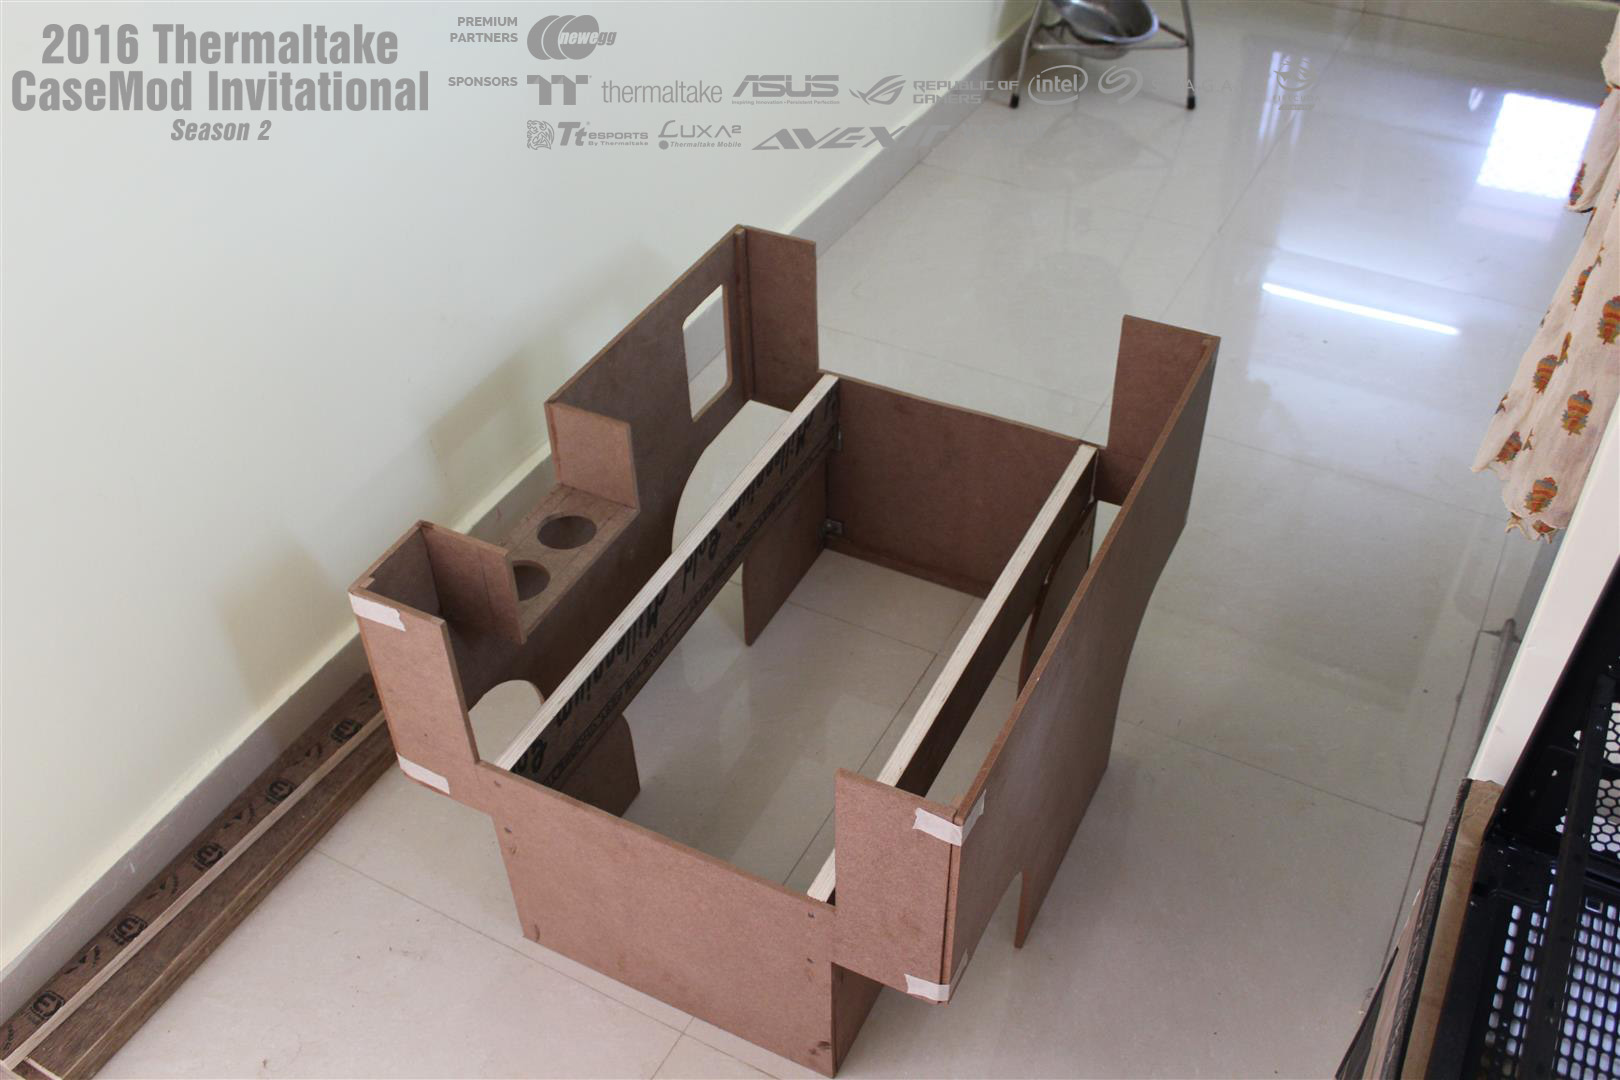
UPDATE : 7-Nov-2016
Boards for the build is here, now Saturday night will be a great fun.
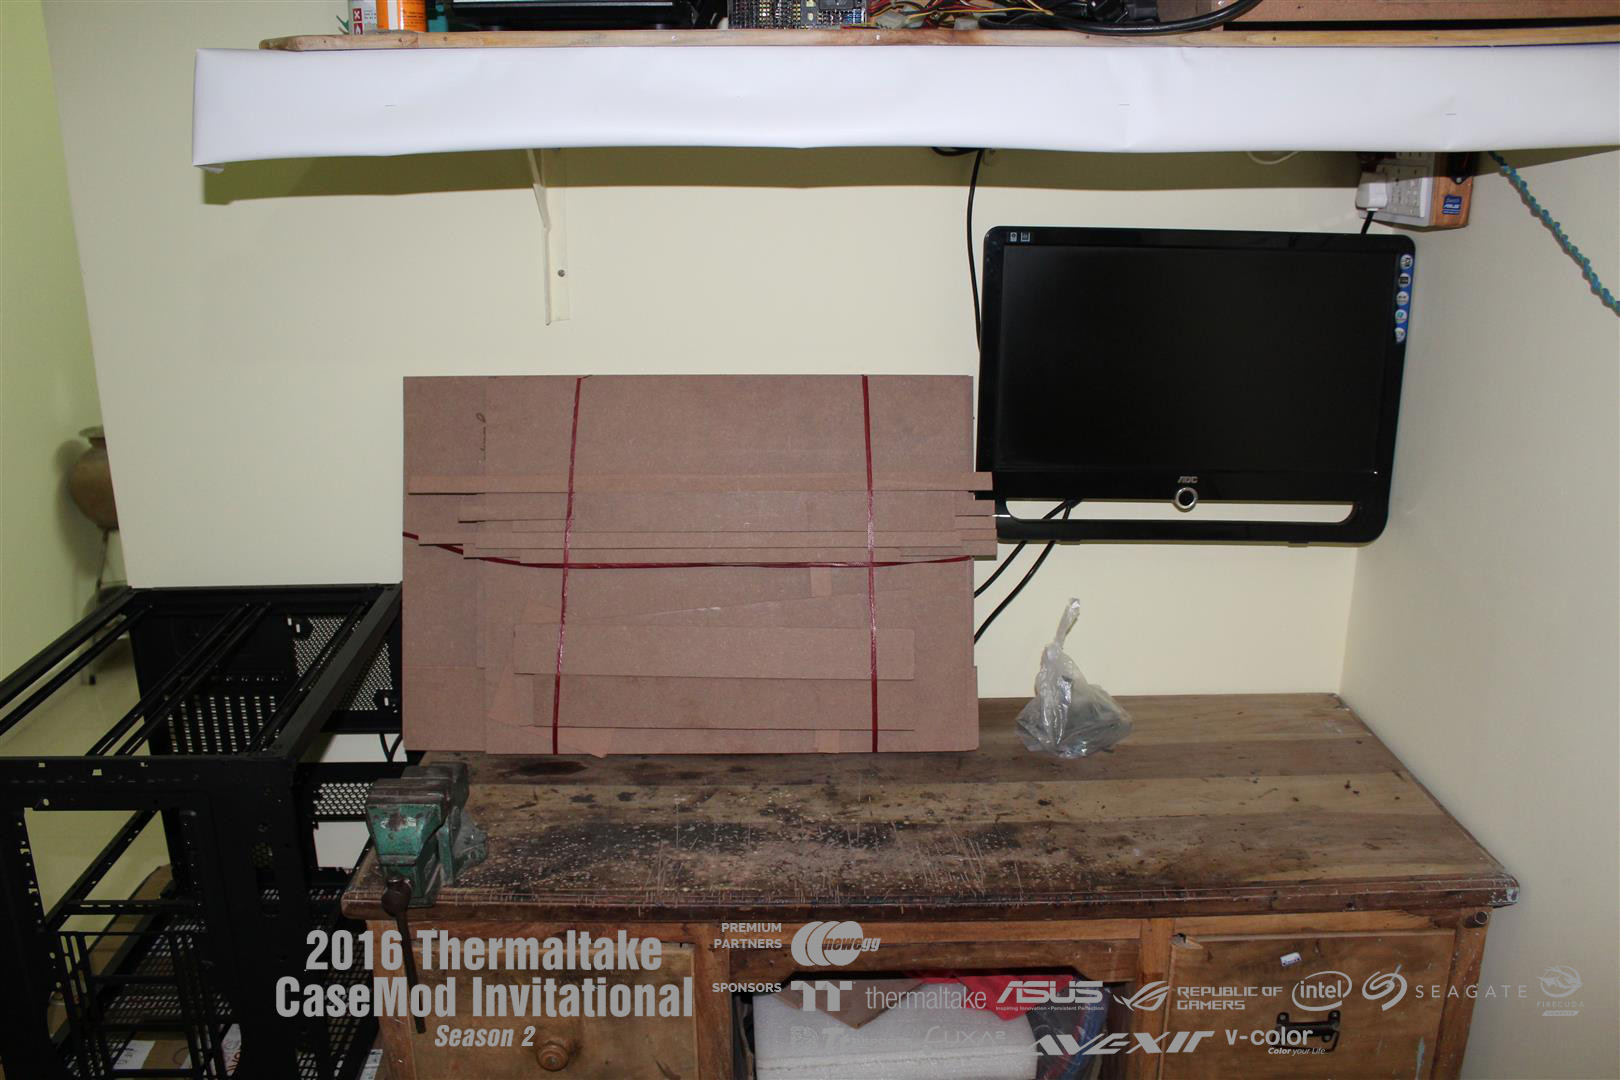
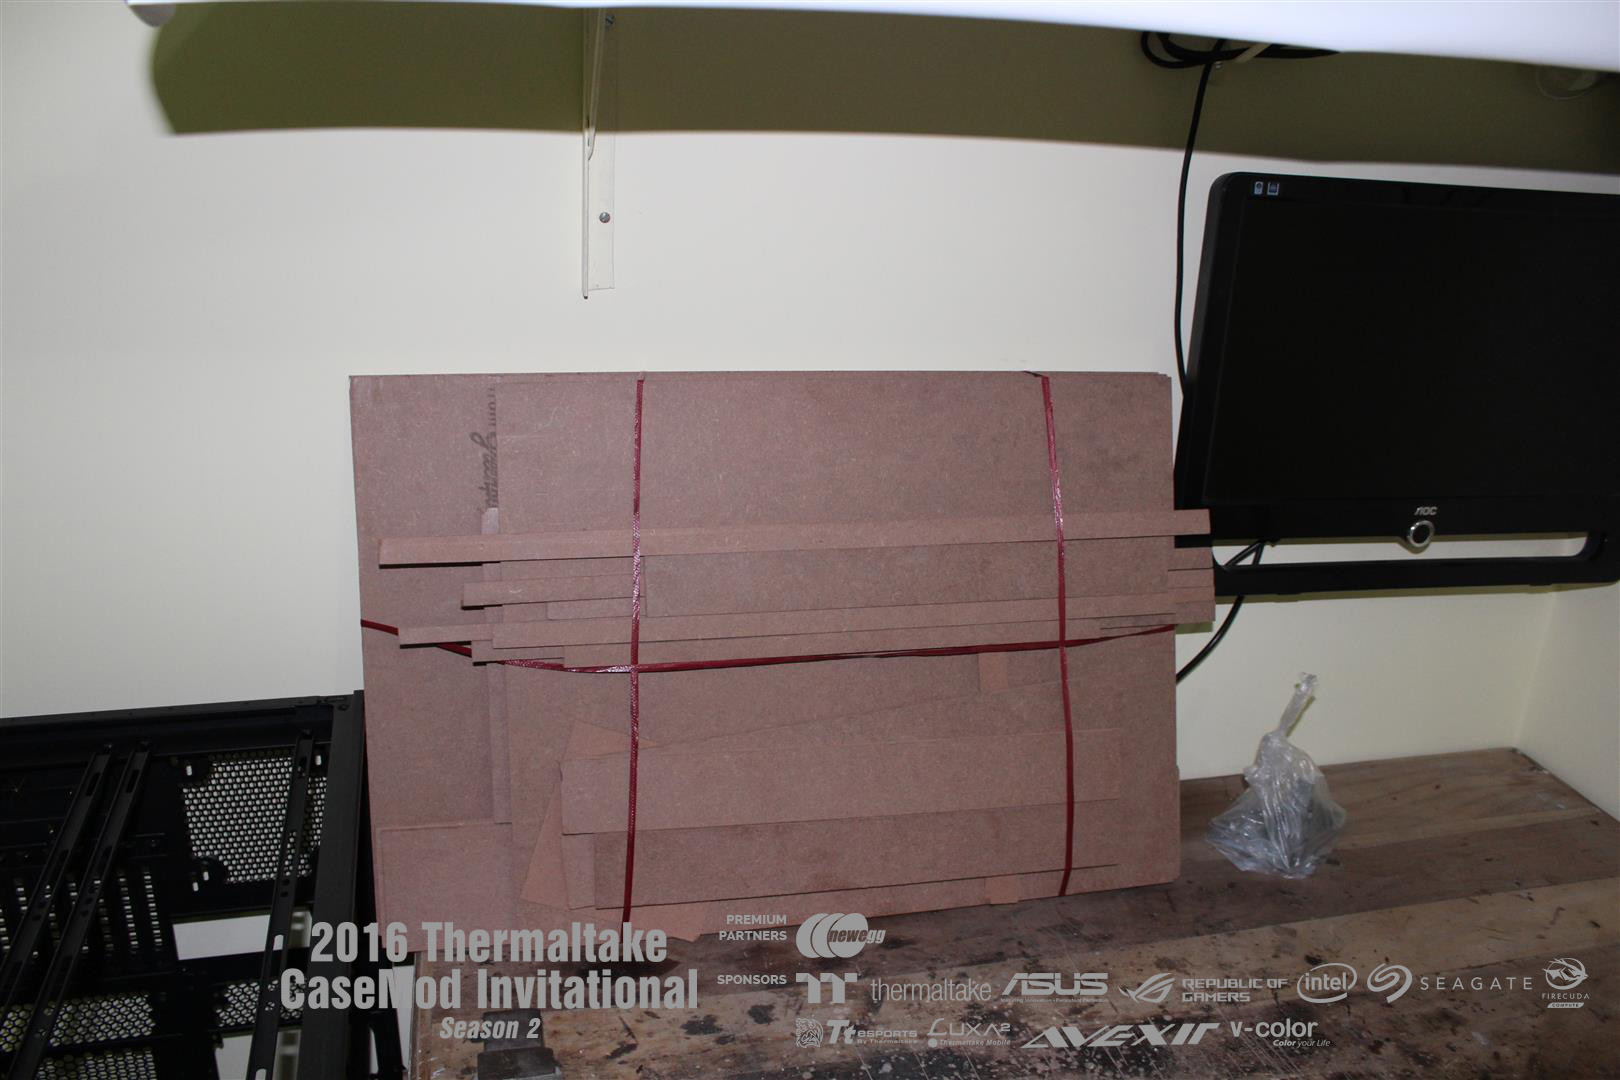
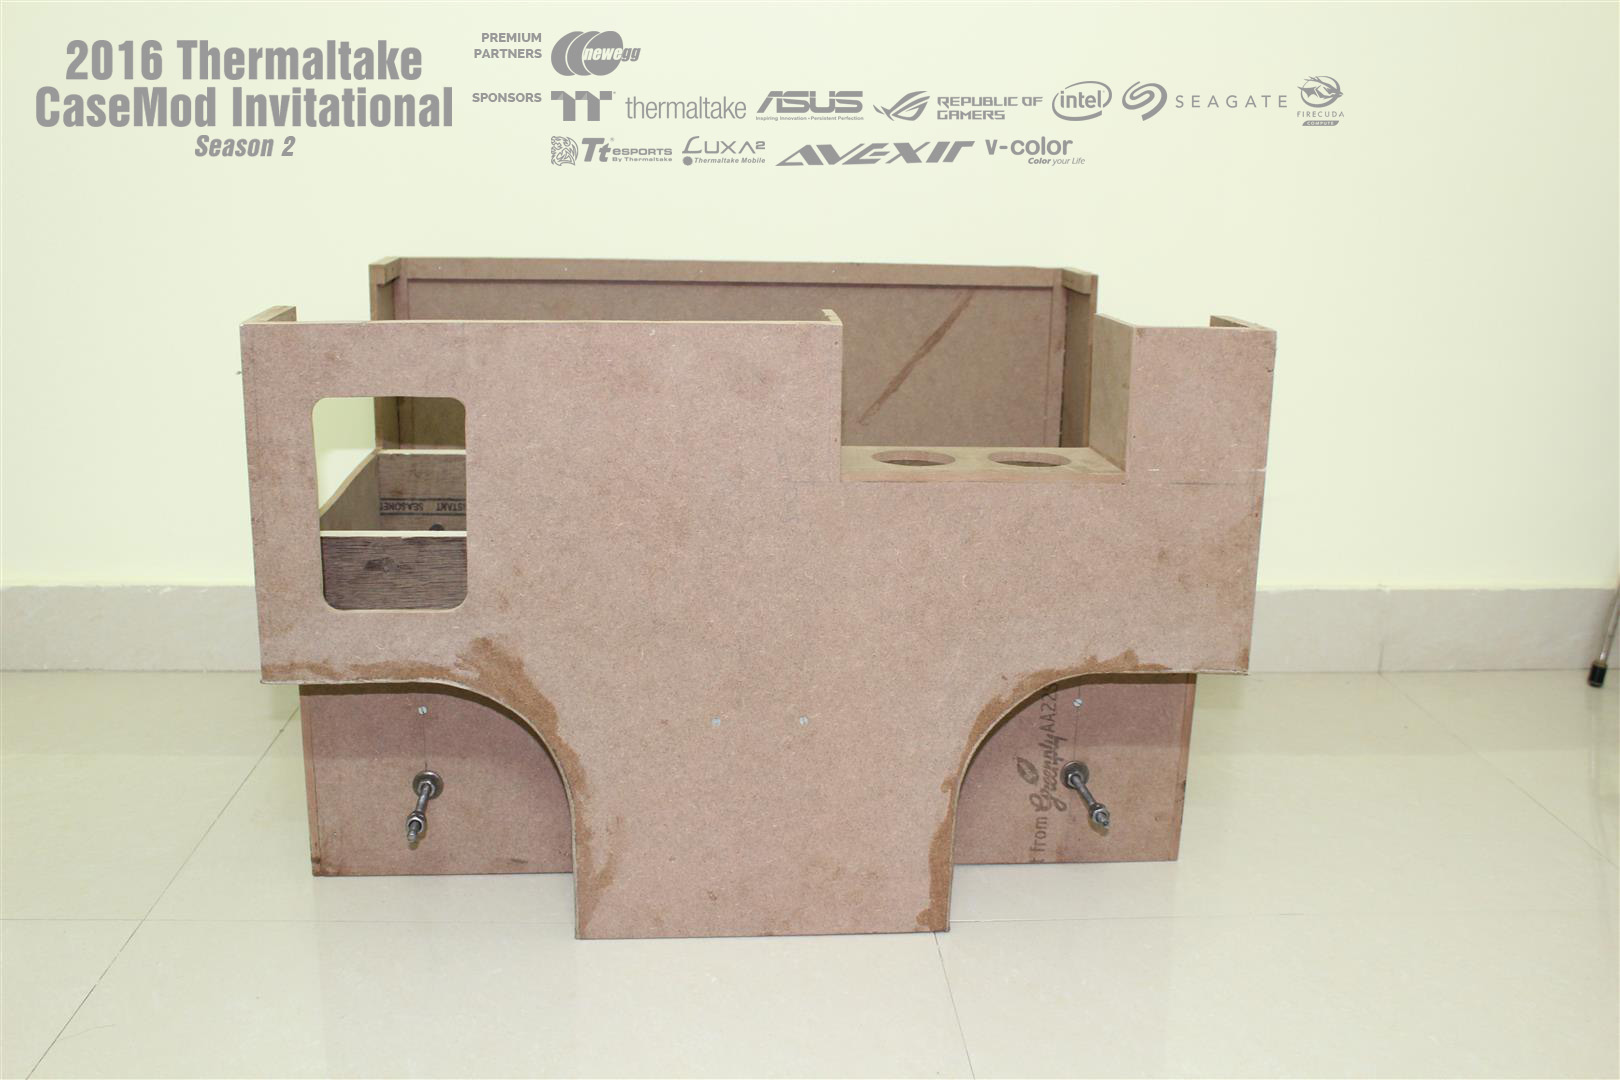
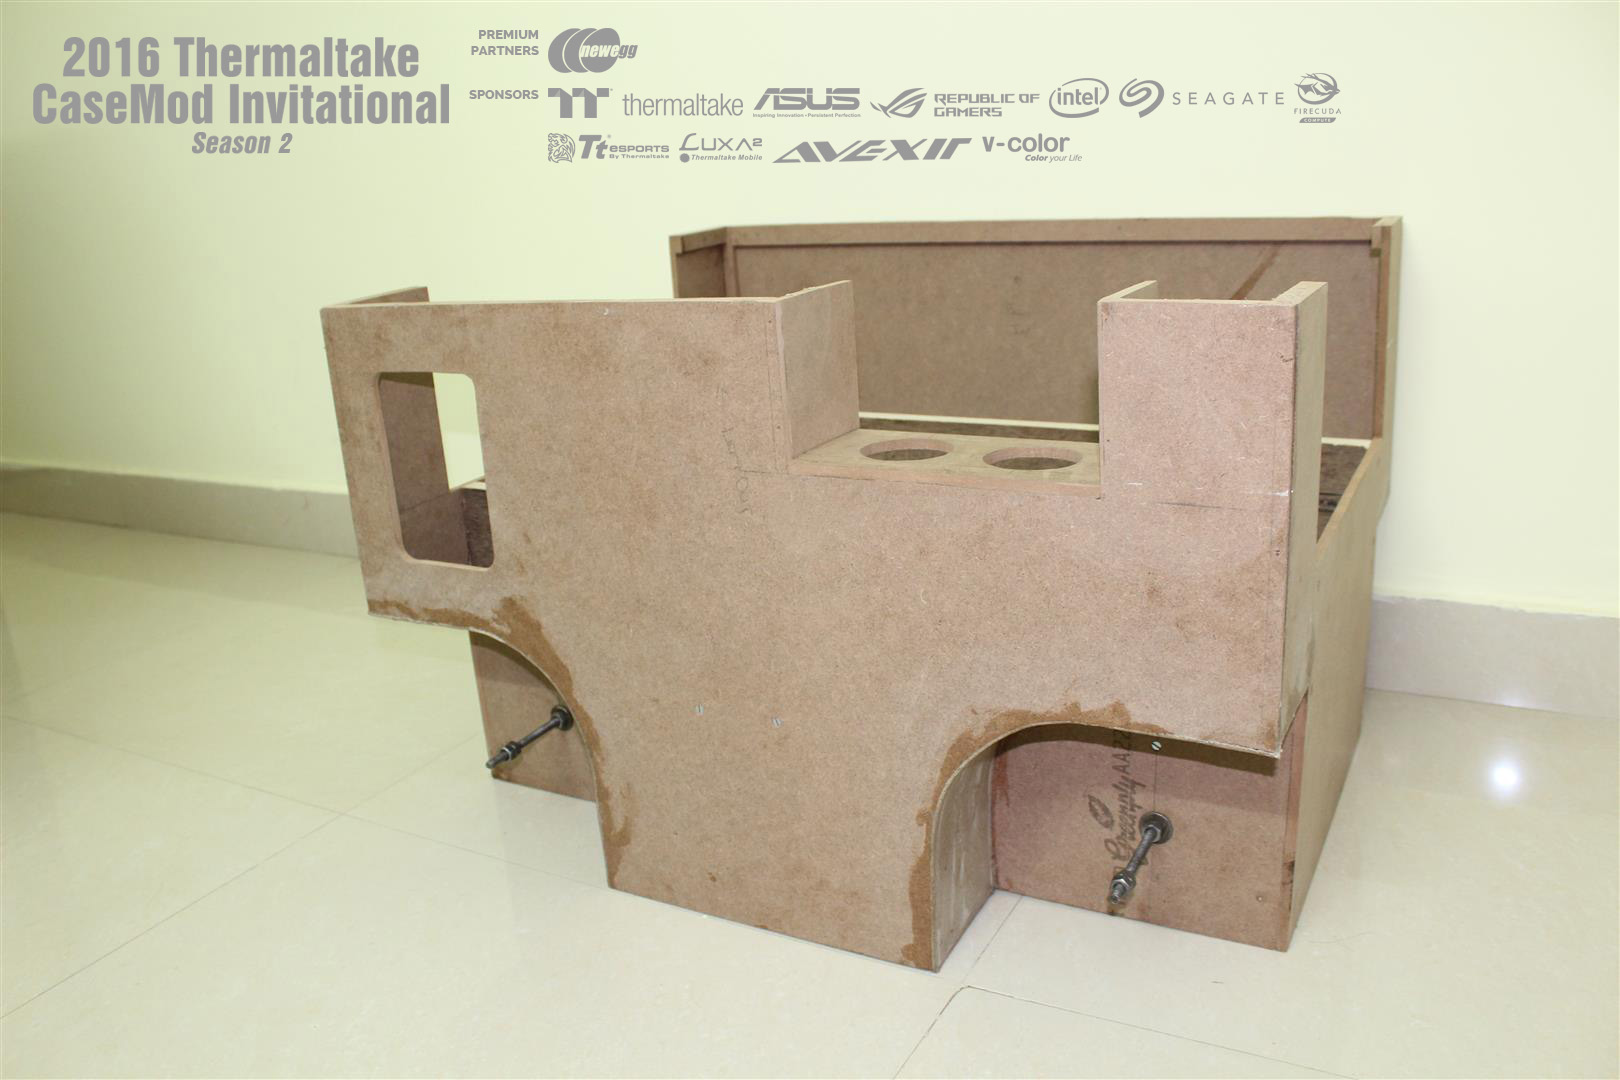
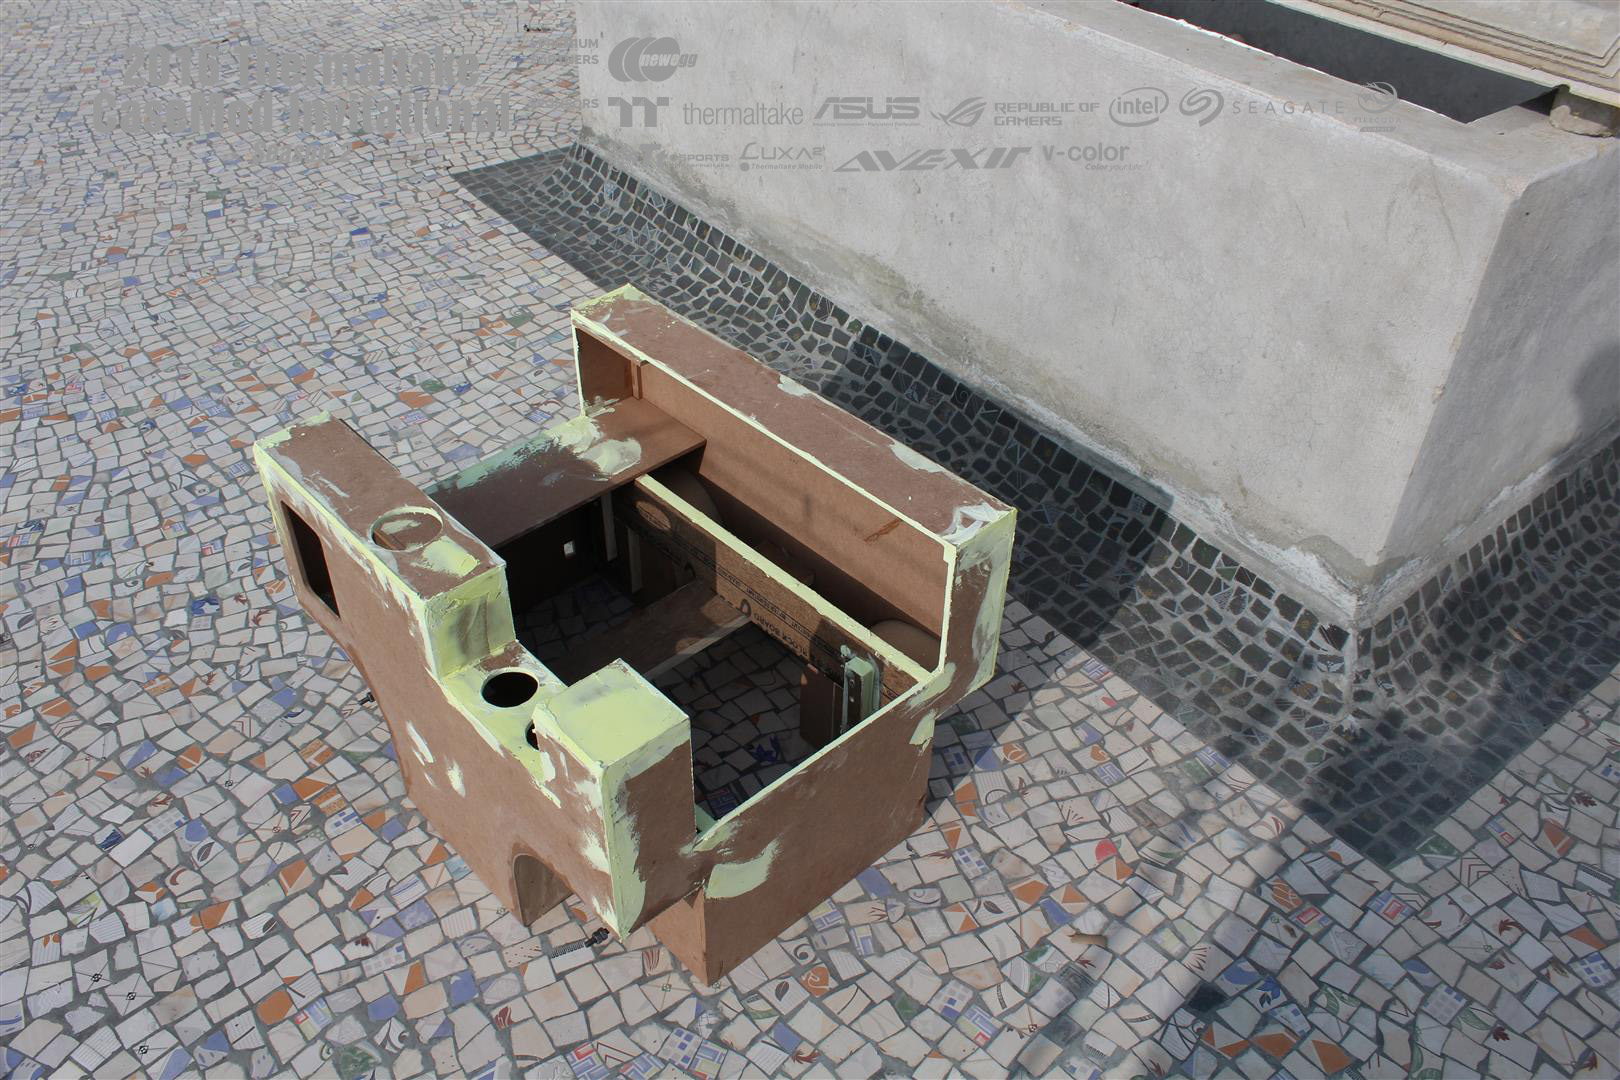
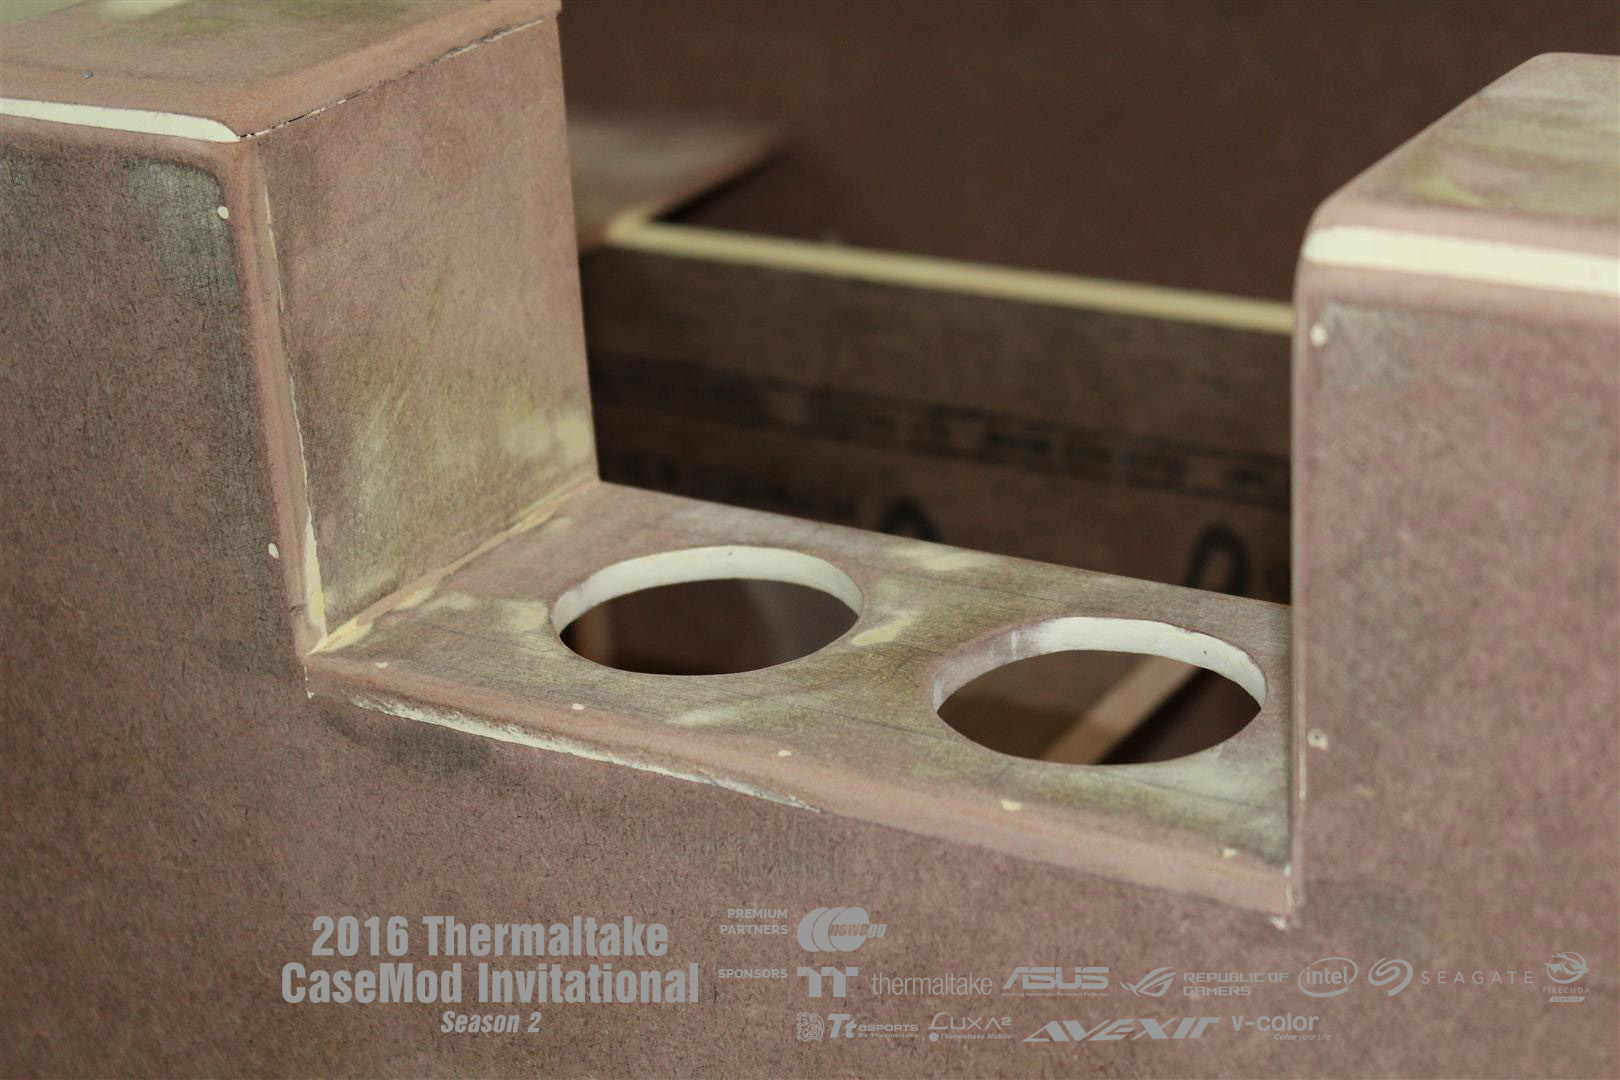
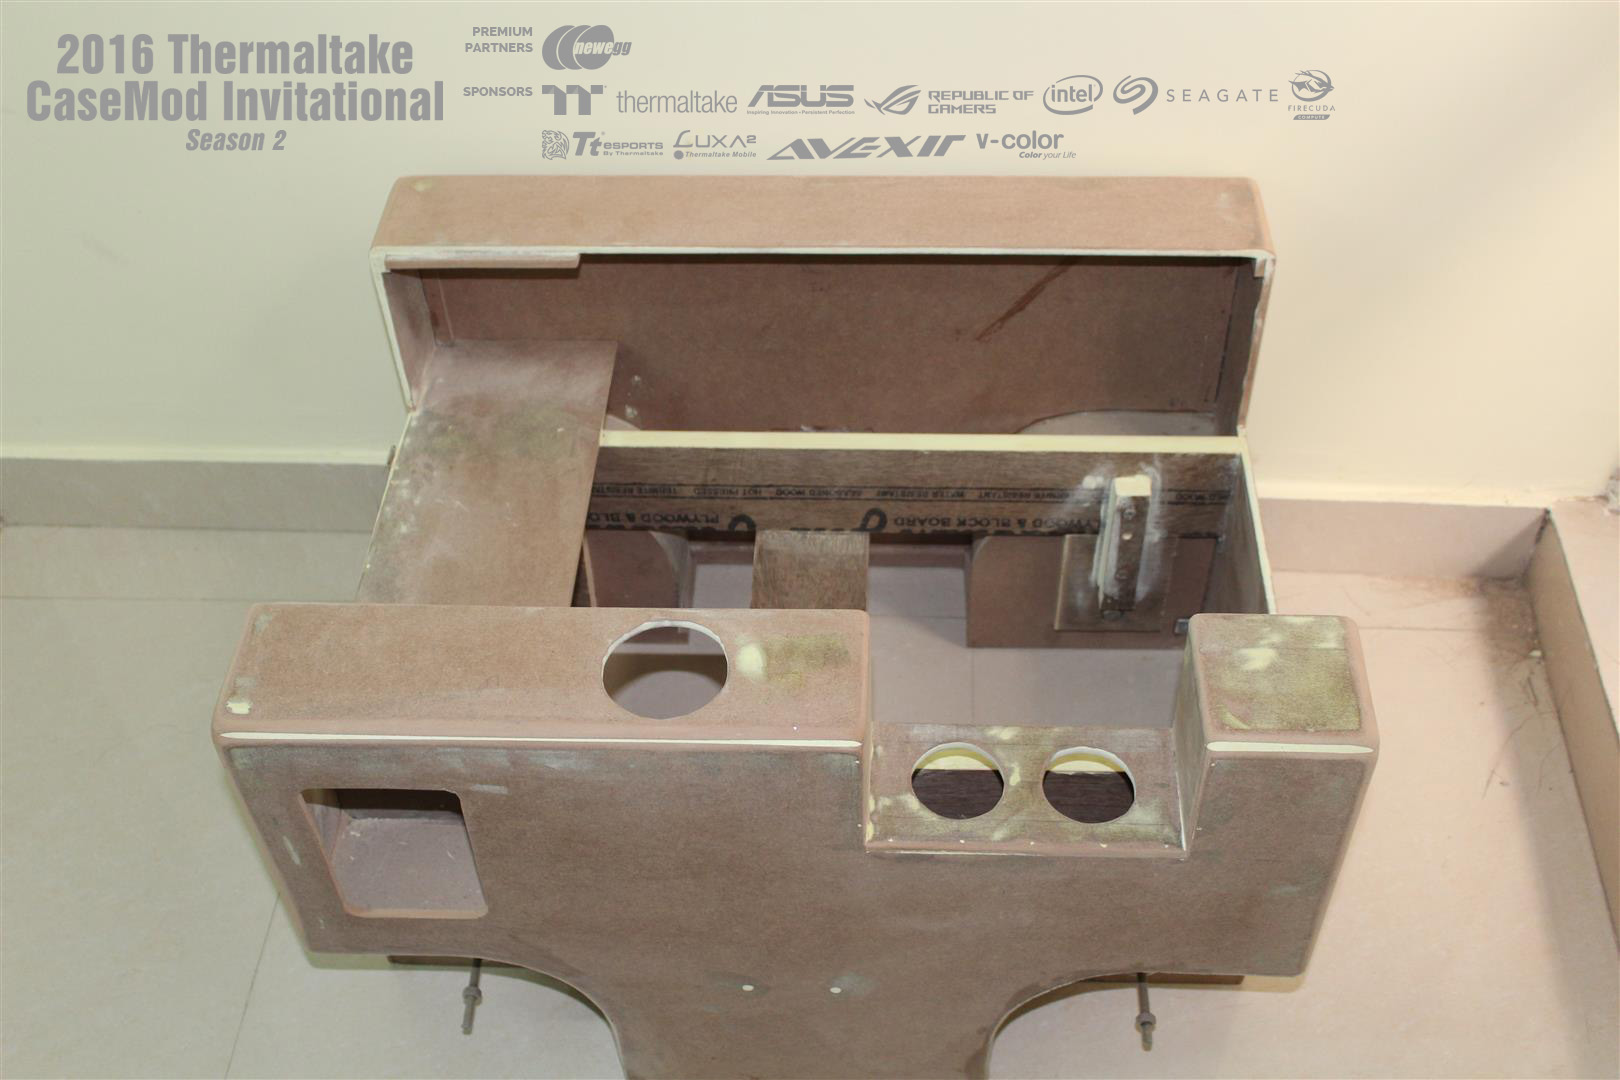
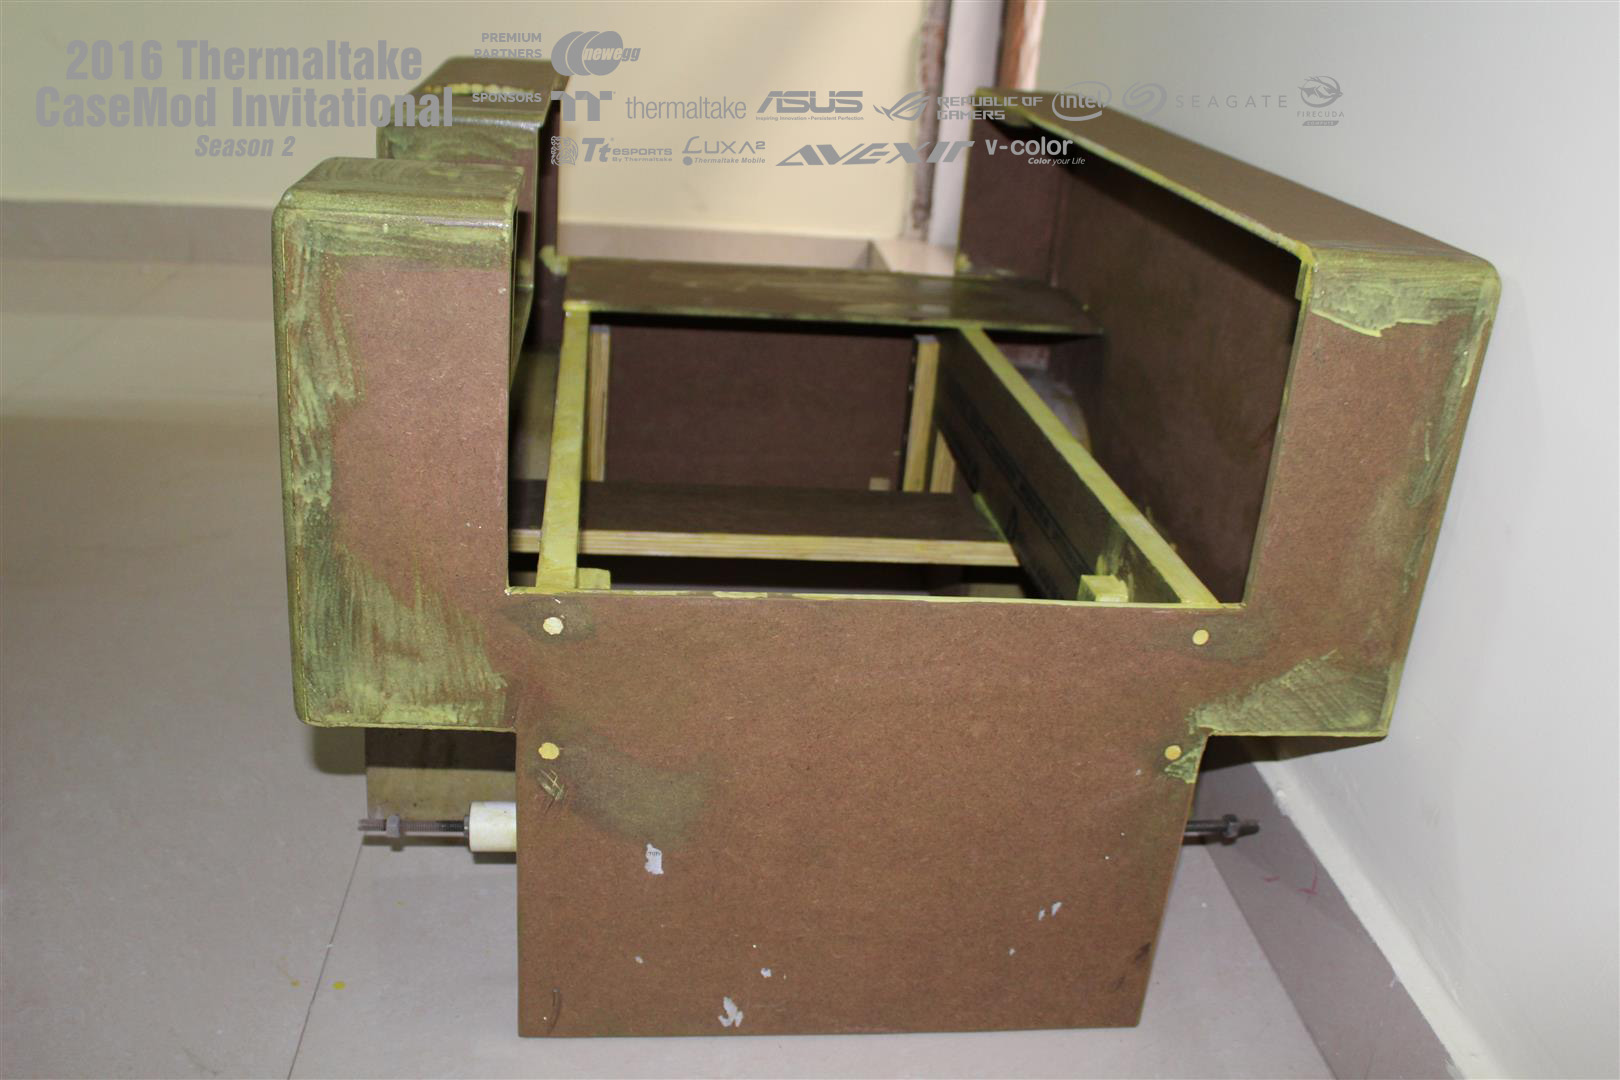
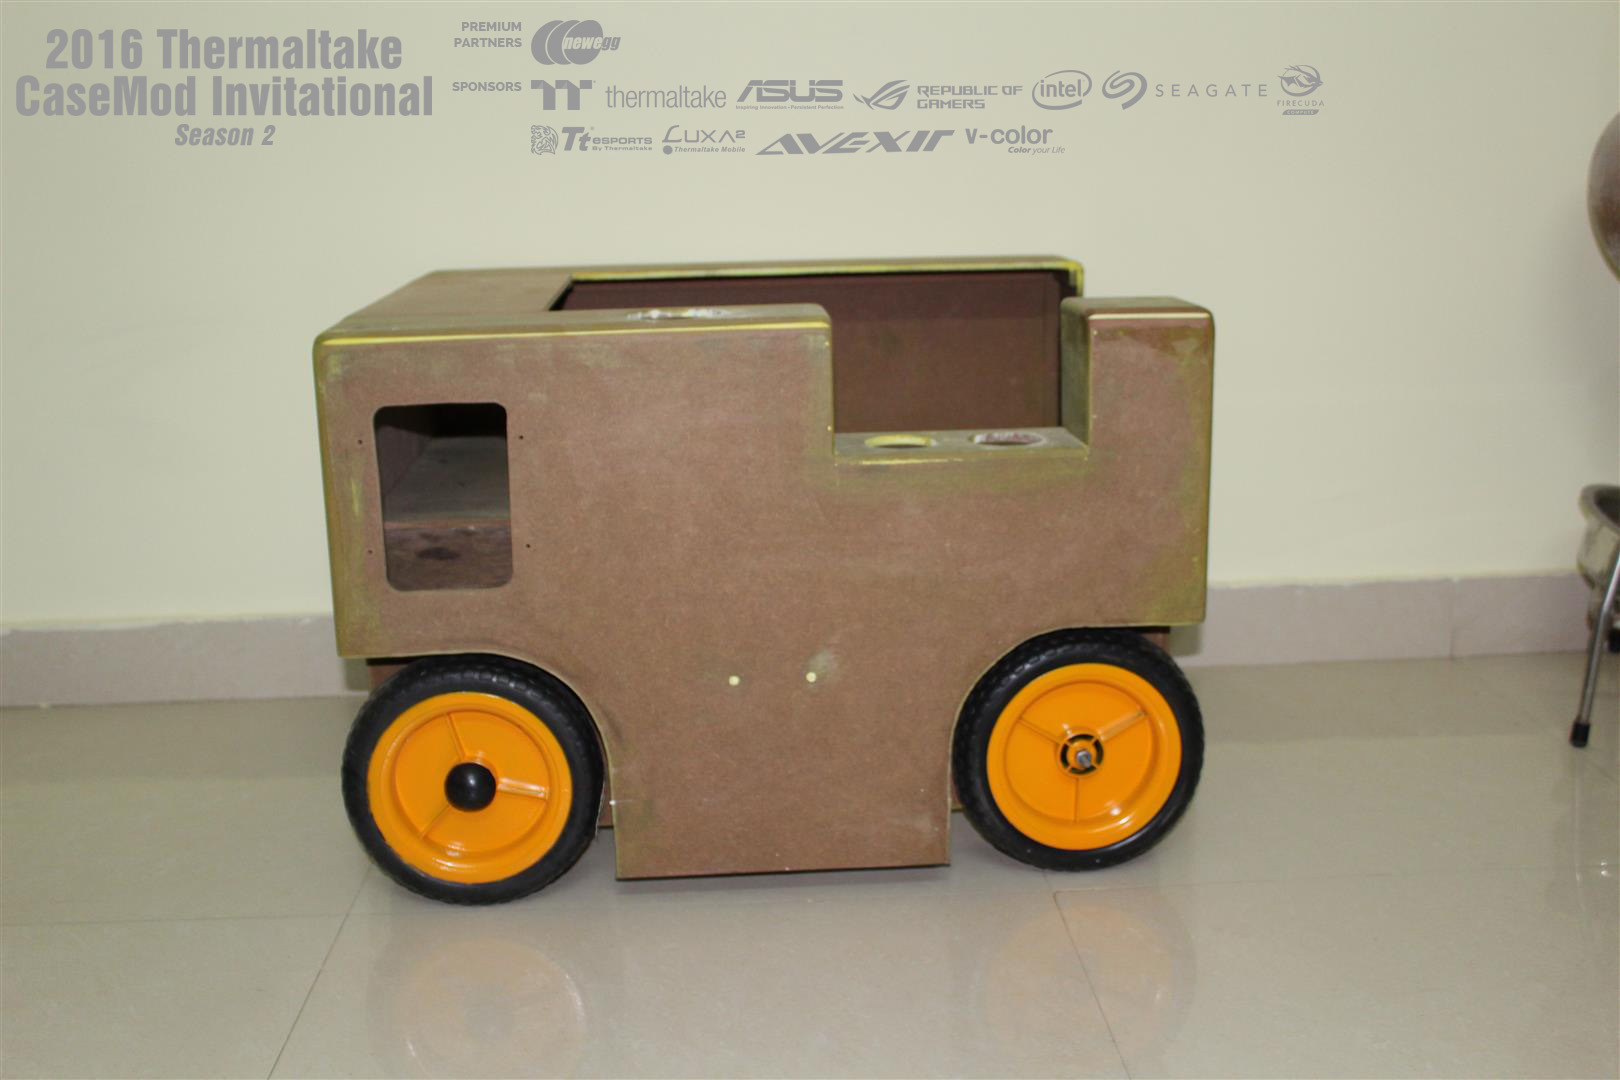
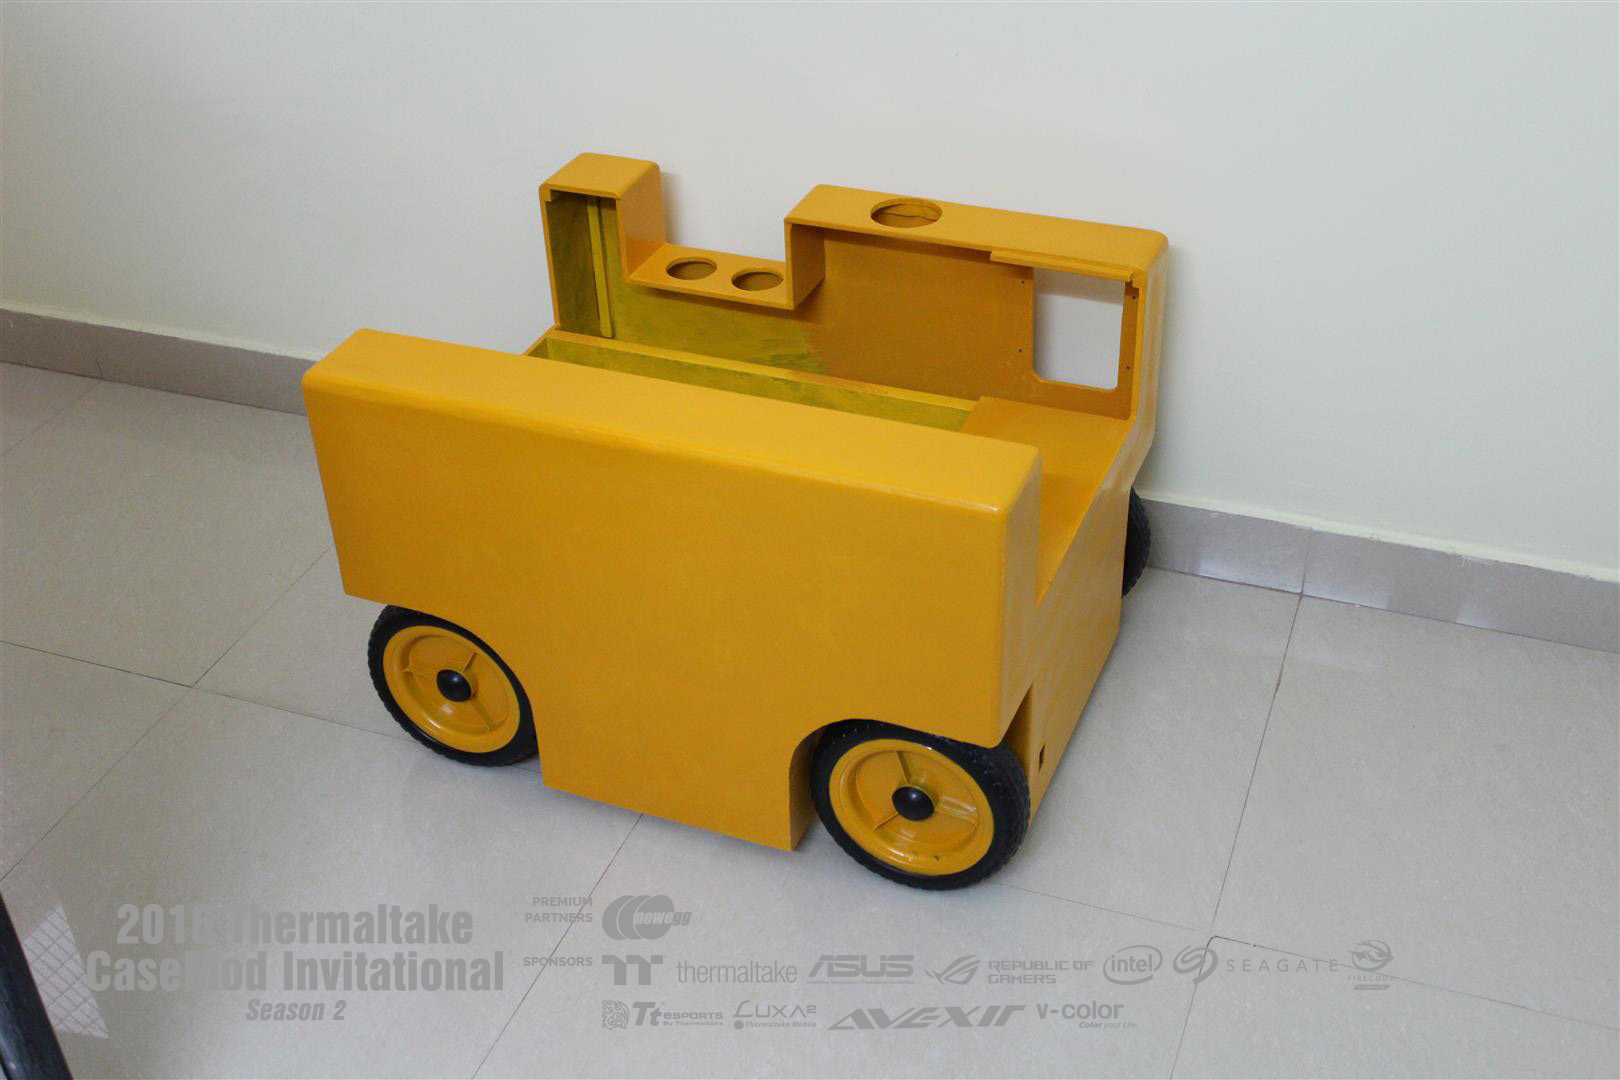
Cutting, drilling and assembling of MDF forming rough Air starter outer shell.
All hand tools, no power tools here..
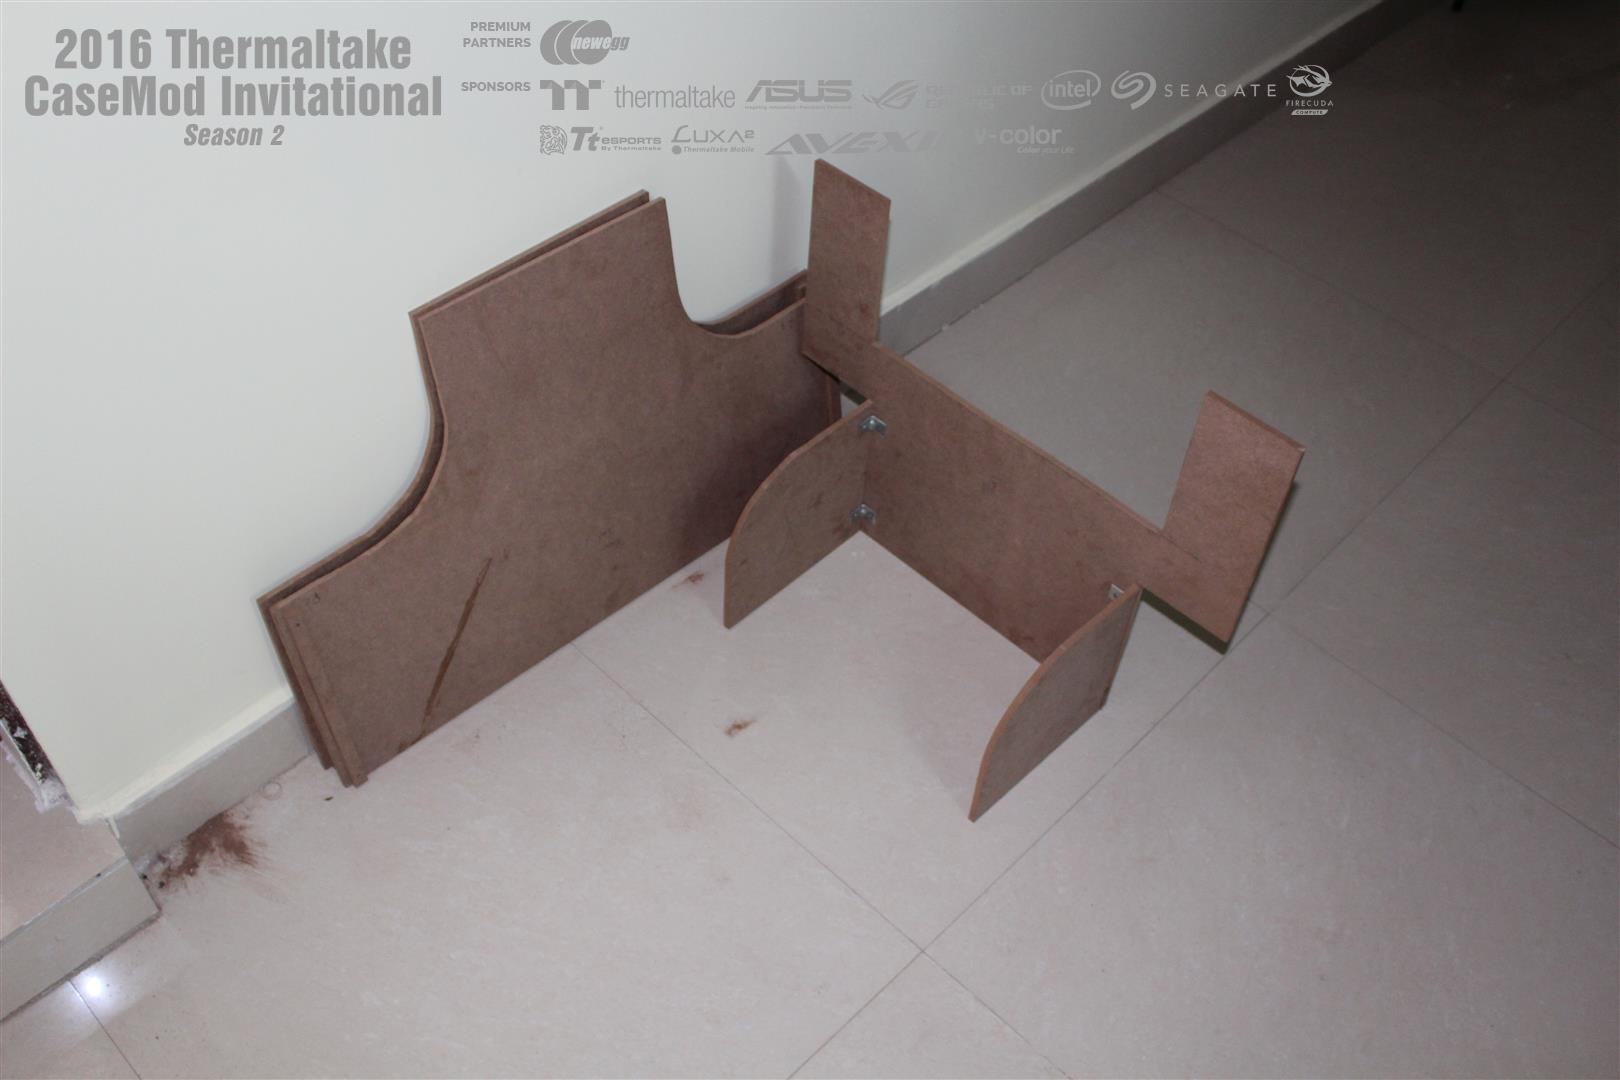
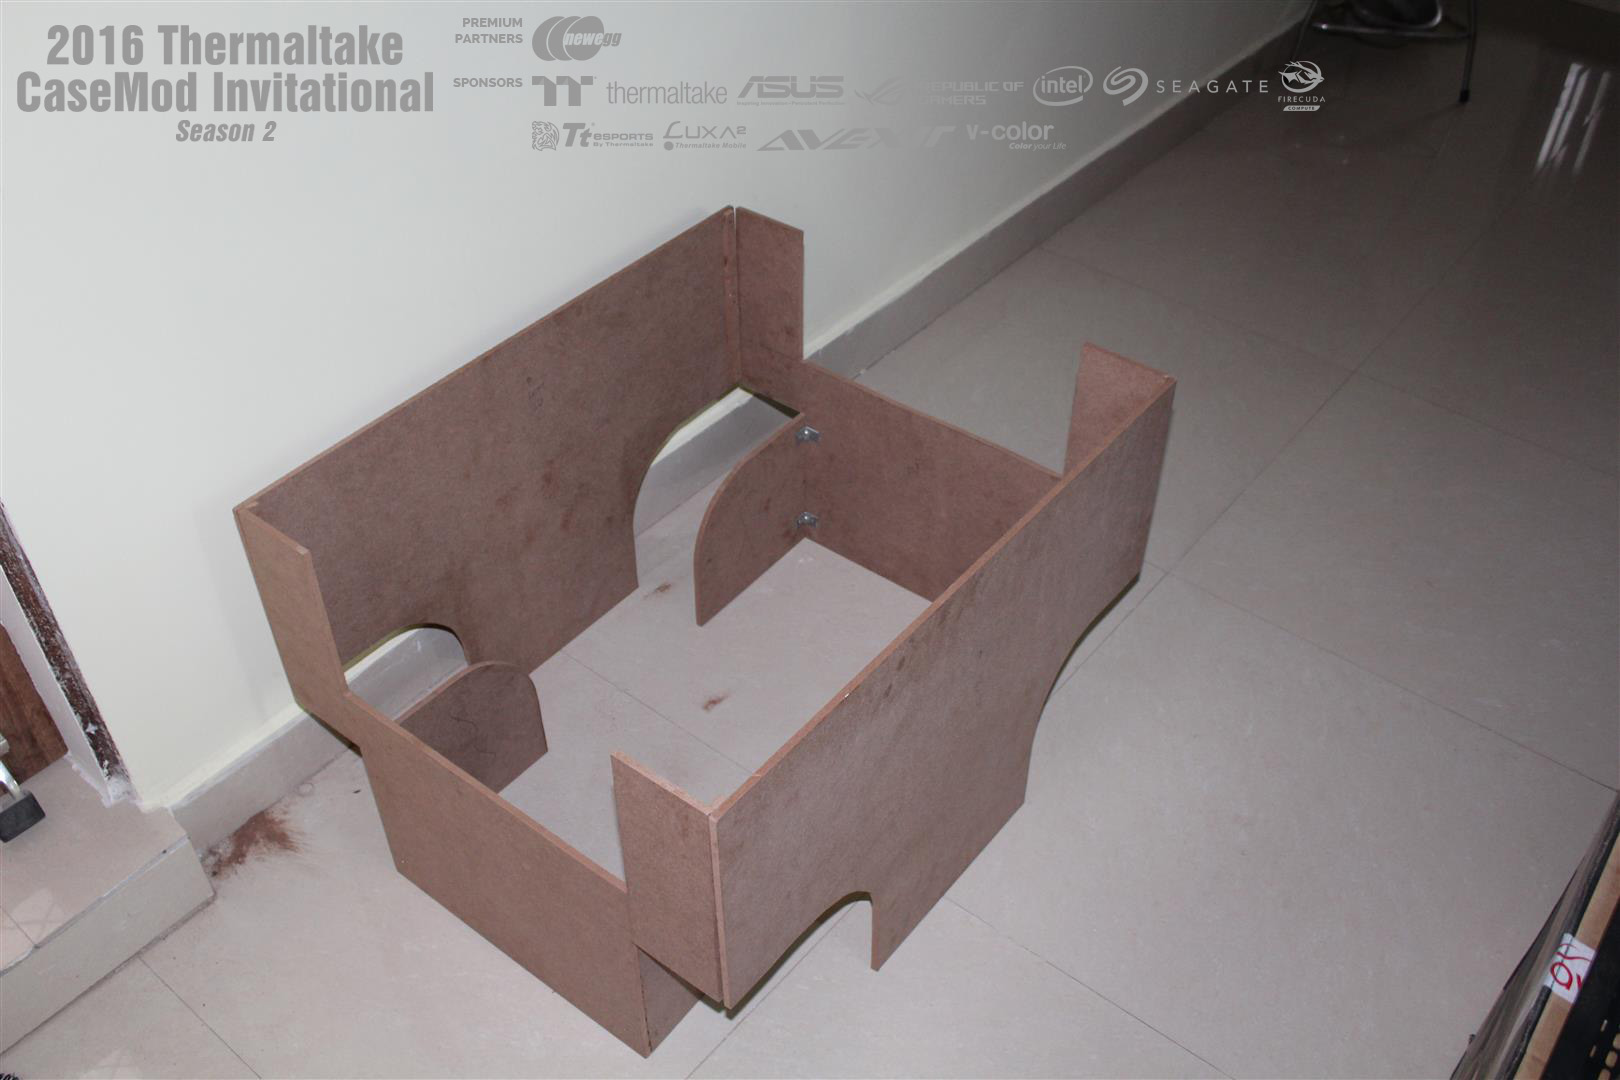
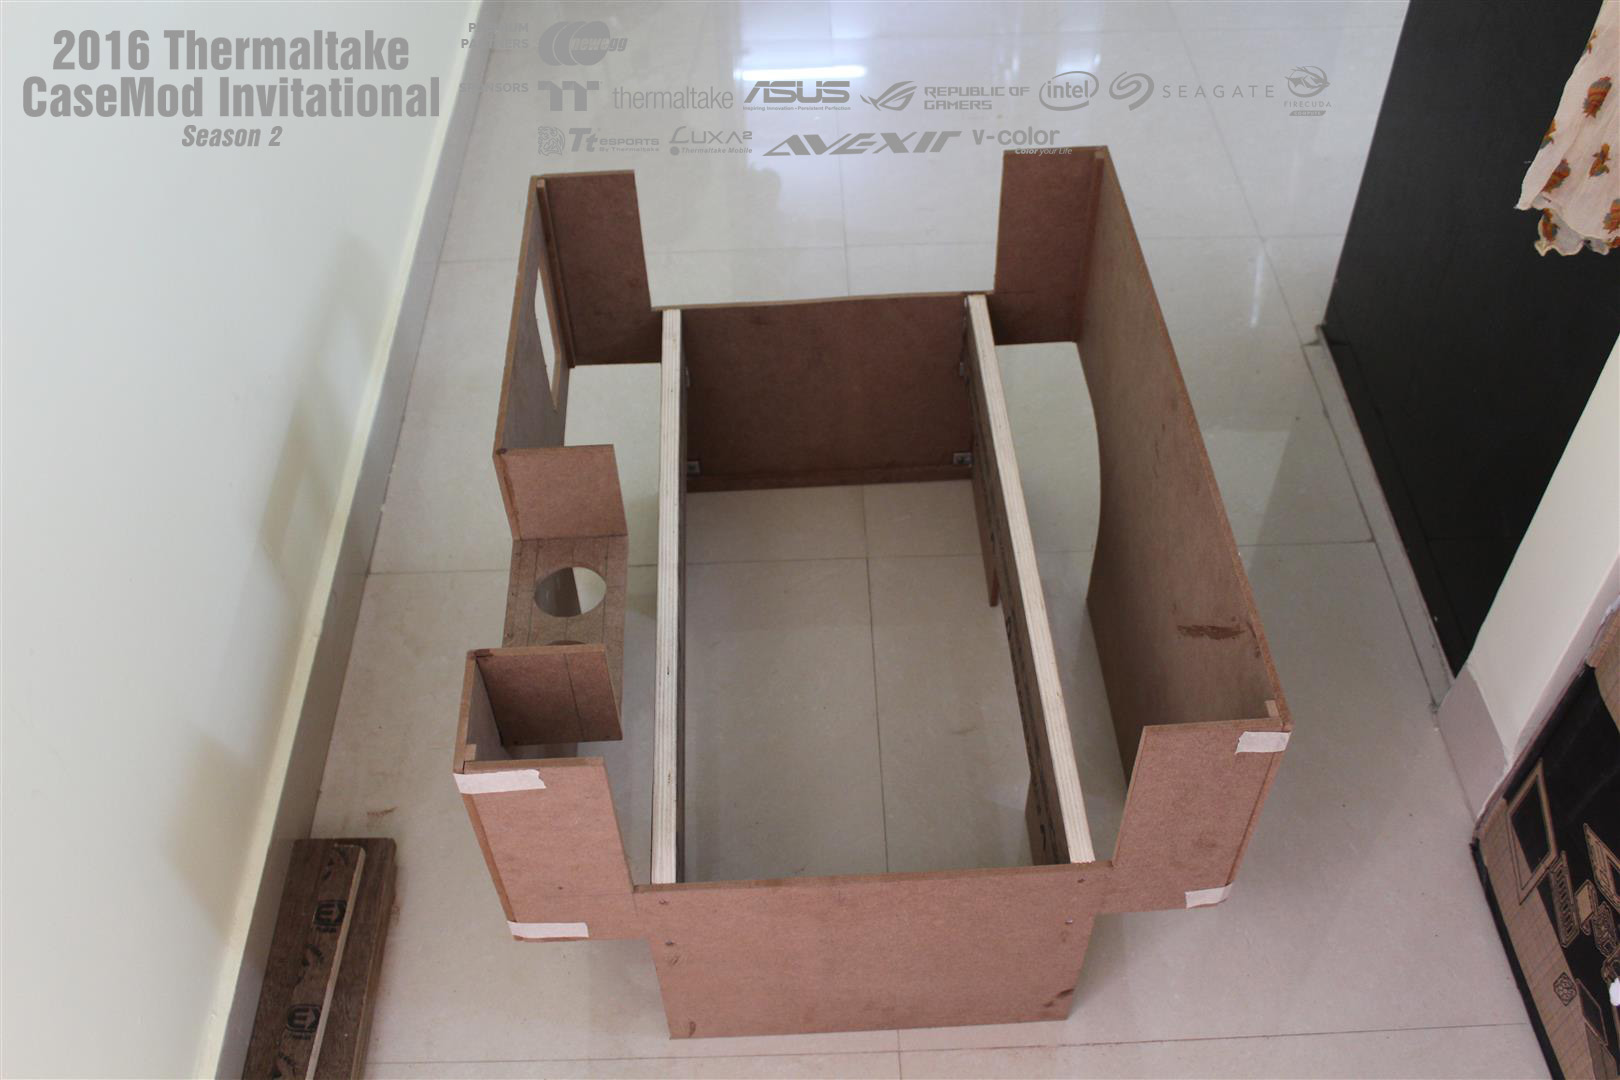
UPDATE : 9-Nov-2016
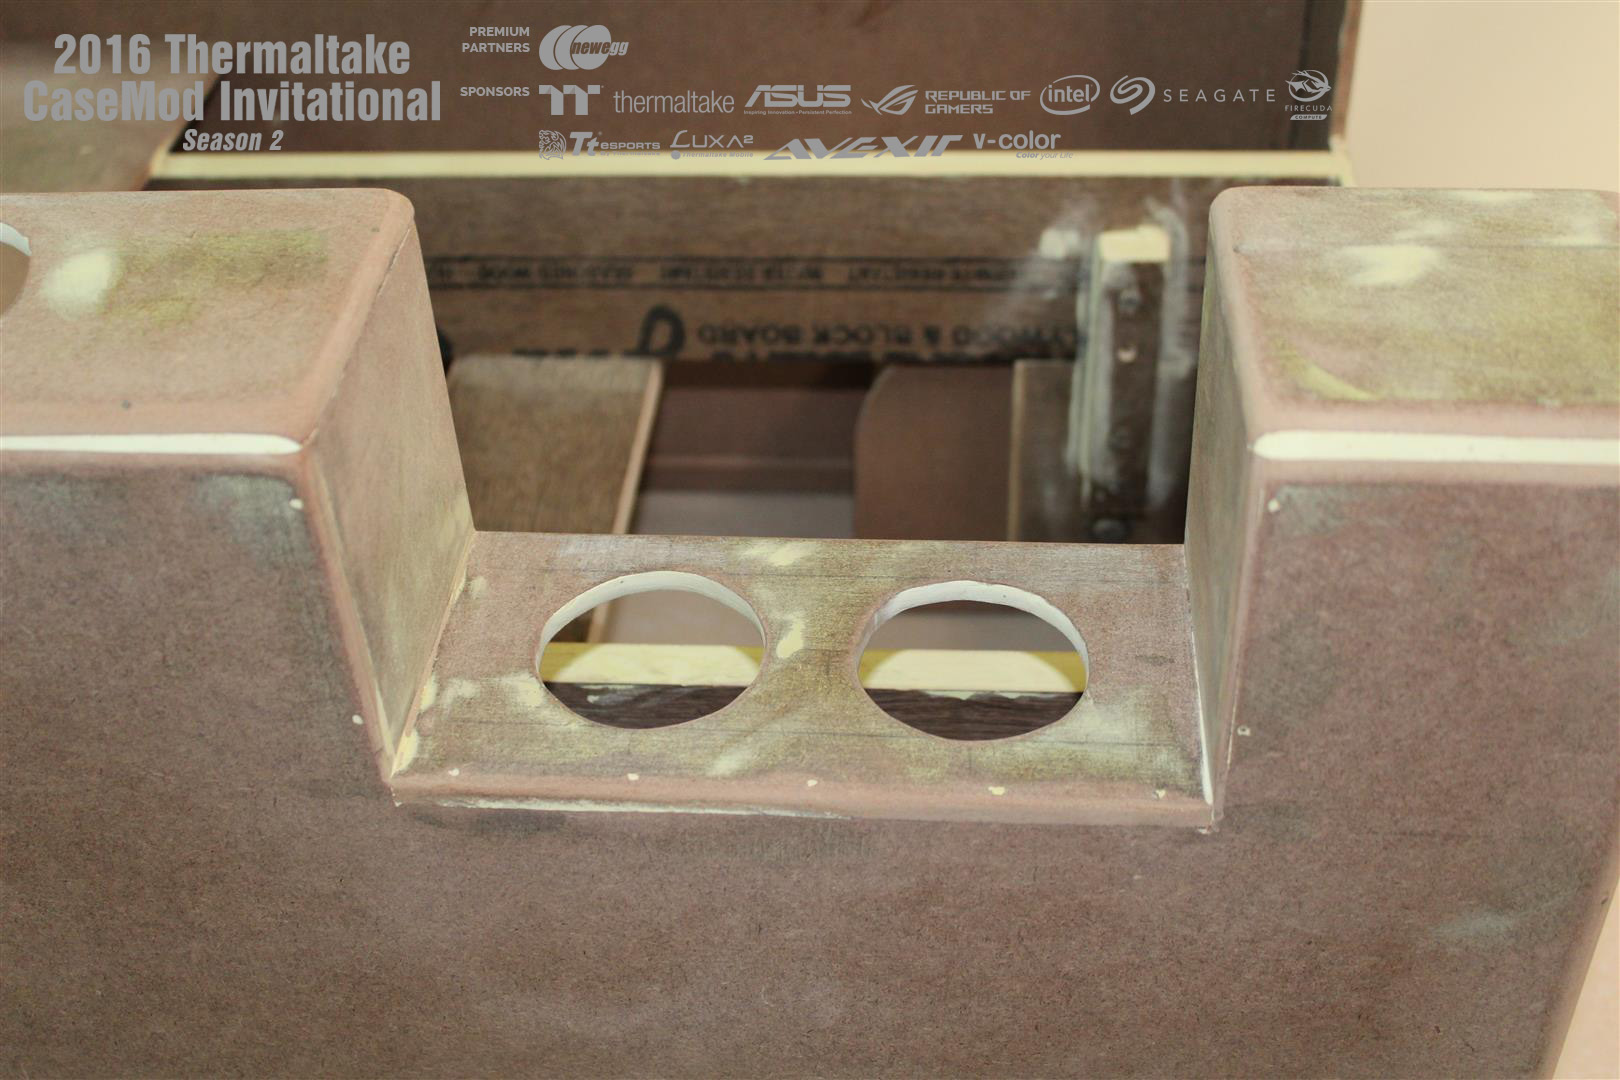
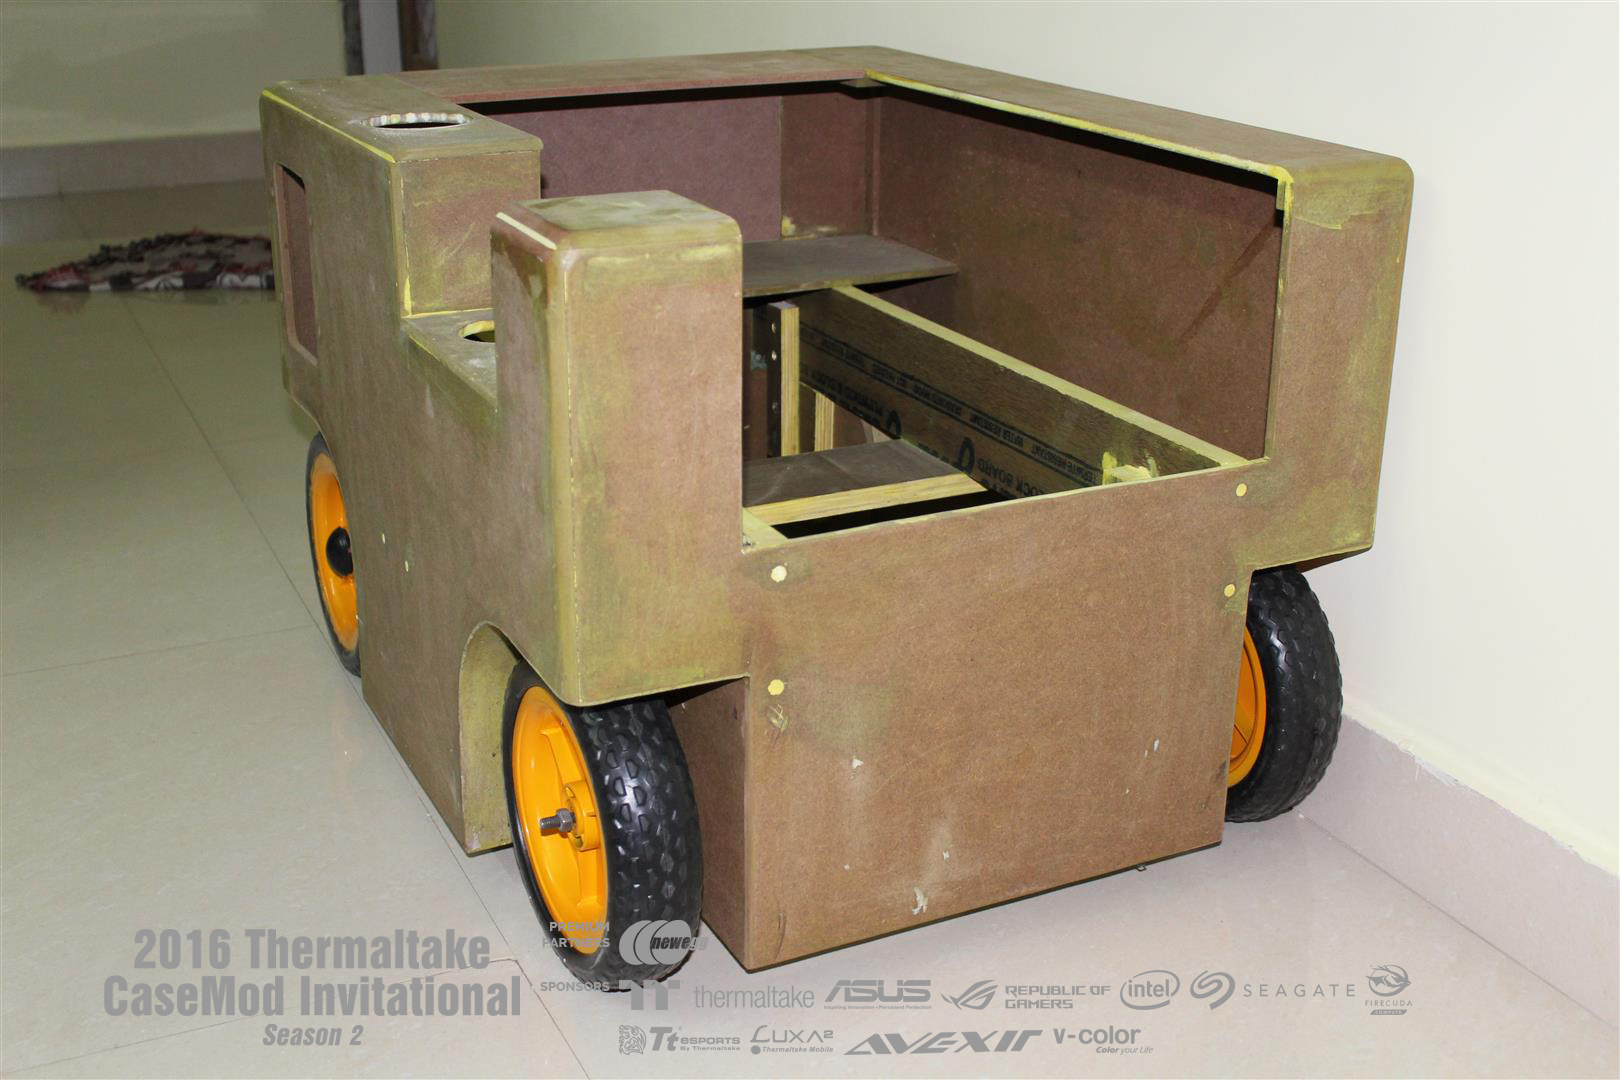
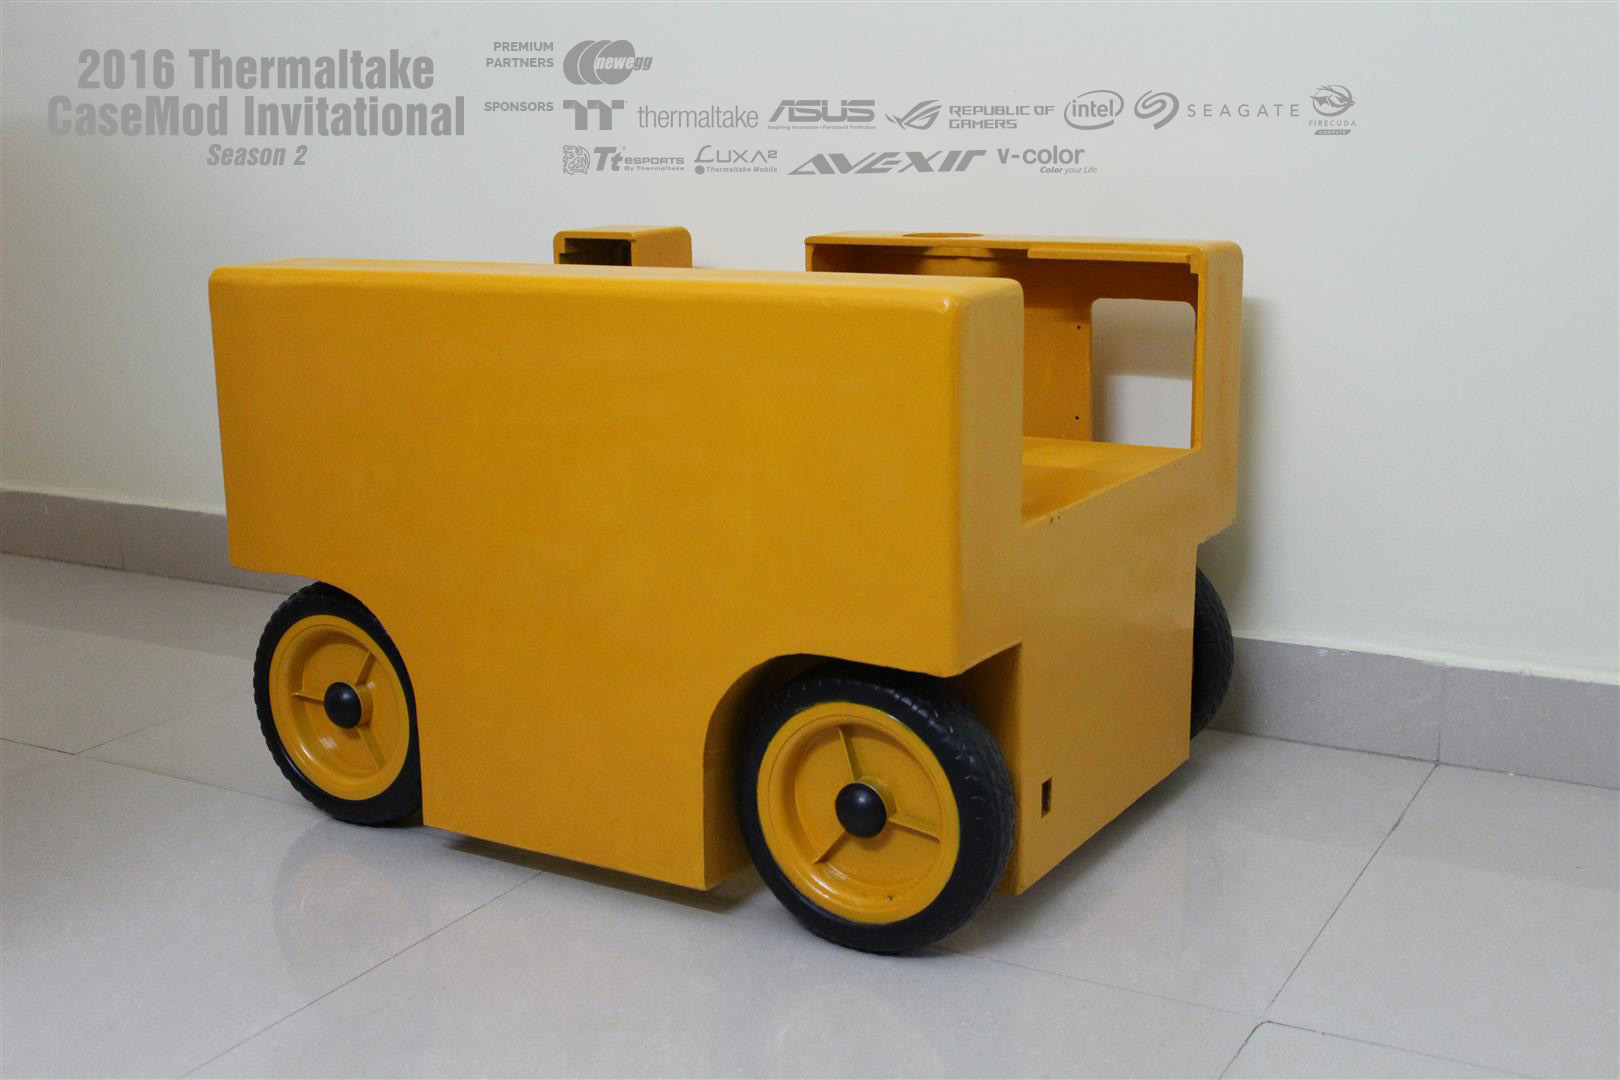
Somewhat basic shell is ready.
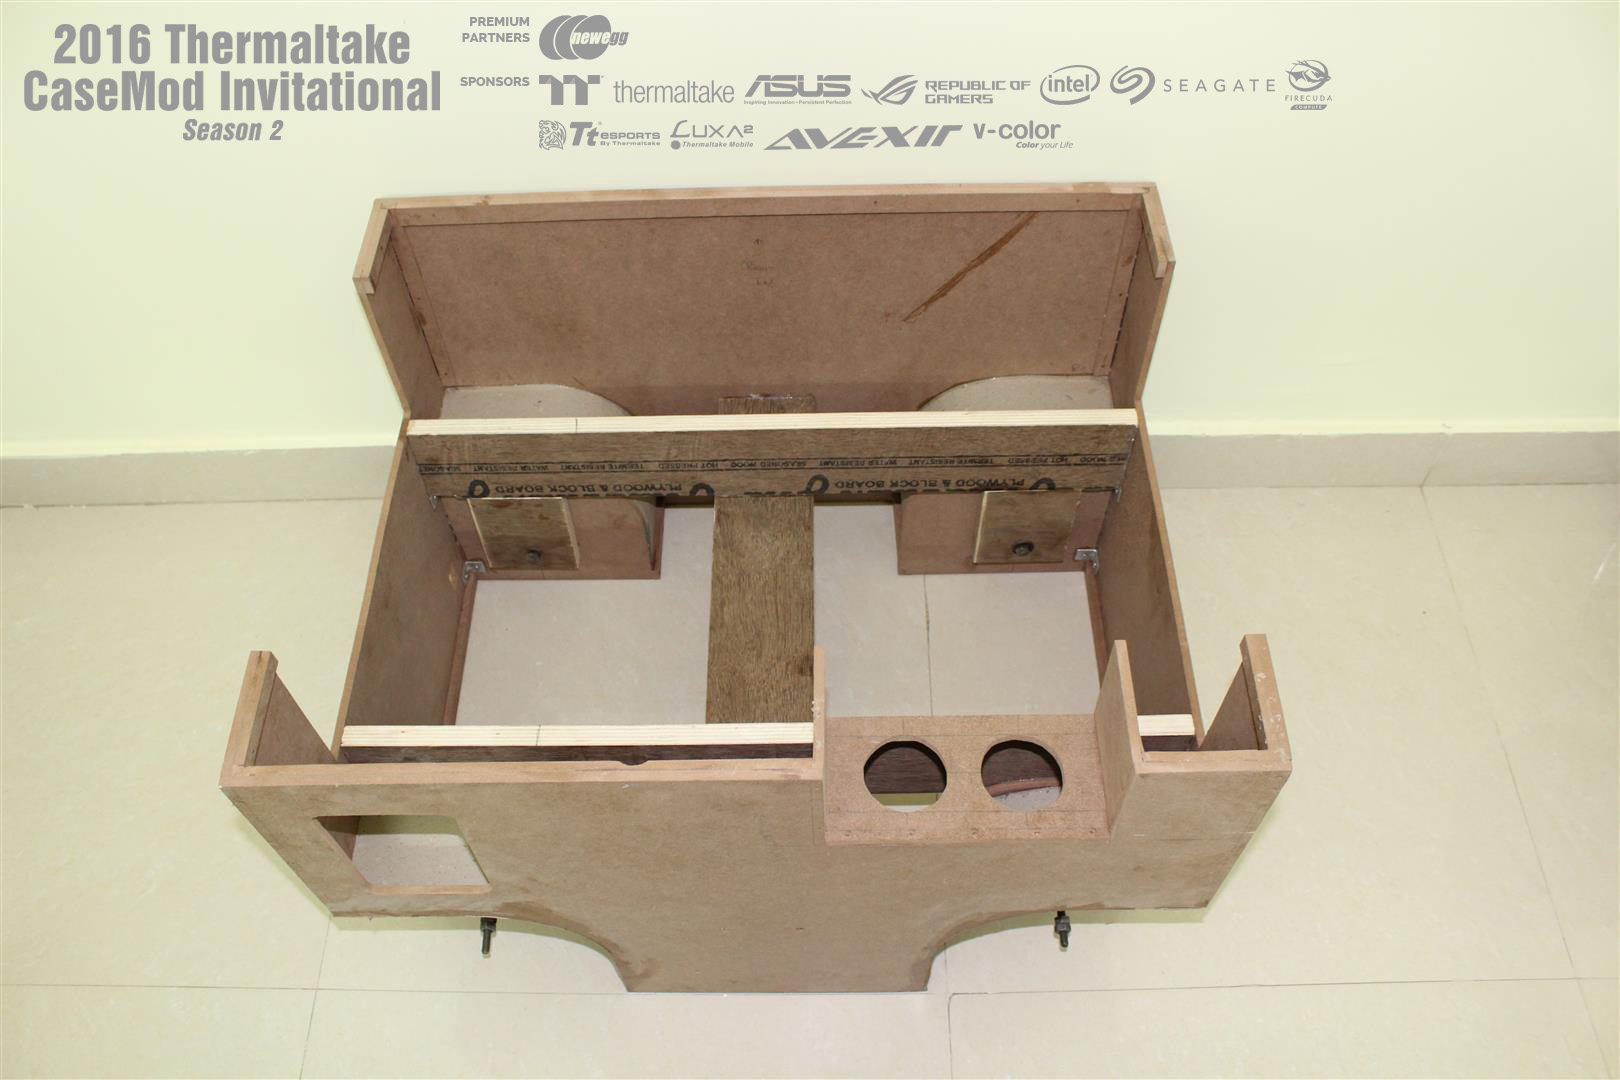
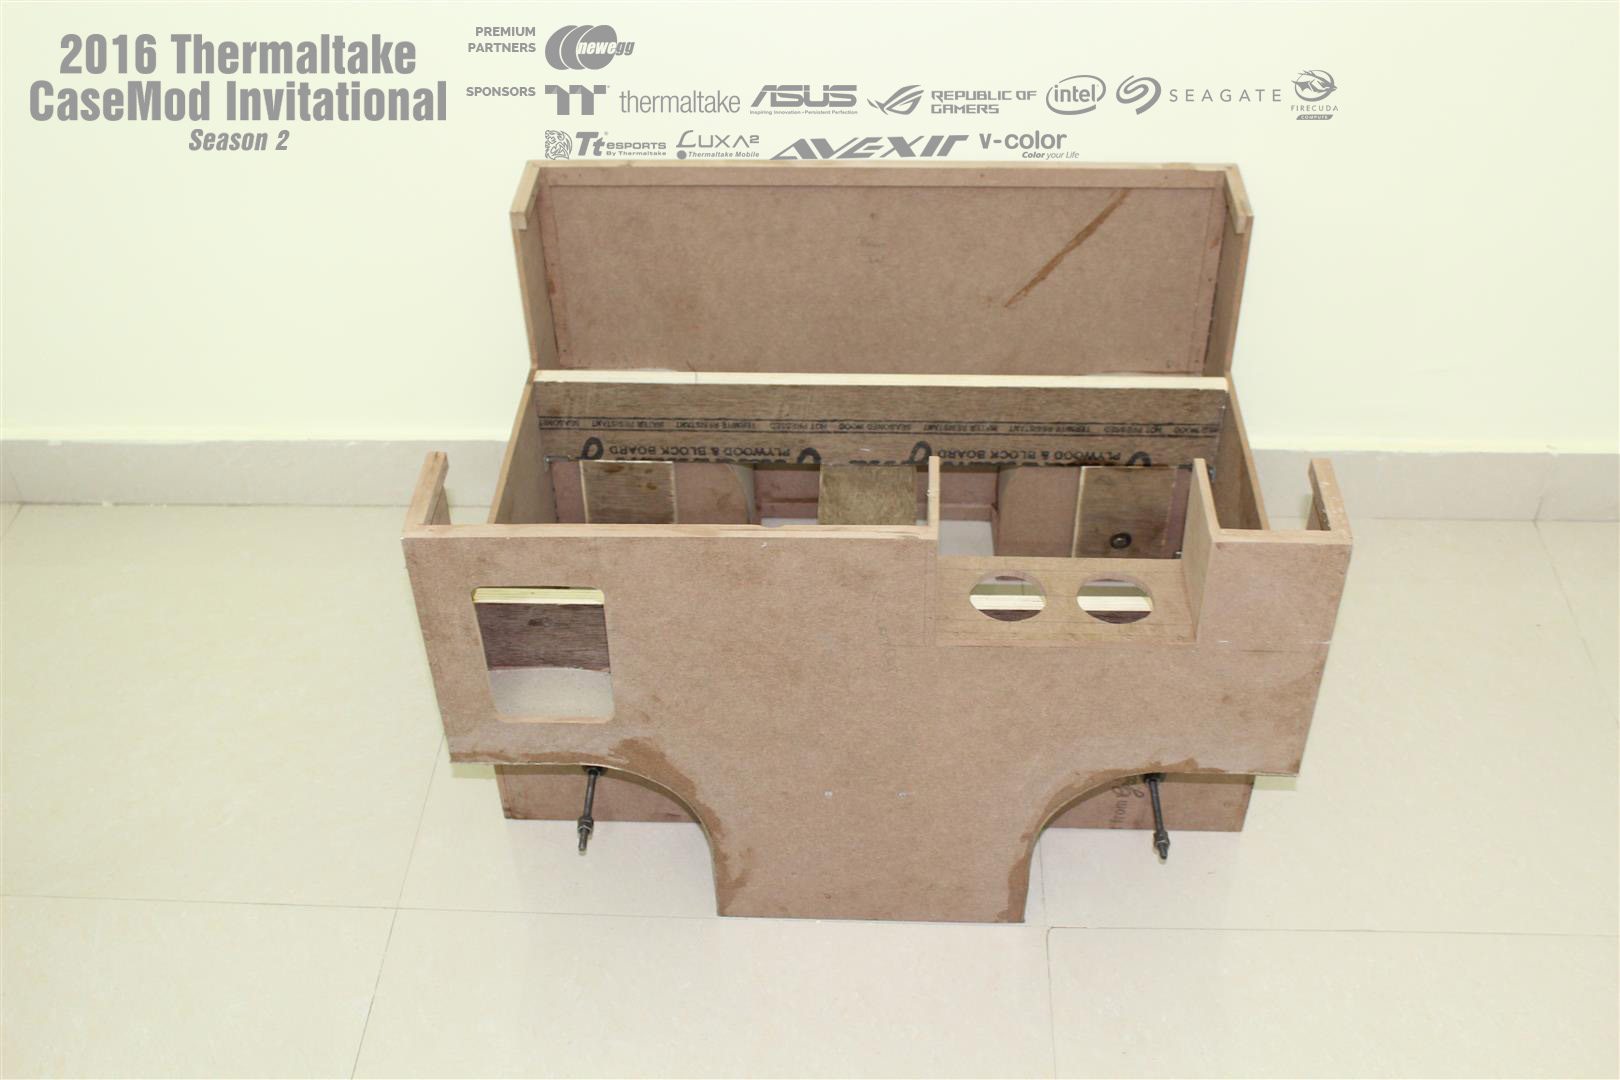
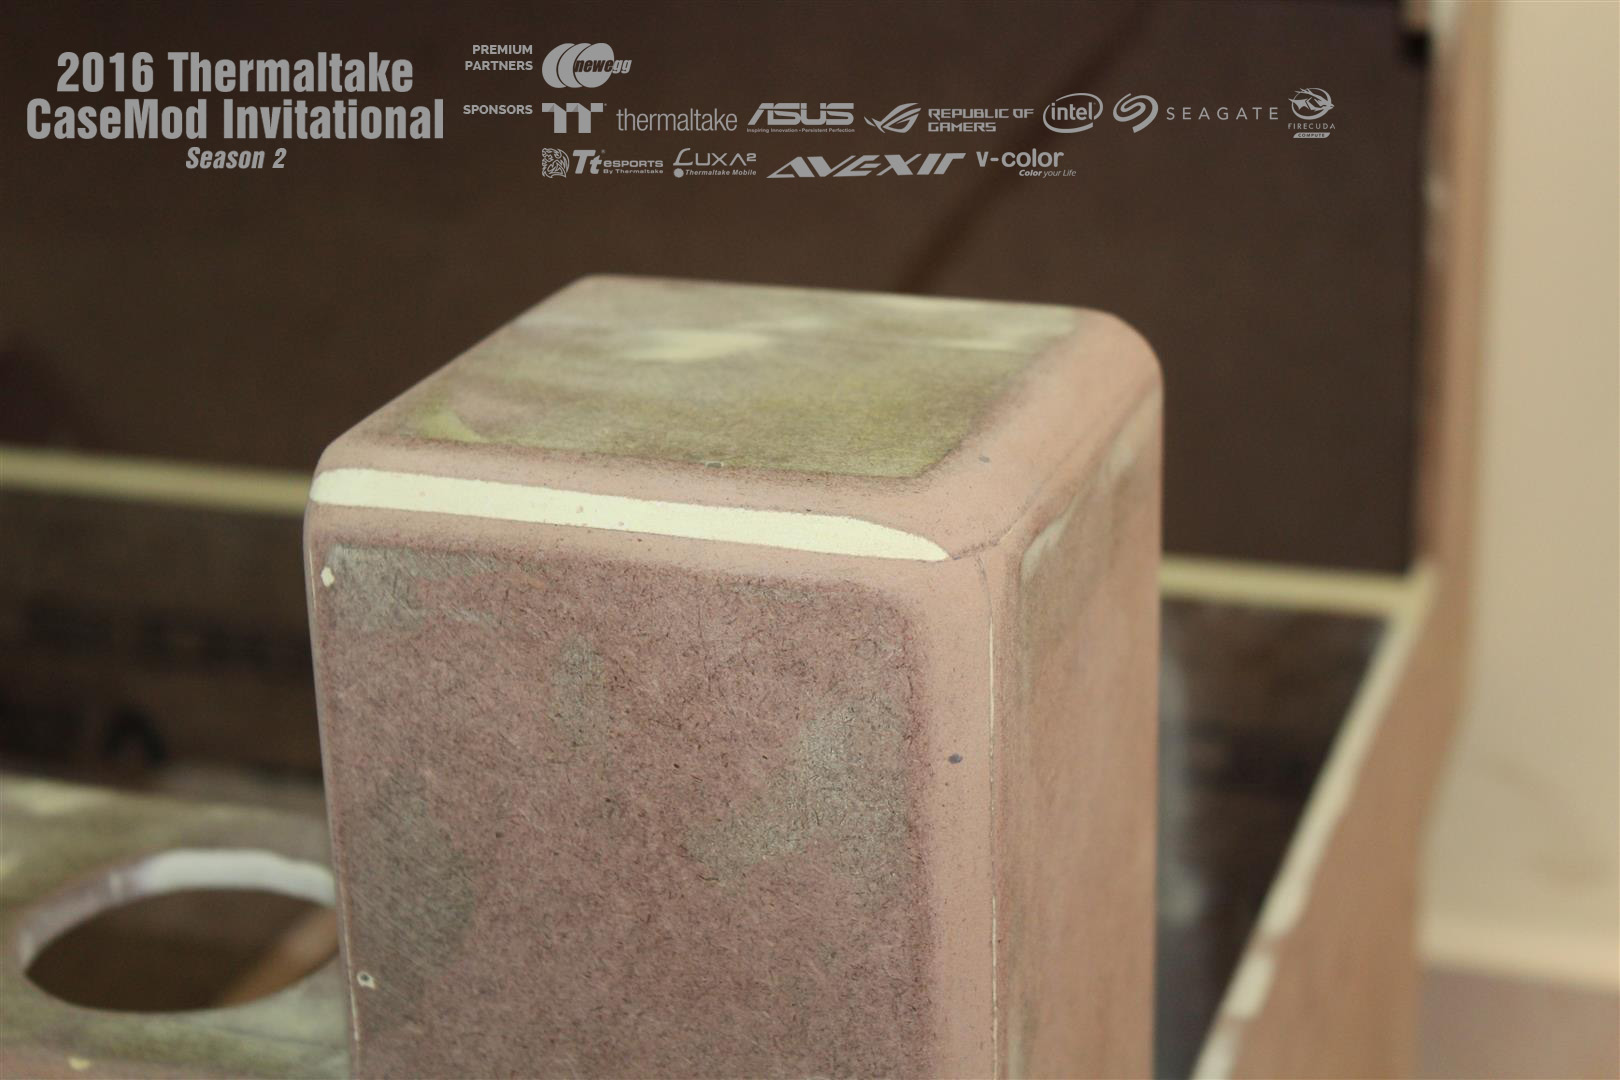
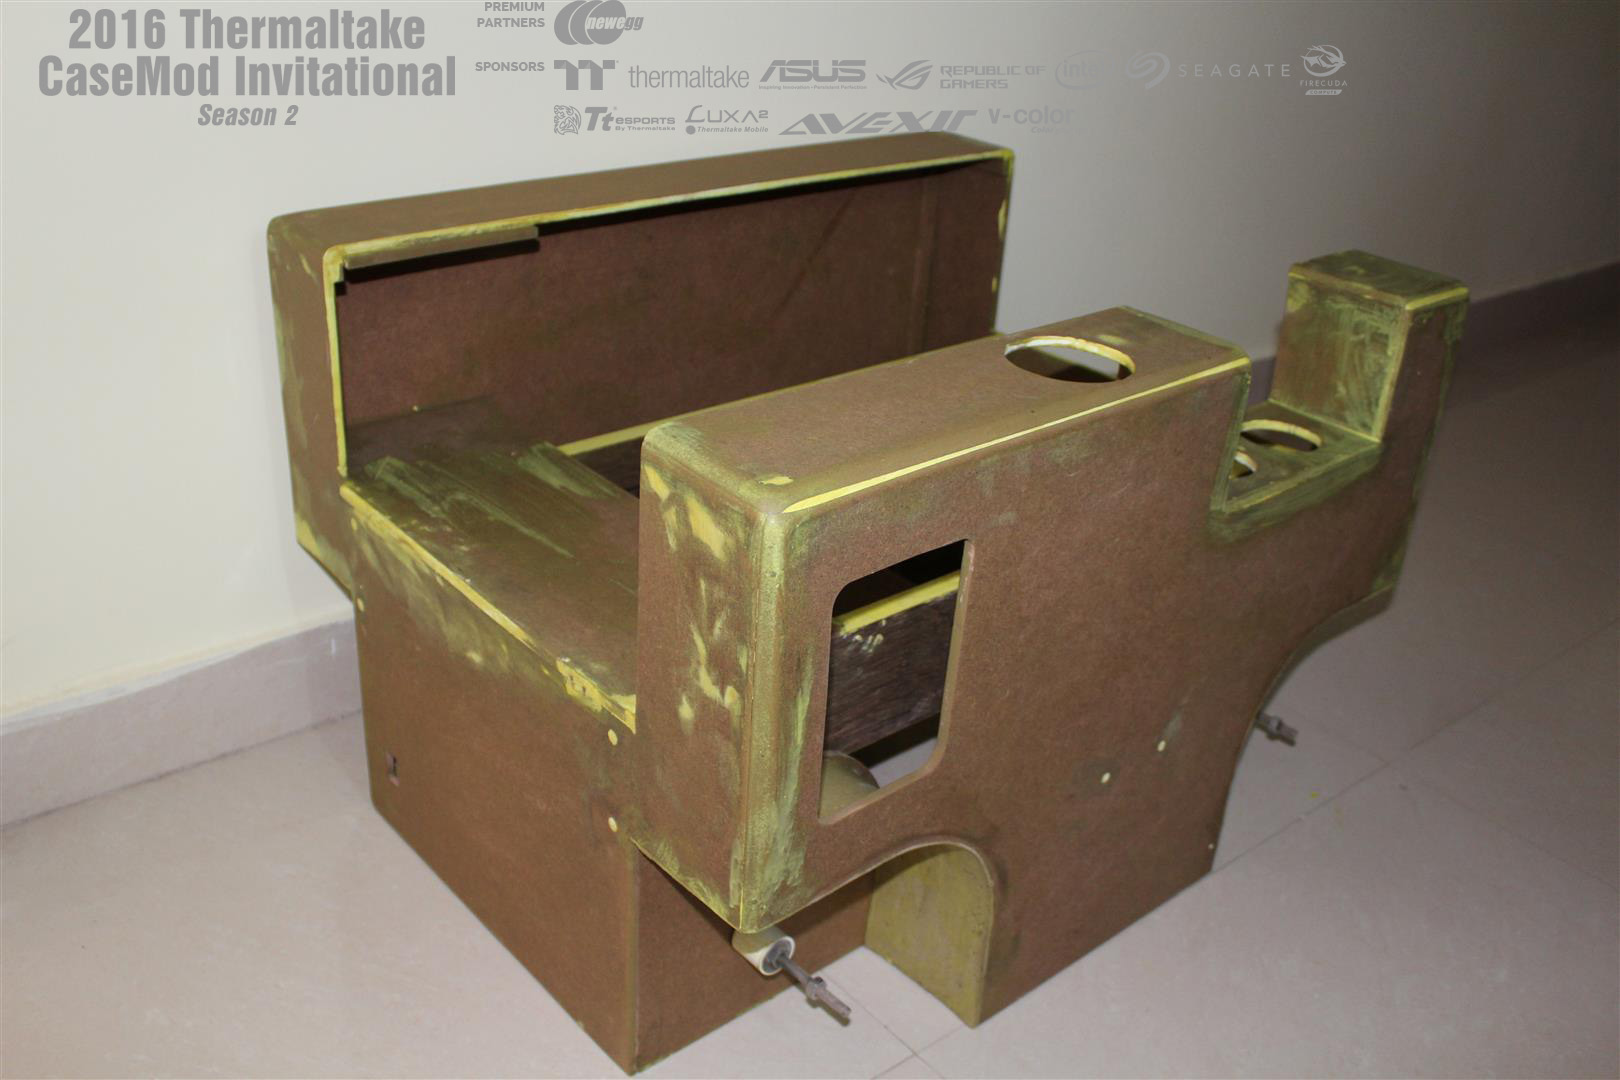
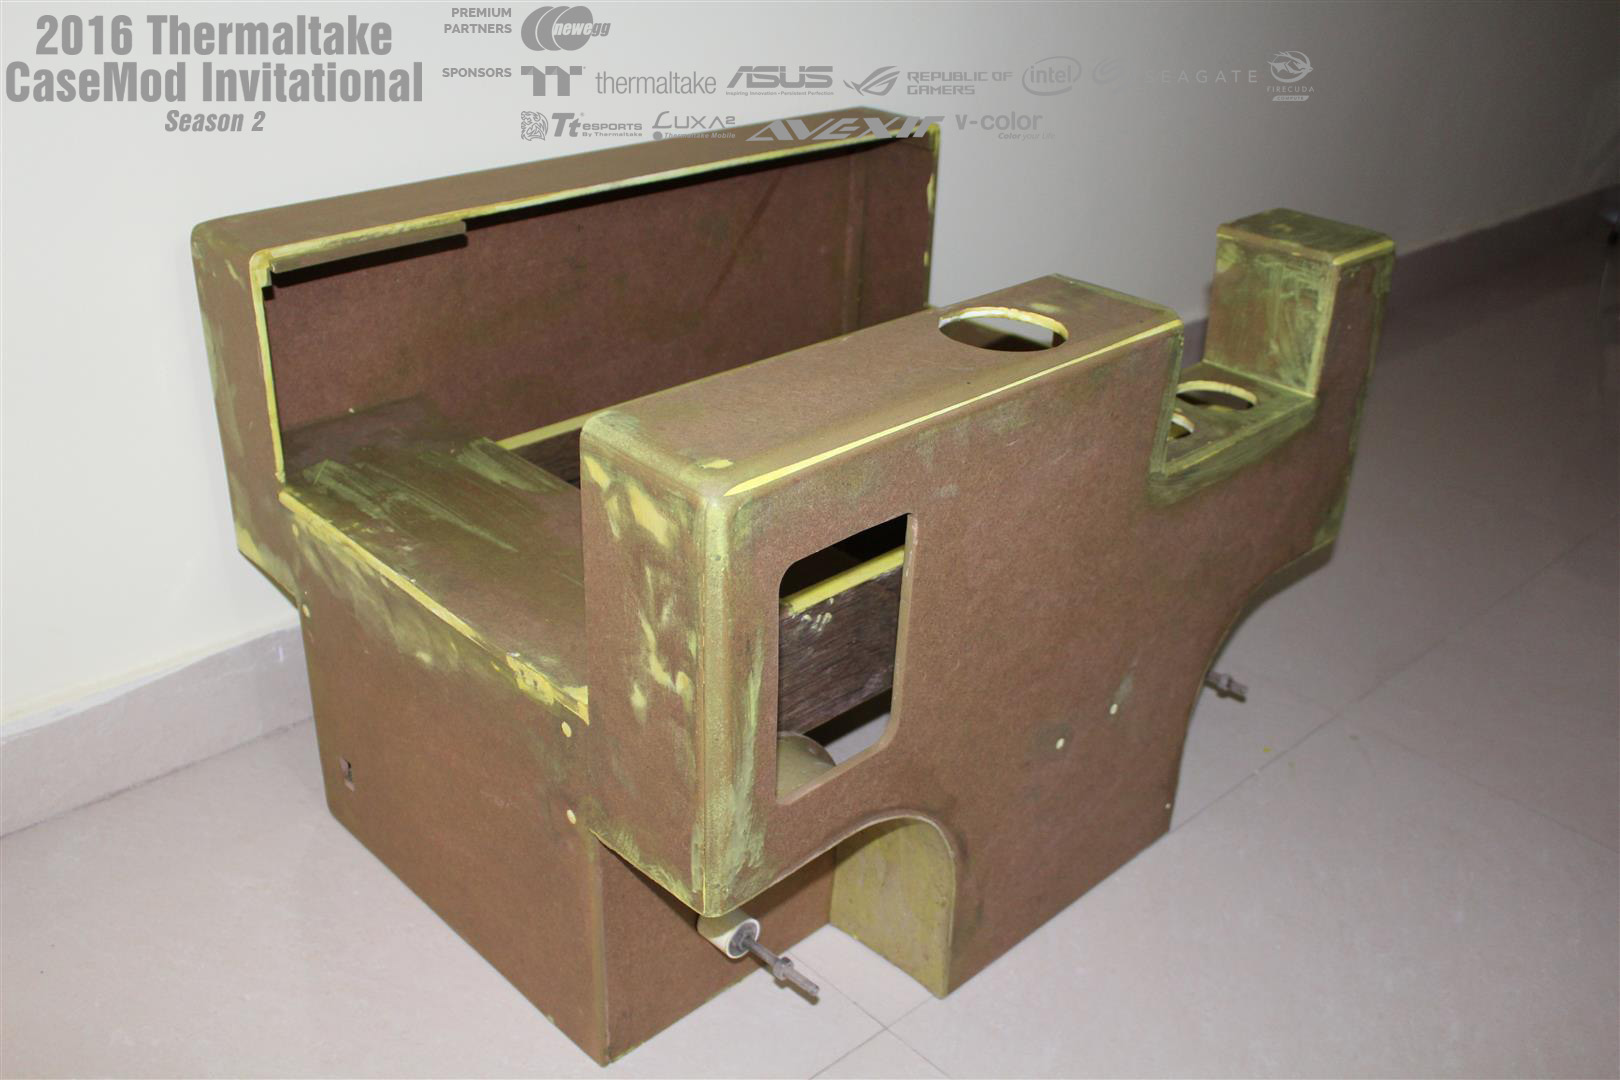
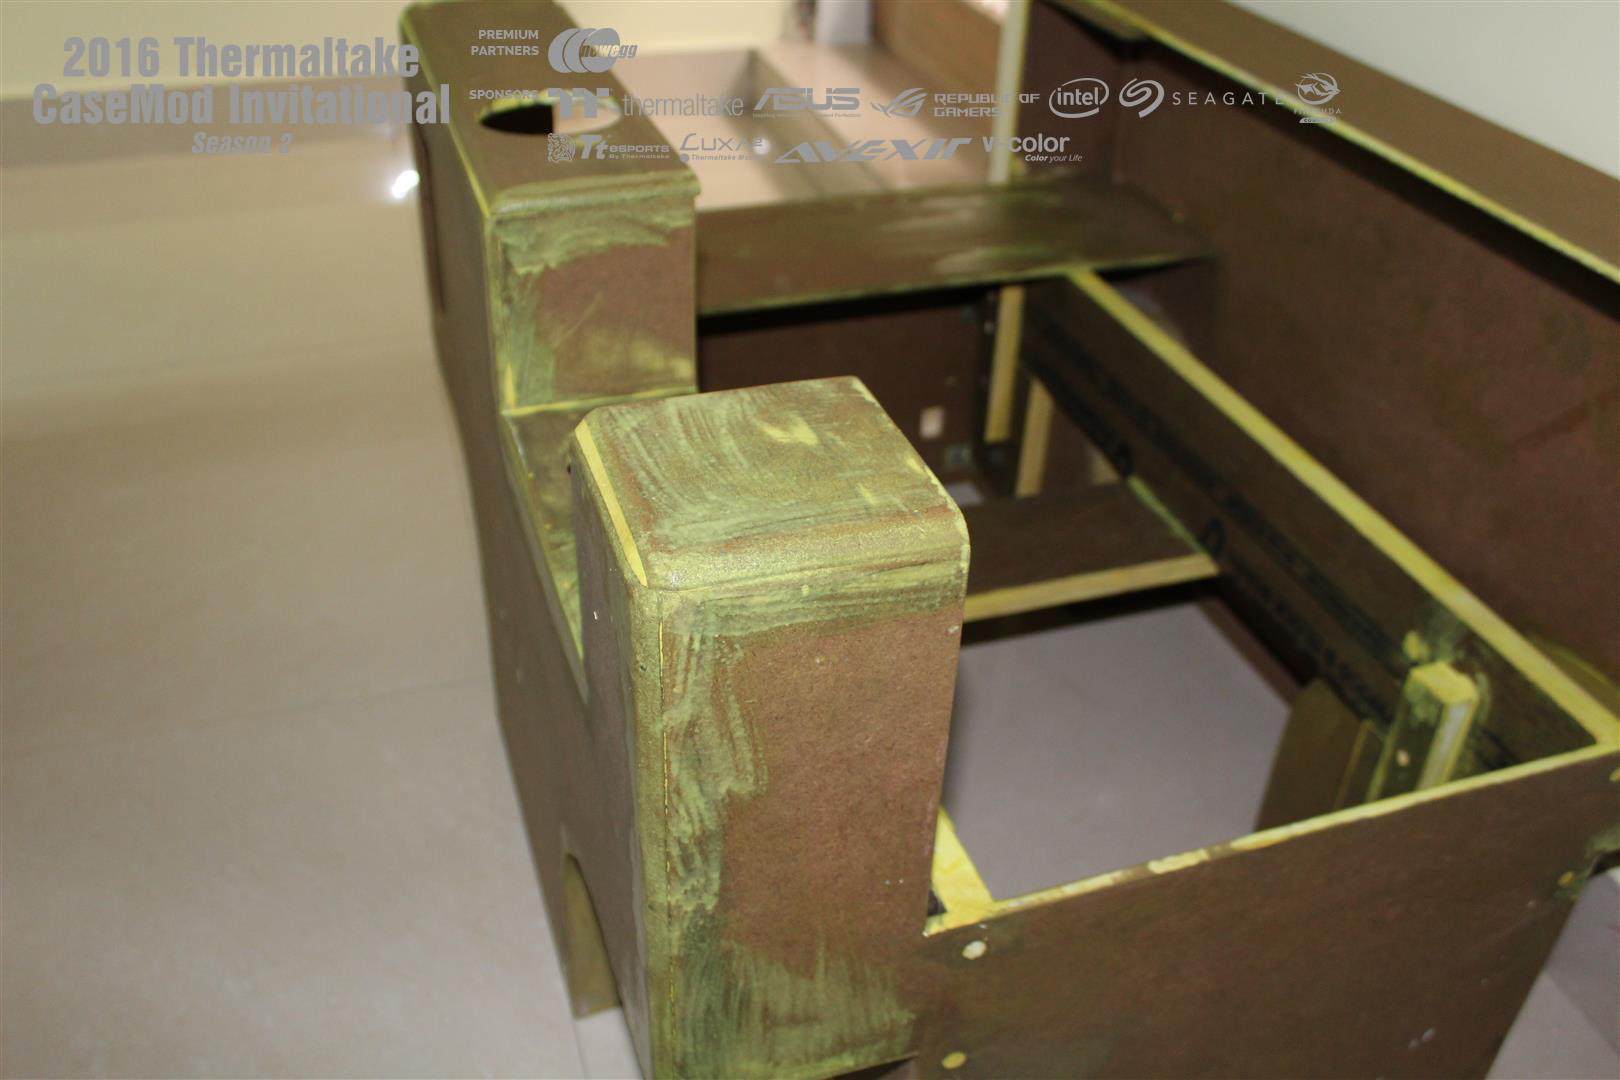
Now first filling of all joints and edges.
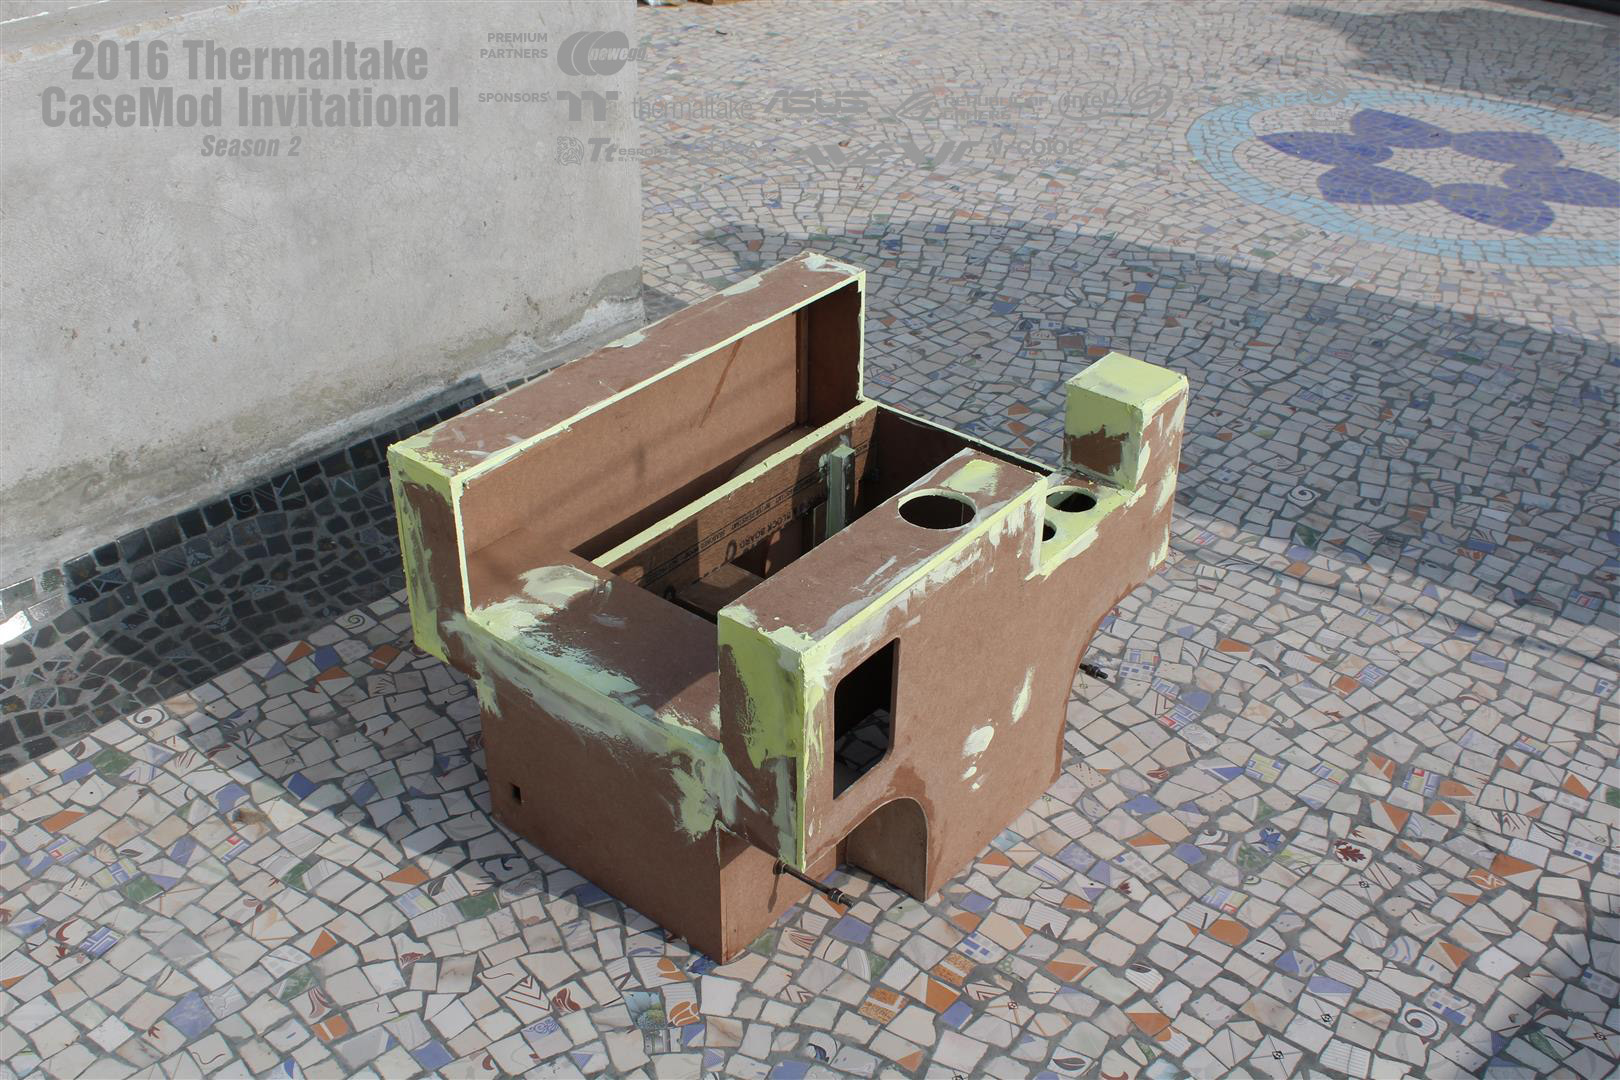
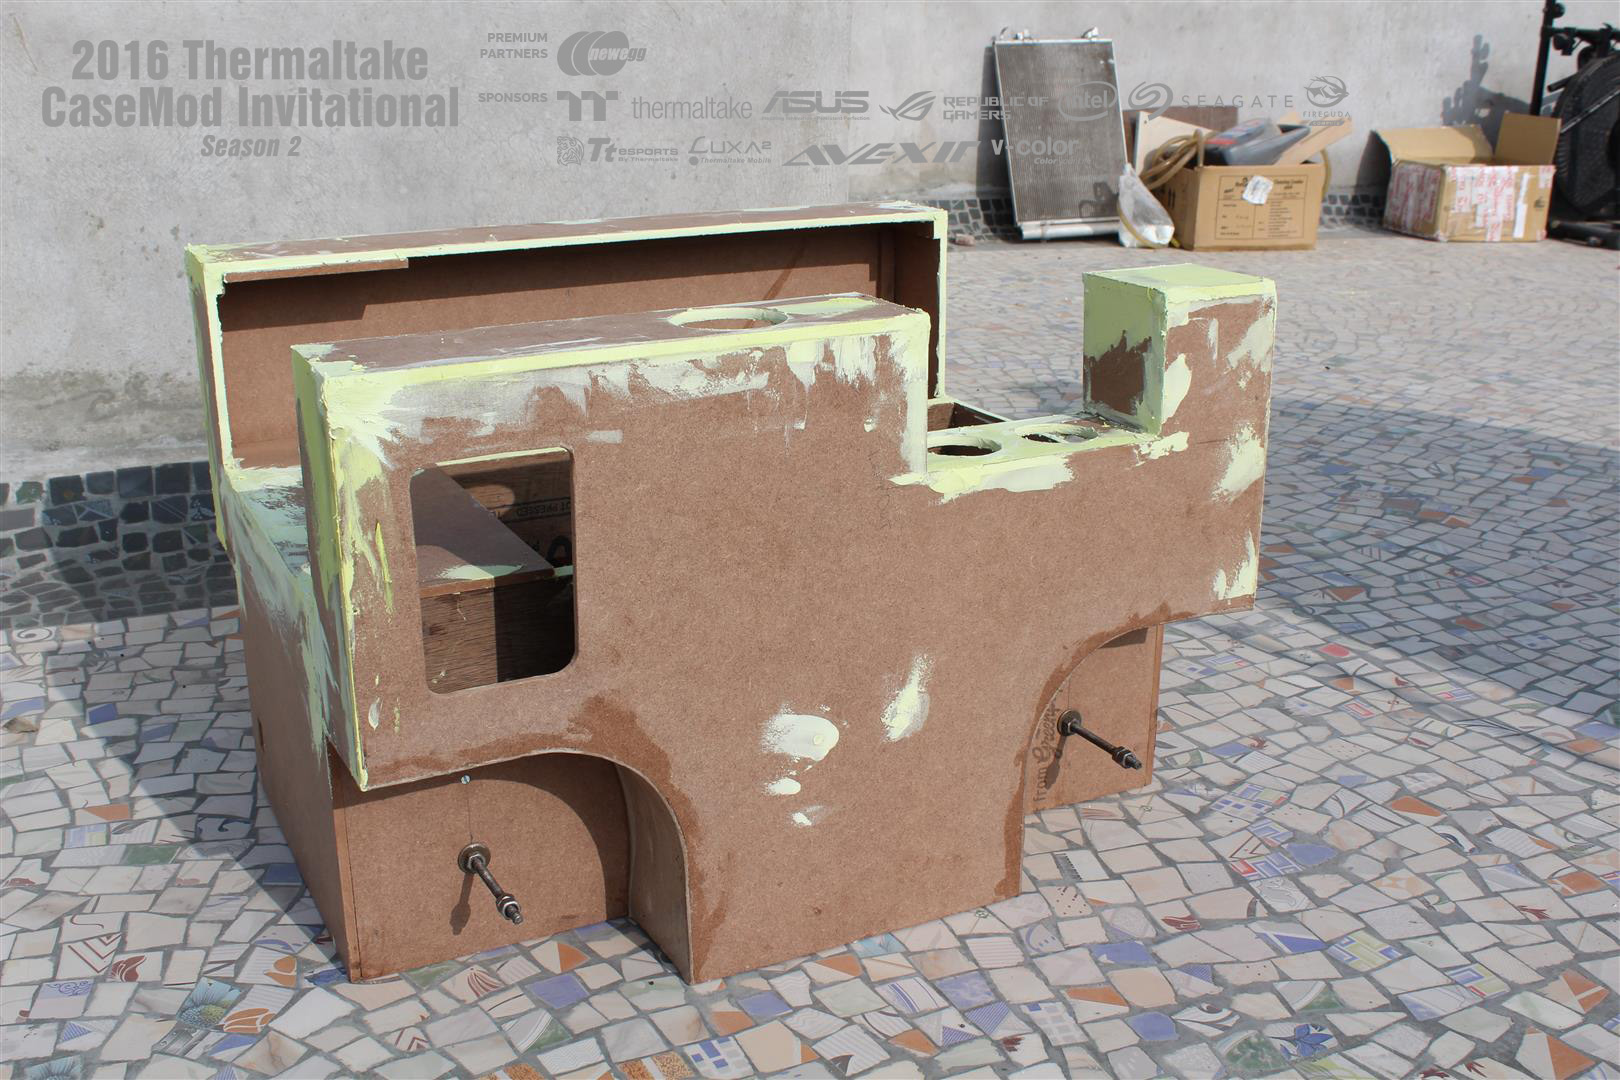
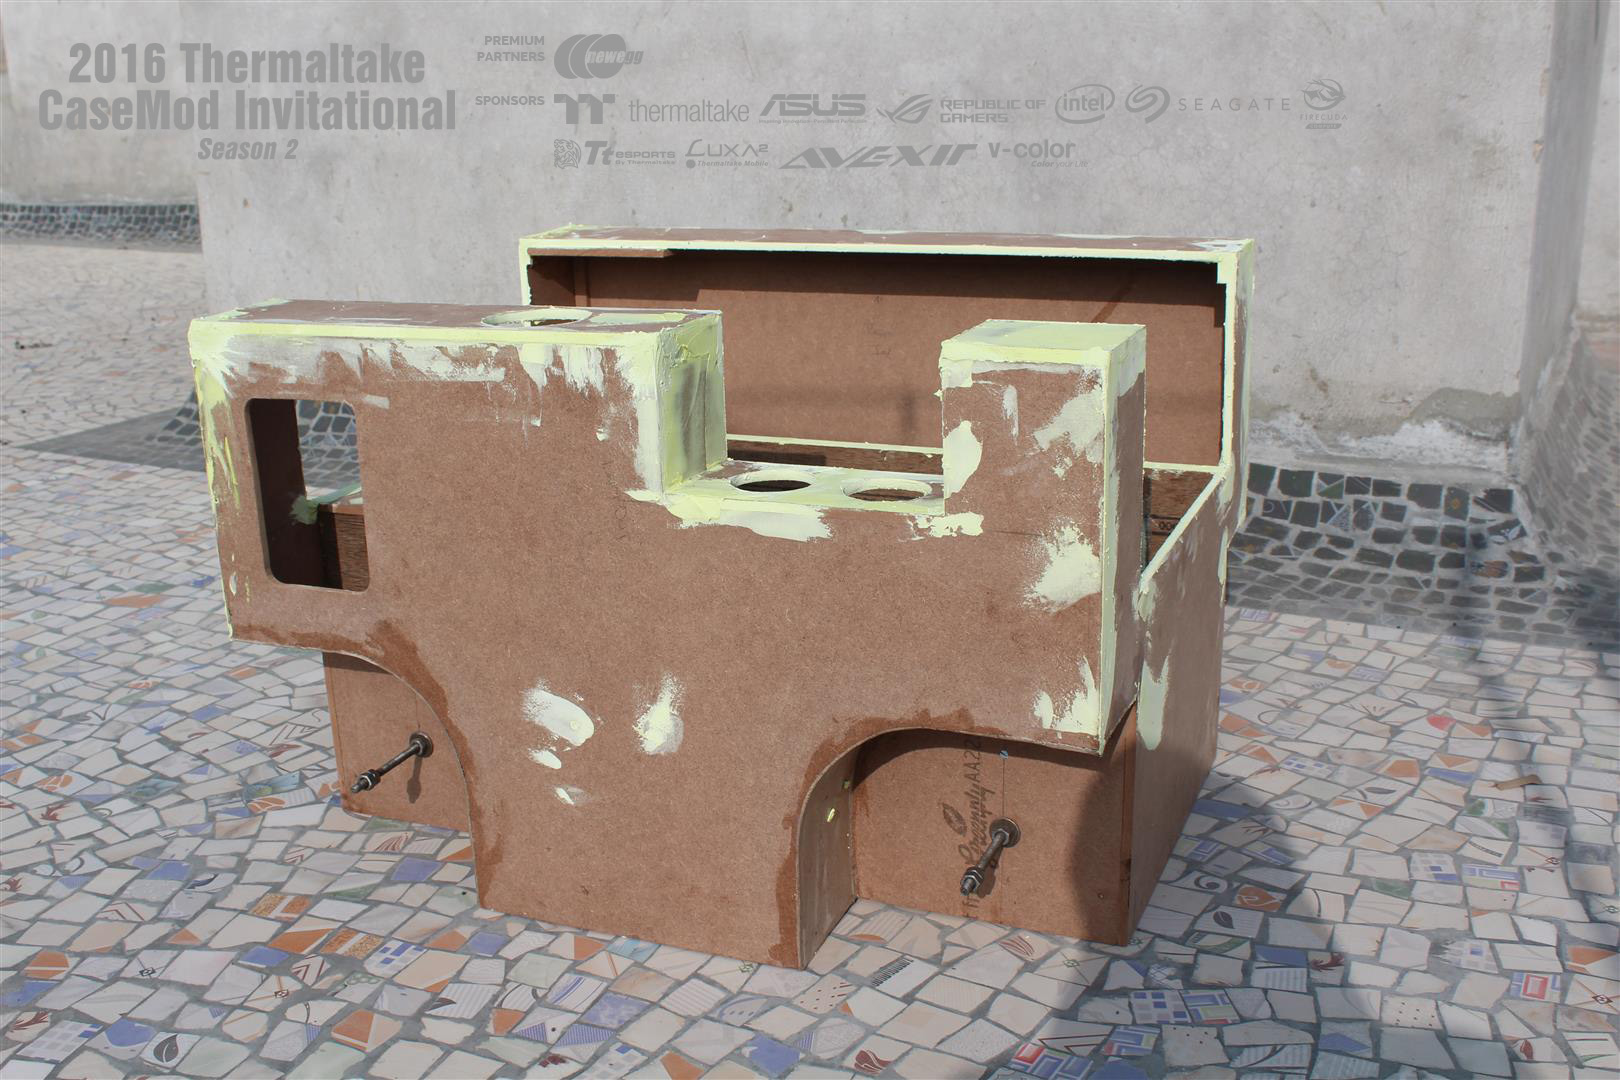
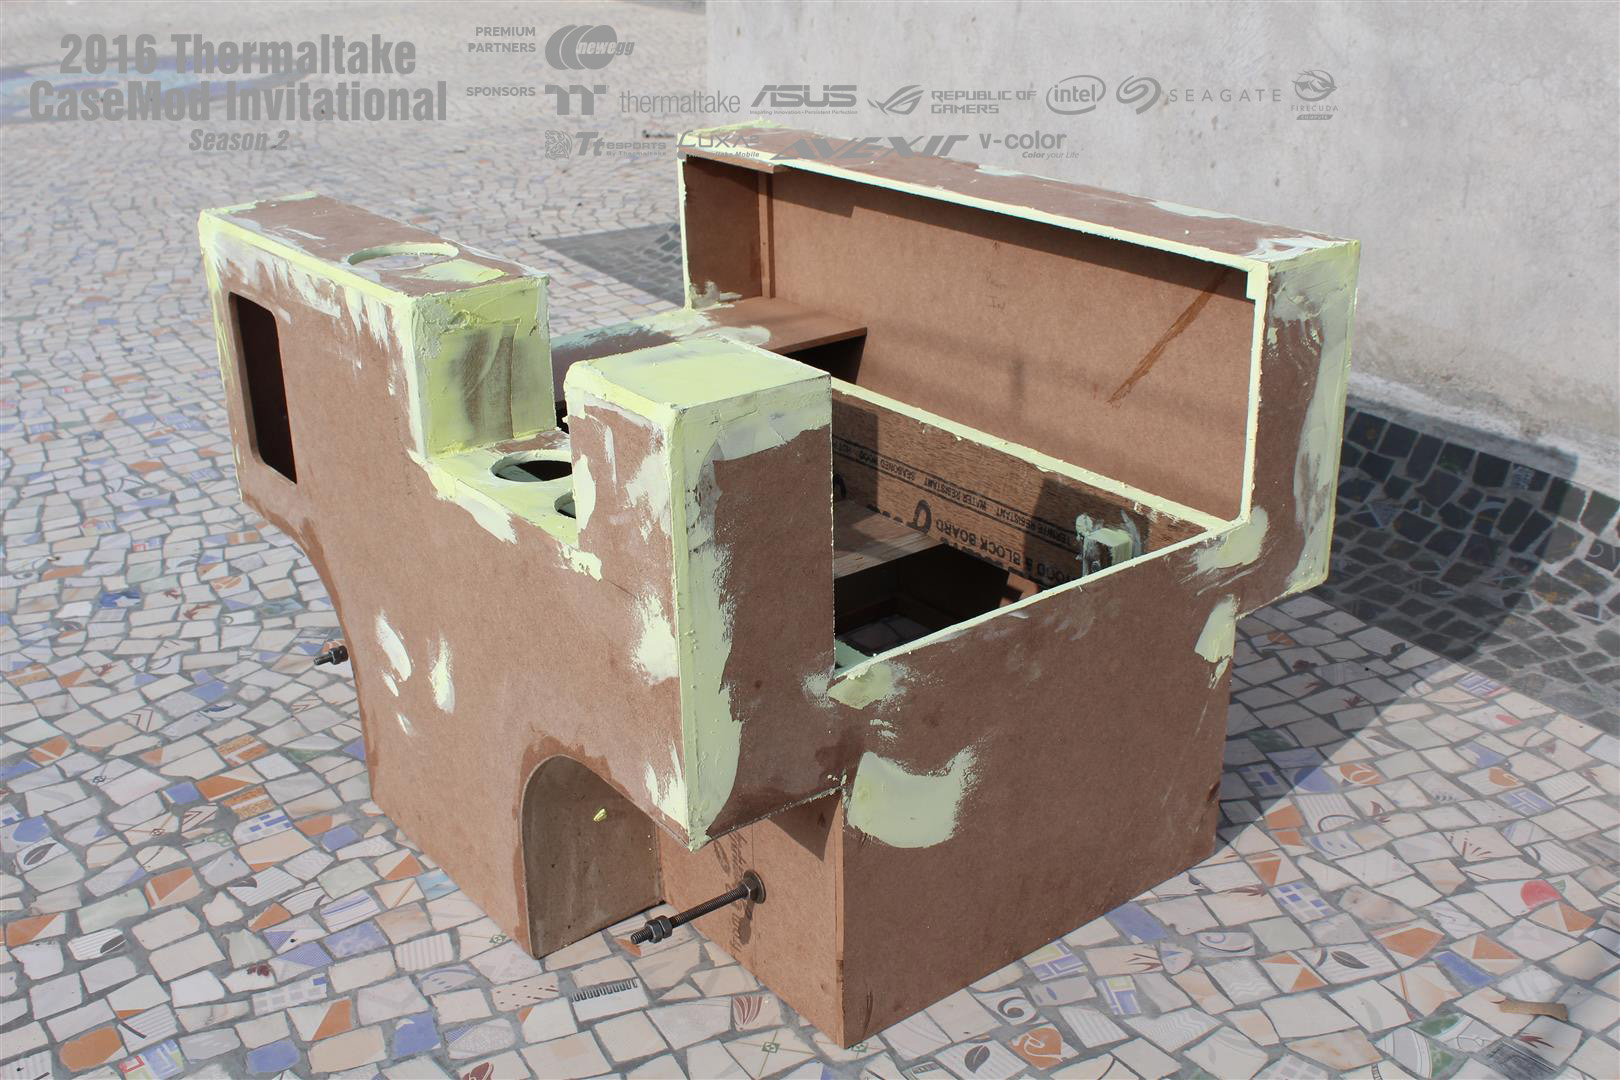
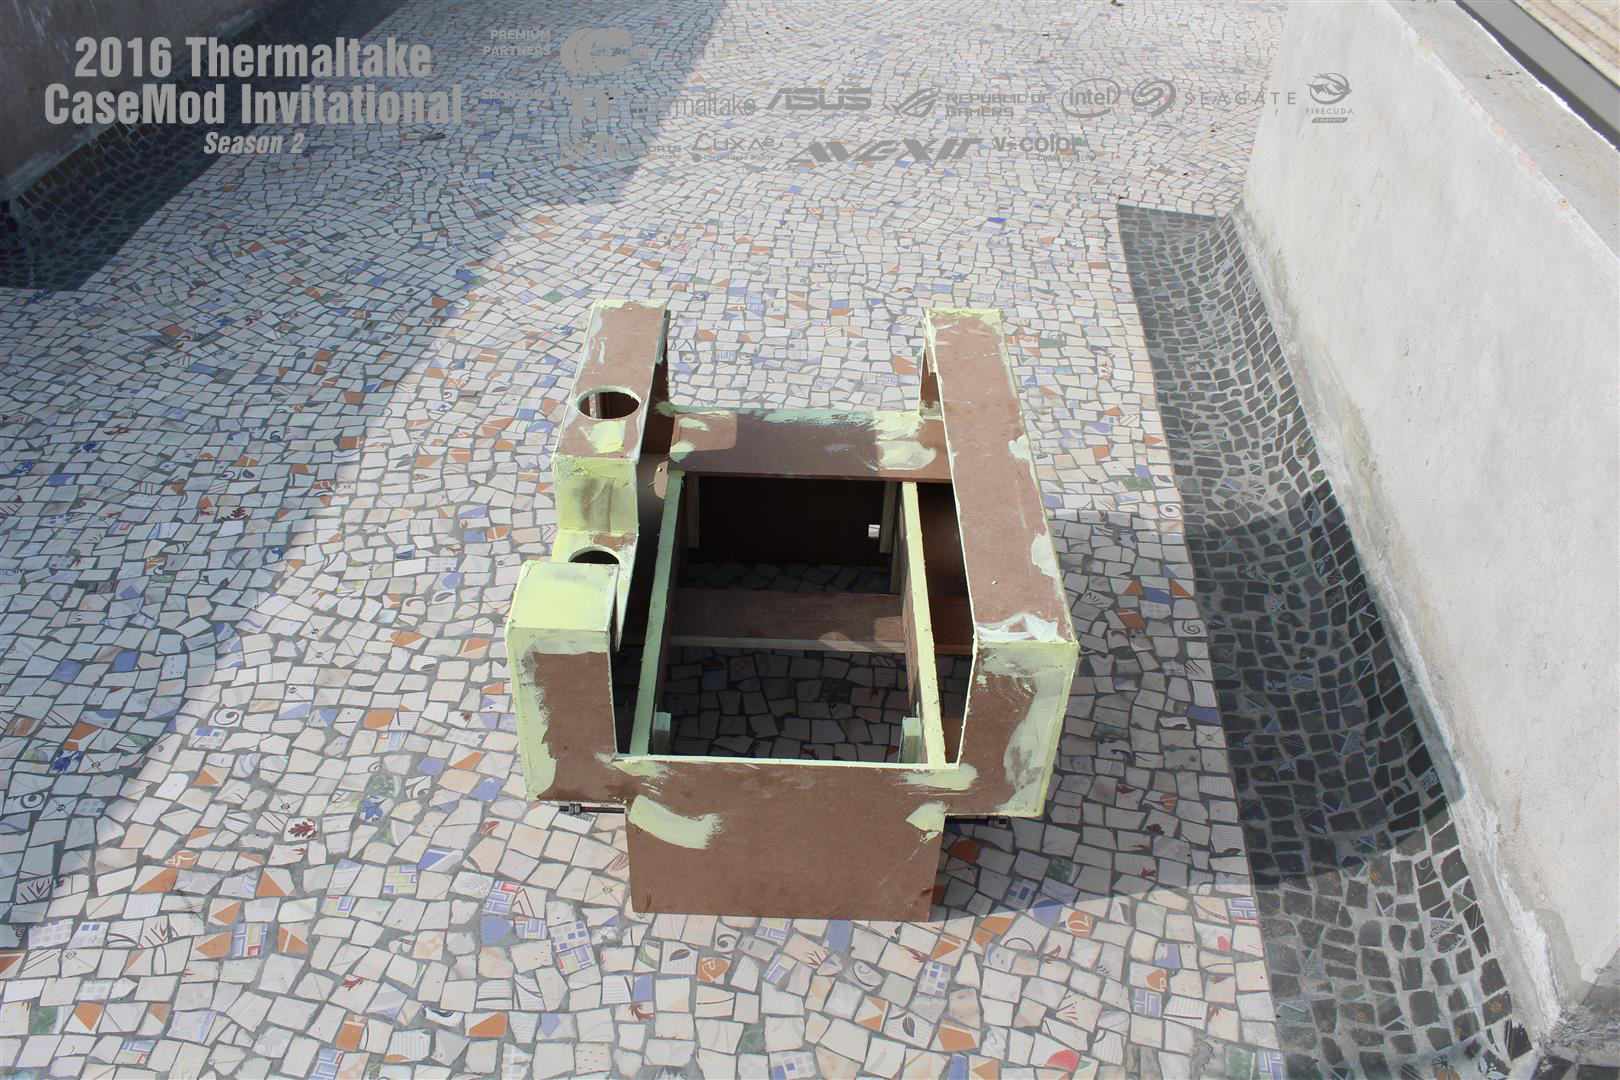
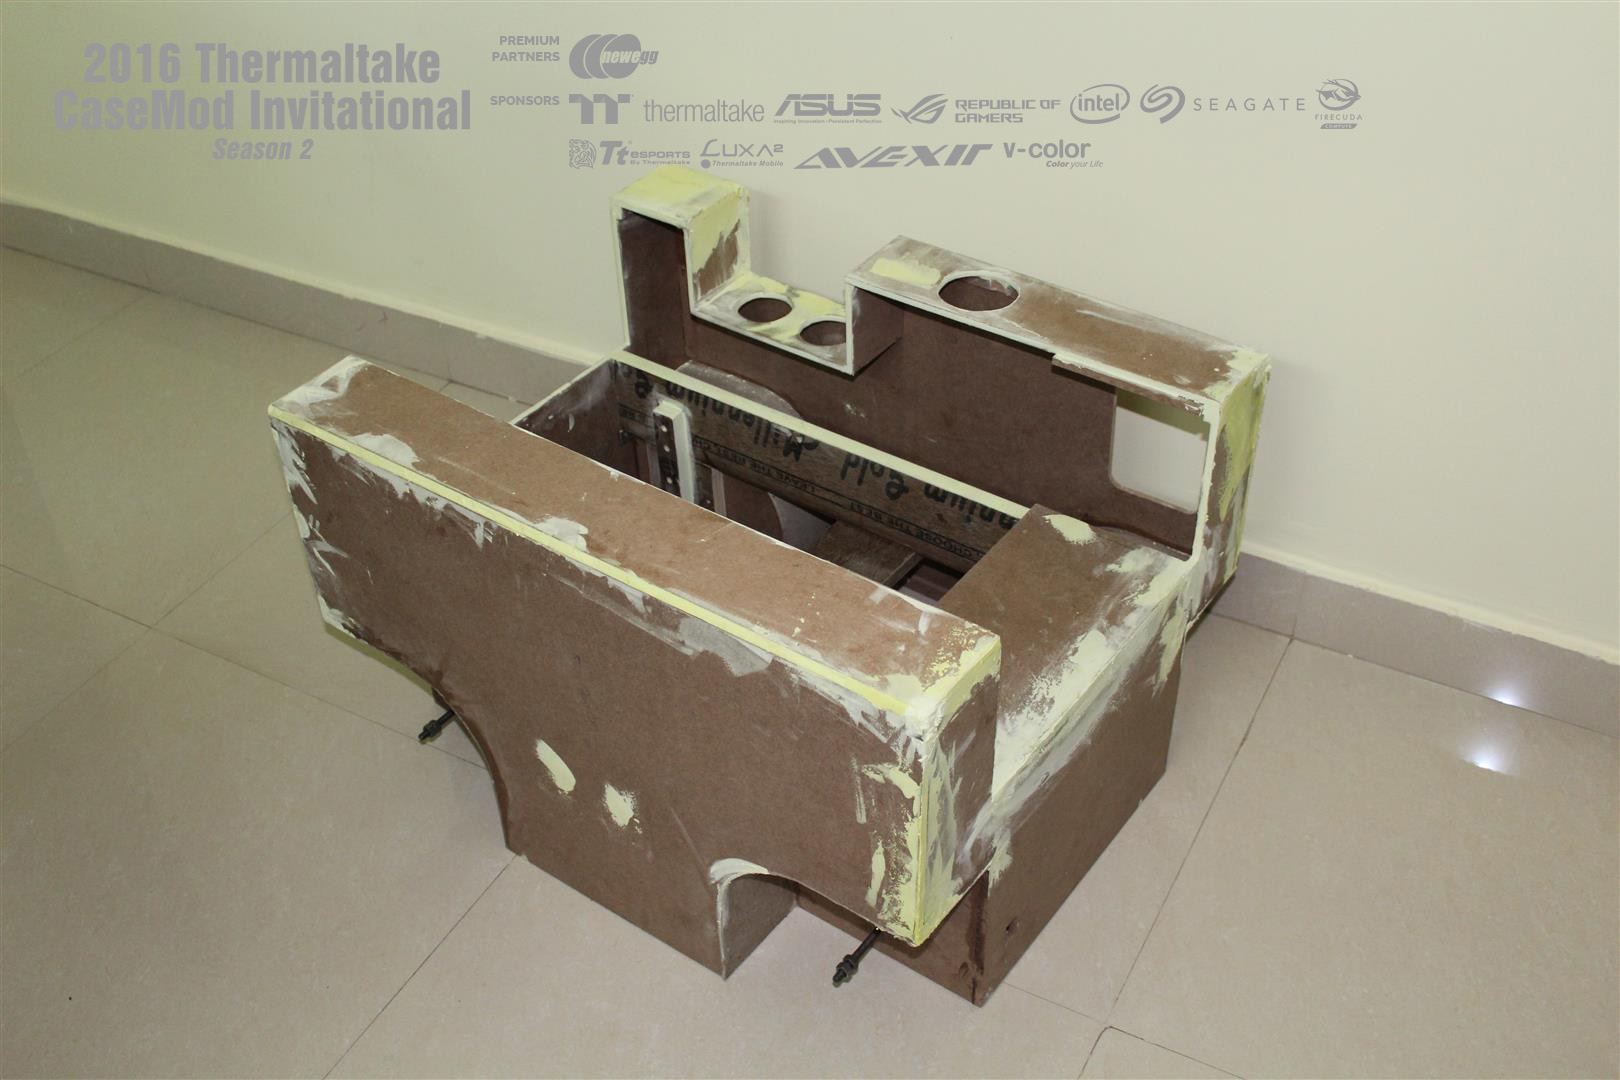

Sanding down all the joints and rough sides, forming curved edges. Now will be doing a second fill and fine sanding before first primer layer.
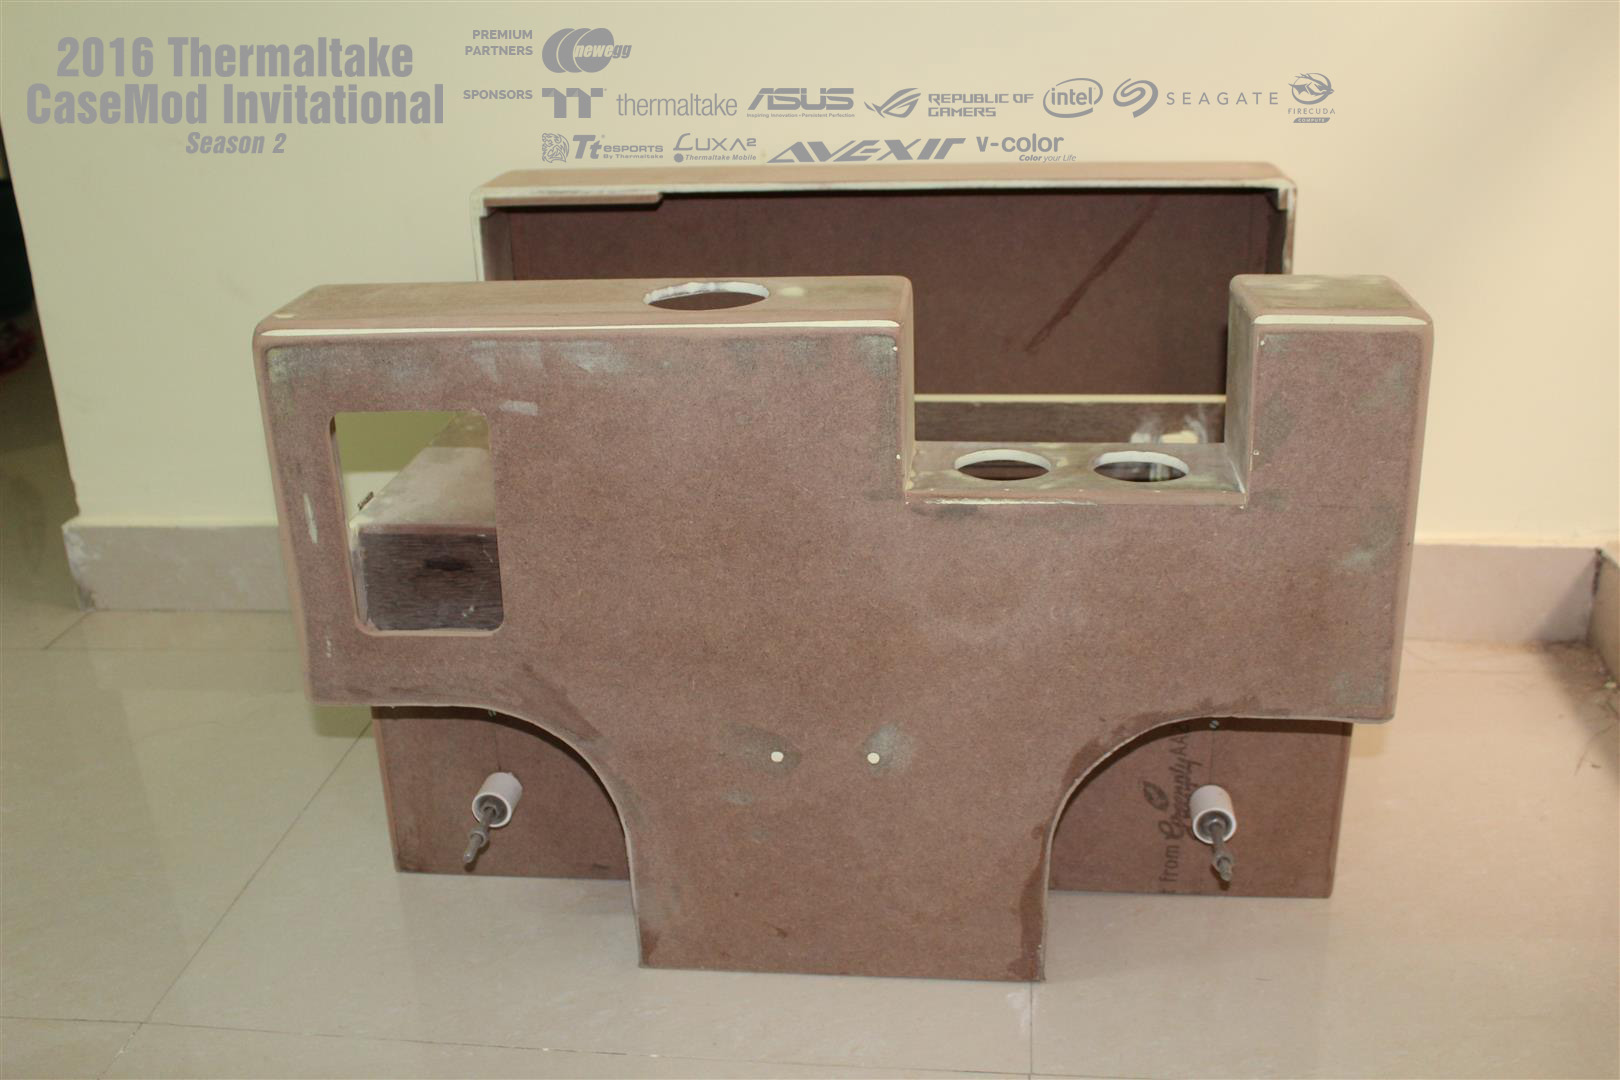
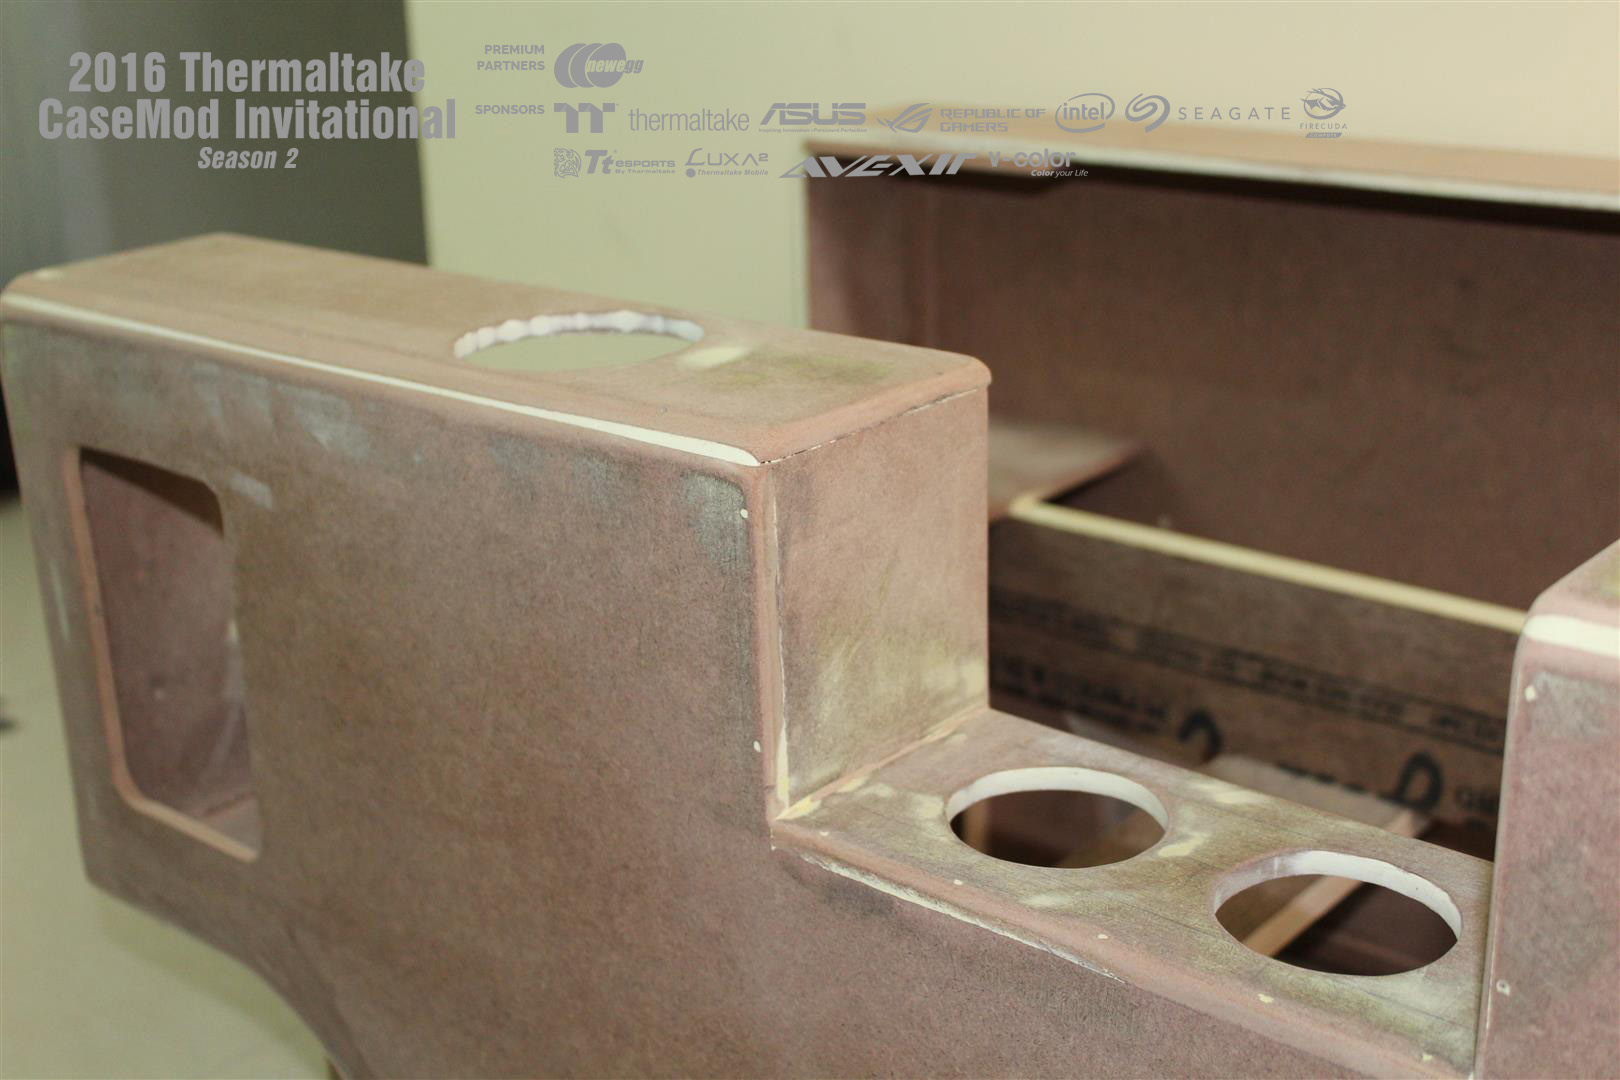
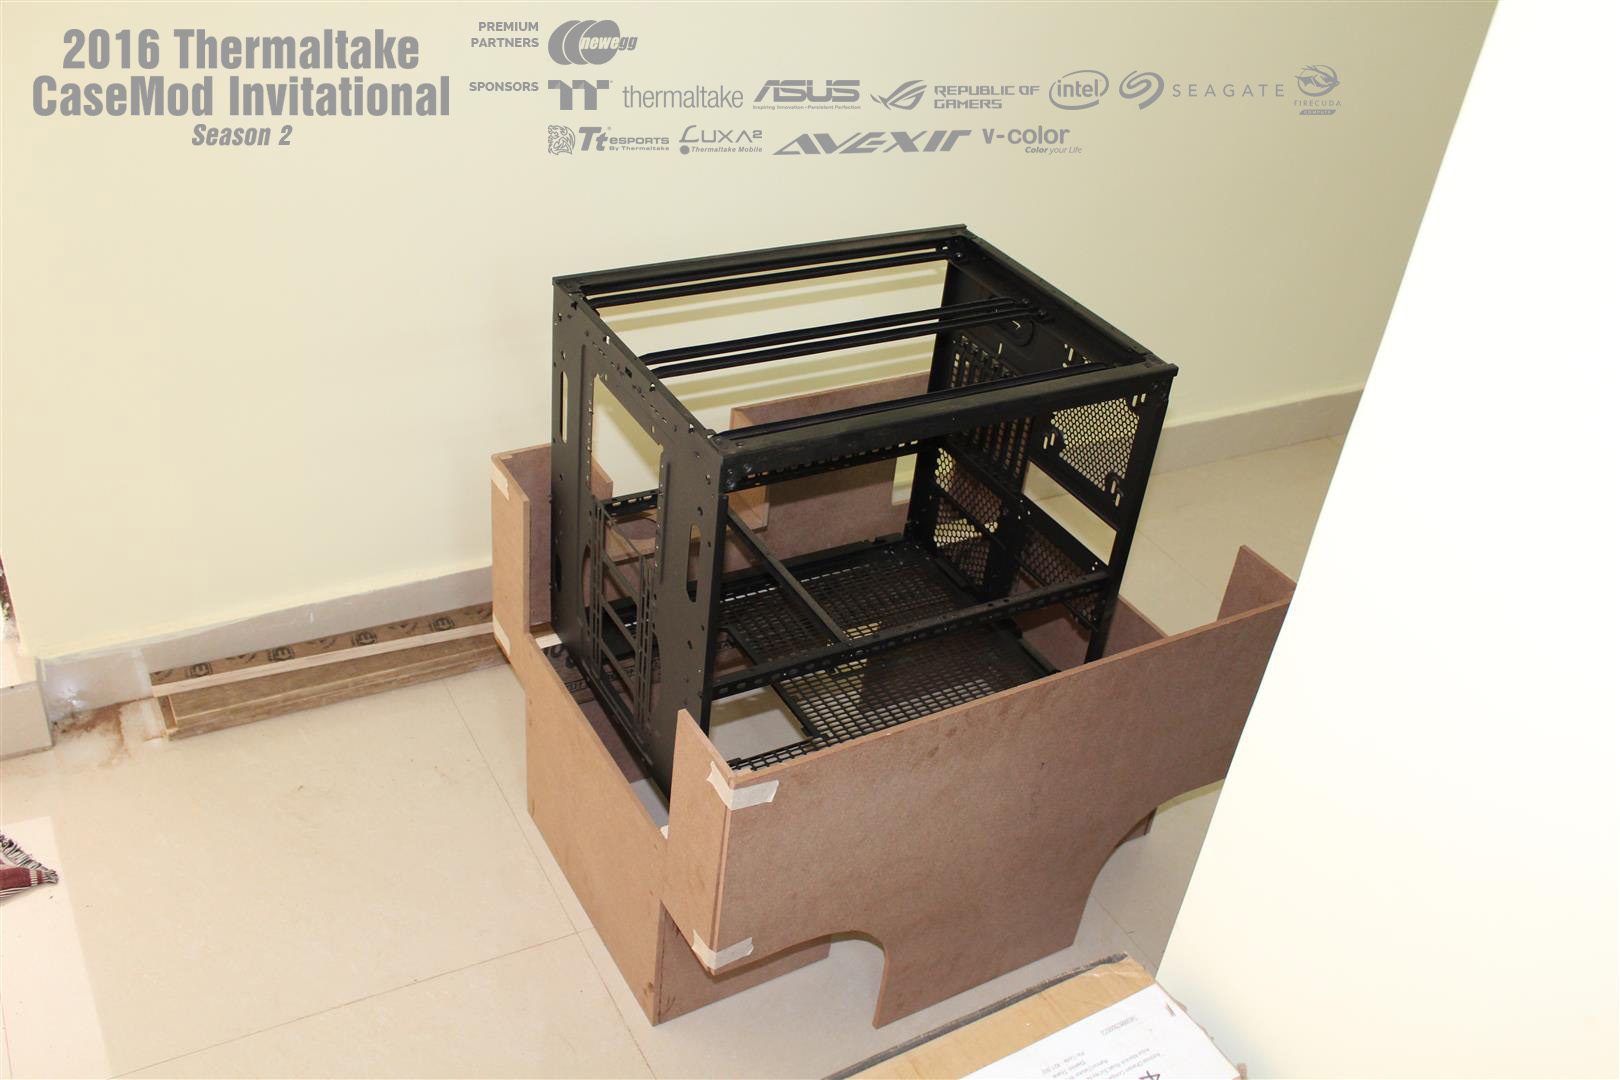
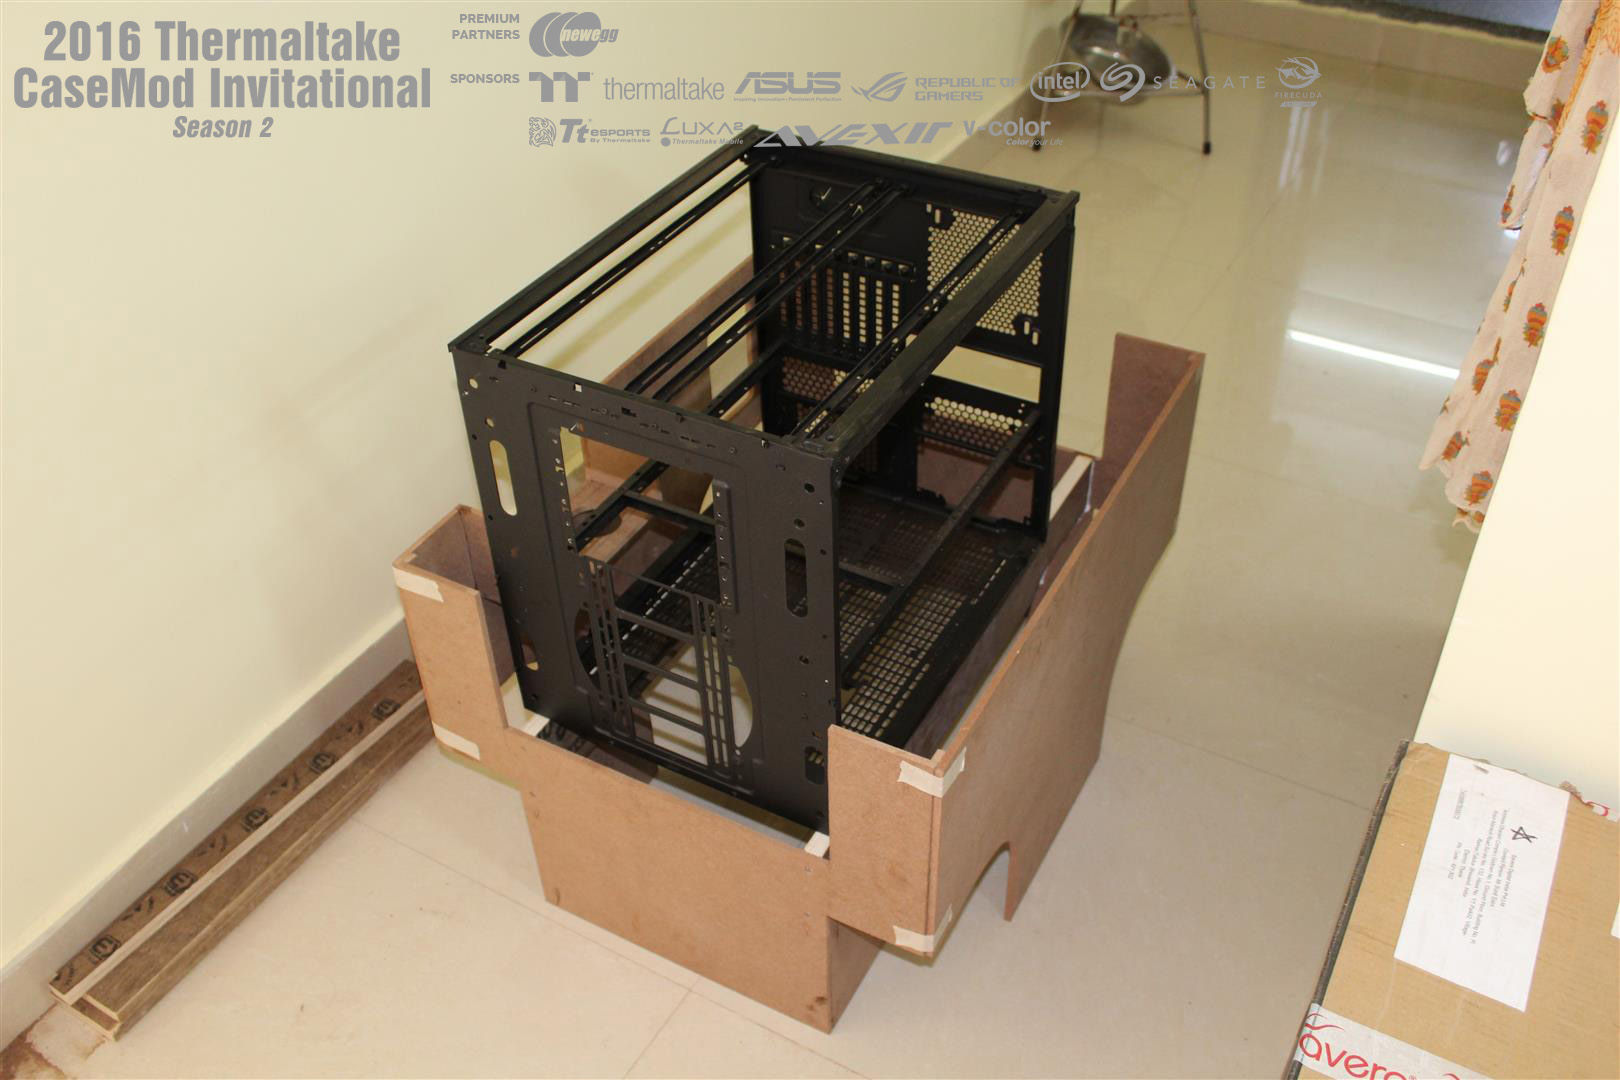
UPDATE : 12-Nov-2016
Moisture proof coating applied, one more sanding and shell is ready for primer
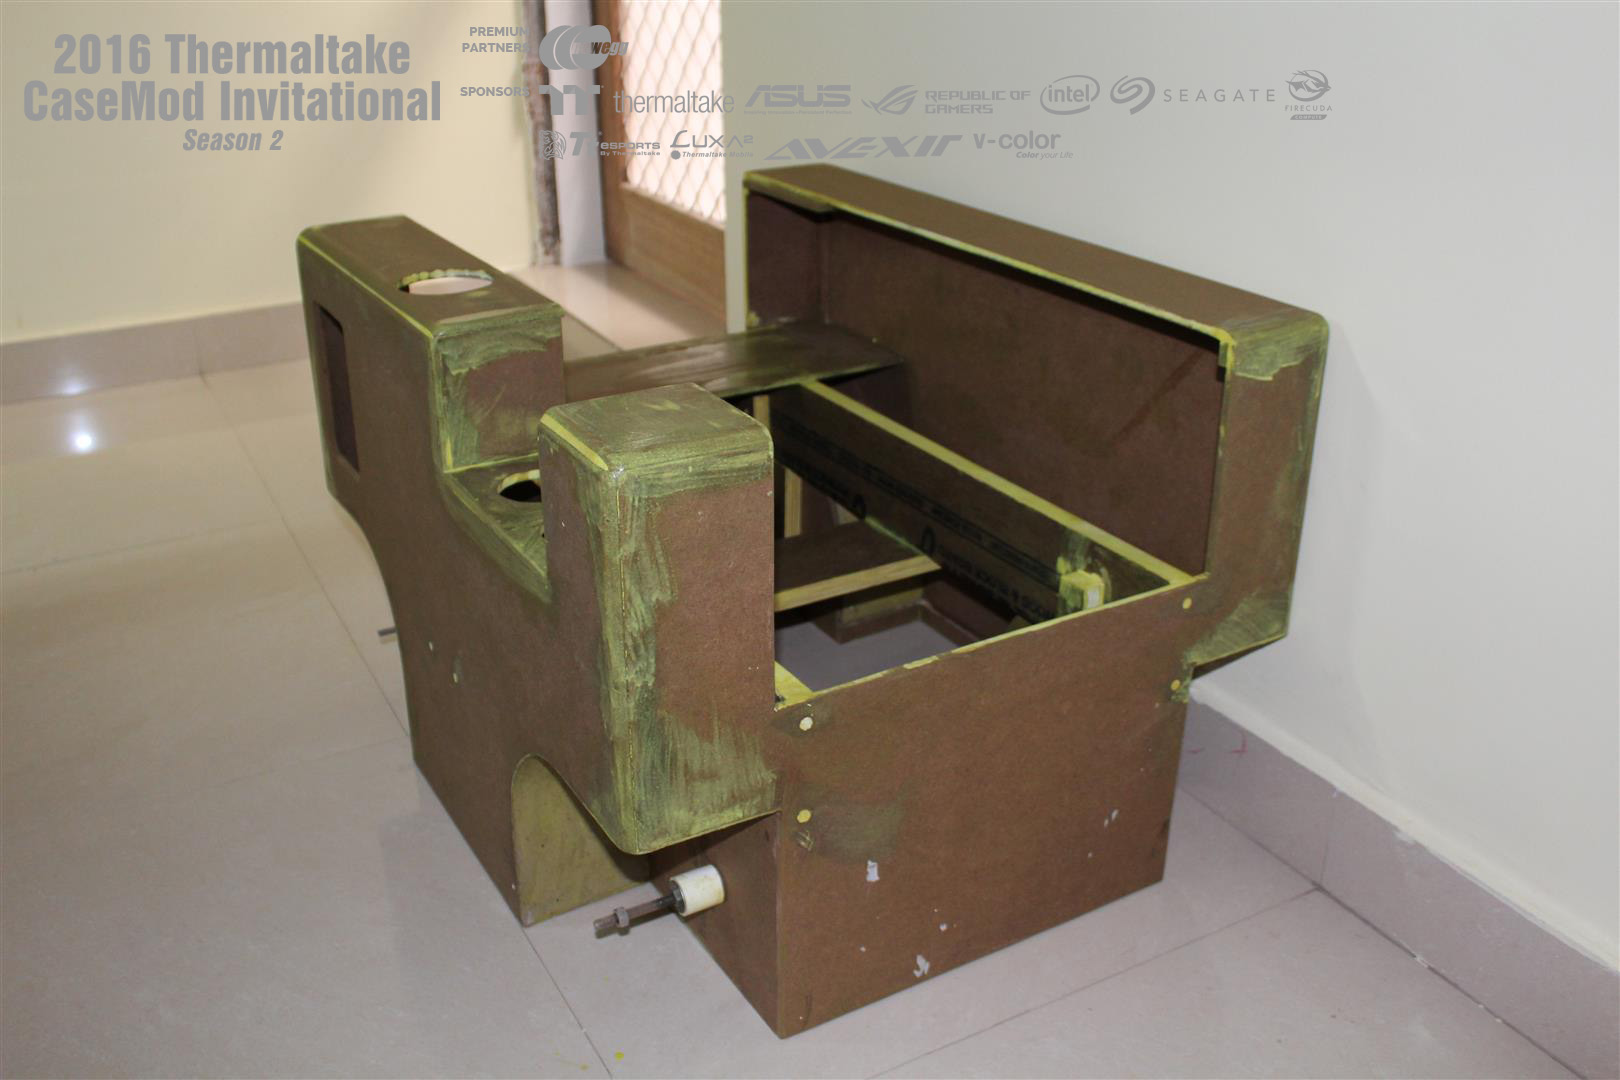
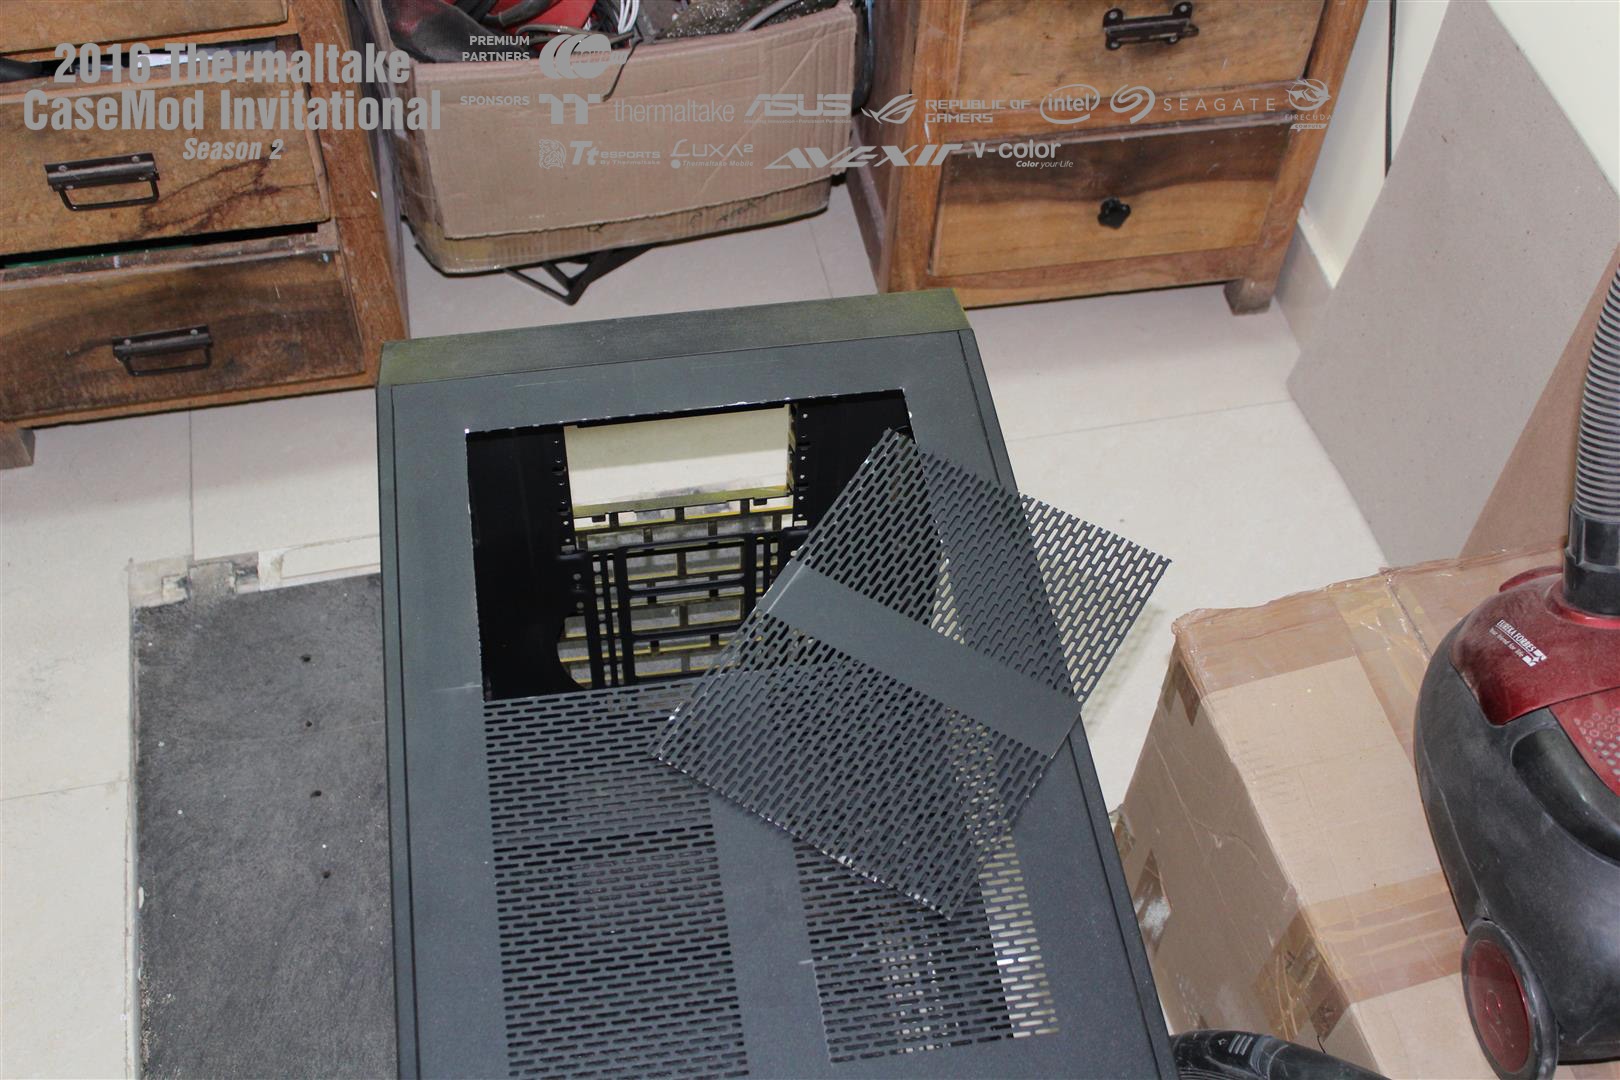
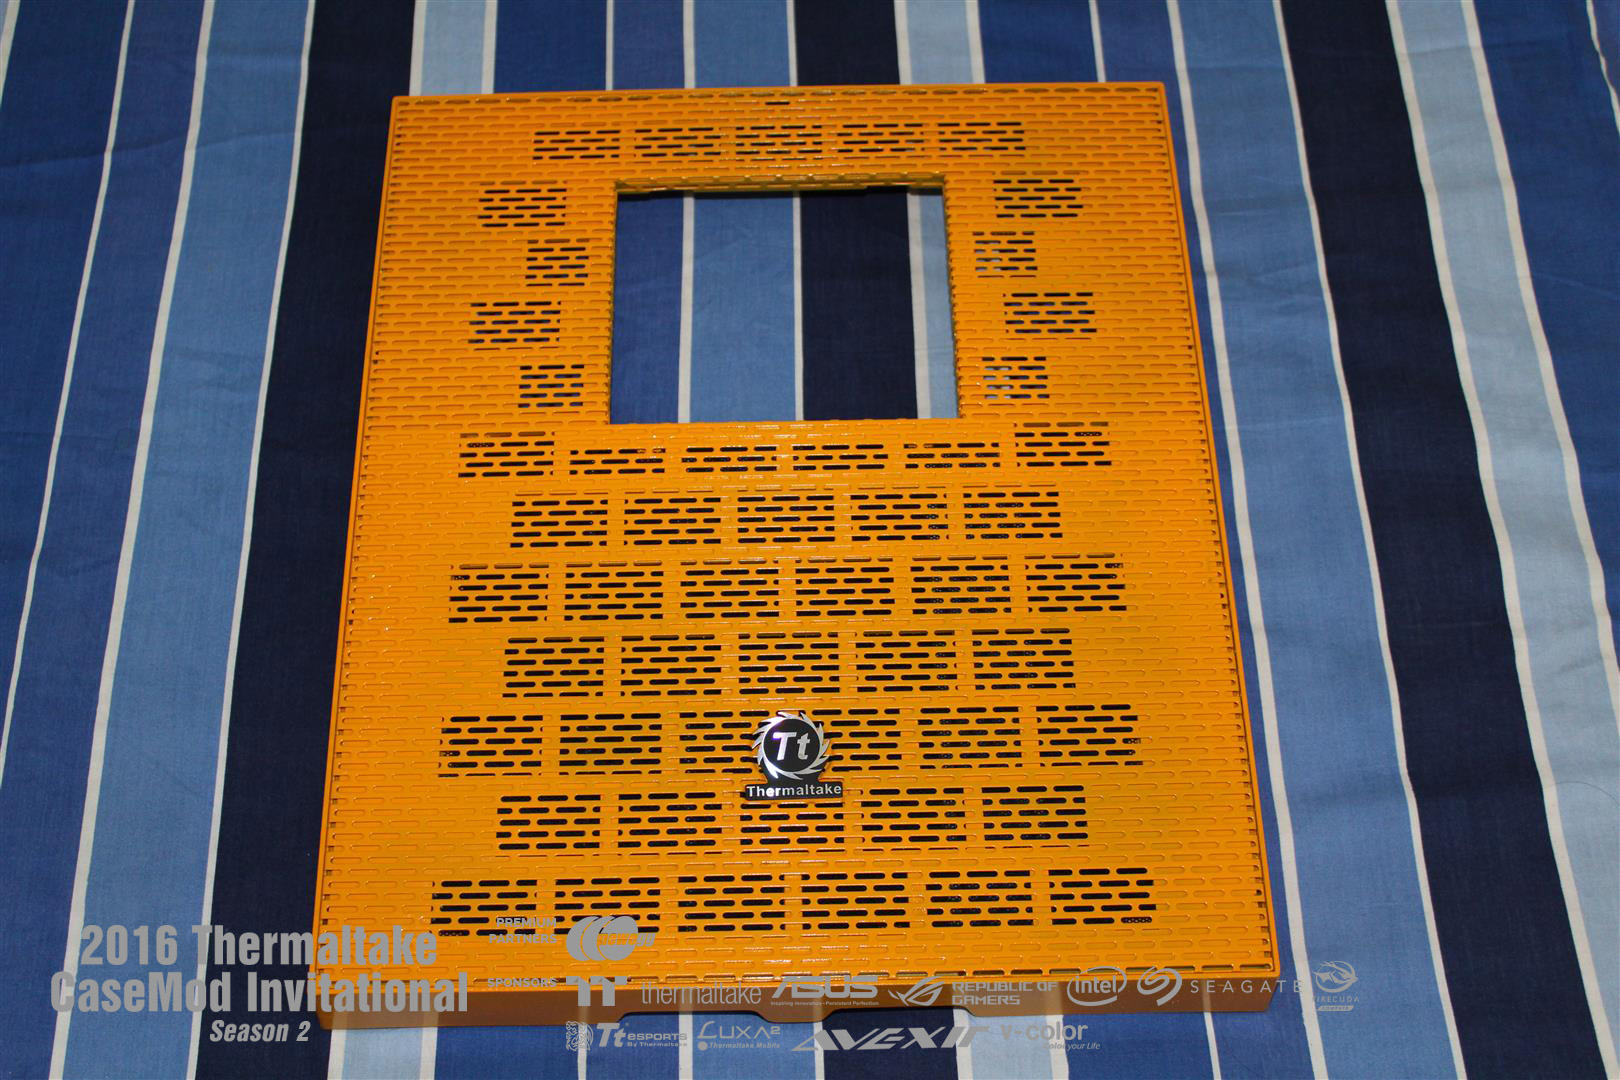
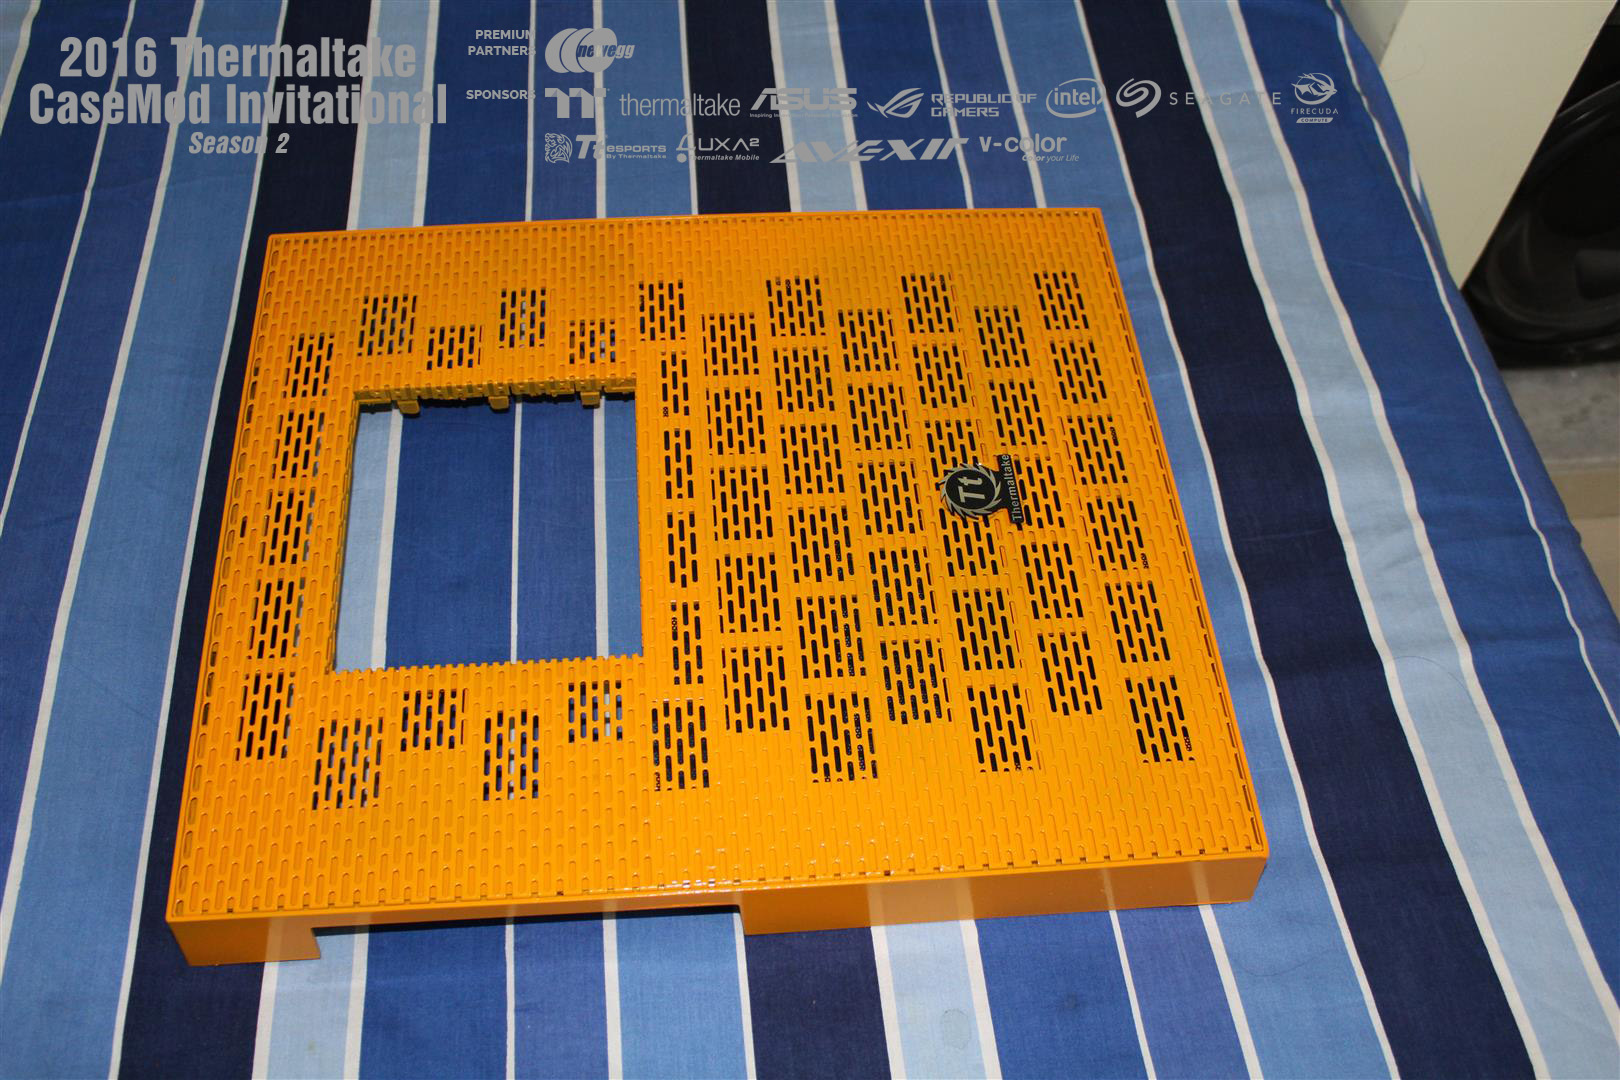
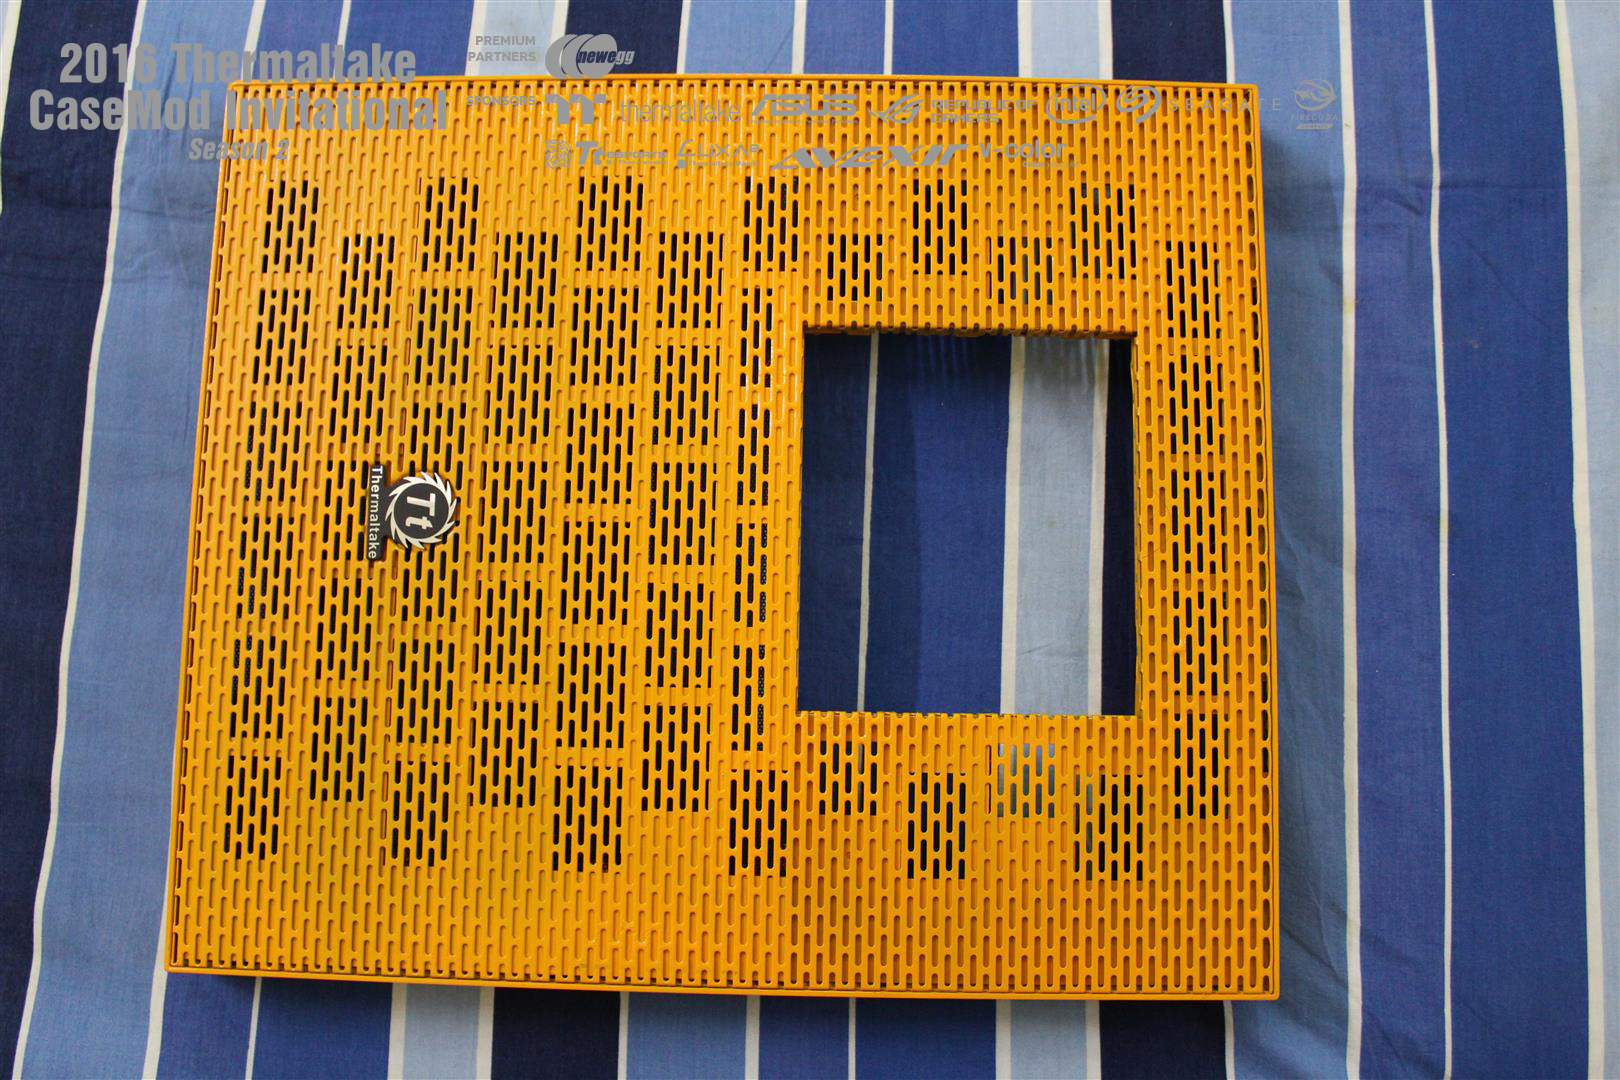
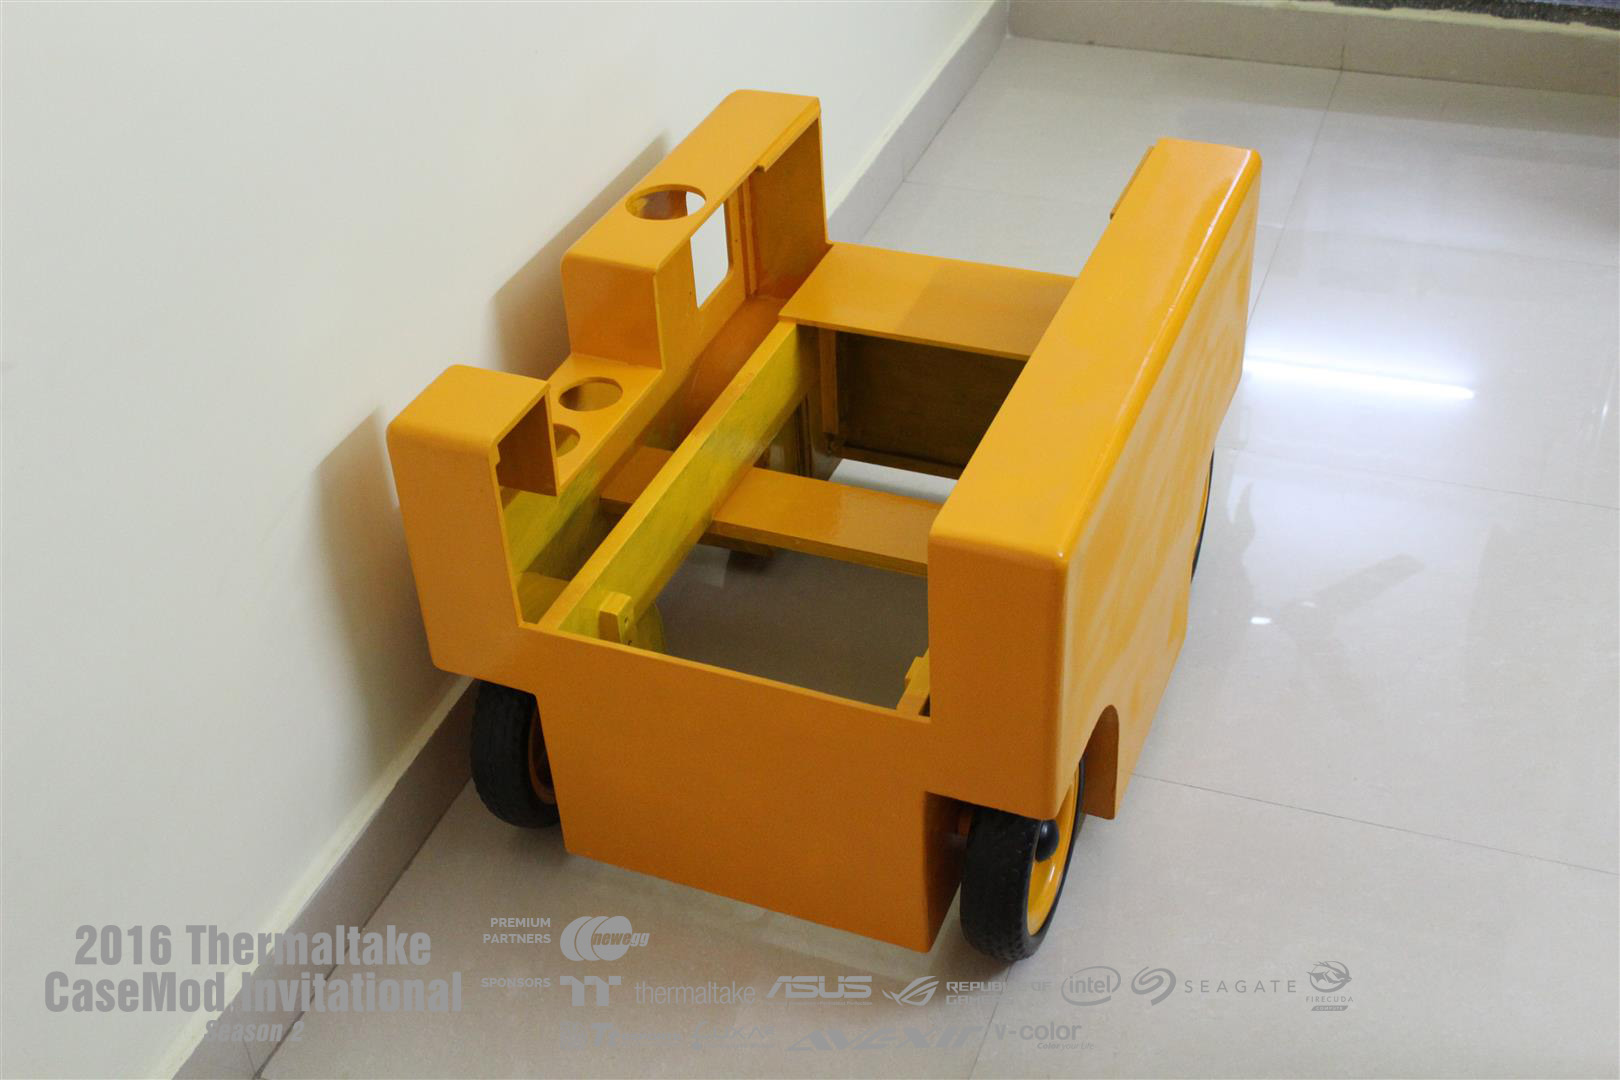
Cutting top panel, air inlet doors.
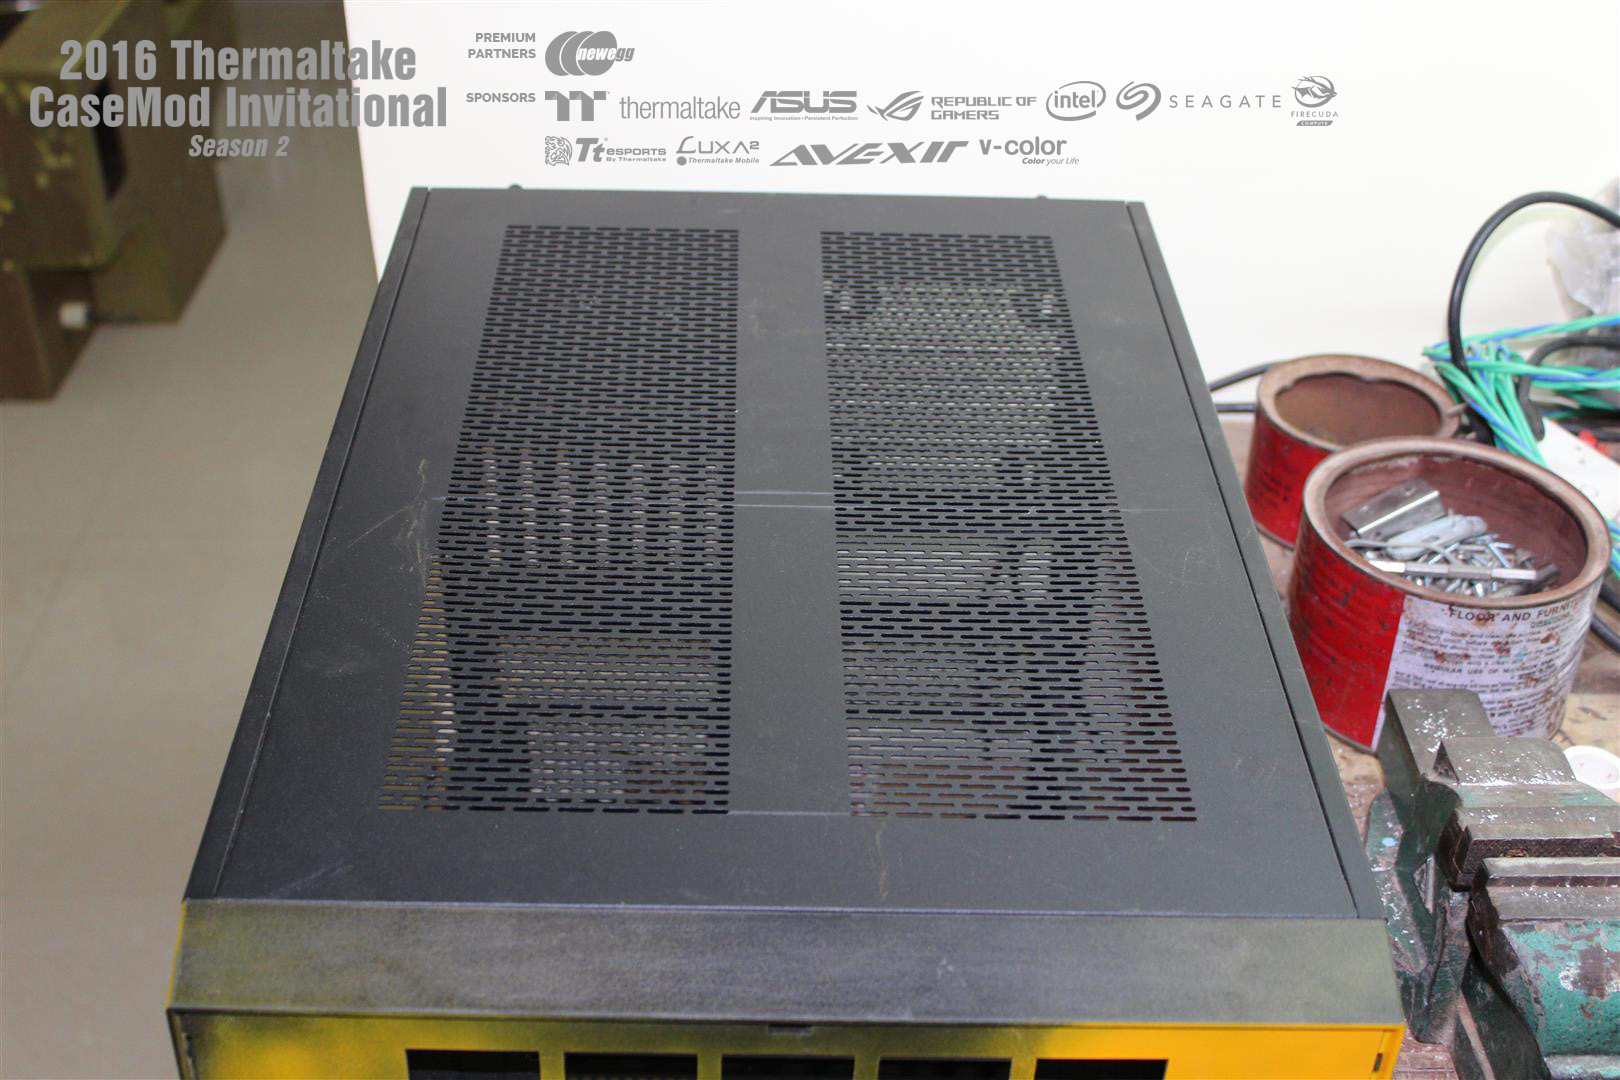
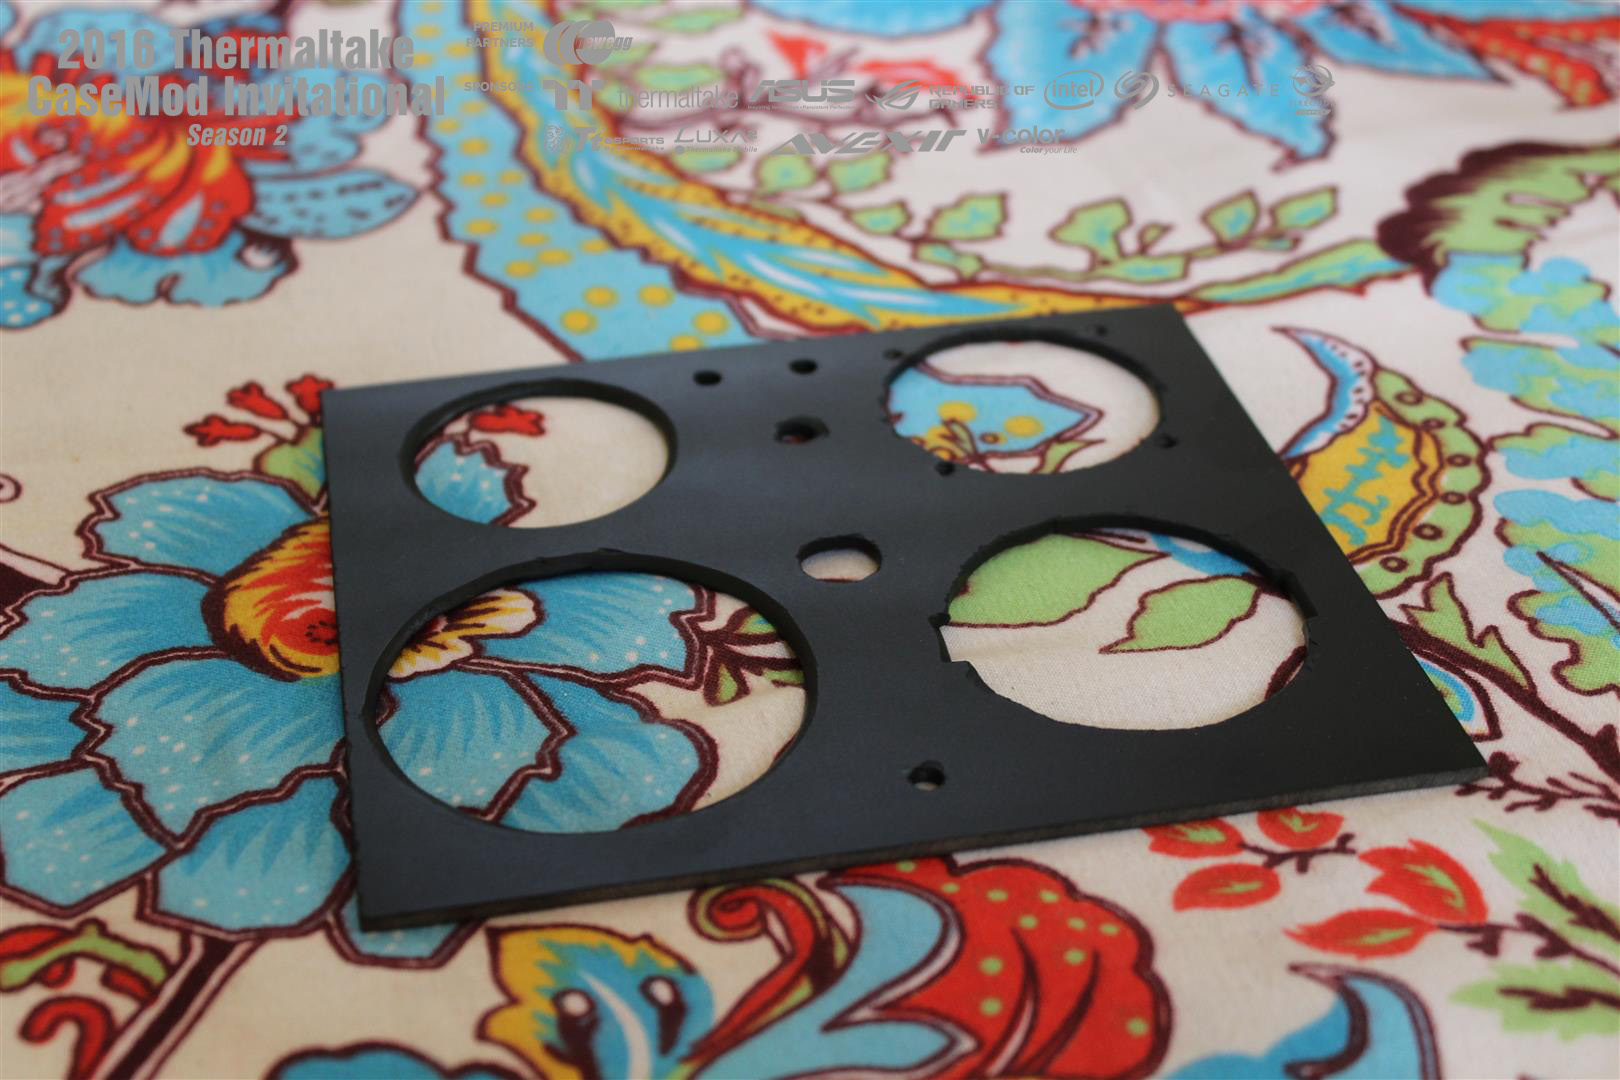
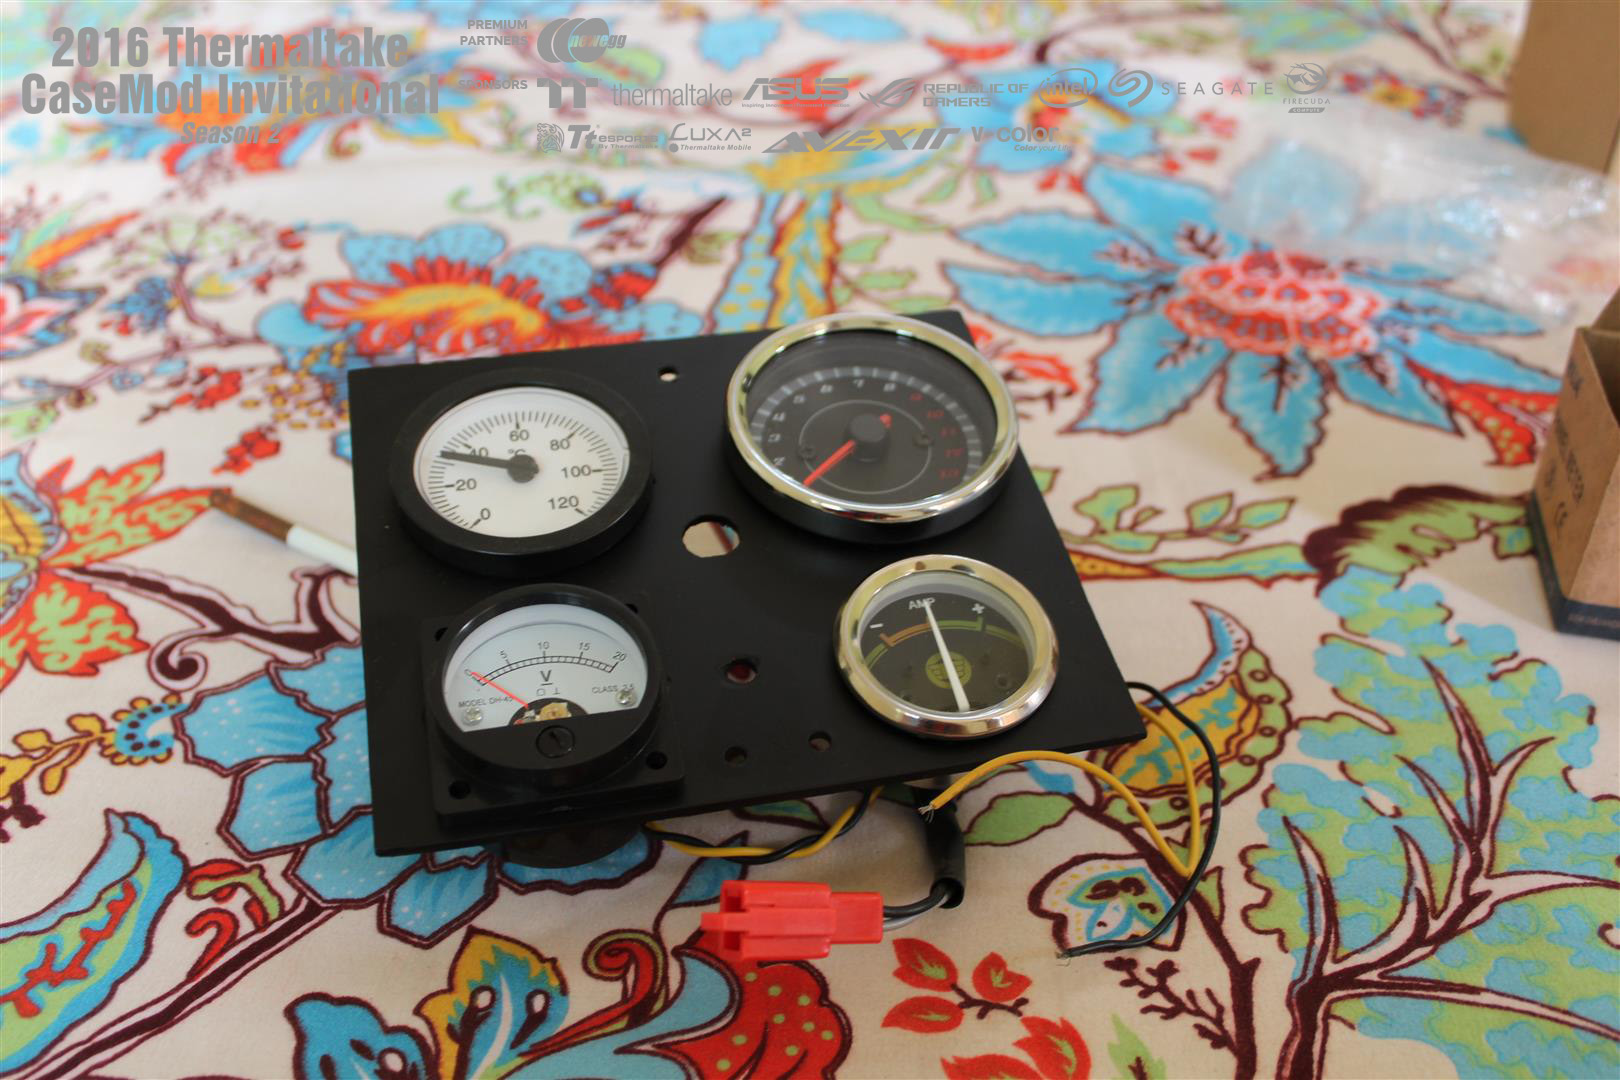
UPDATE : 14-Nov-2016
More packages arrived with lot of goodies.


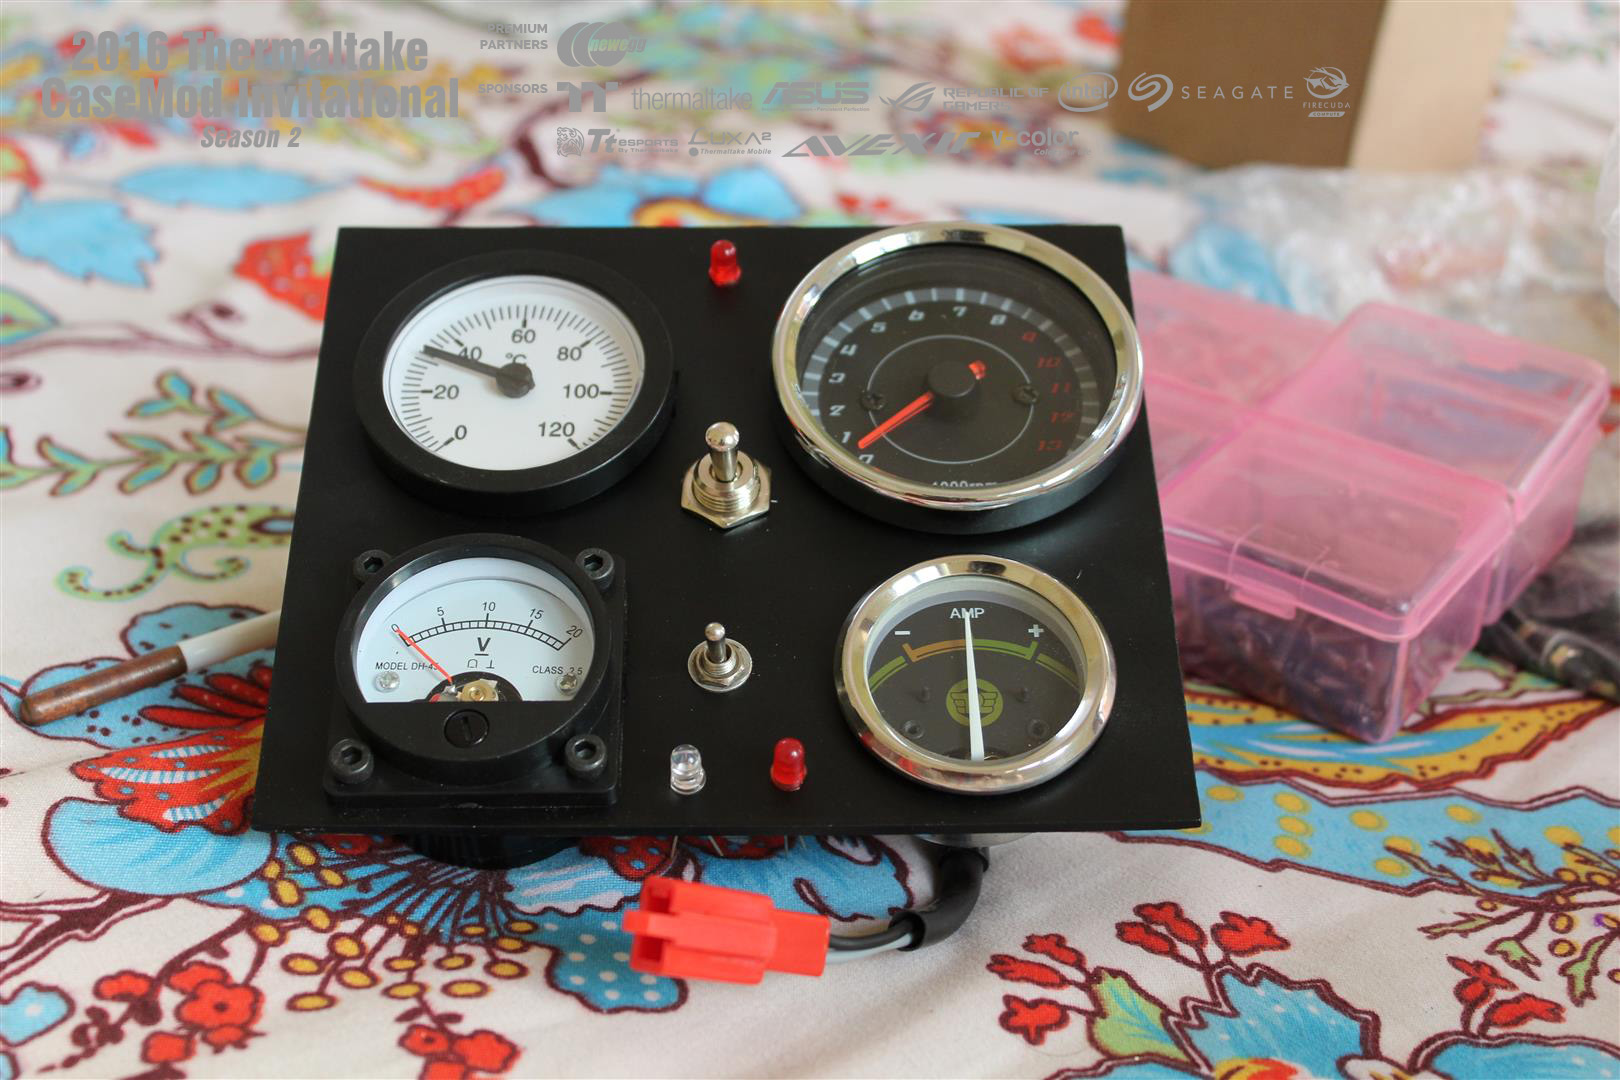
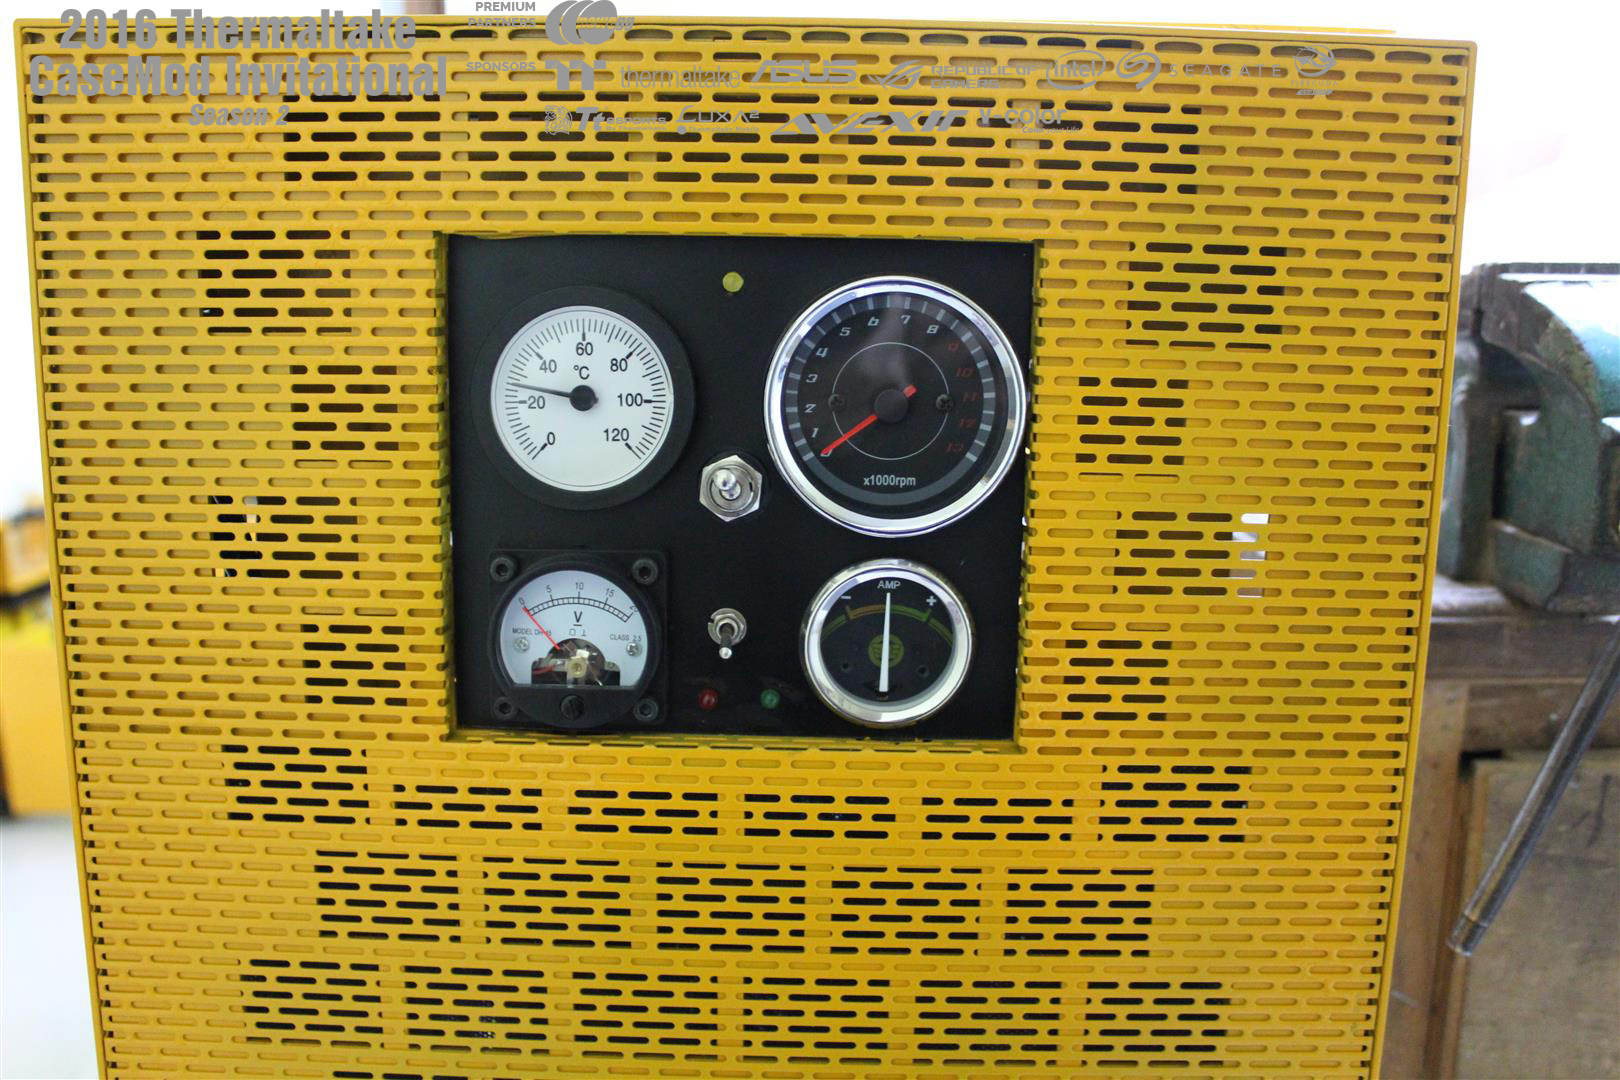
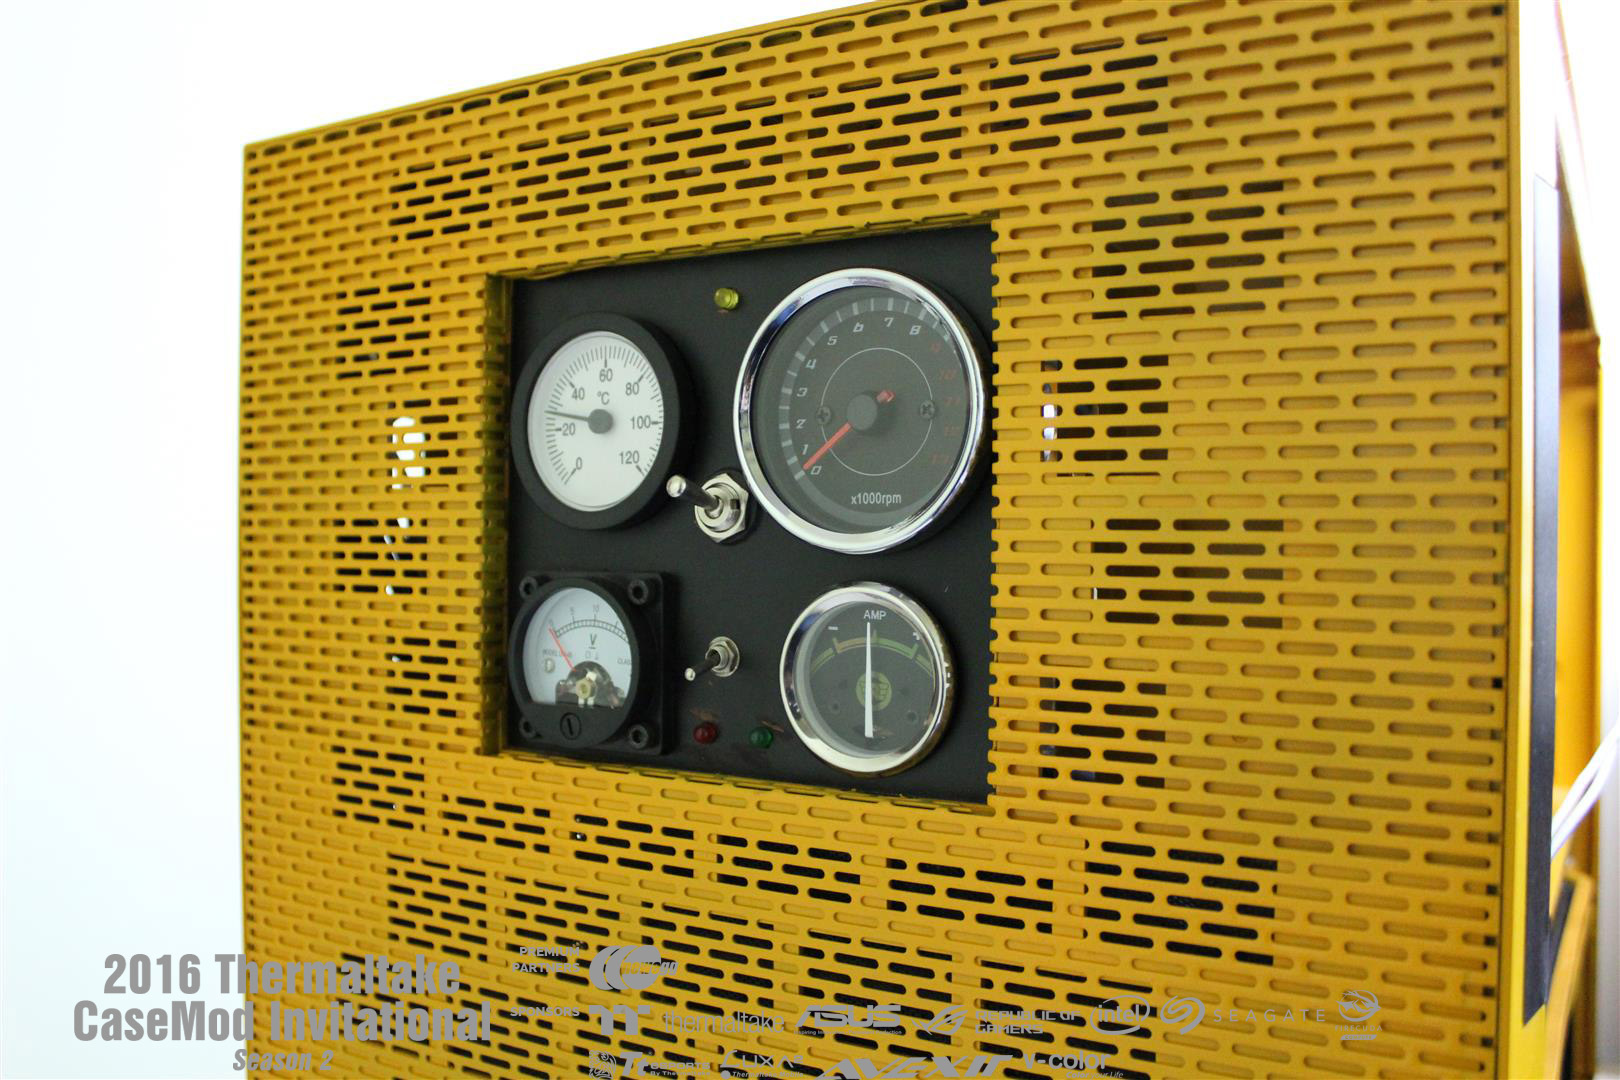
Working on the Gauge panel of the bulid.. Doing some wiring.
UPDATE : 19-Nov-2016
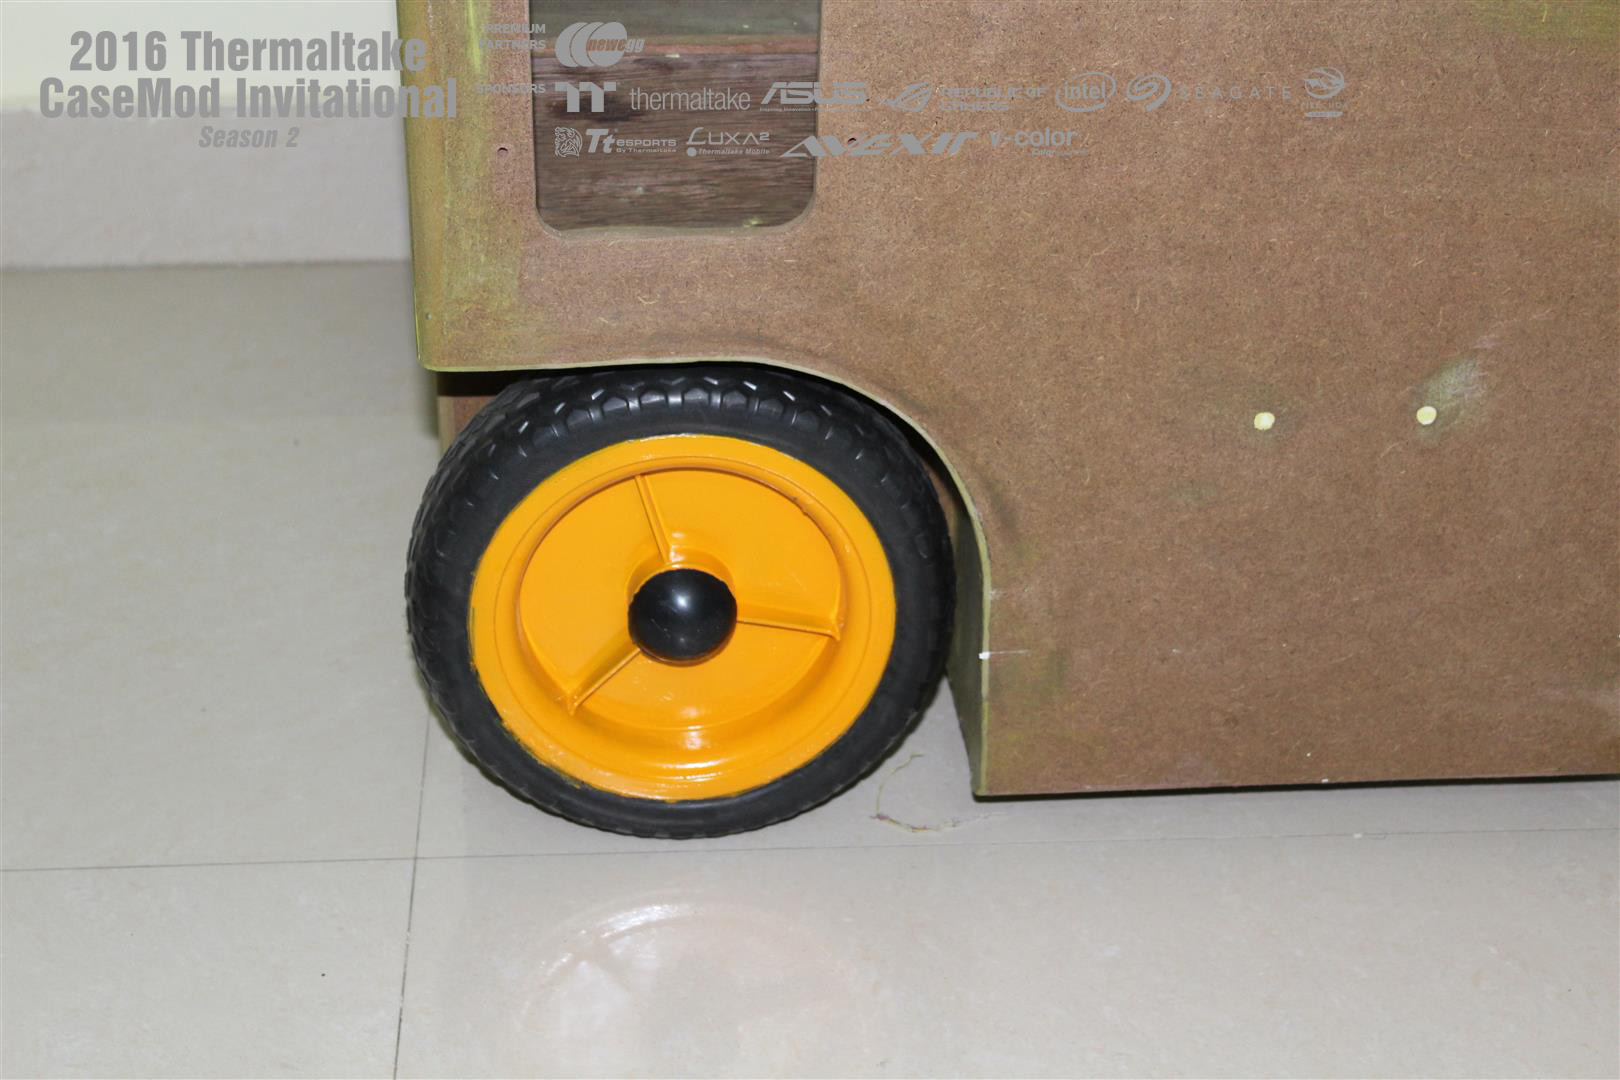
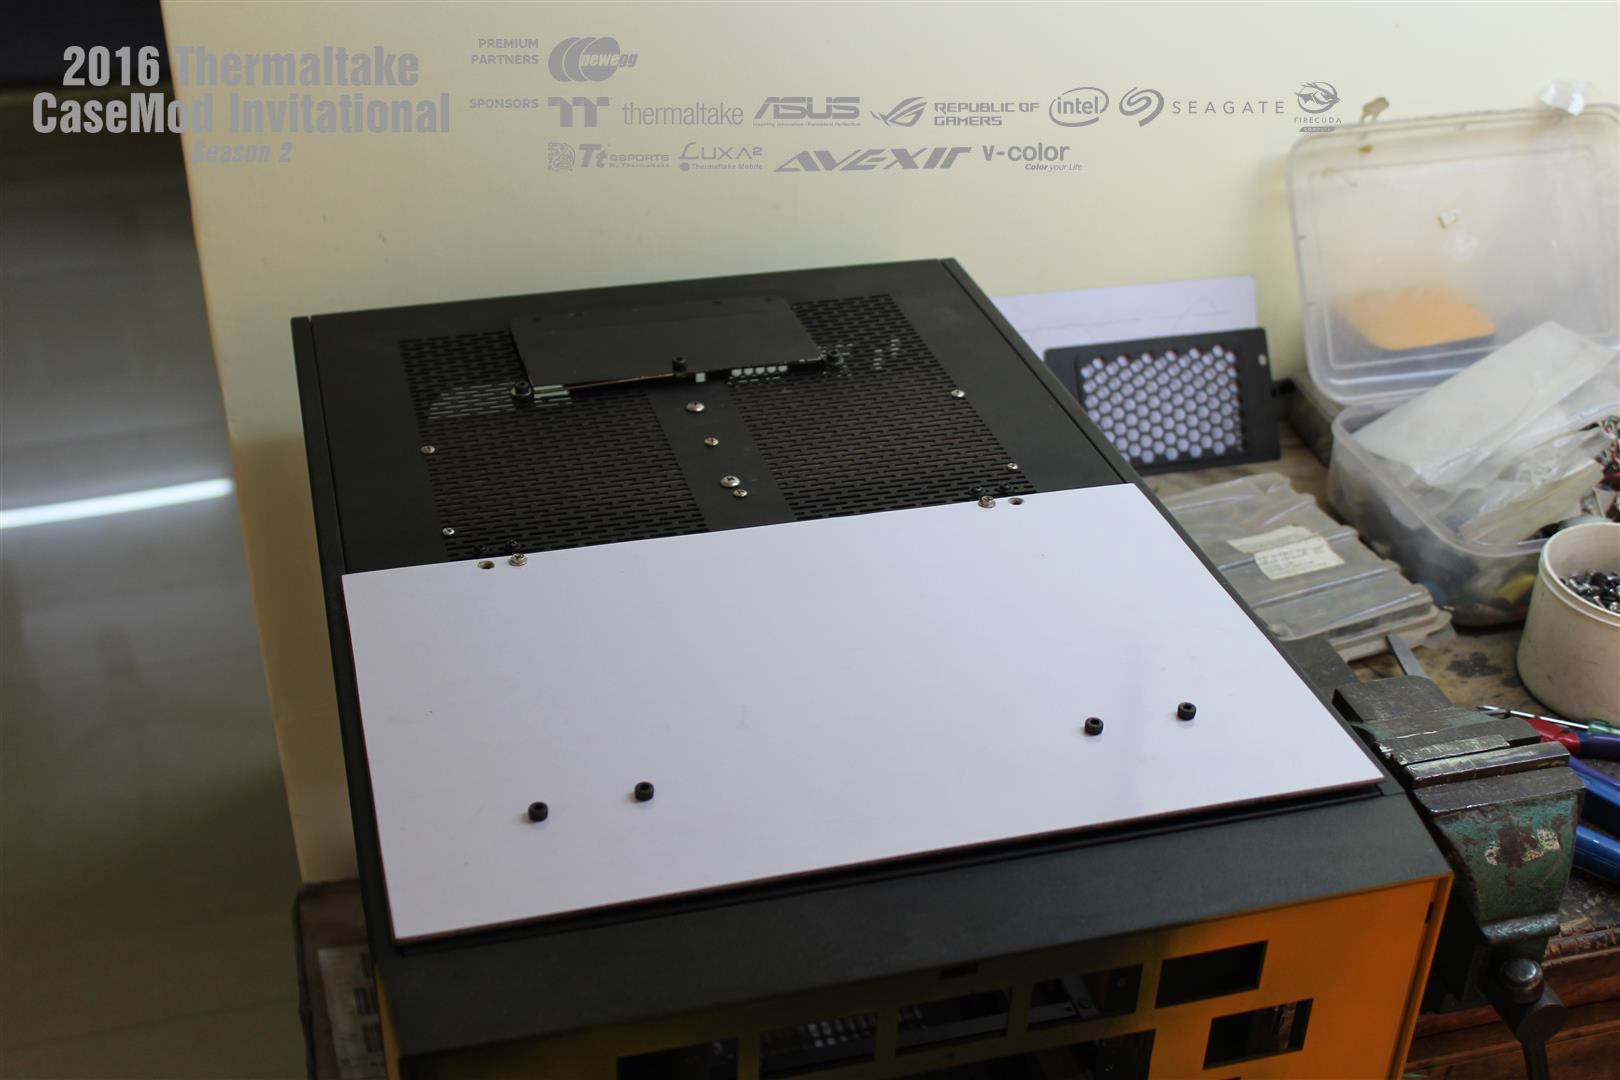
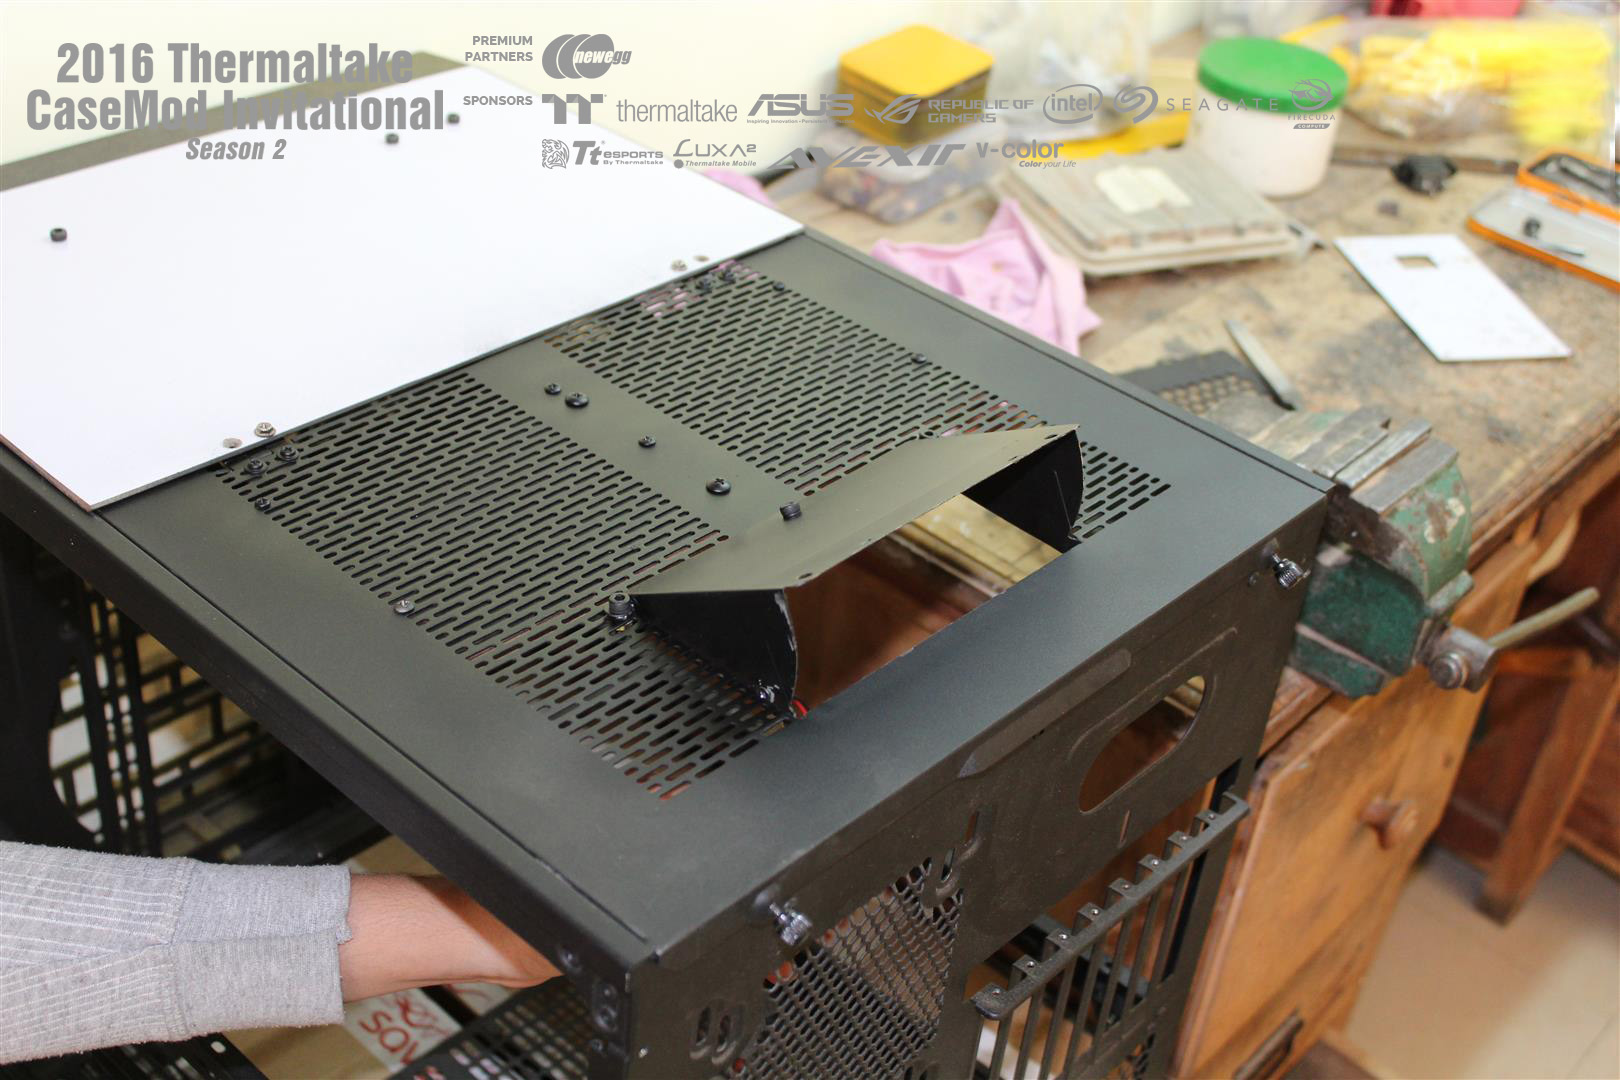
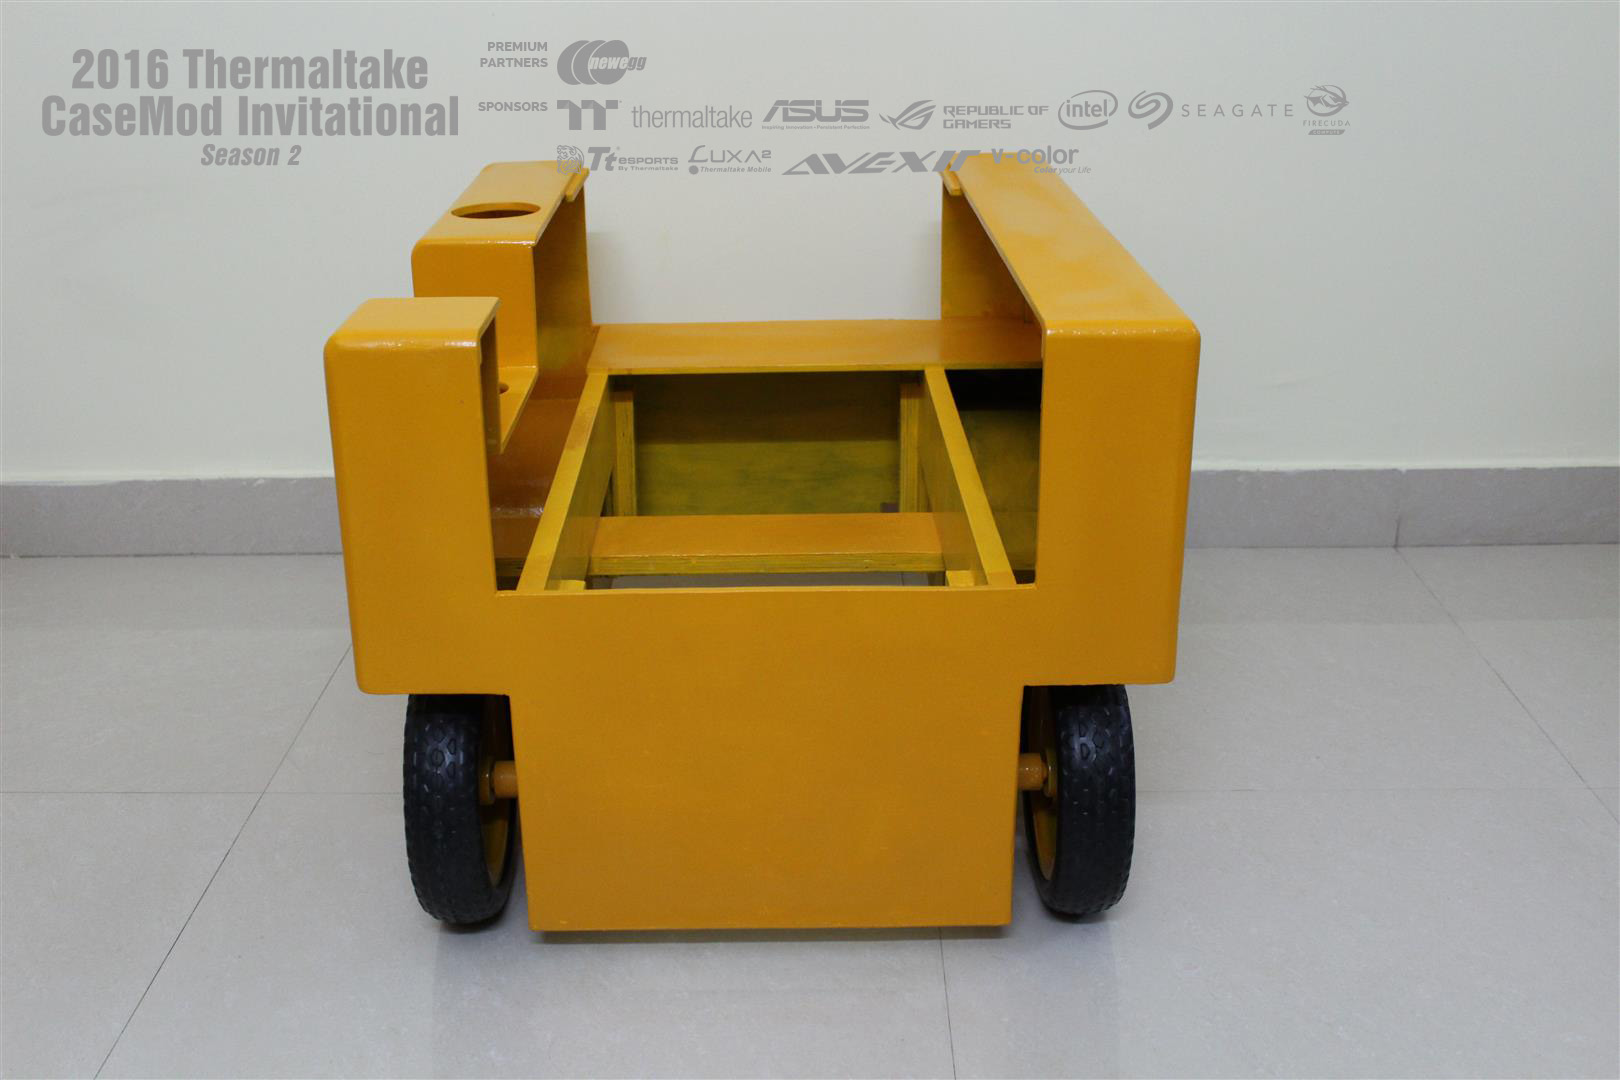
Working on automatic top air inlet flap and exhaust flap. Also finally wheels arrived.

UPDATE : 22-Nov-2016
Slow and steady build under progress.
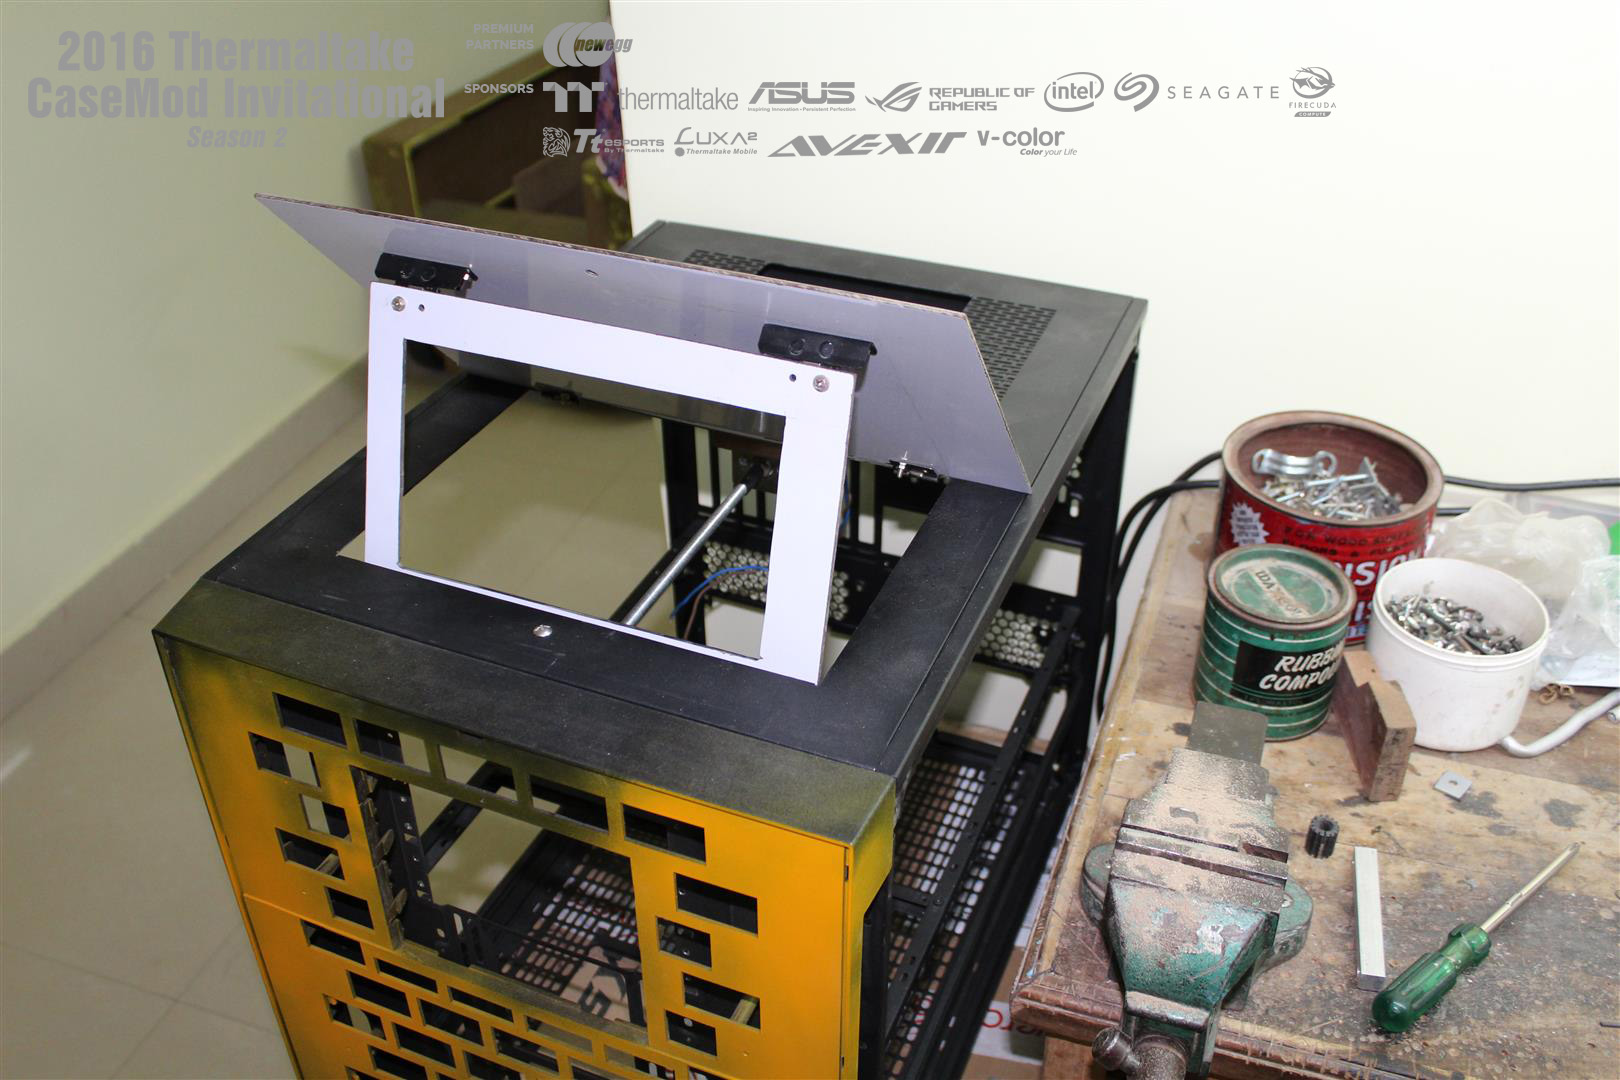
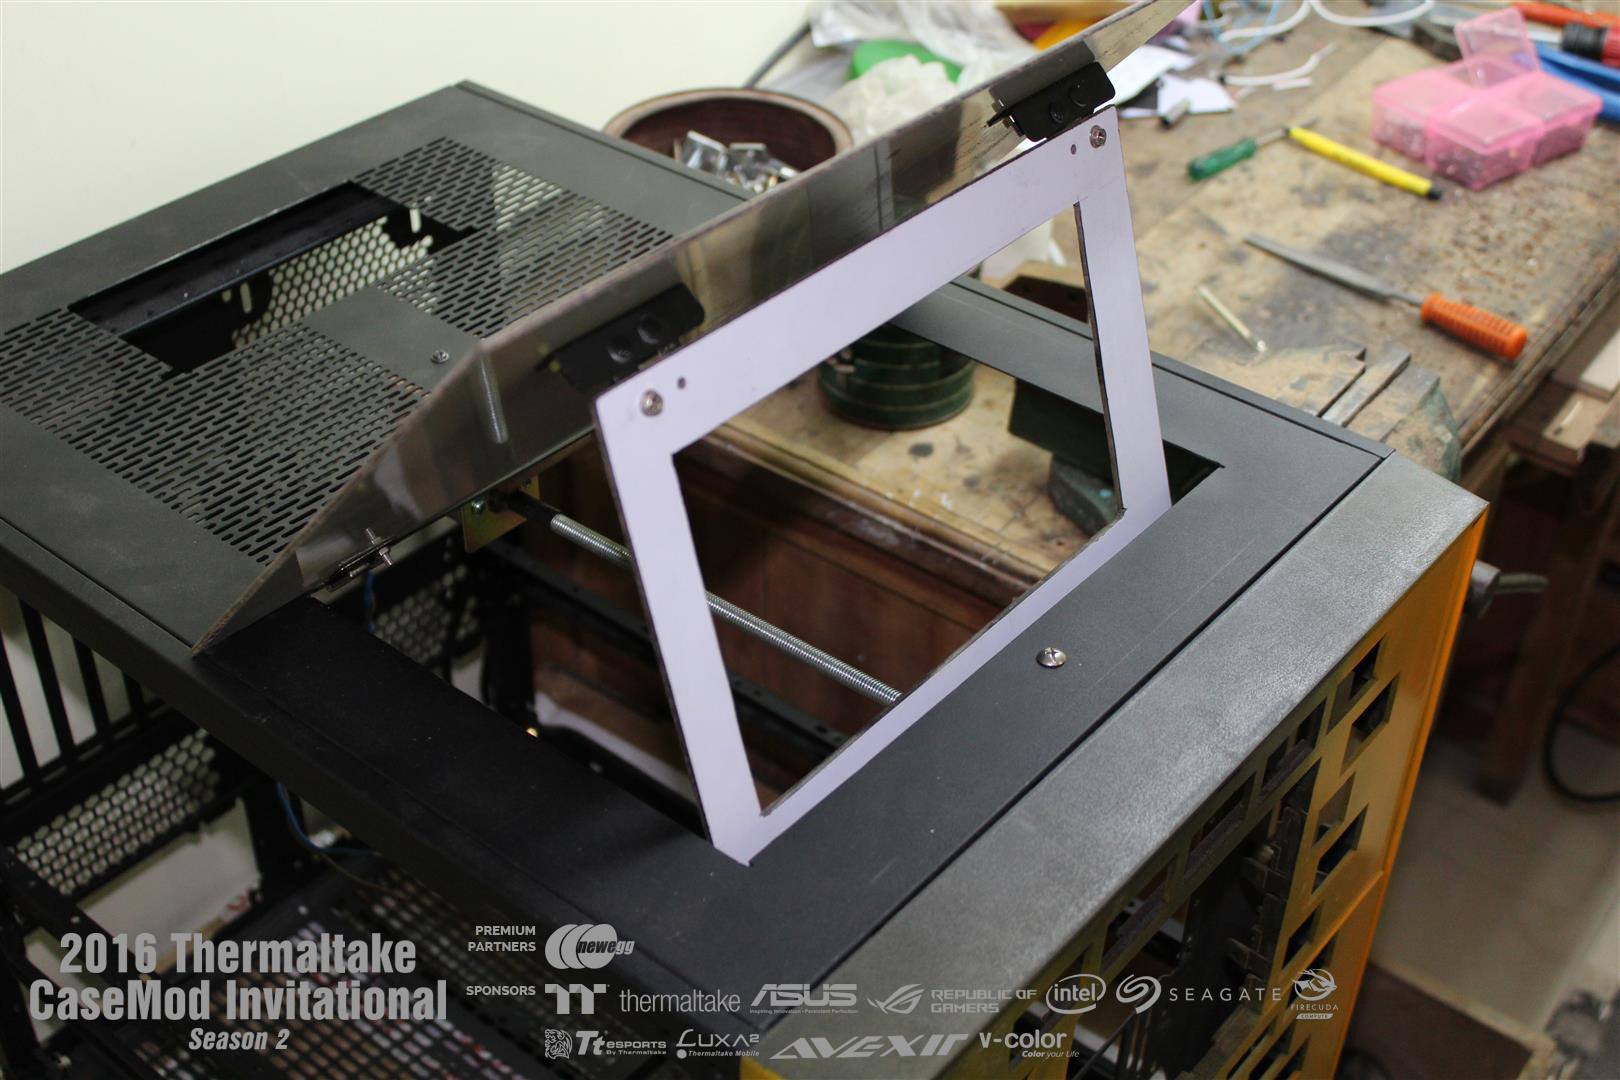
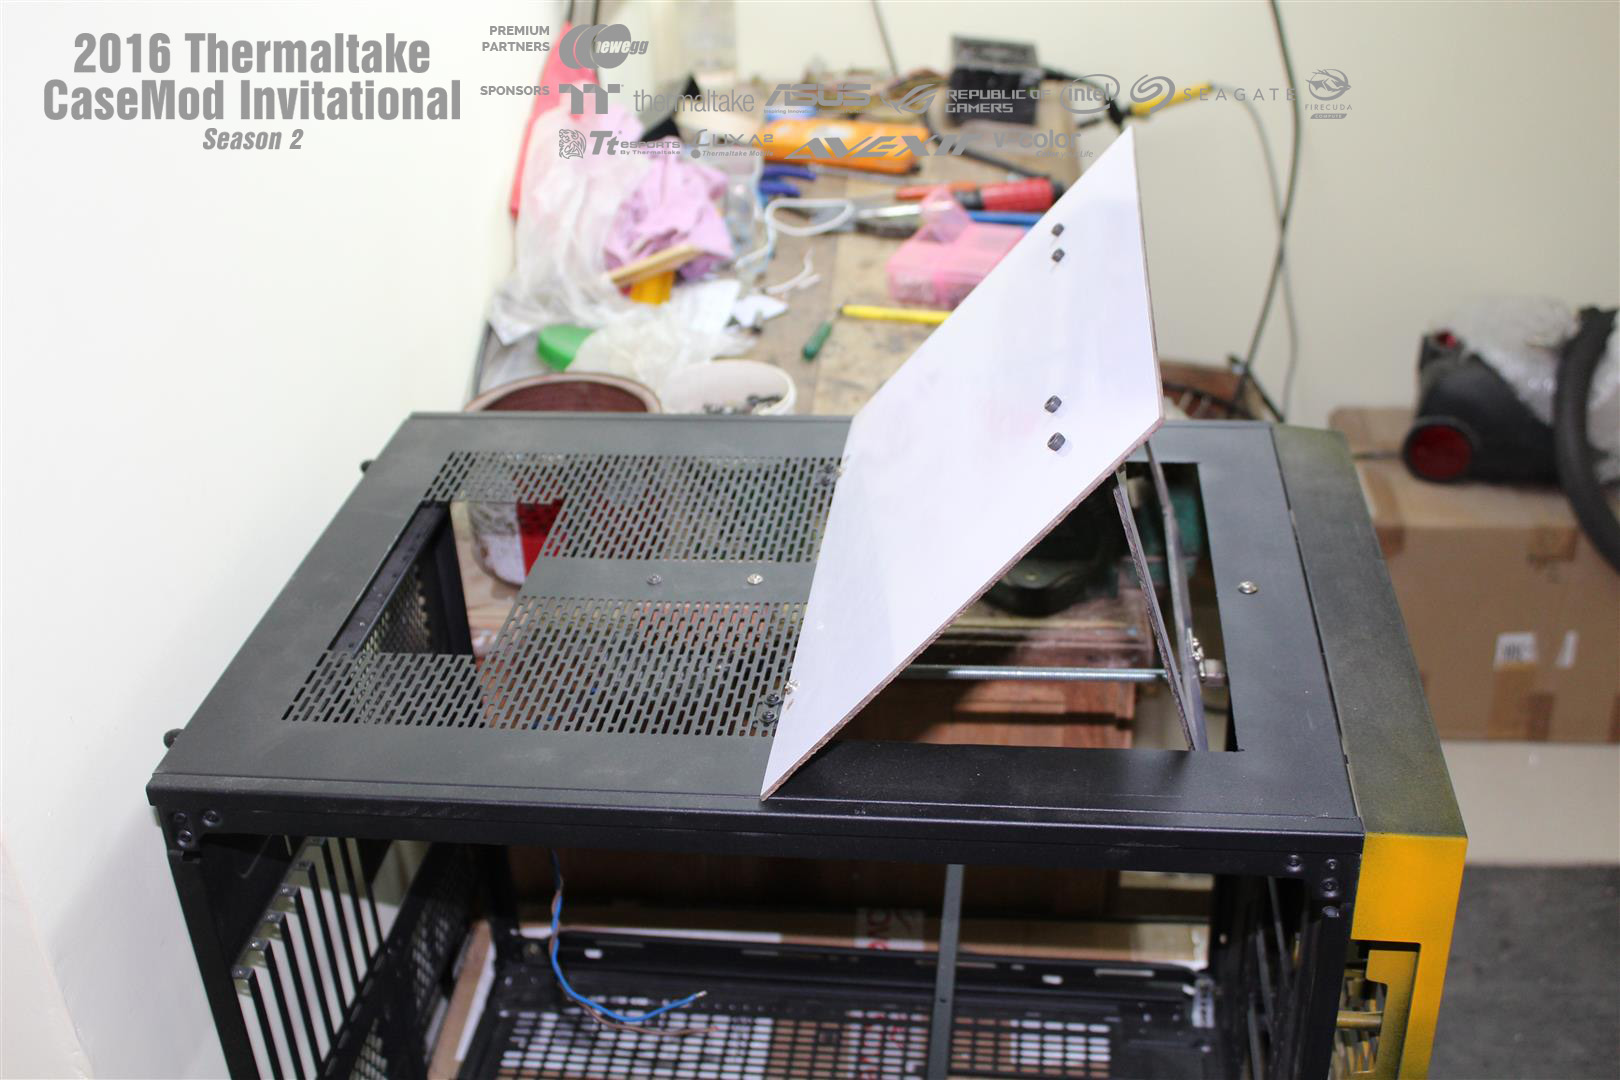
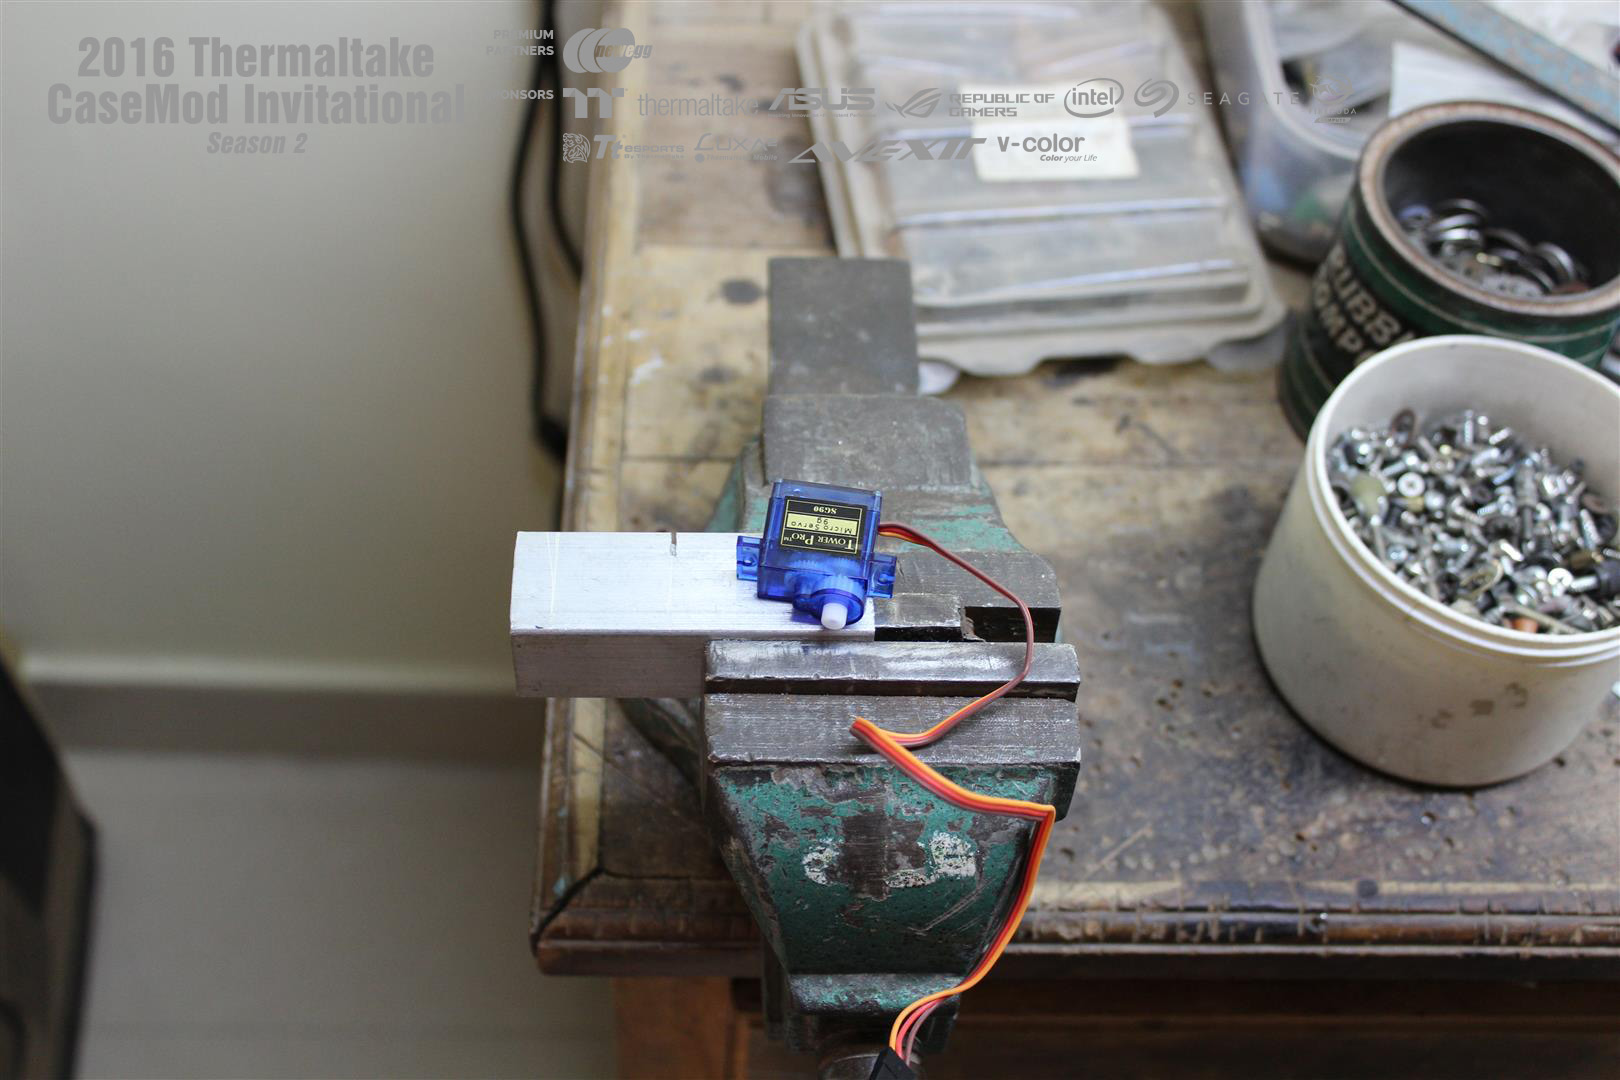
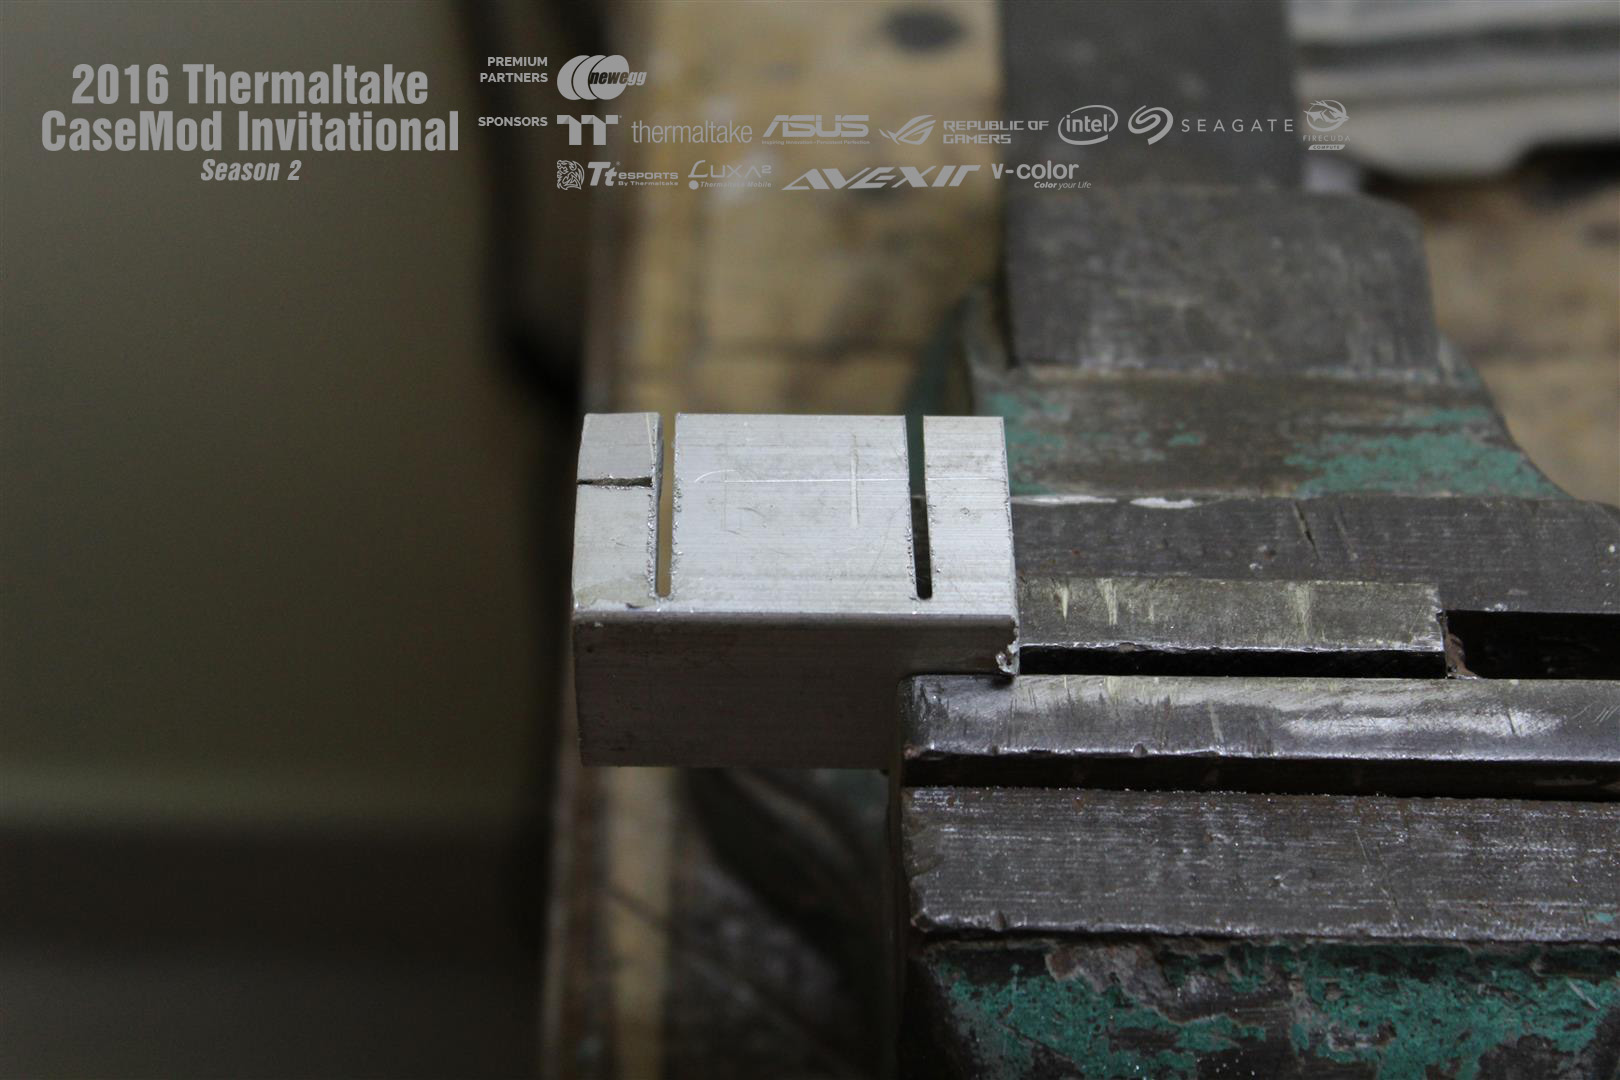
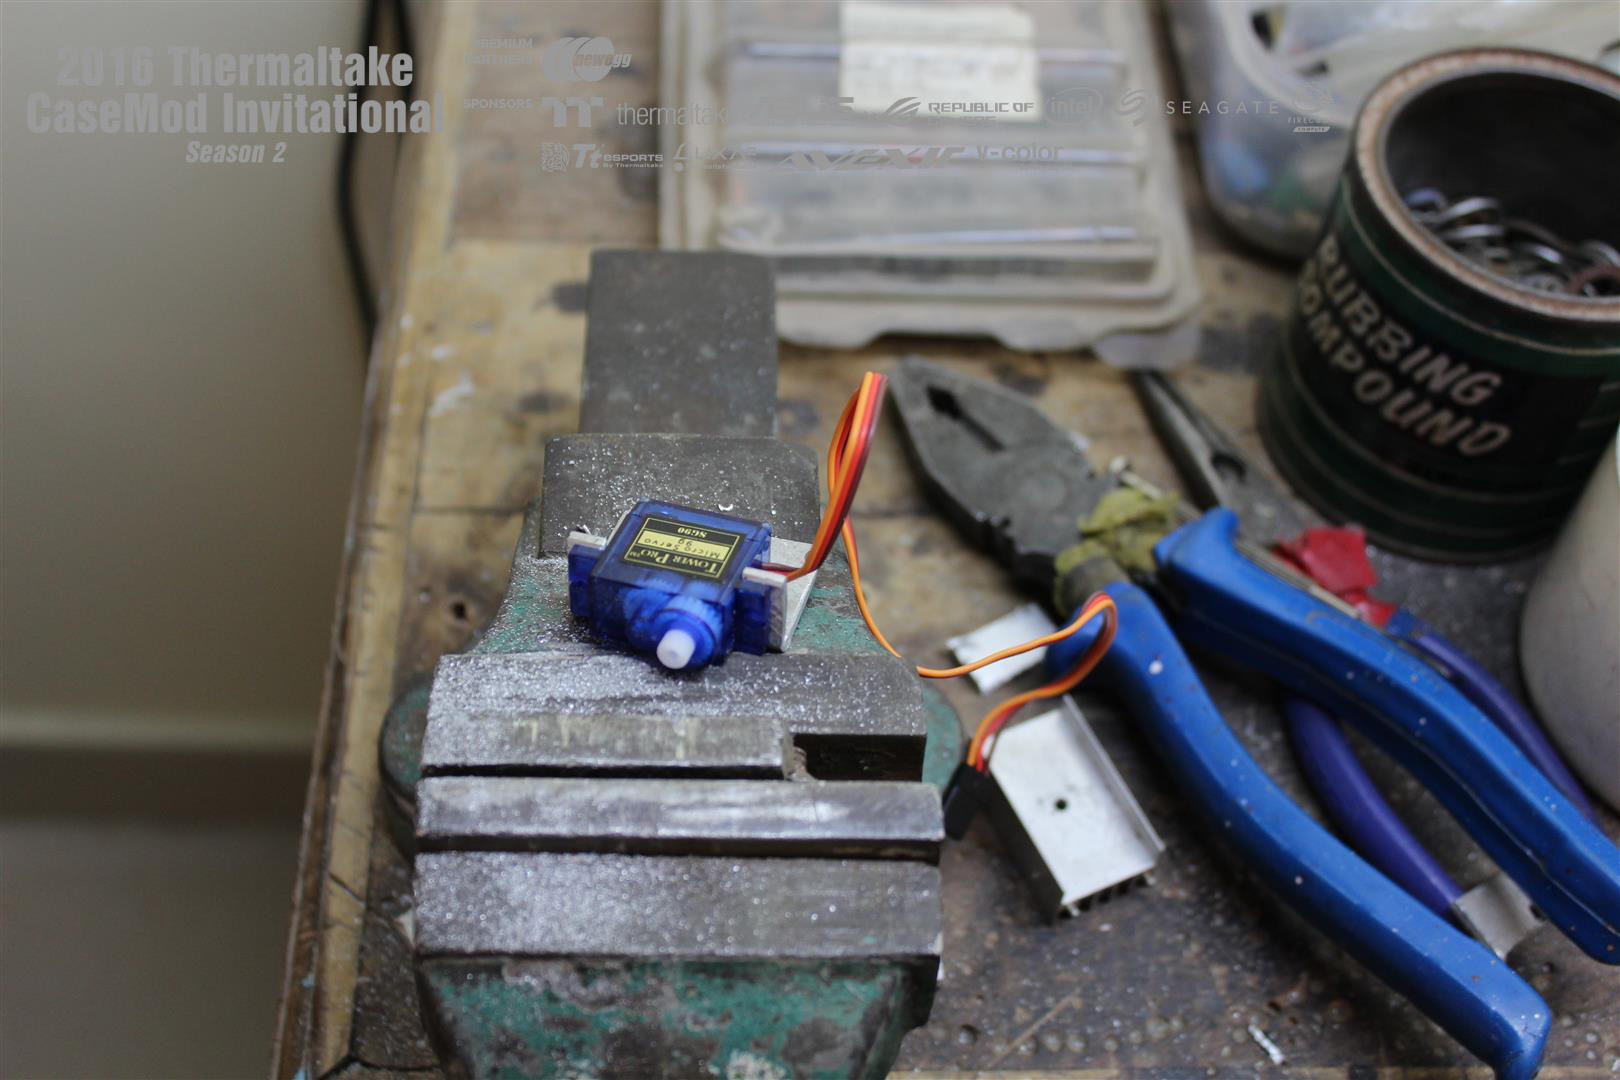
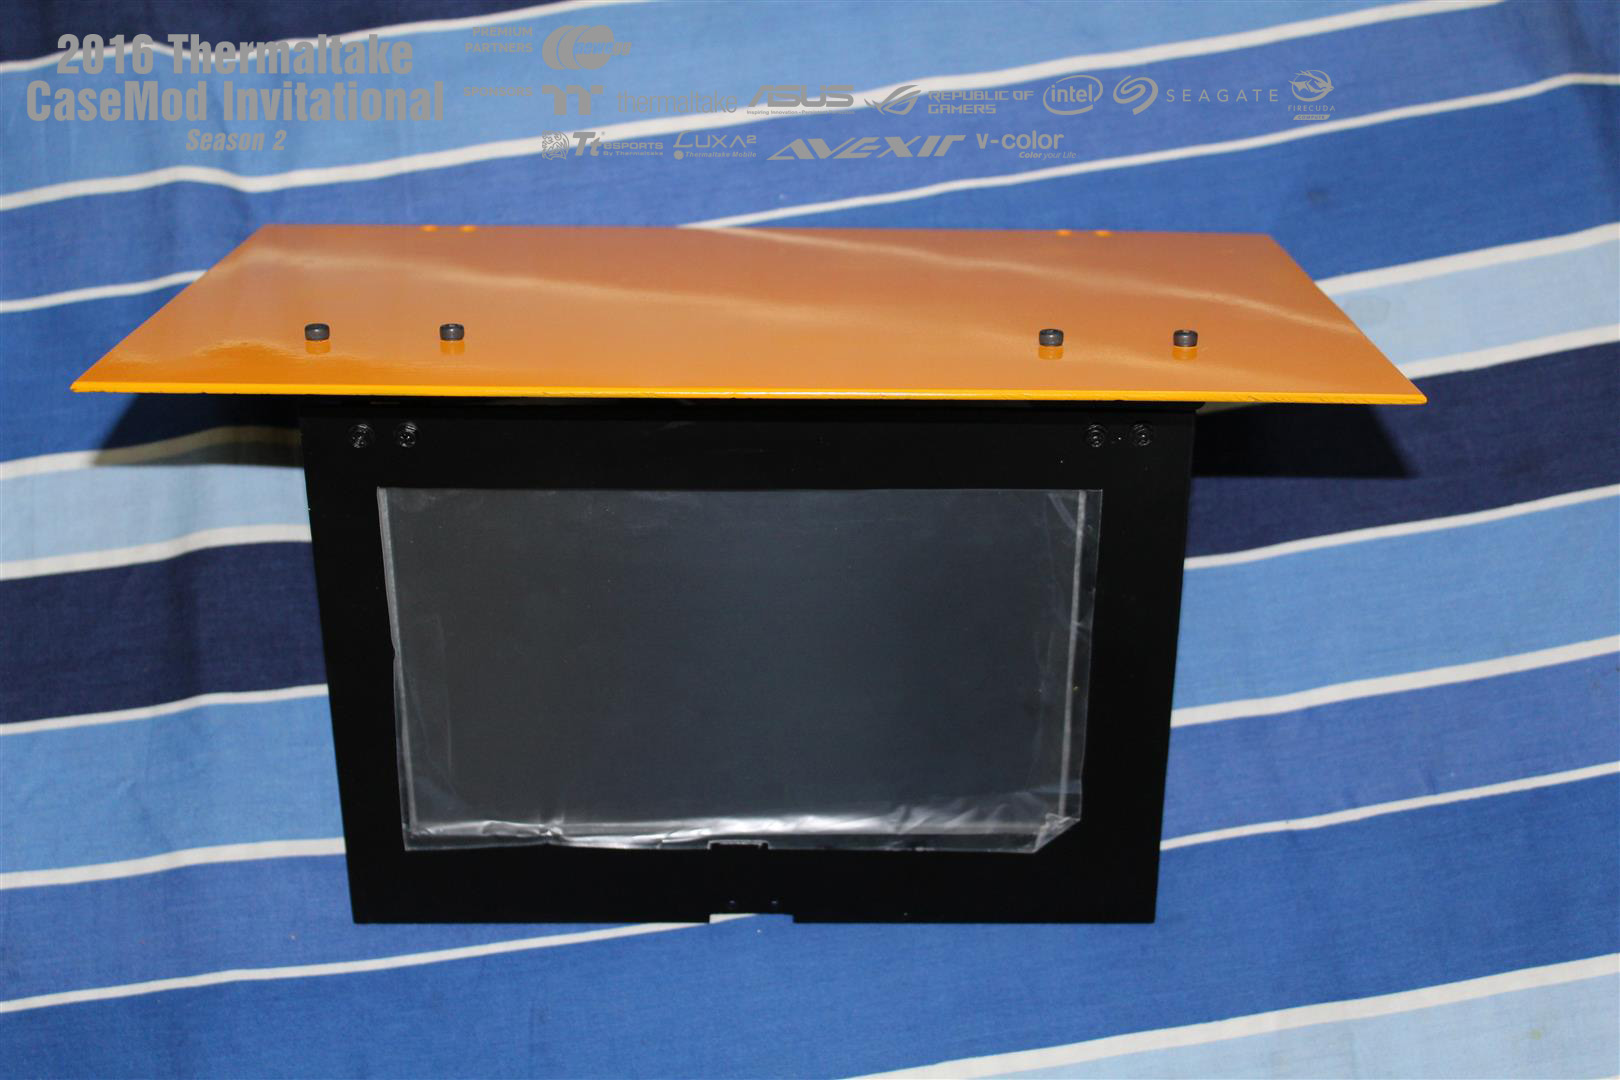
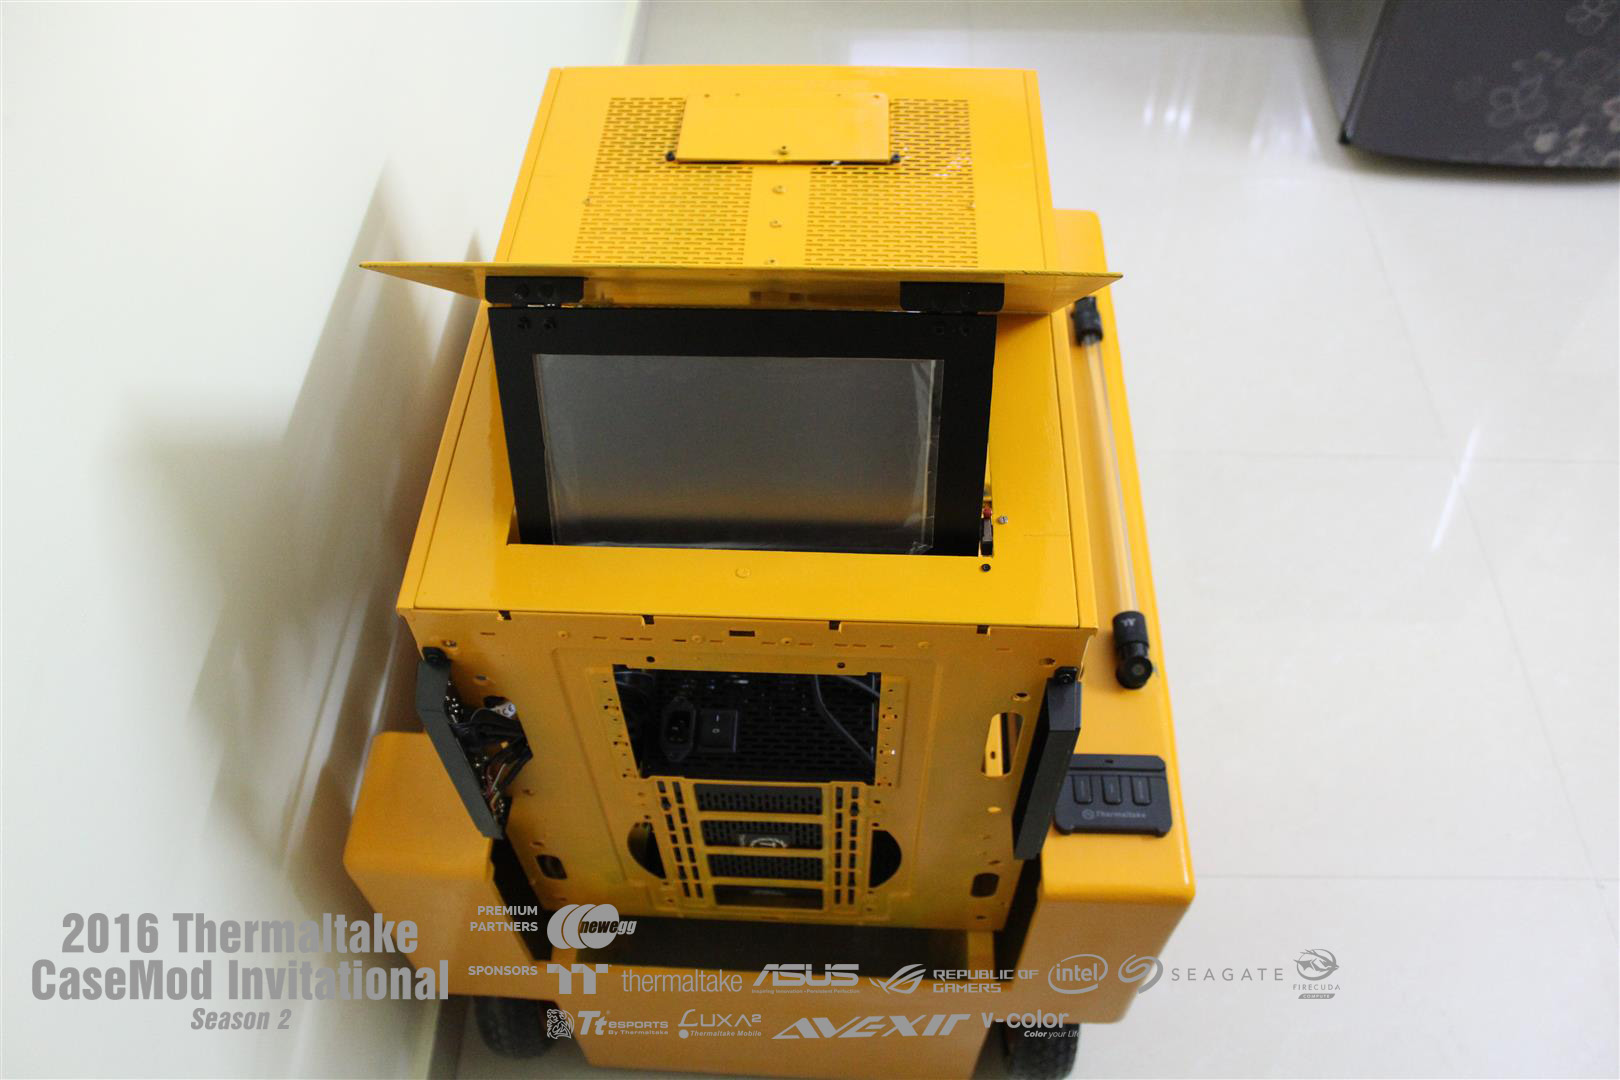
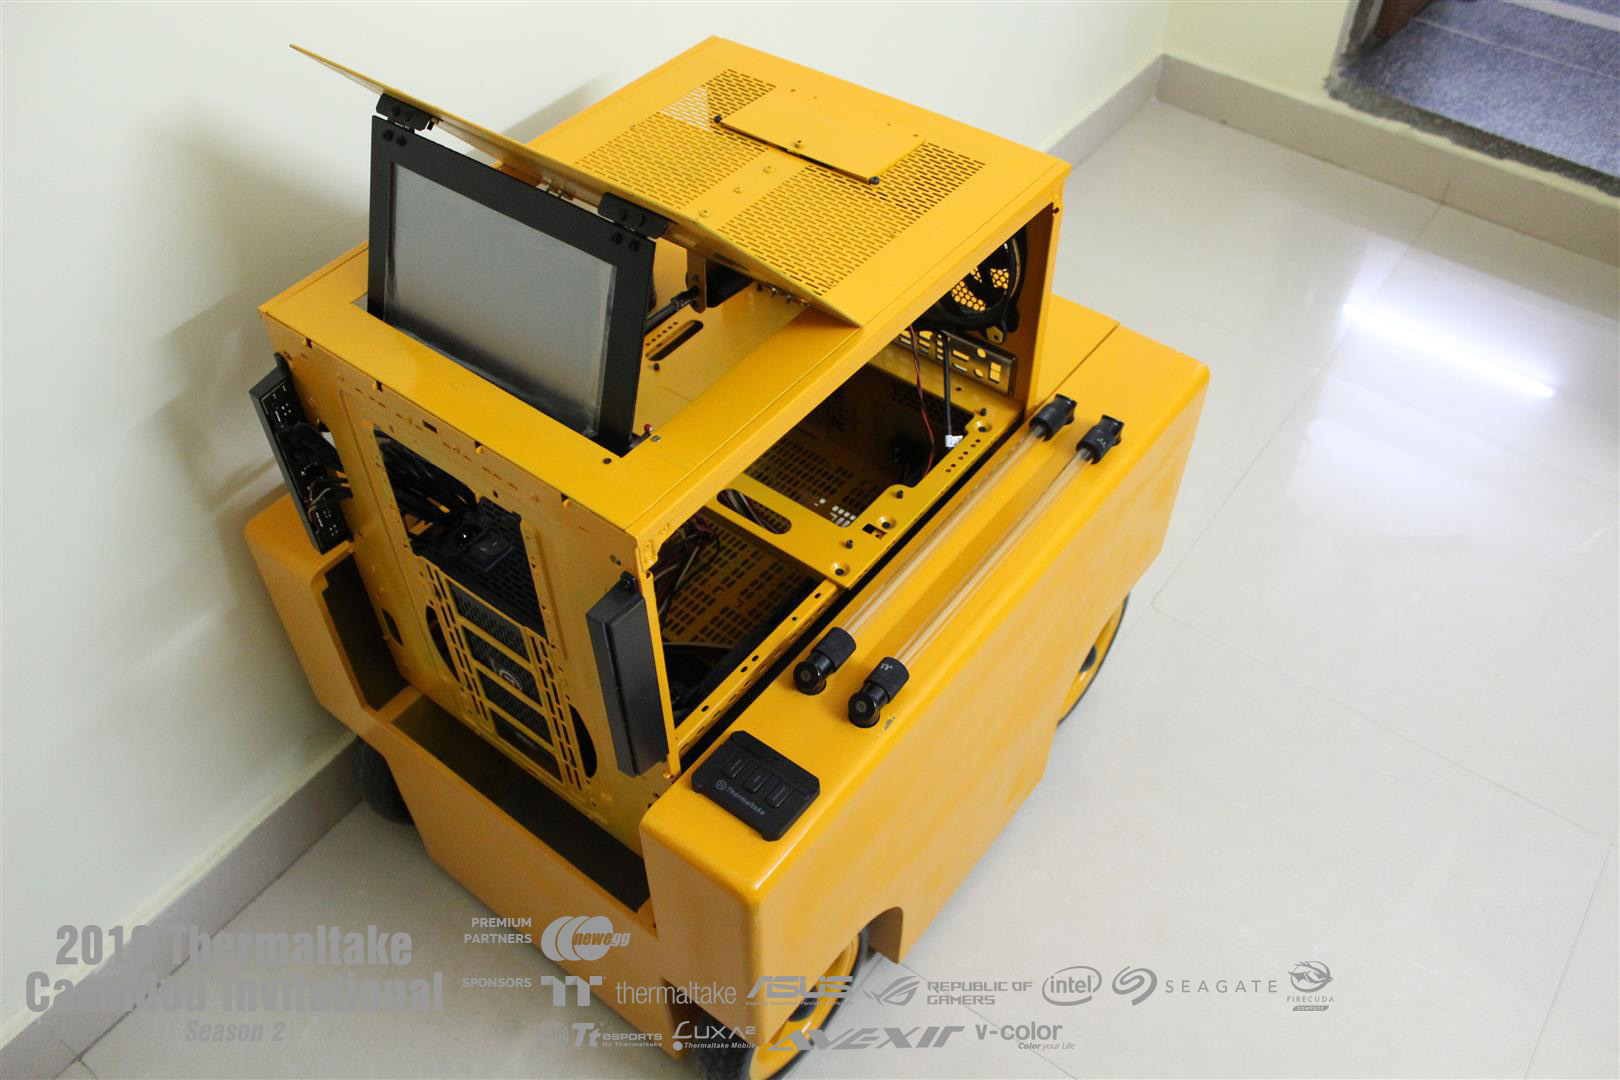
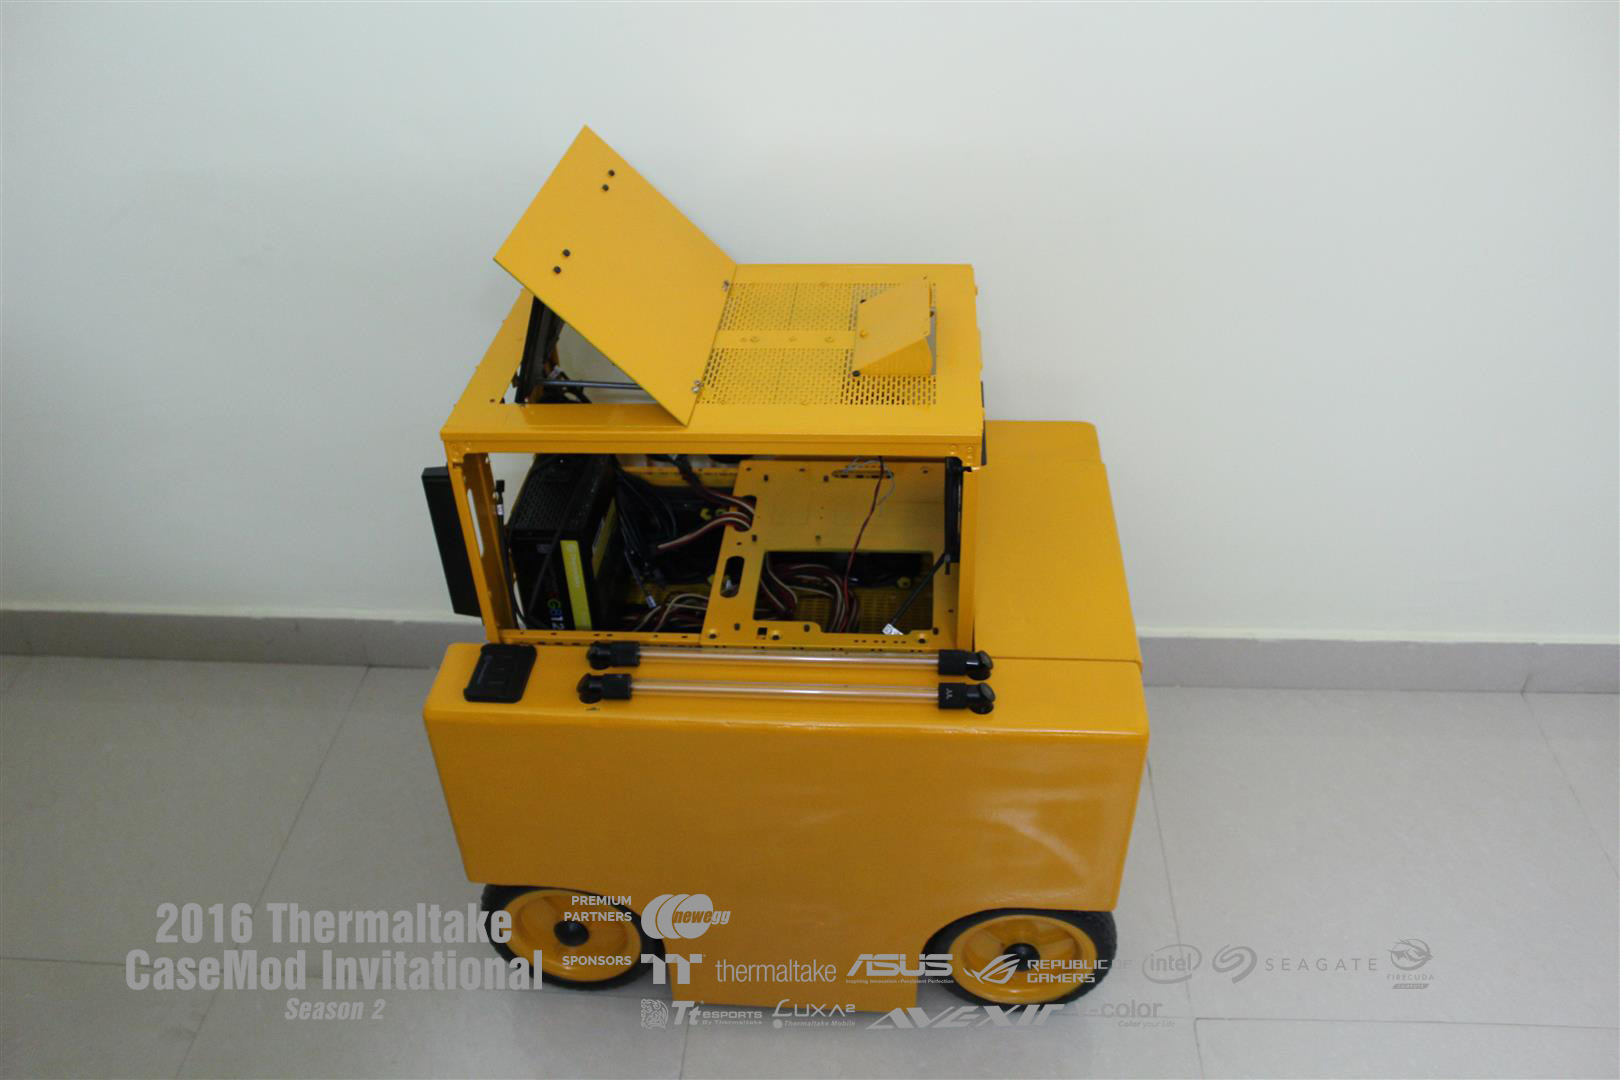
Making mounting brackets for servo motors with LCD mounting in the top air inlet flap and little sneak peak on paint job.

UPDATE : 28-Nov-2016
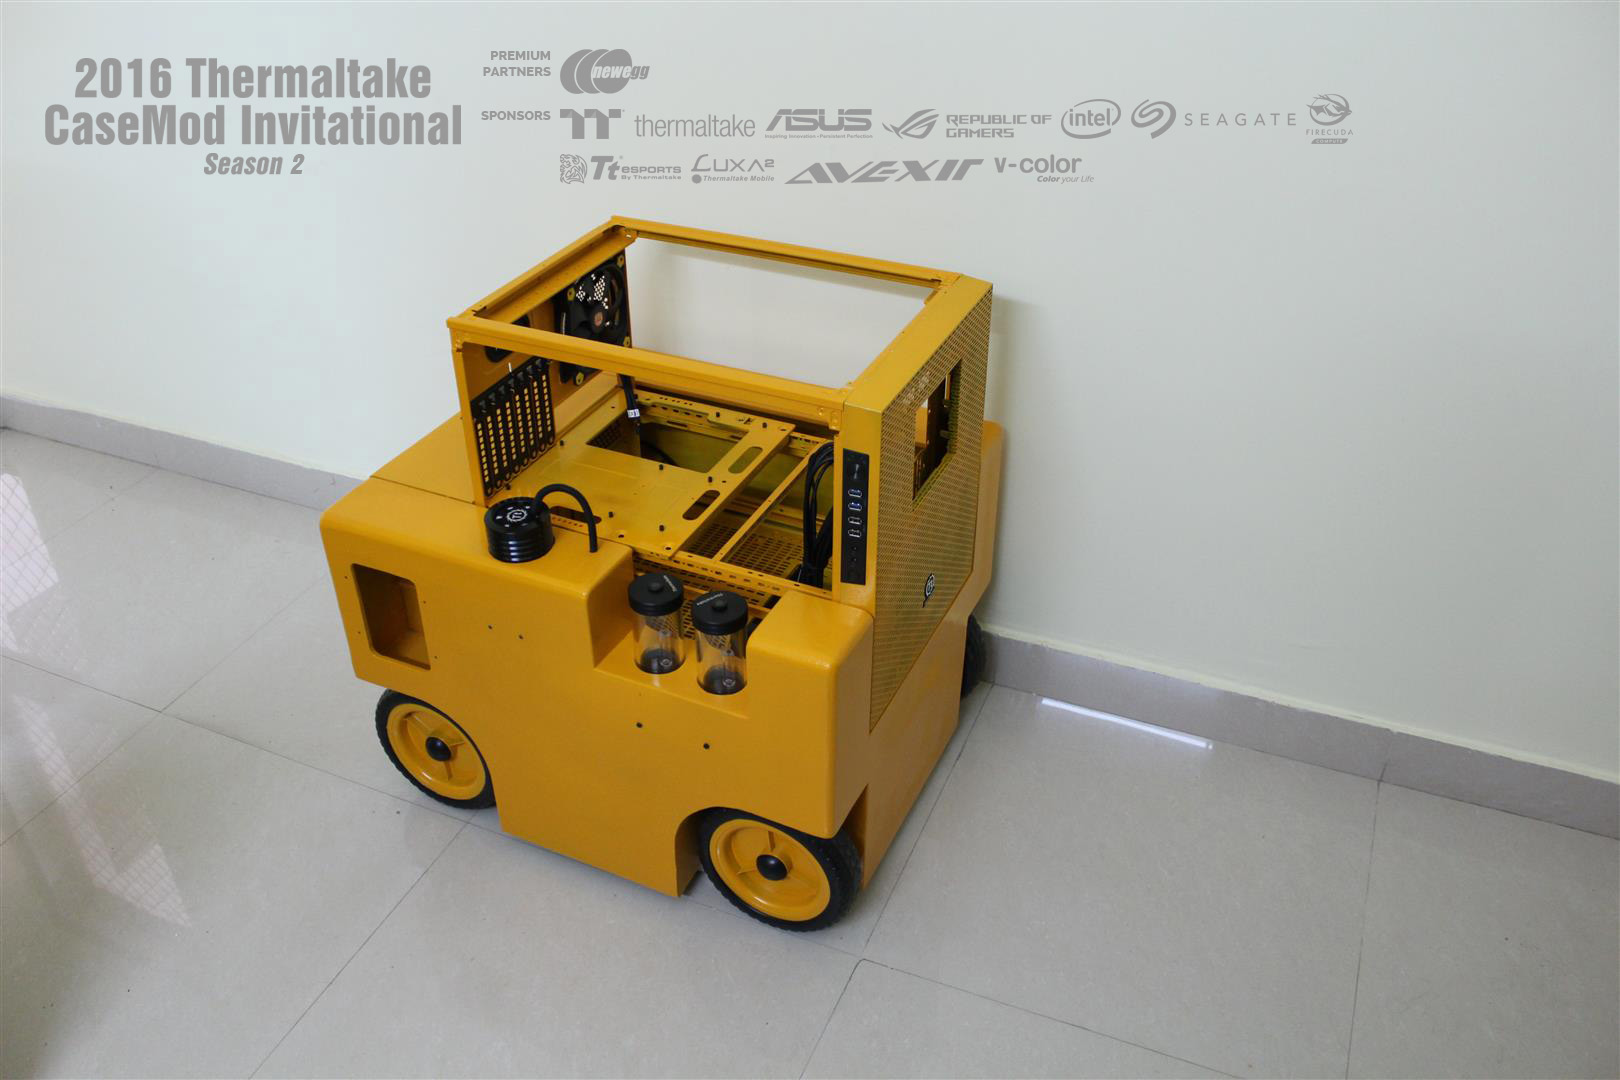
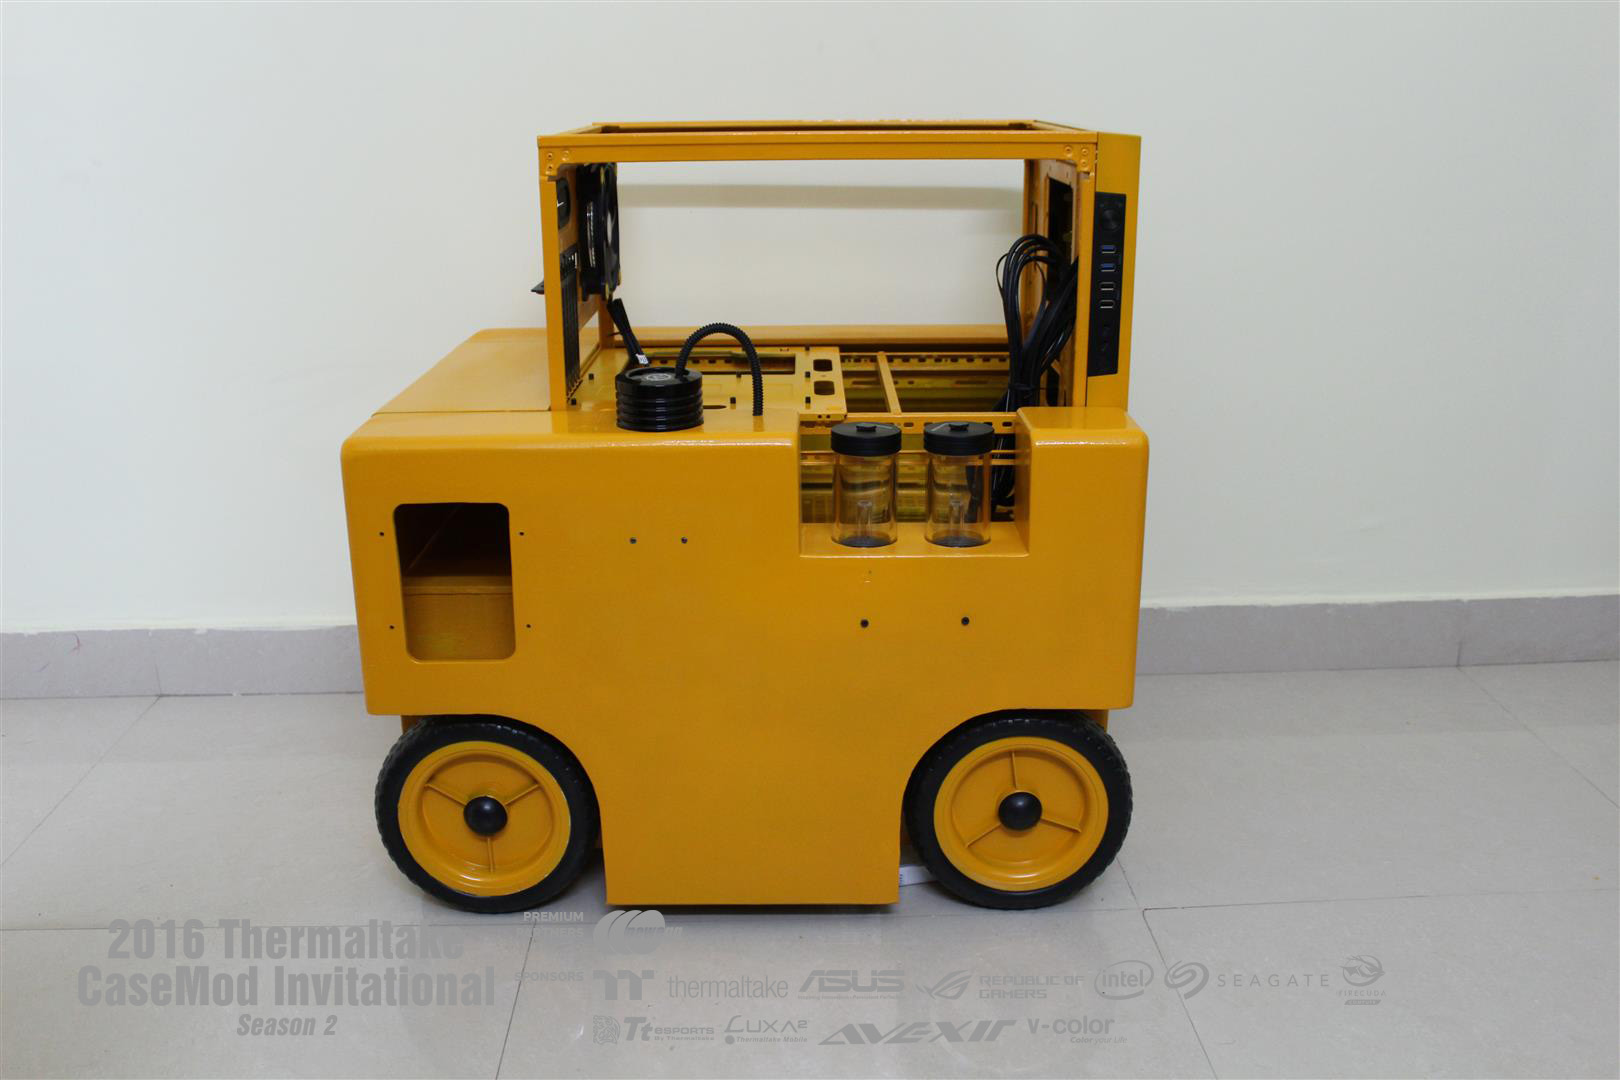
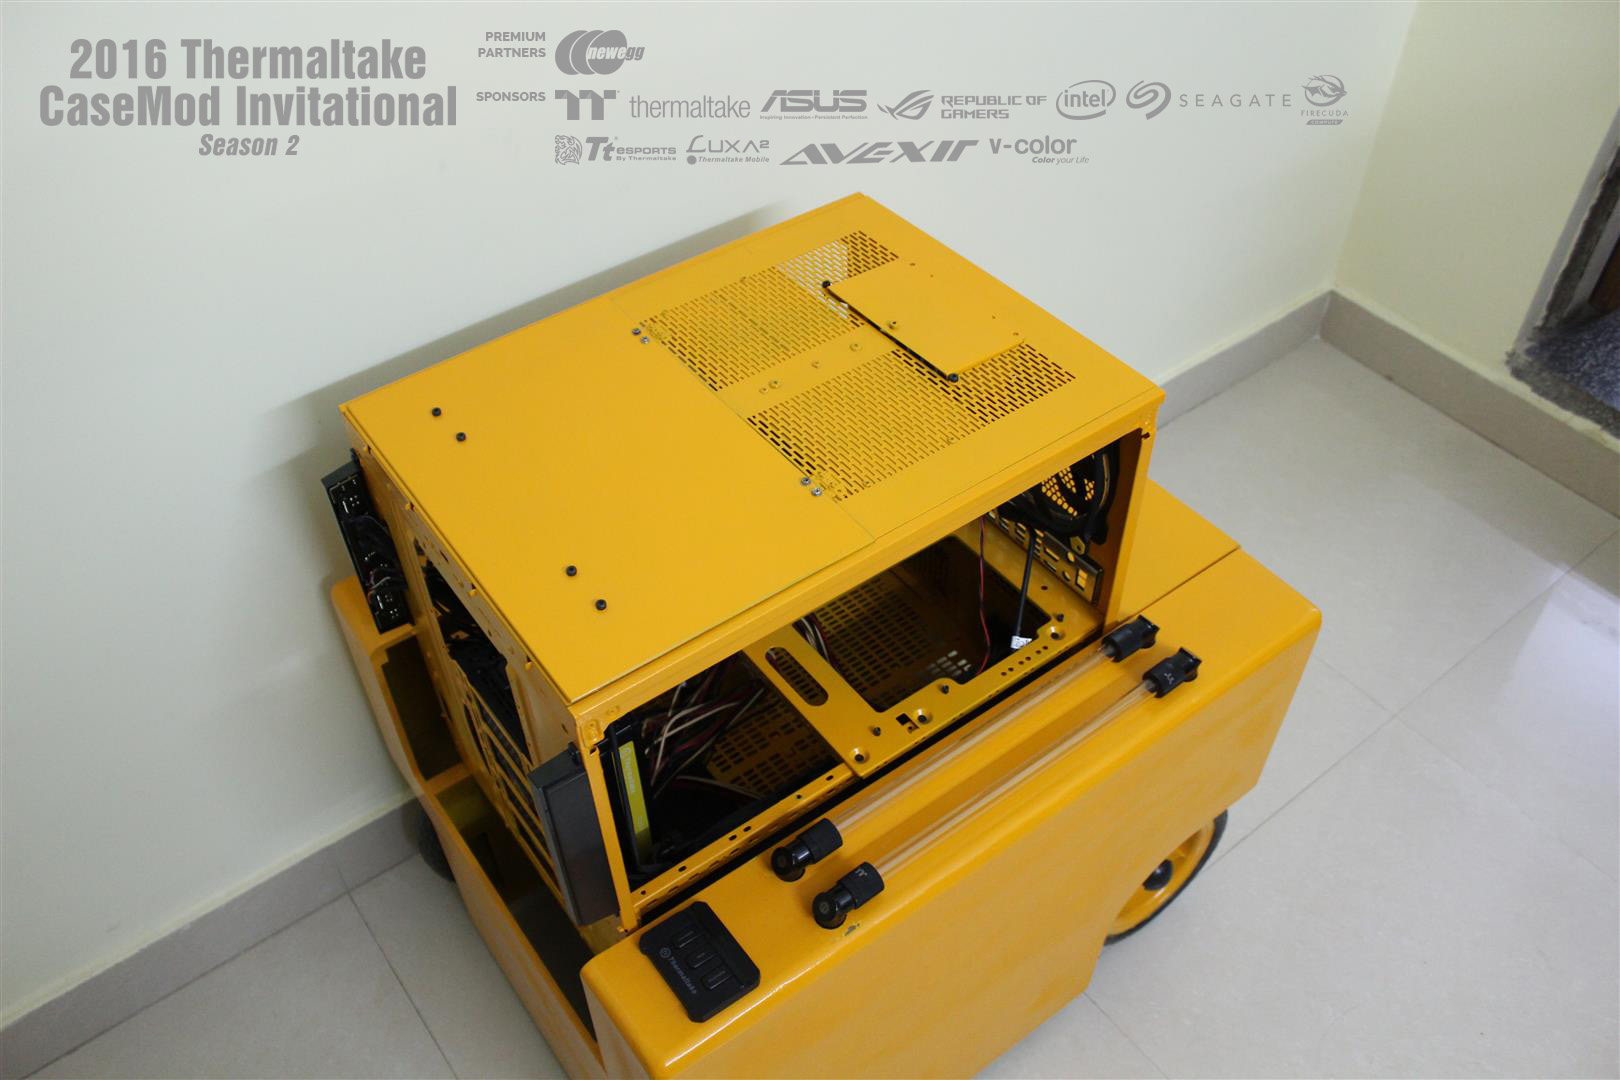
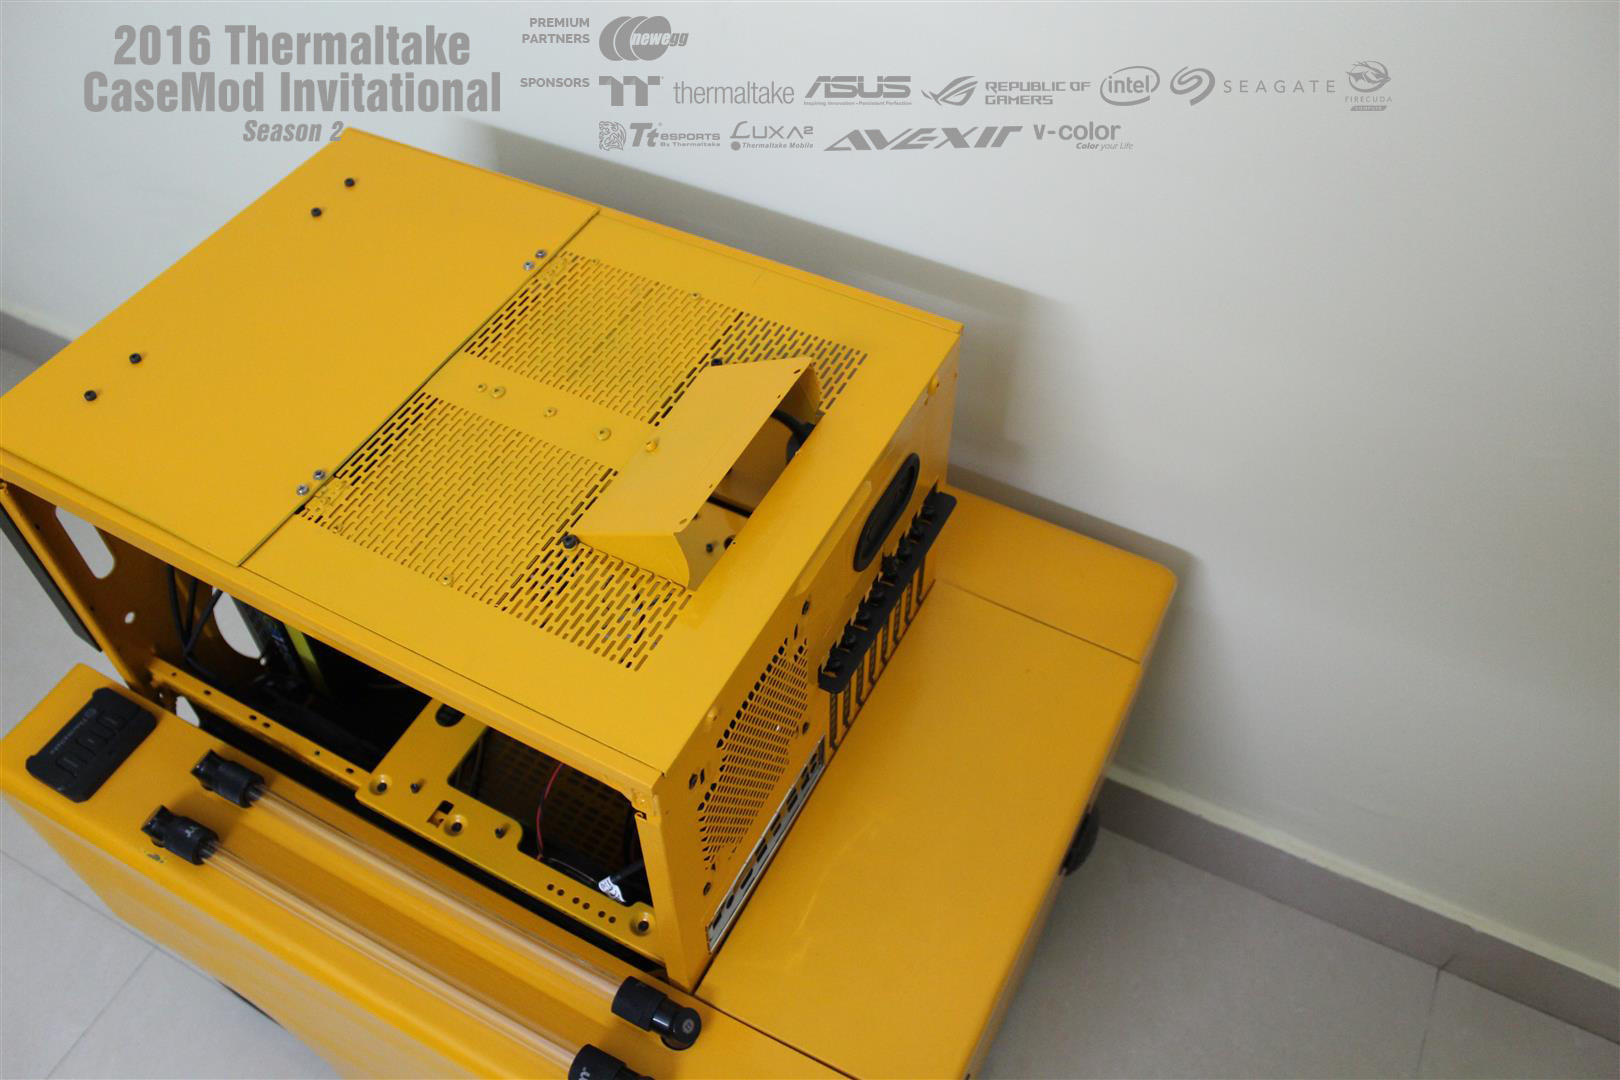
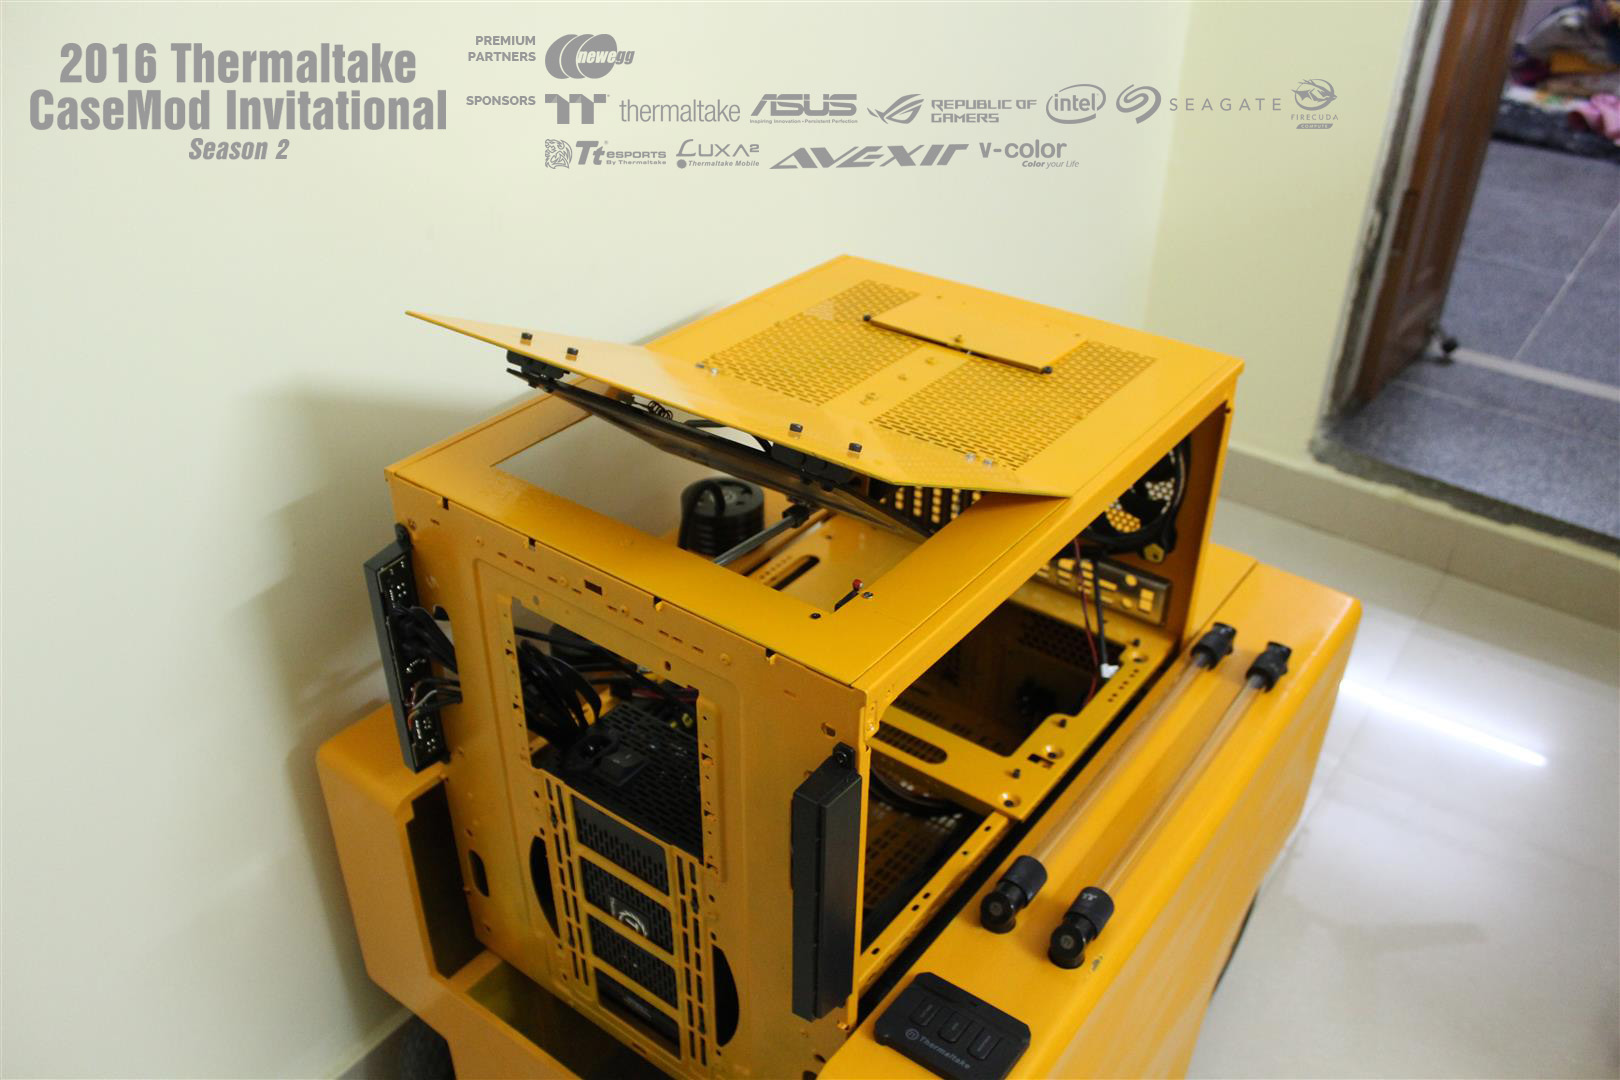
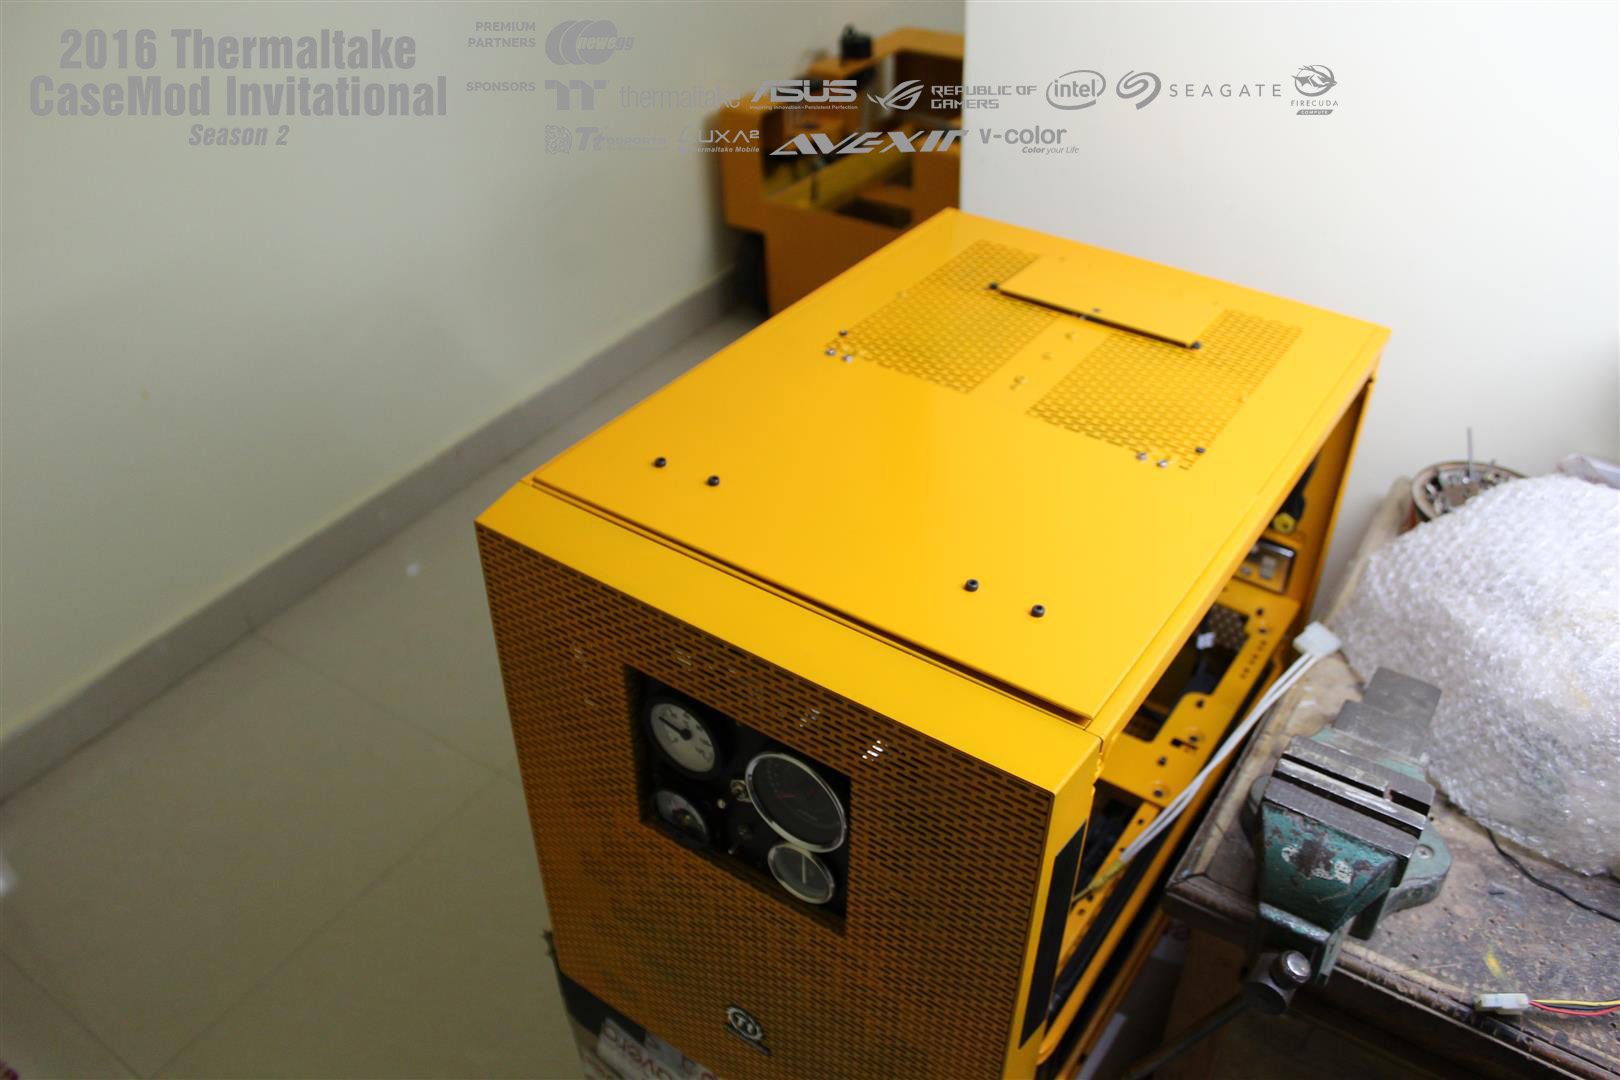
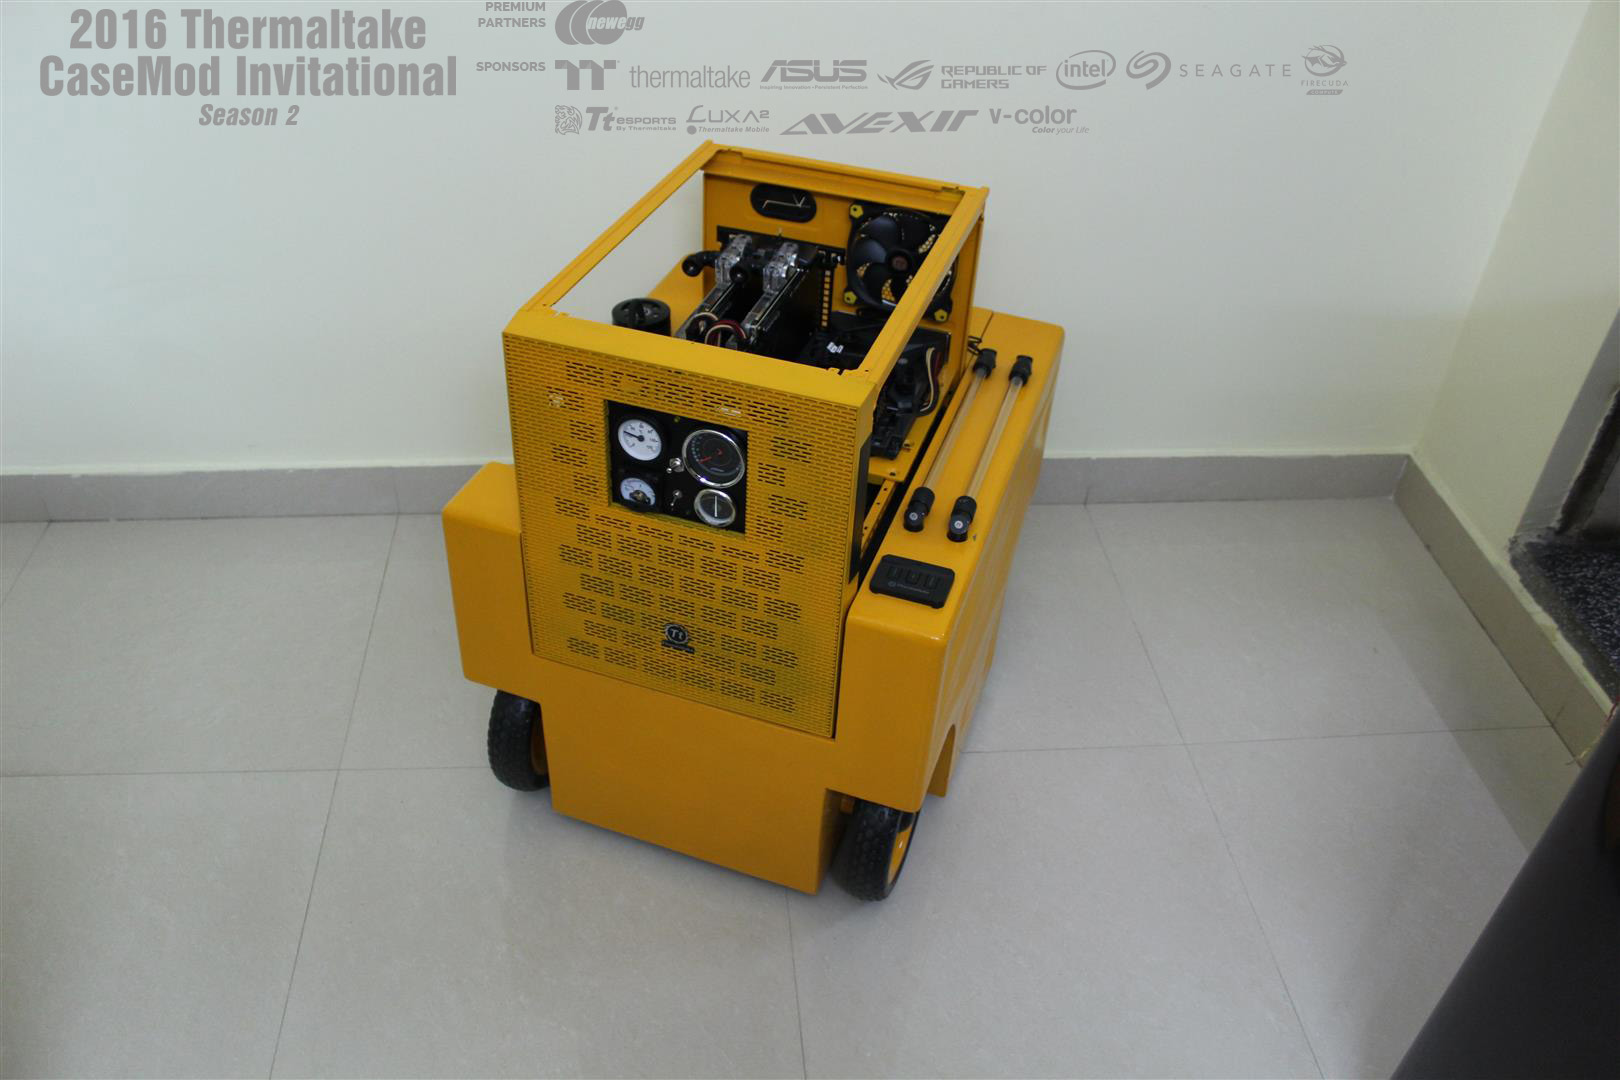
80 % paint job done. Test fitting some parts. Now working on final paint job, try to give old and retro looks.

UPDATE : 29-Nov-2016
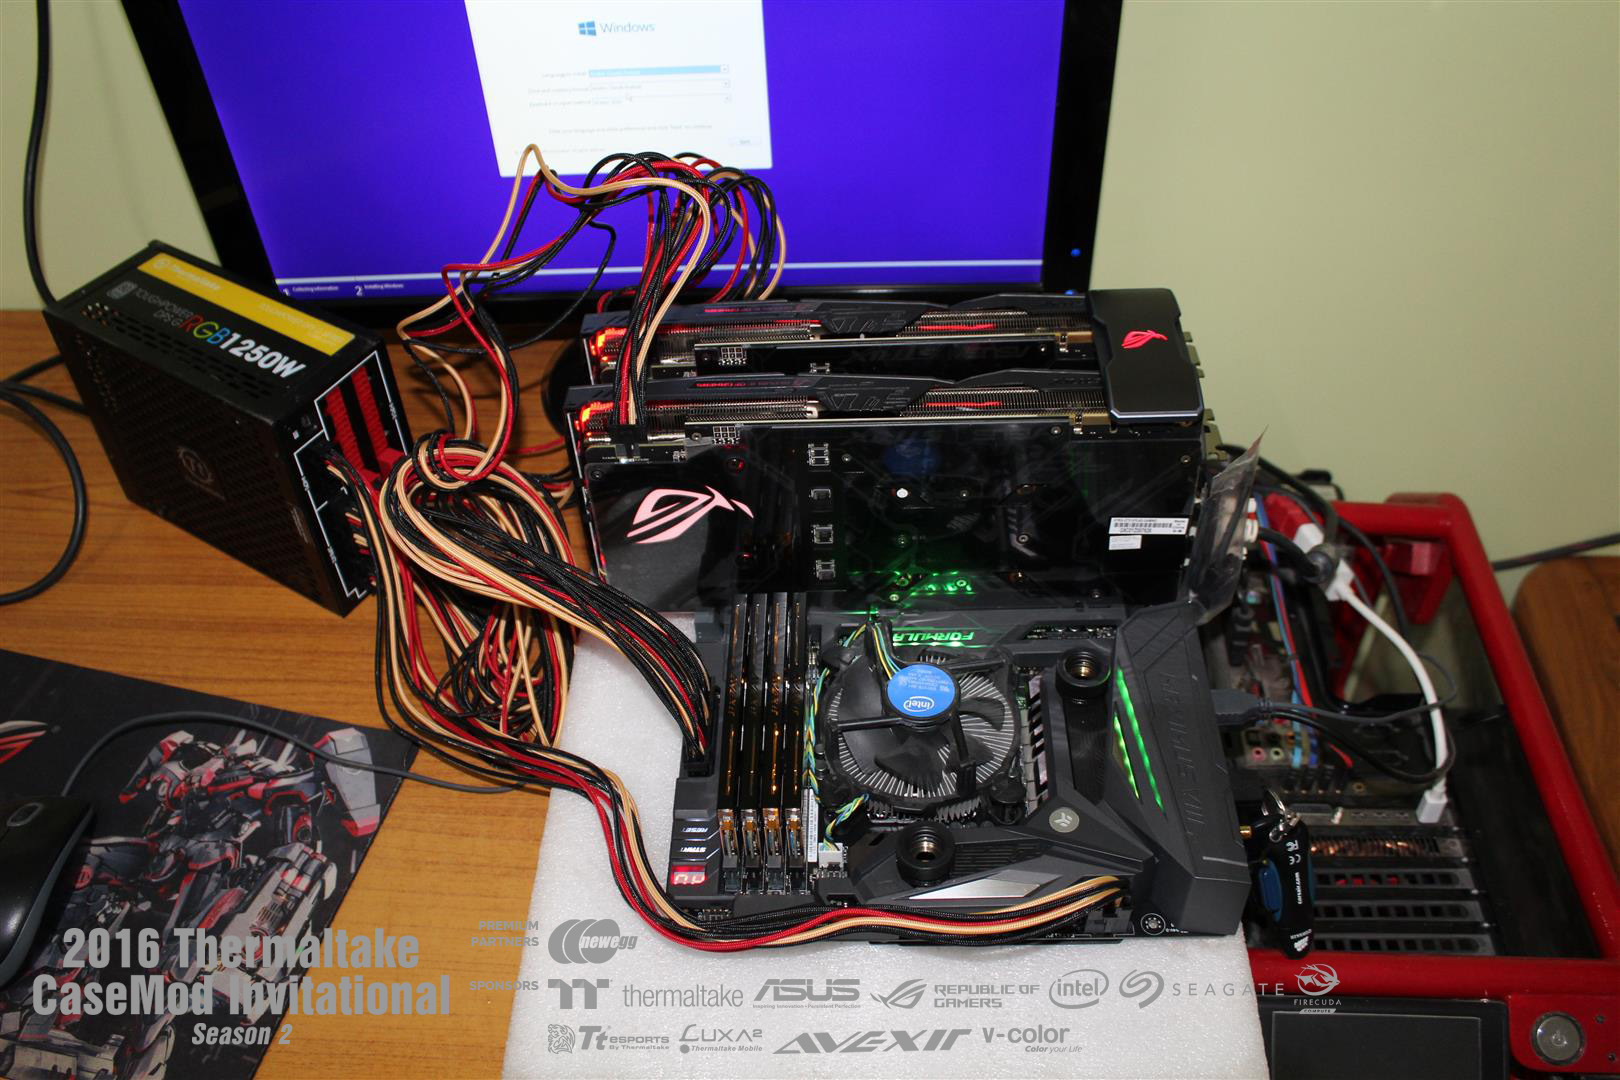
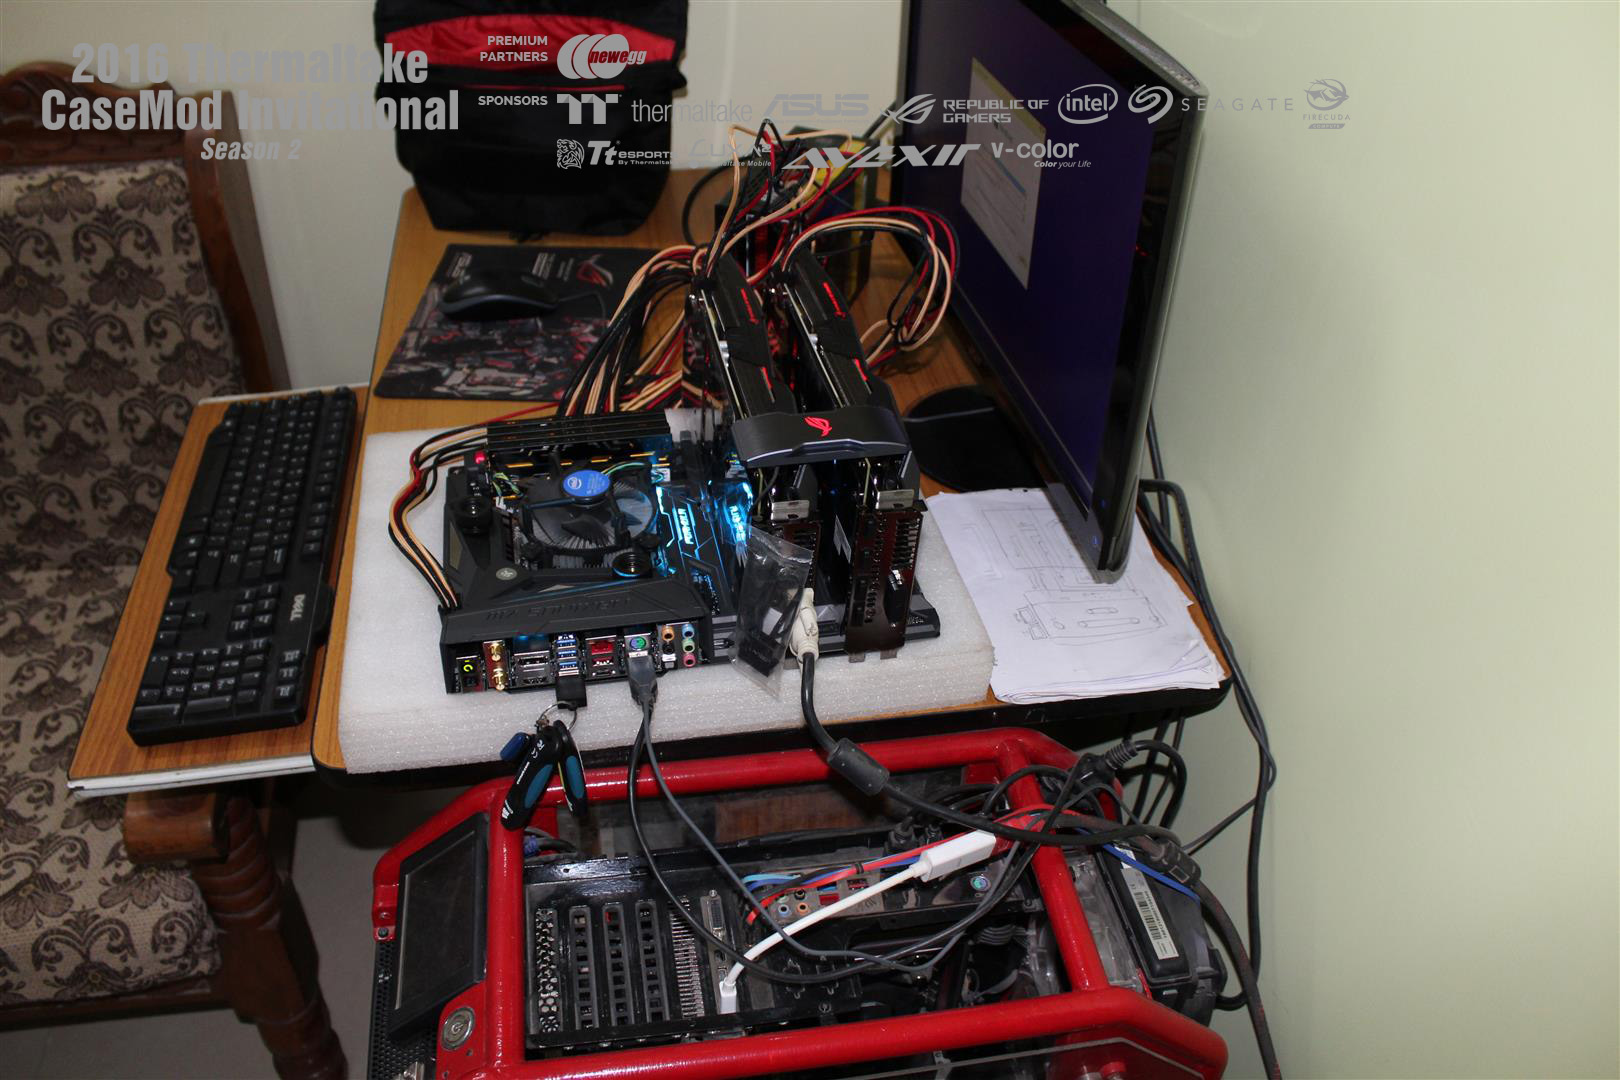
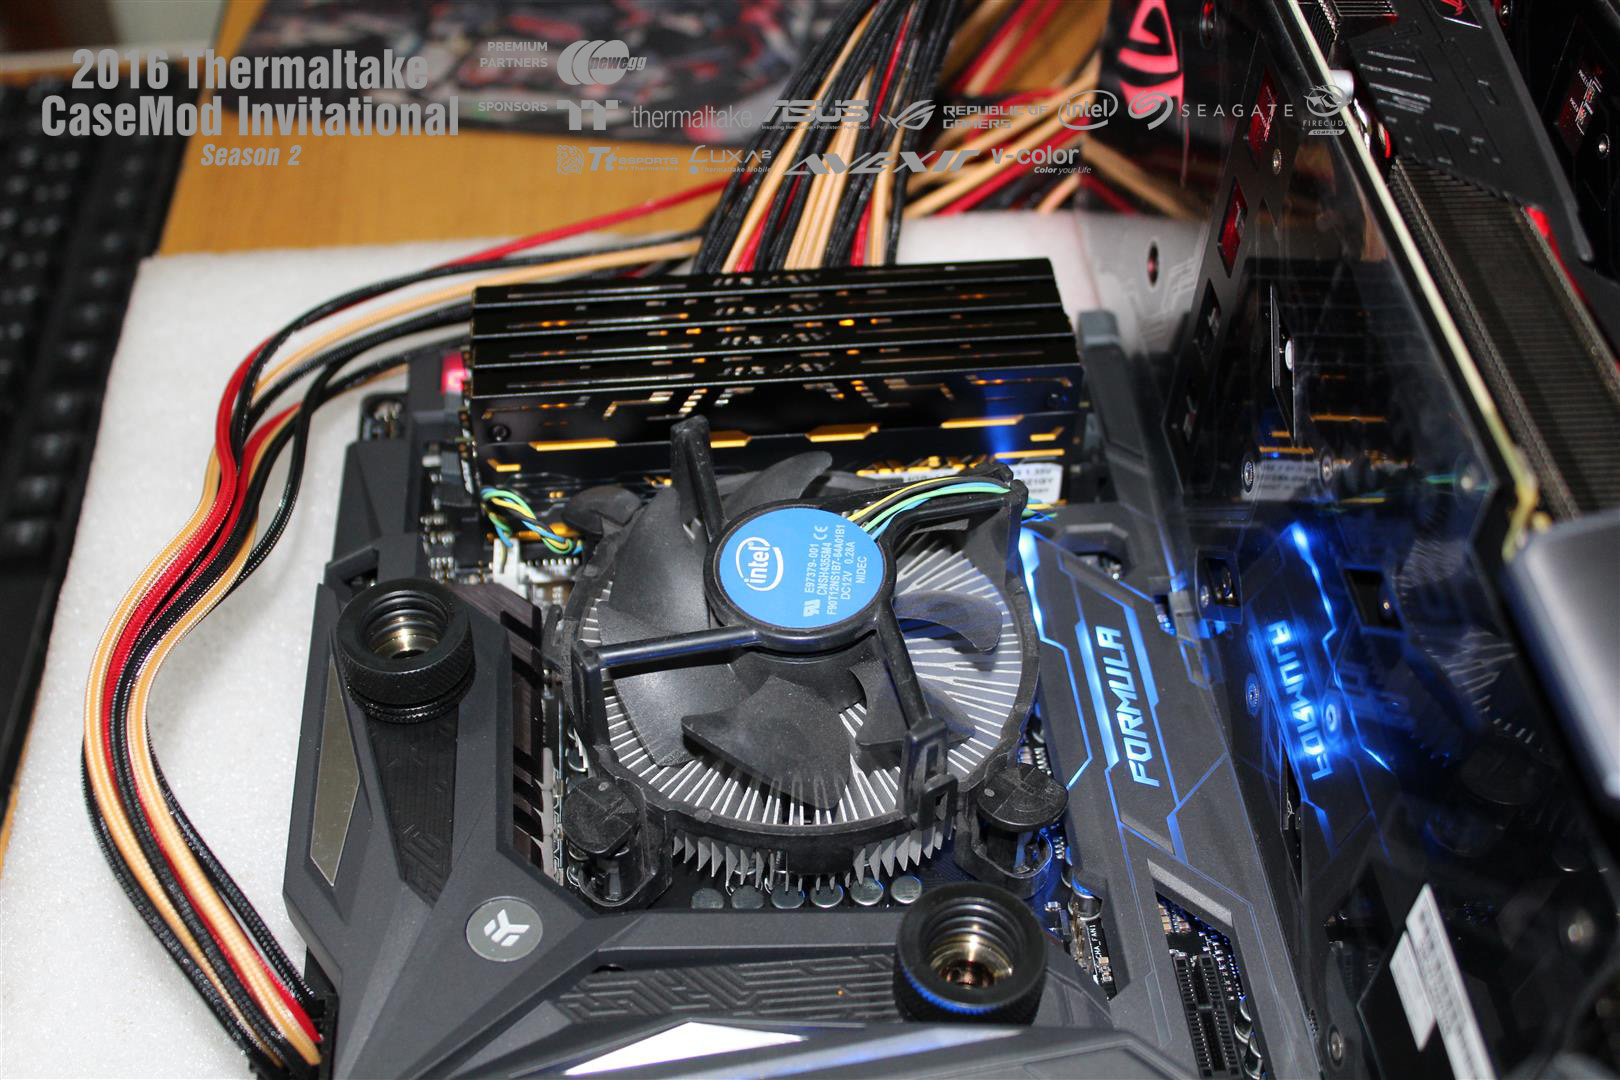
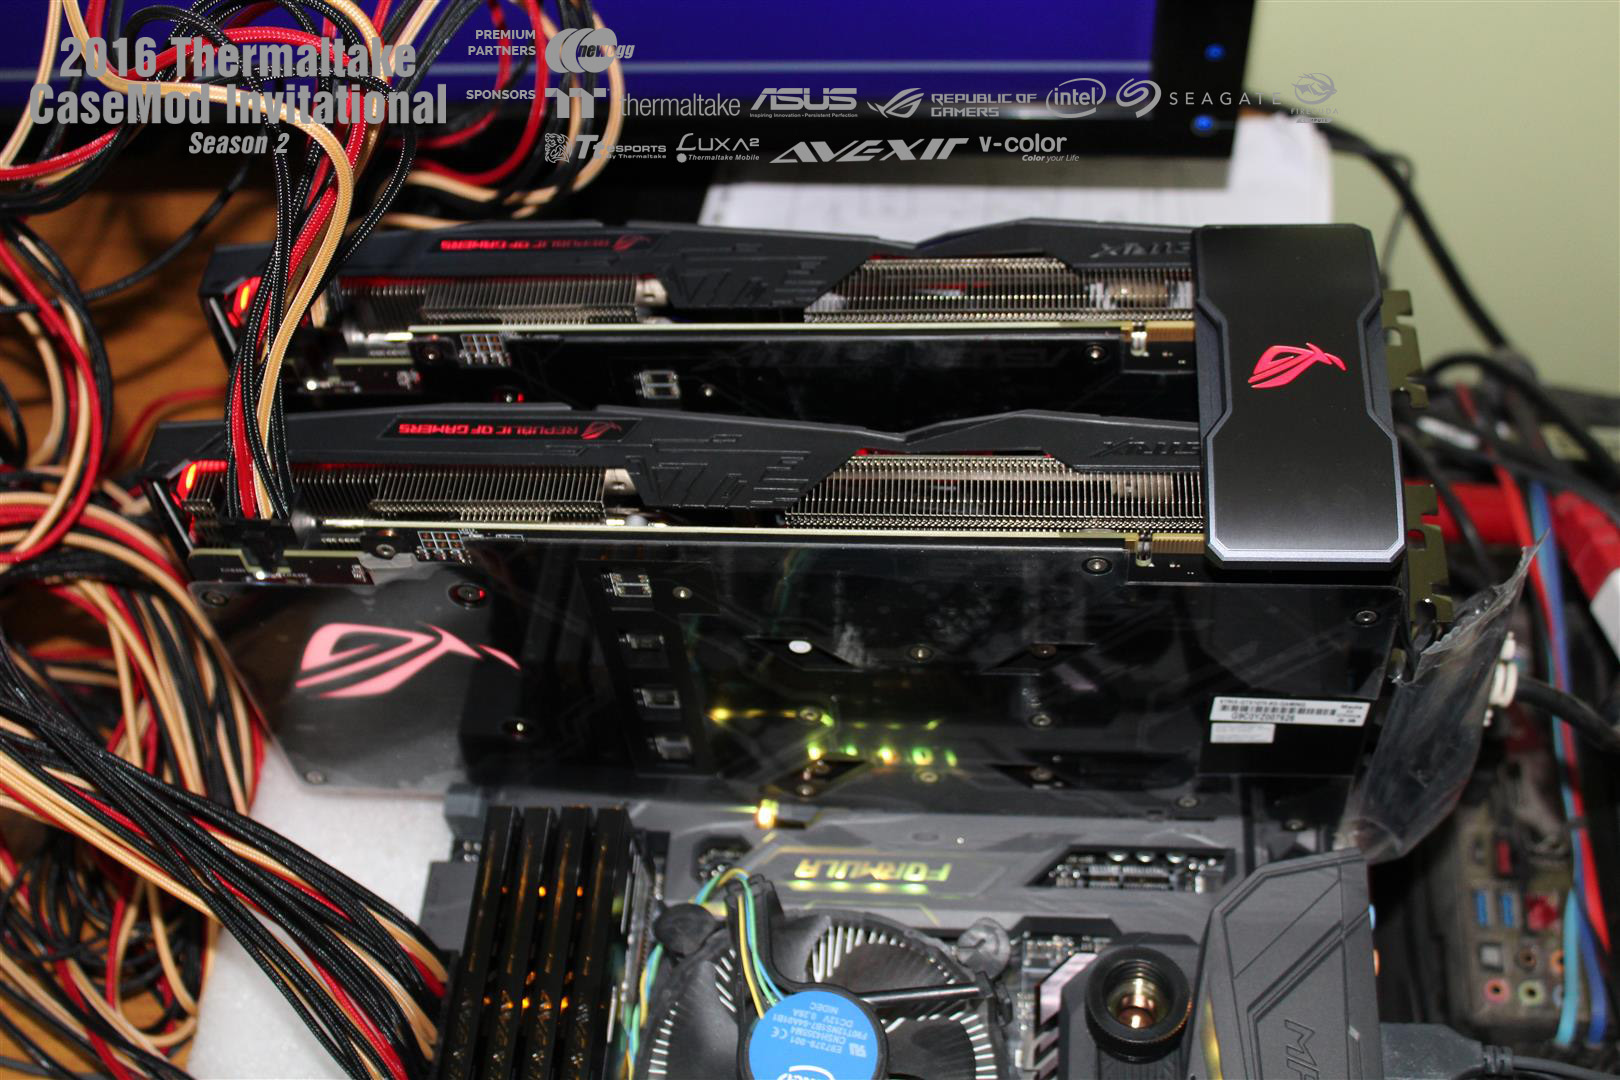
Full testing of all hardware before staring Liquid Cooling thing. And everything seems to be fine here.
UPDATE : 03-Dec-2016
Build progress on full speed. Working on finishing the top air flaps. LDC controller and micro-controller boards installed working on wiring and connection layout. Hope to finish top panel wiring soon.

UPDATE : 05-Dec-2016
Full Sunday working… from printer scrap parts to fully working top-air flap transition done successfully., just slight fine-tuning required.
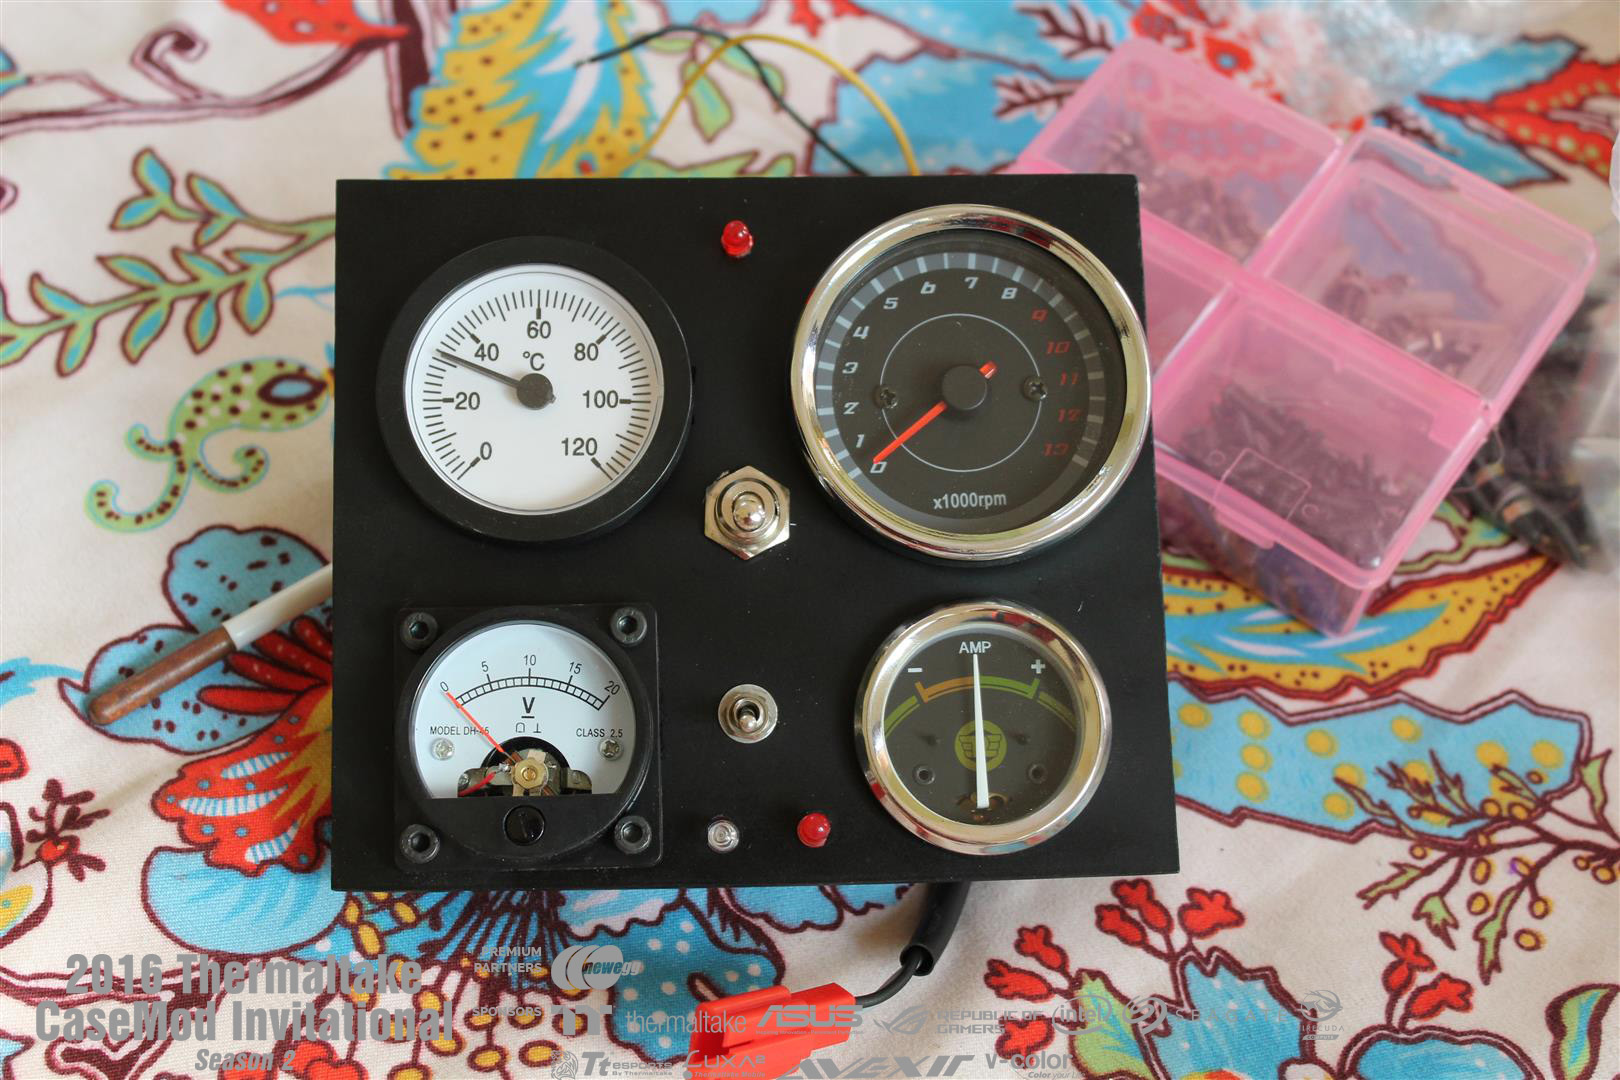
UPDATE : 07-Dec-2016
Front analog control panel part done. Everything working fine. RPM meter is displaying fan RPM. Under 5000 RPM meter displays accurate fan RPM, but above that it starts showing higher values of RPM.. some fine tuning in Arduino code will solve the issue.
UPDATE : 12-Dec-2016
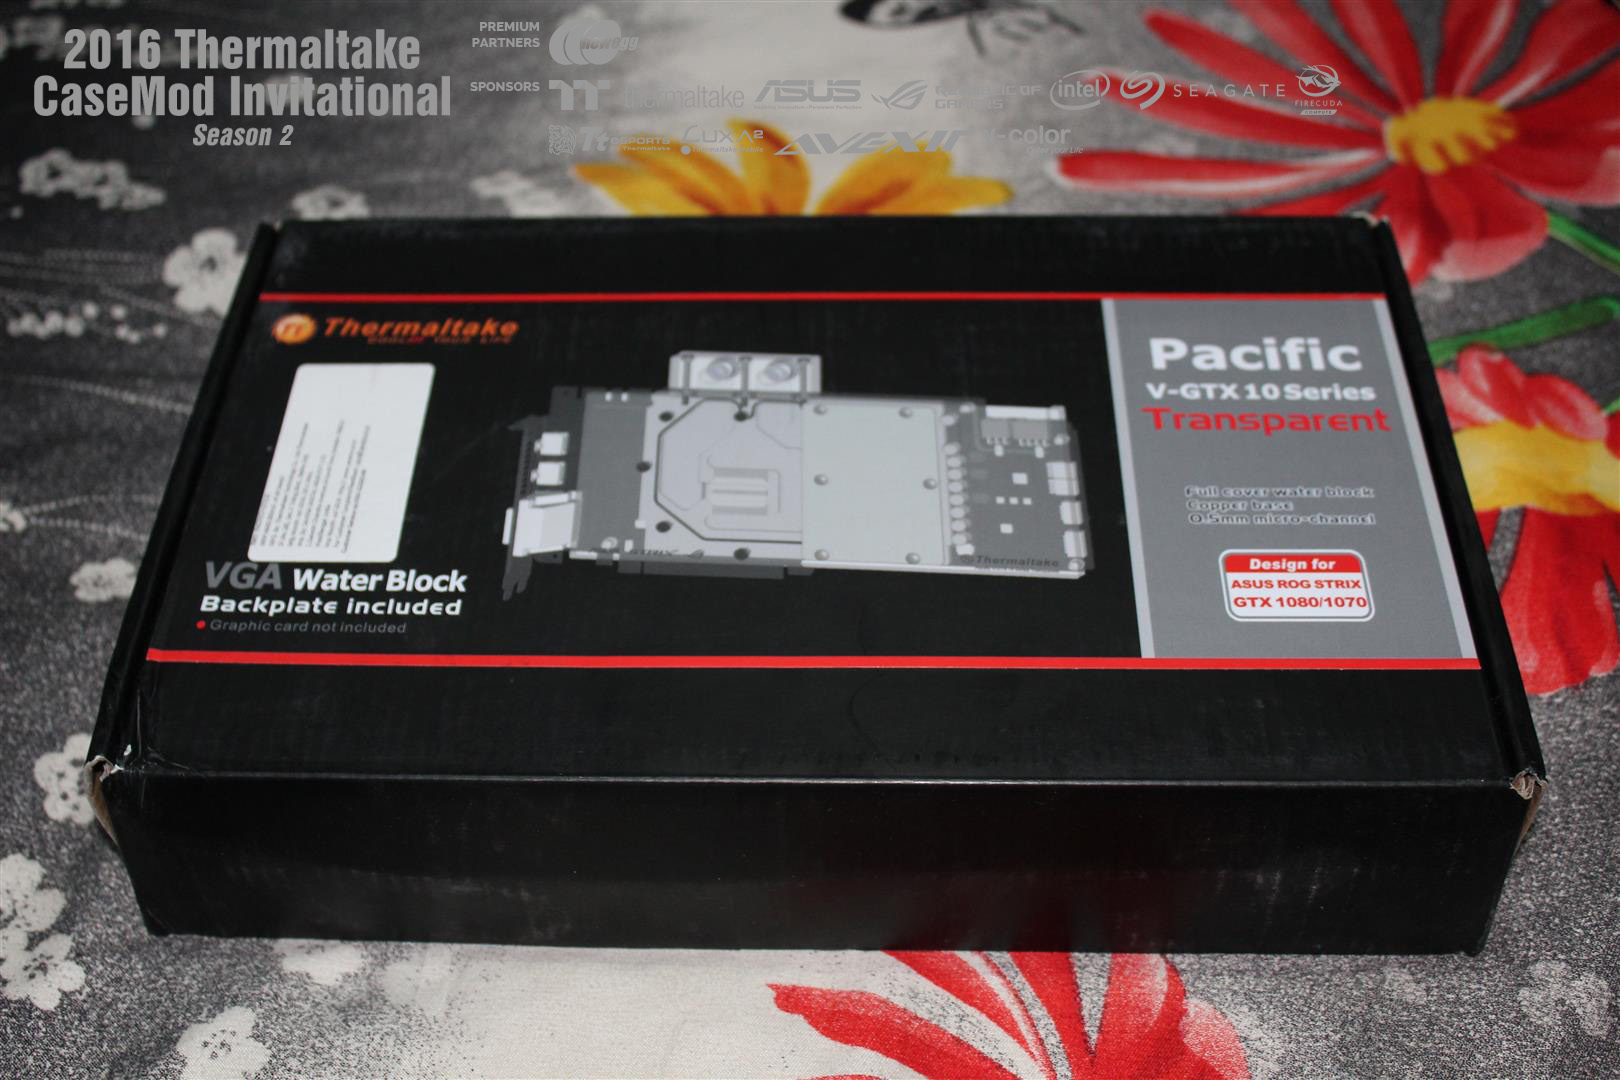
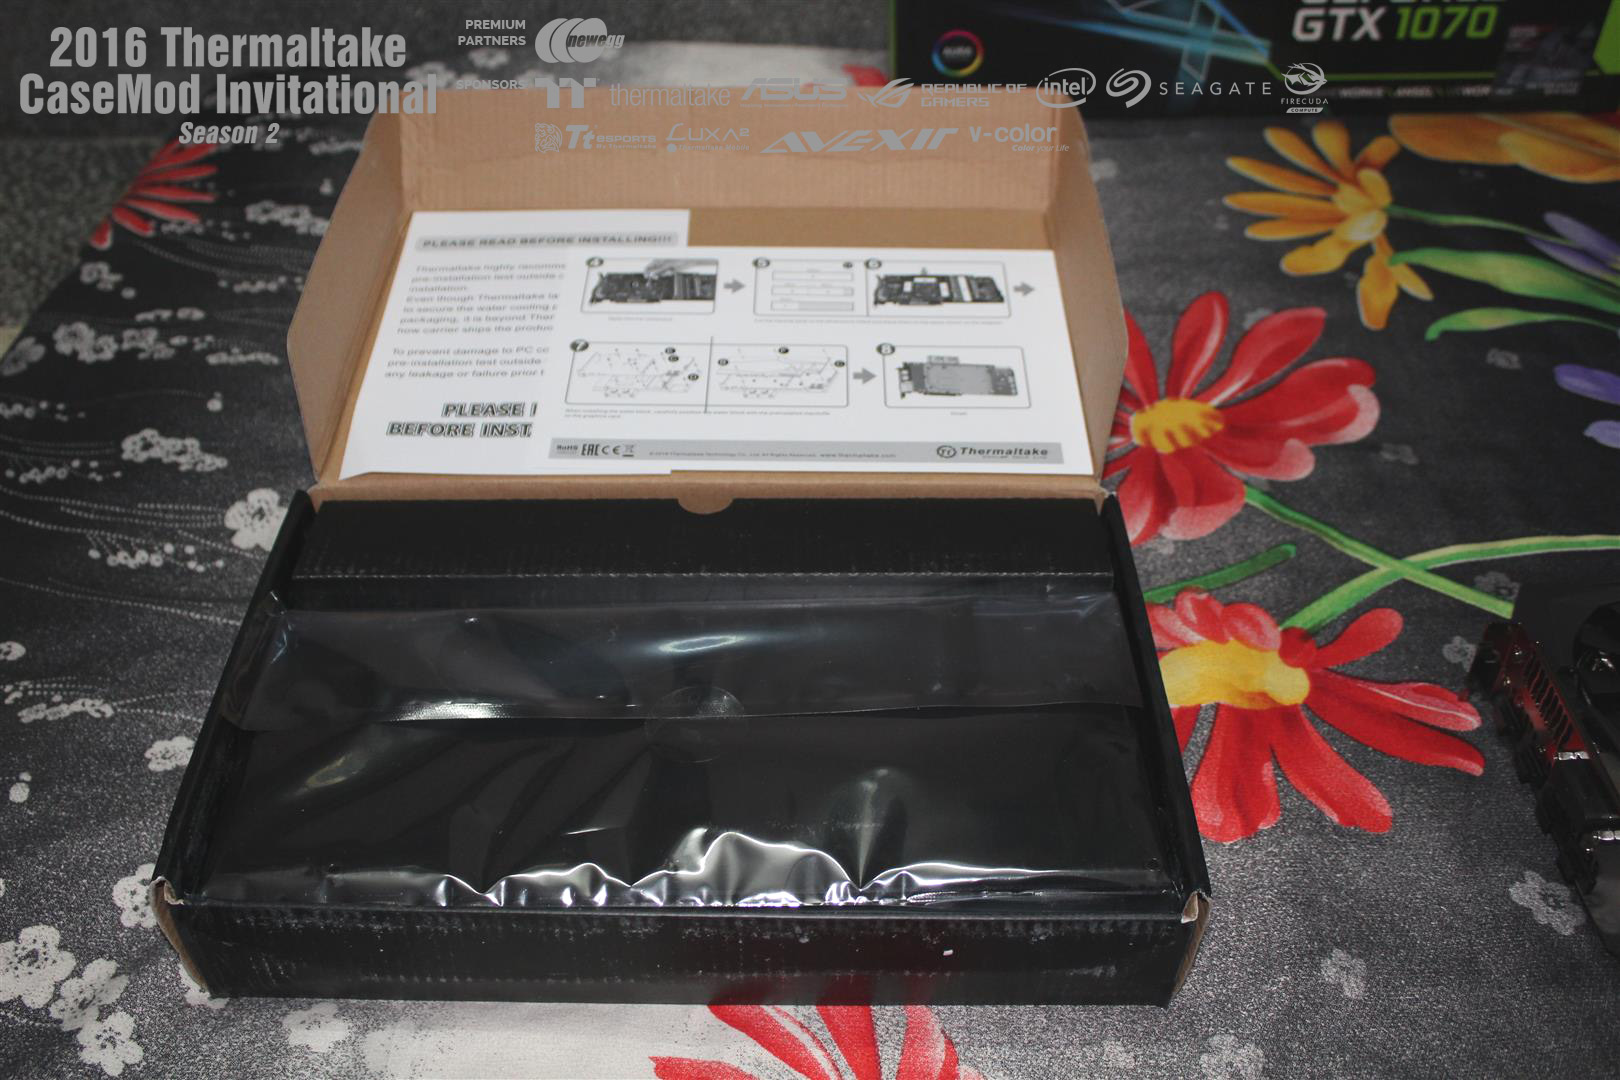
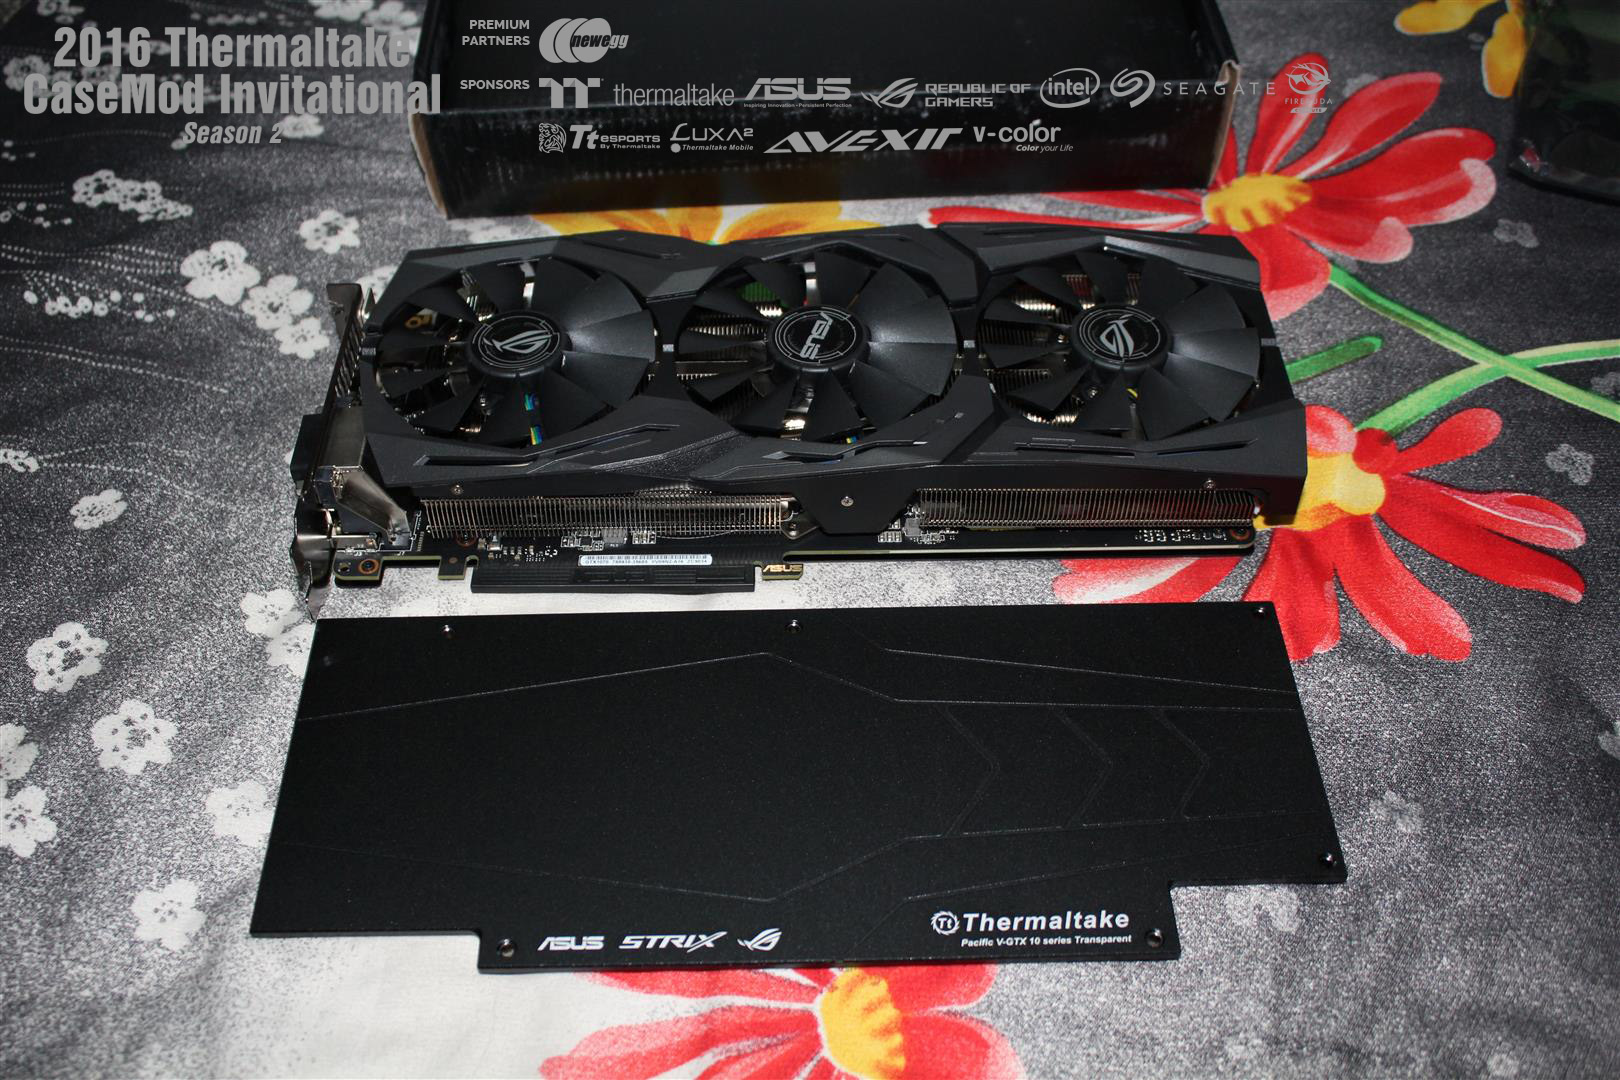
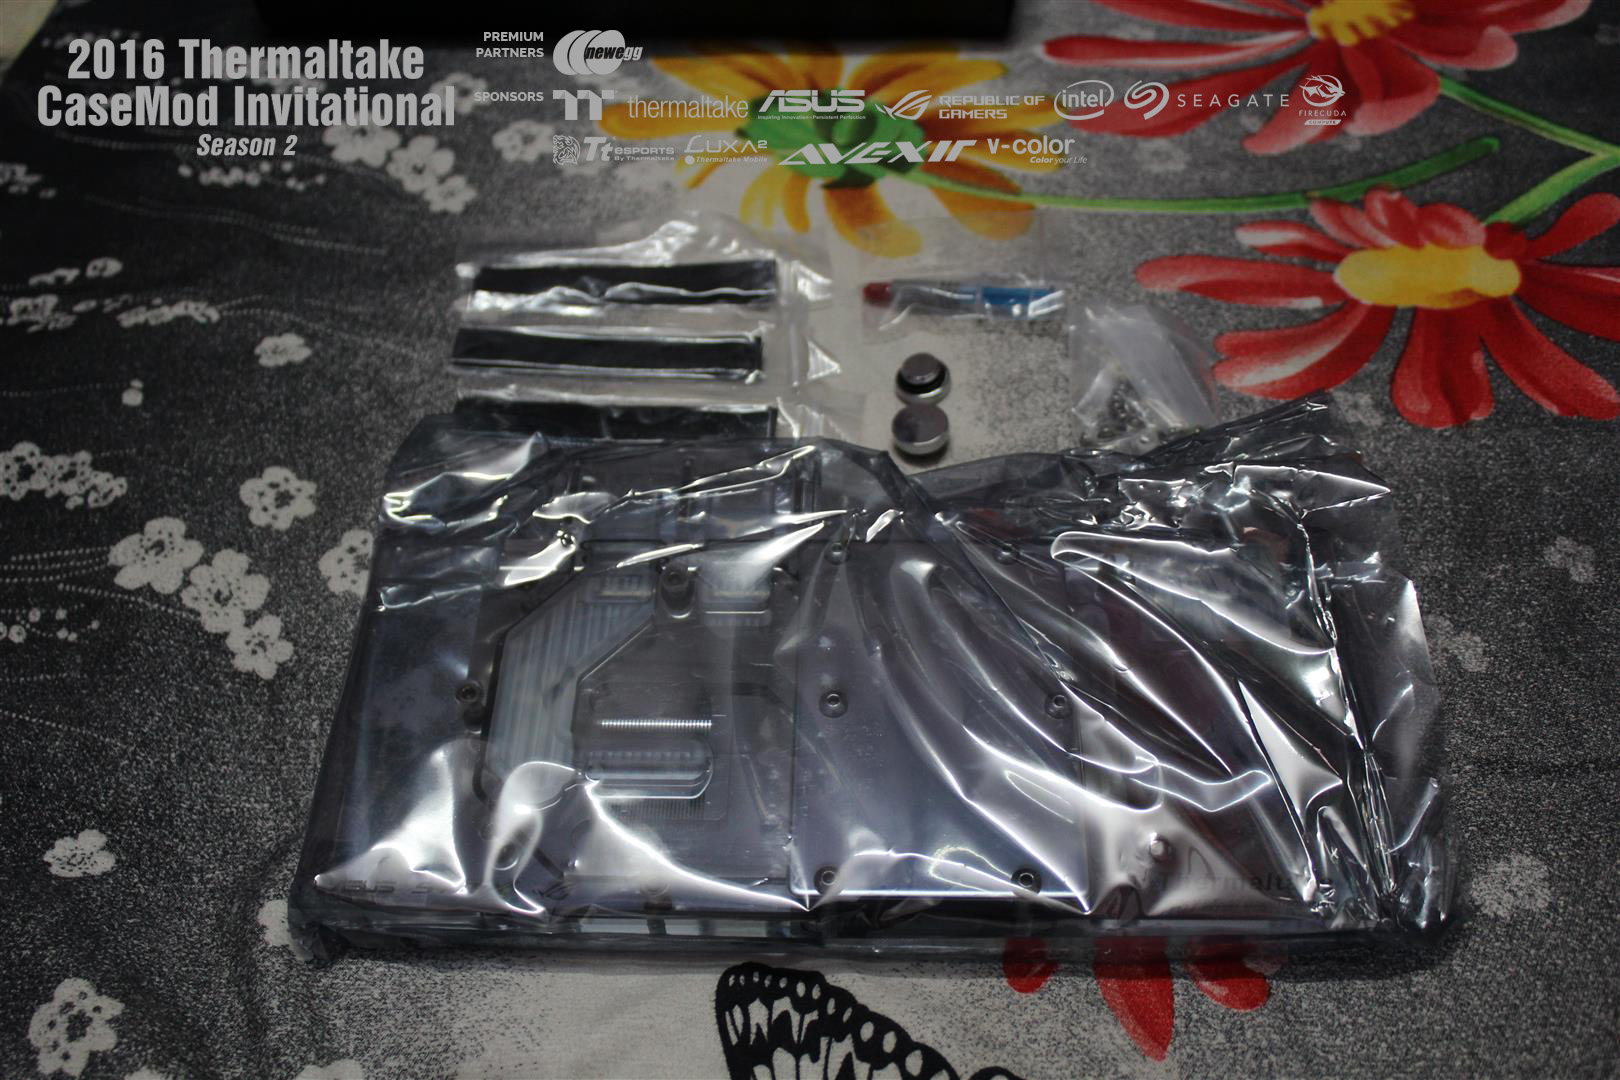
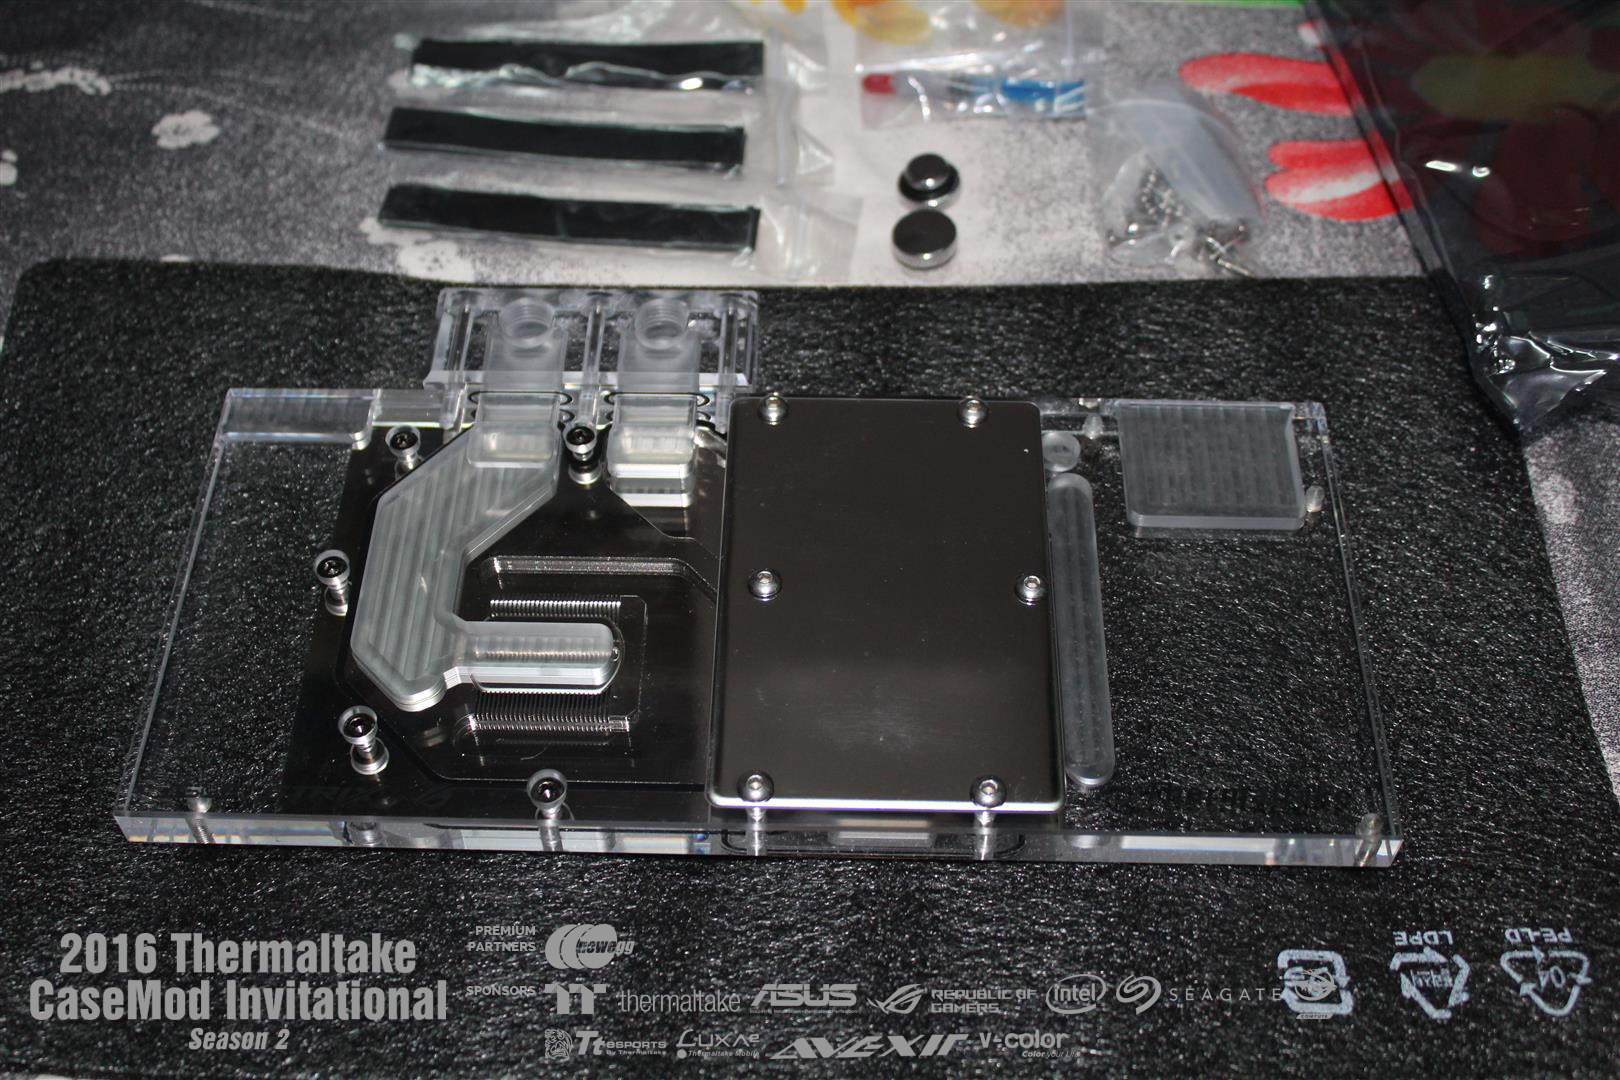
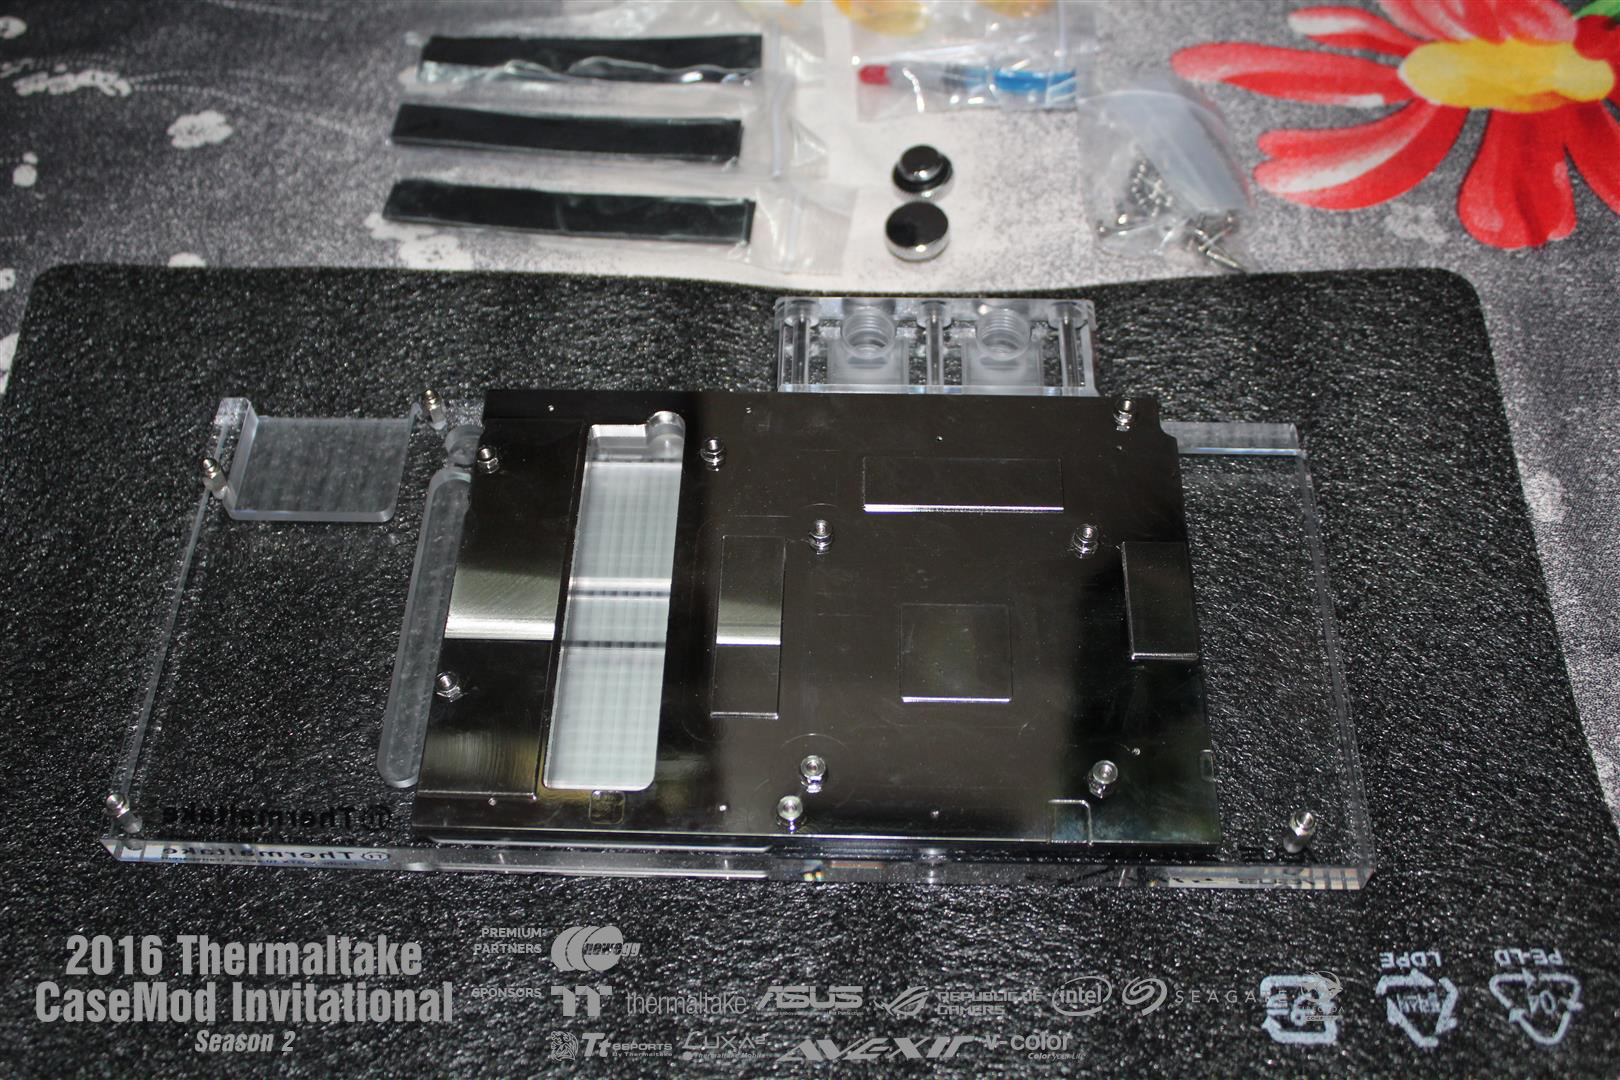
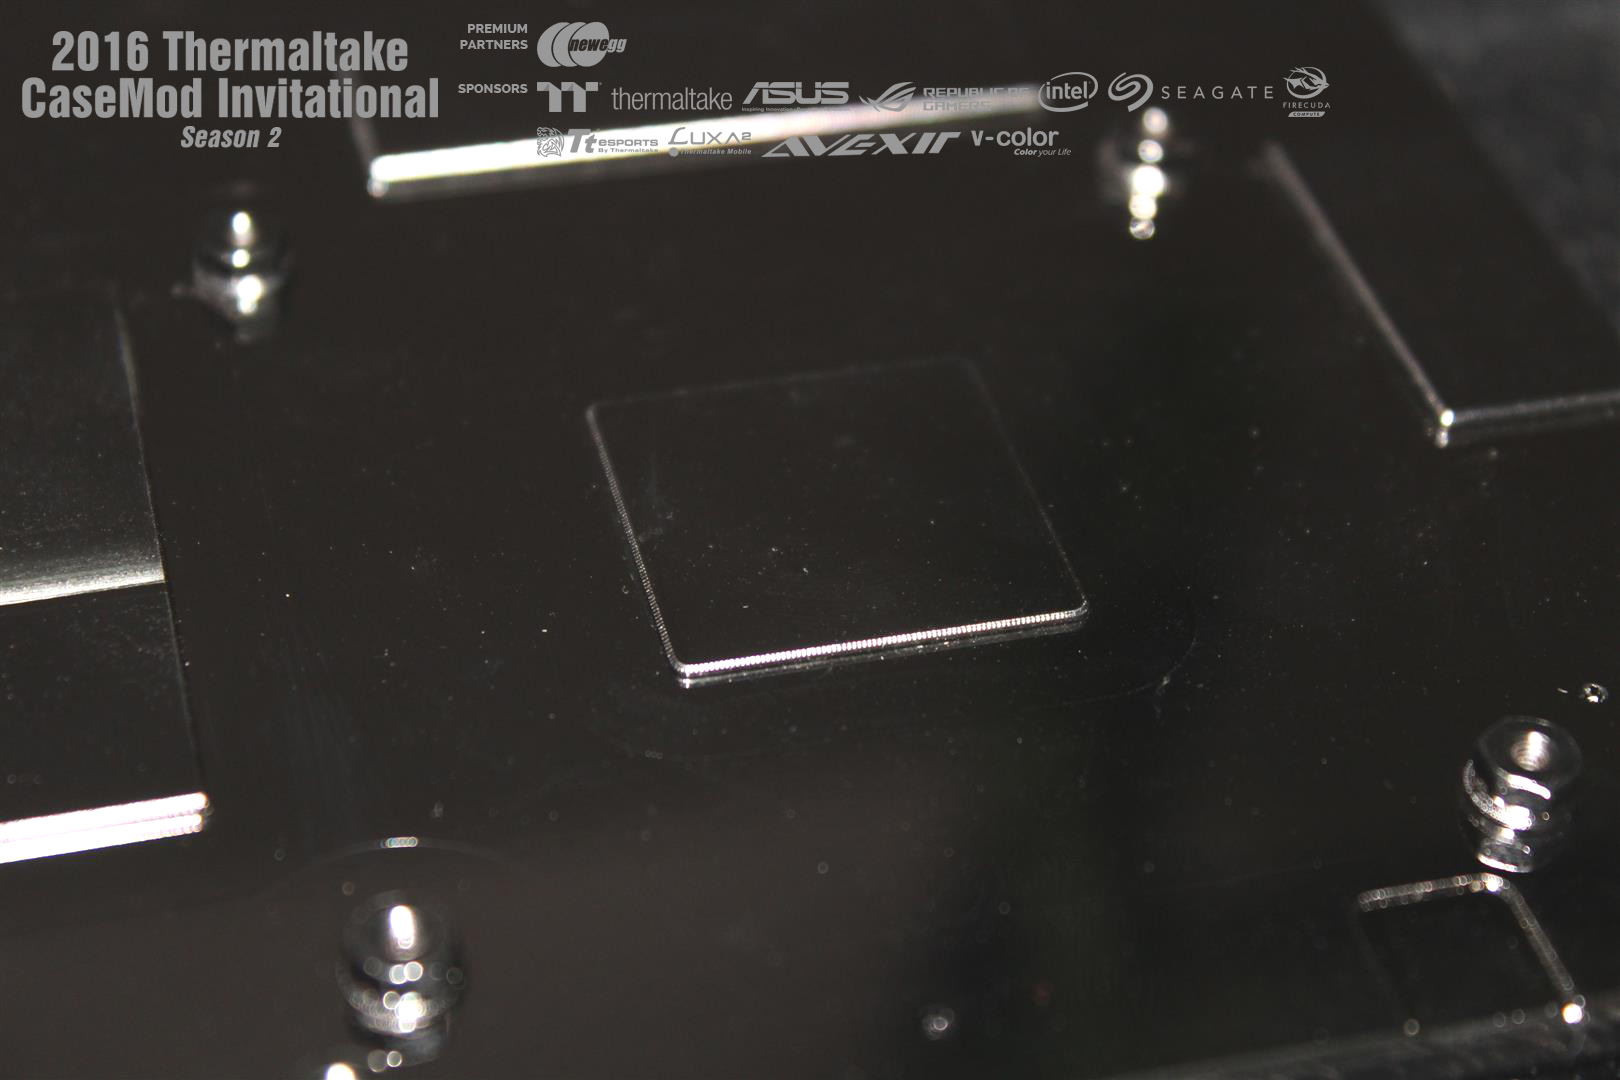
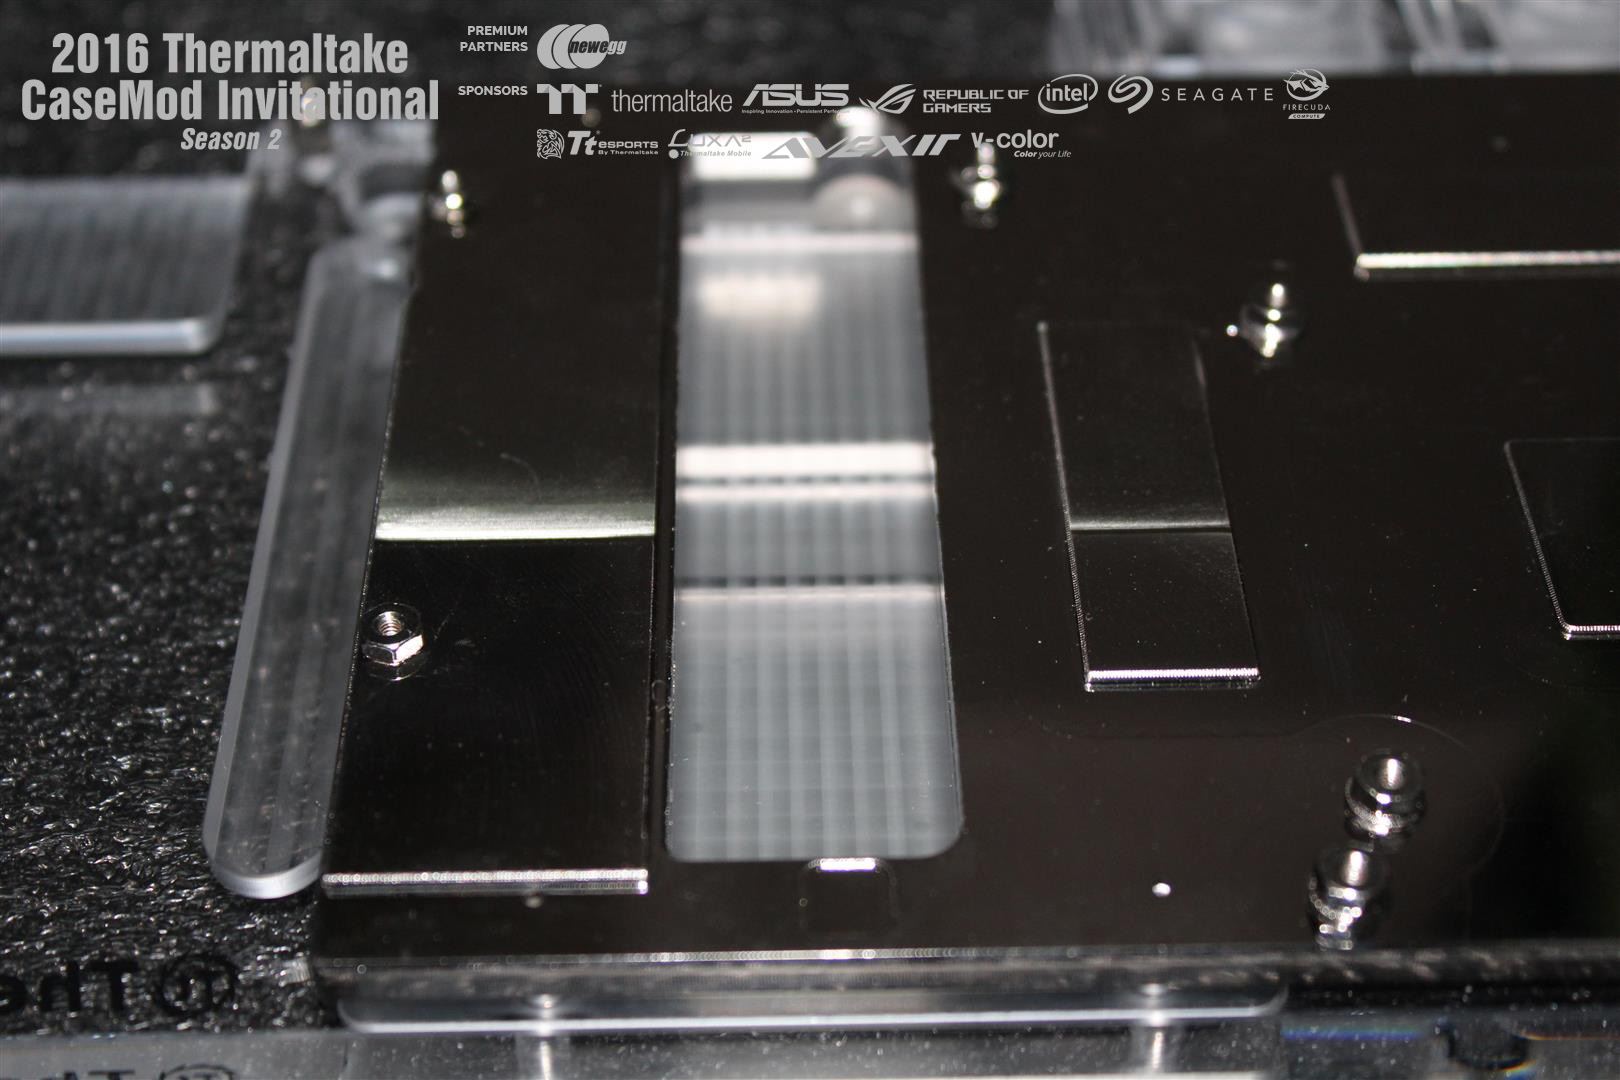
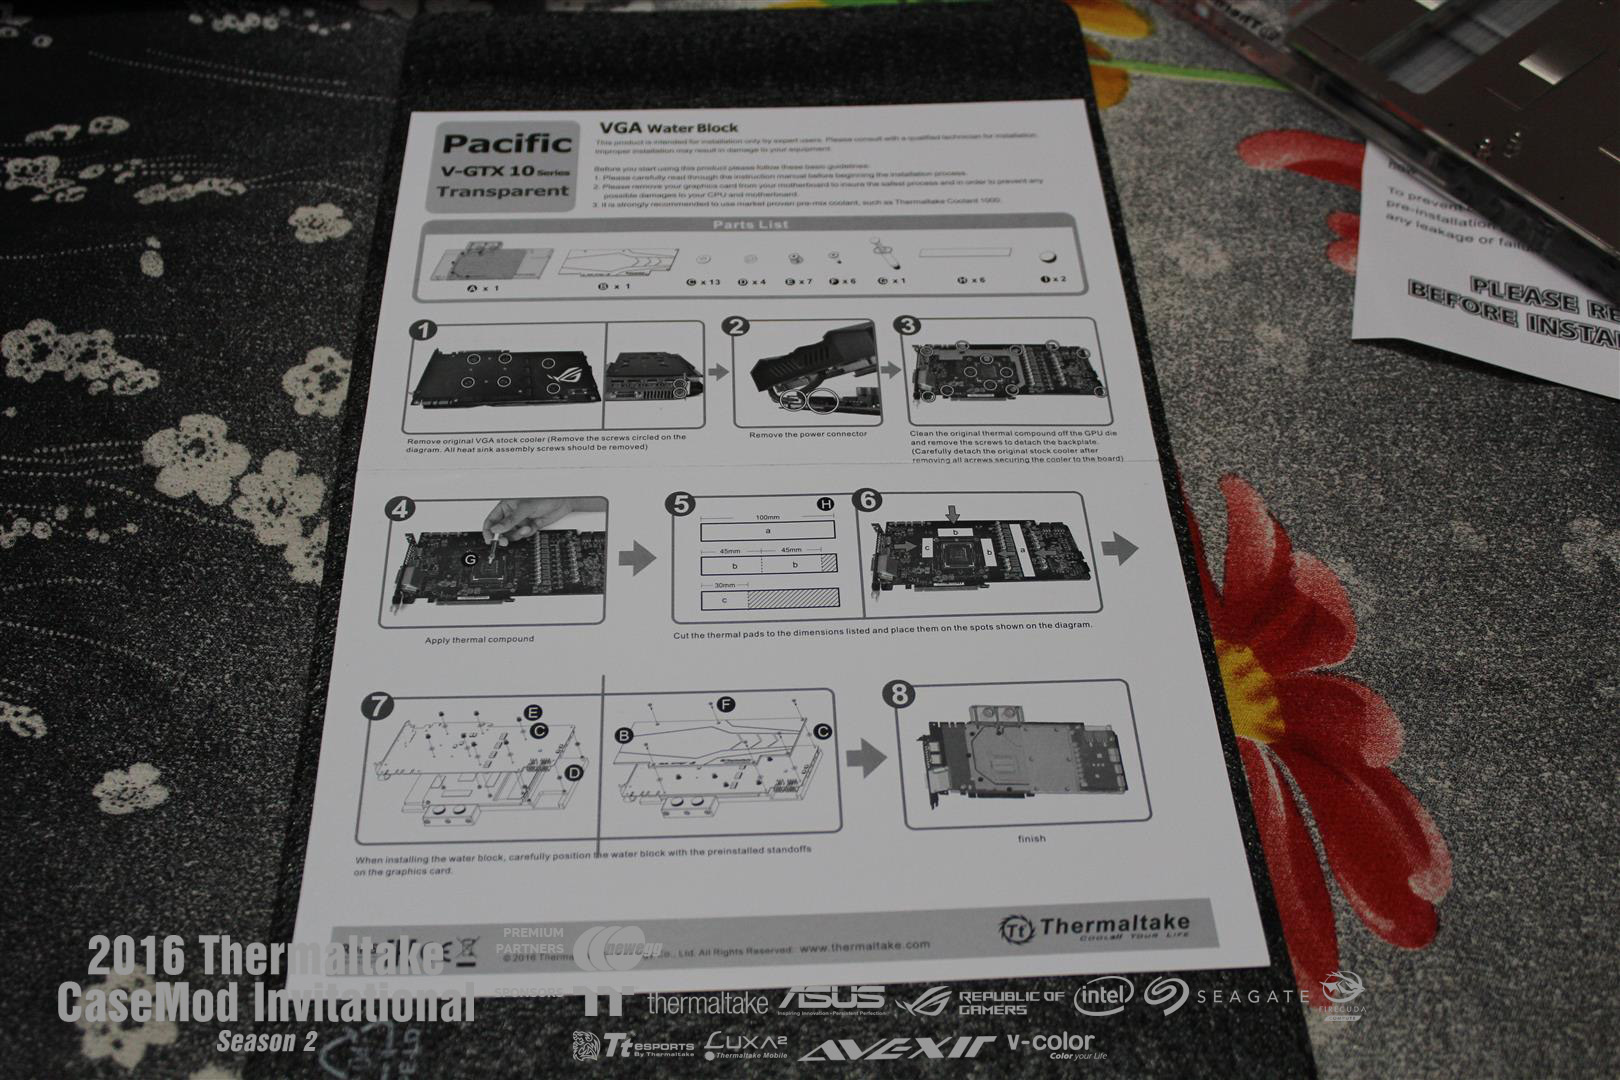
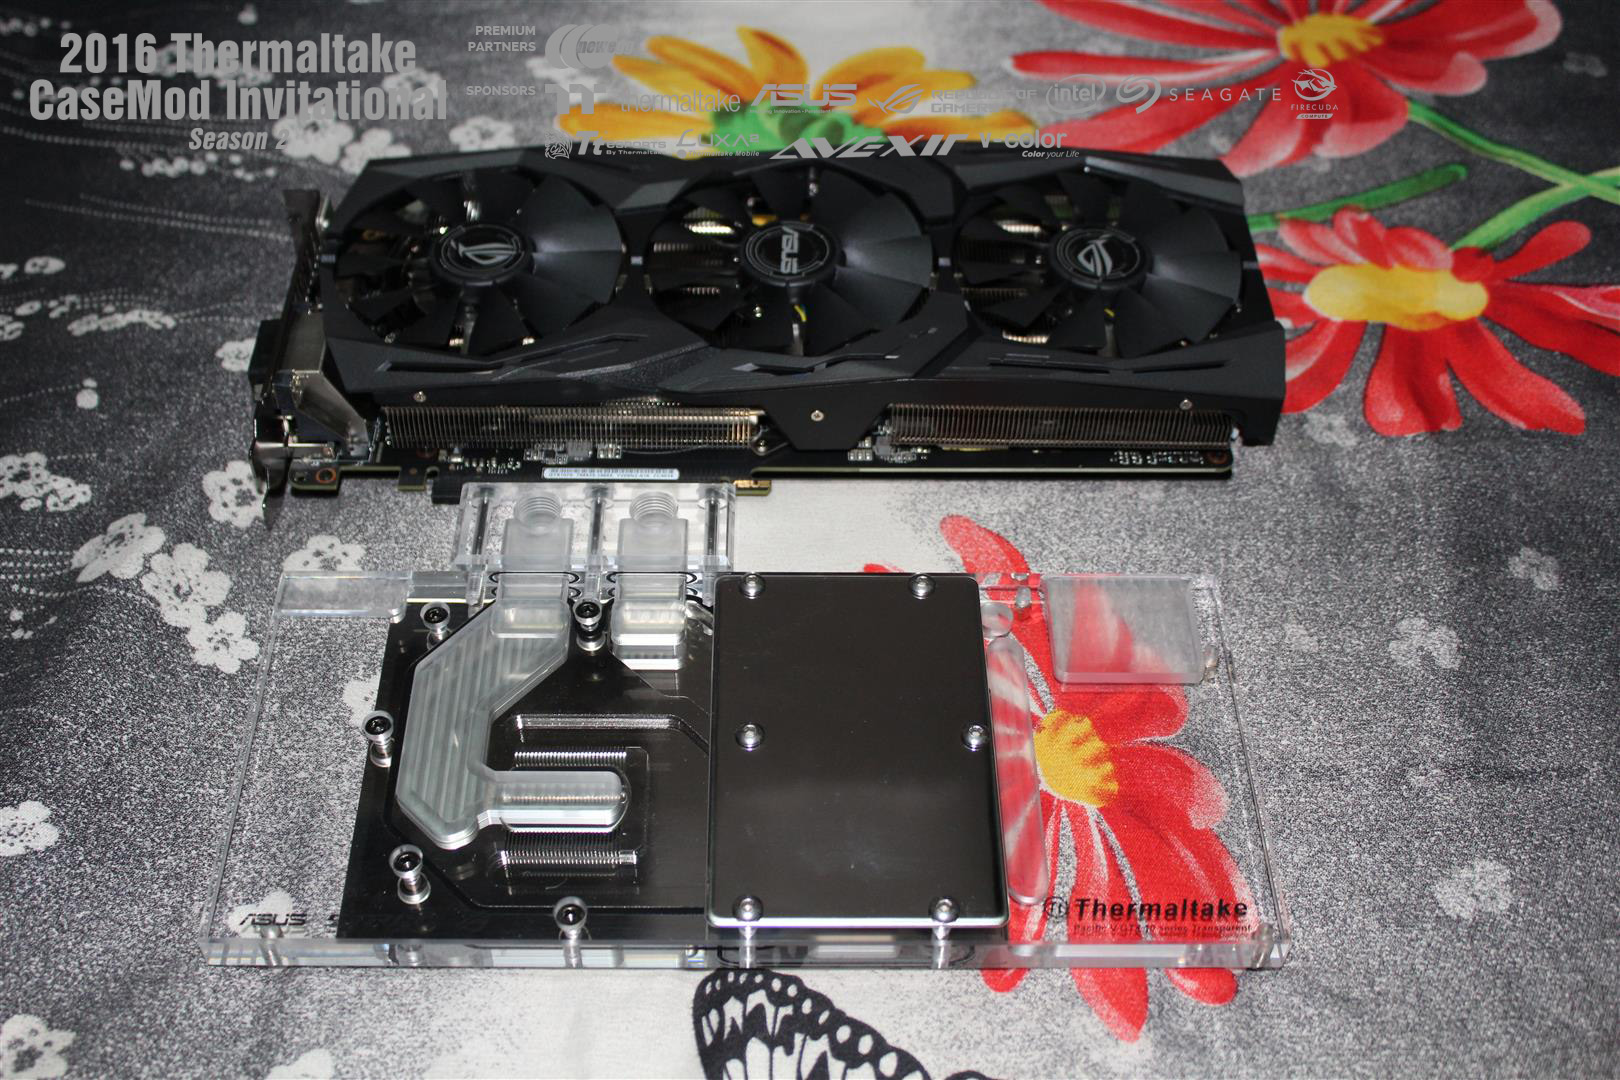
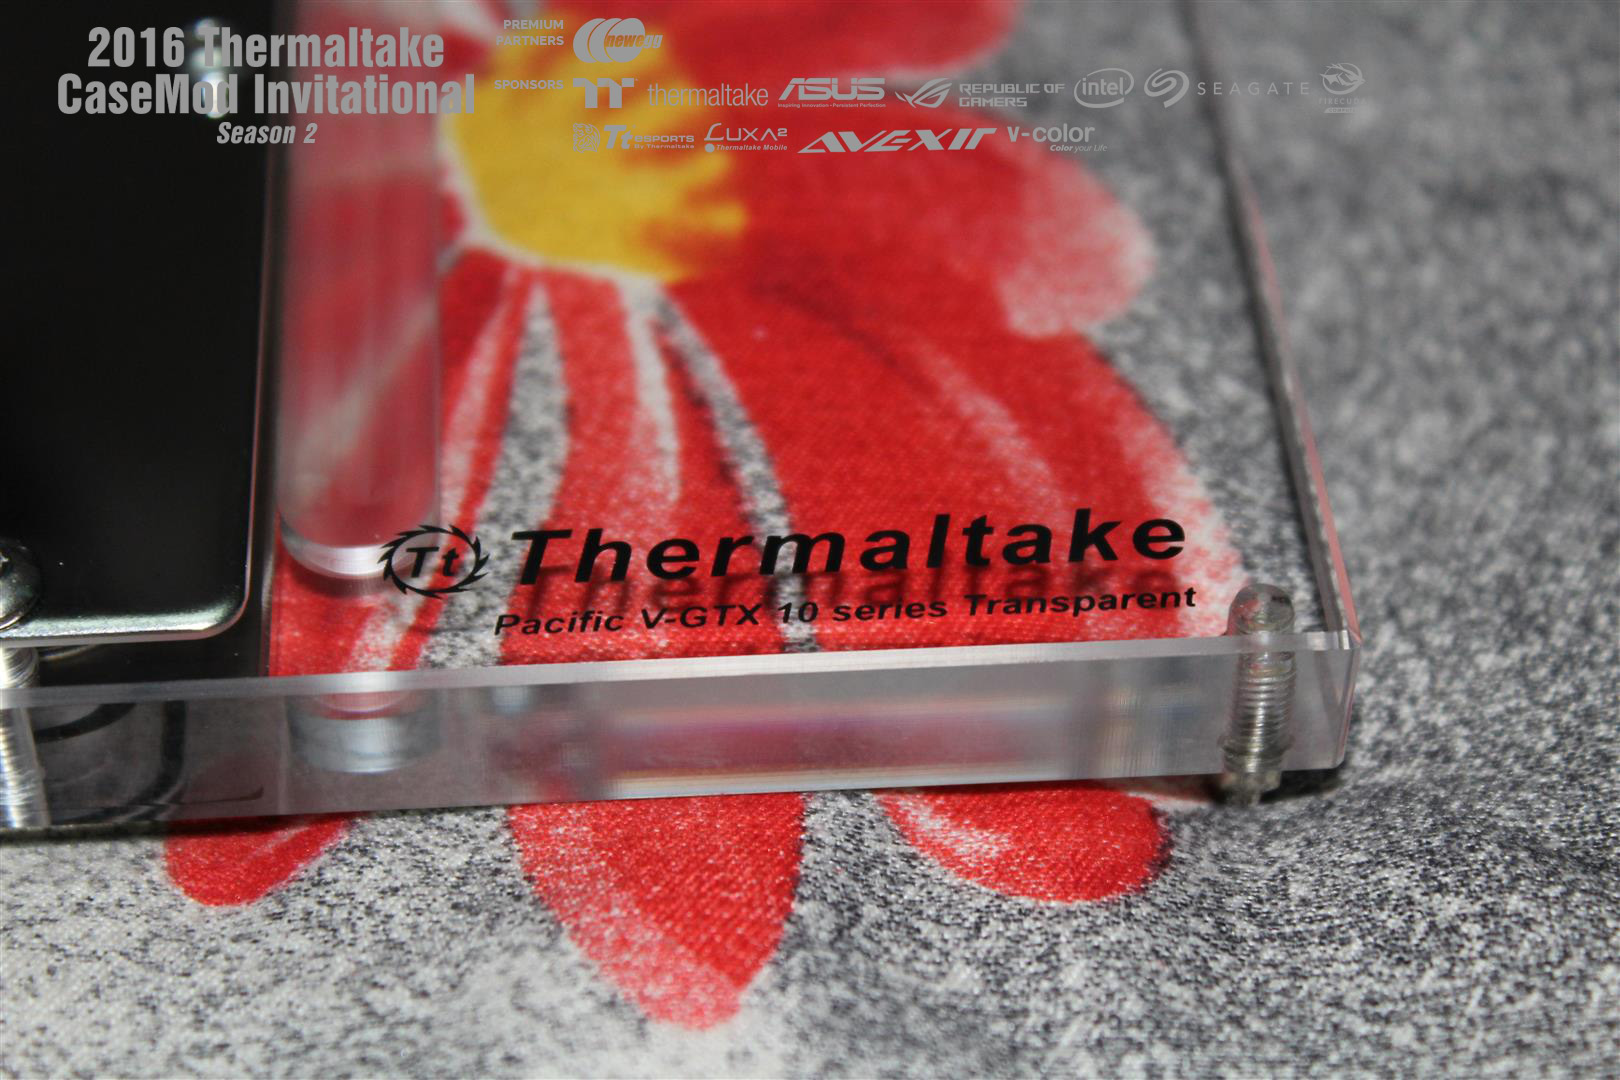
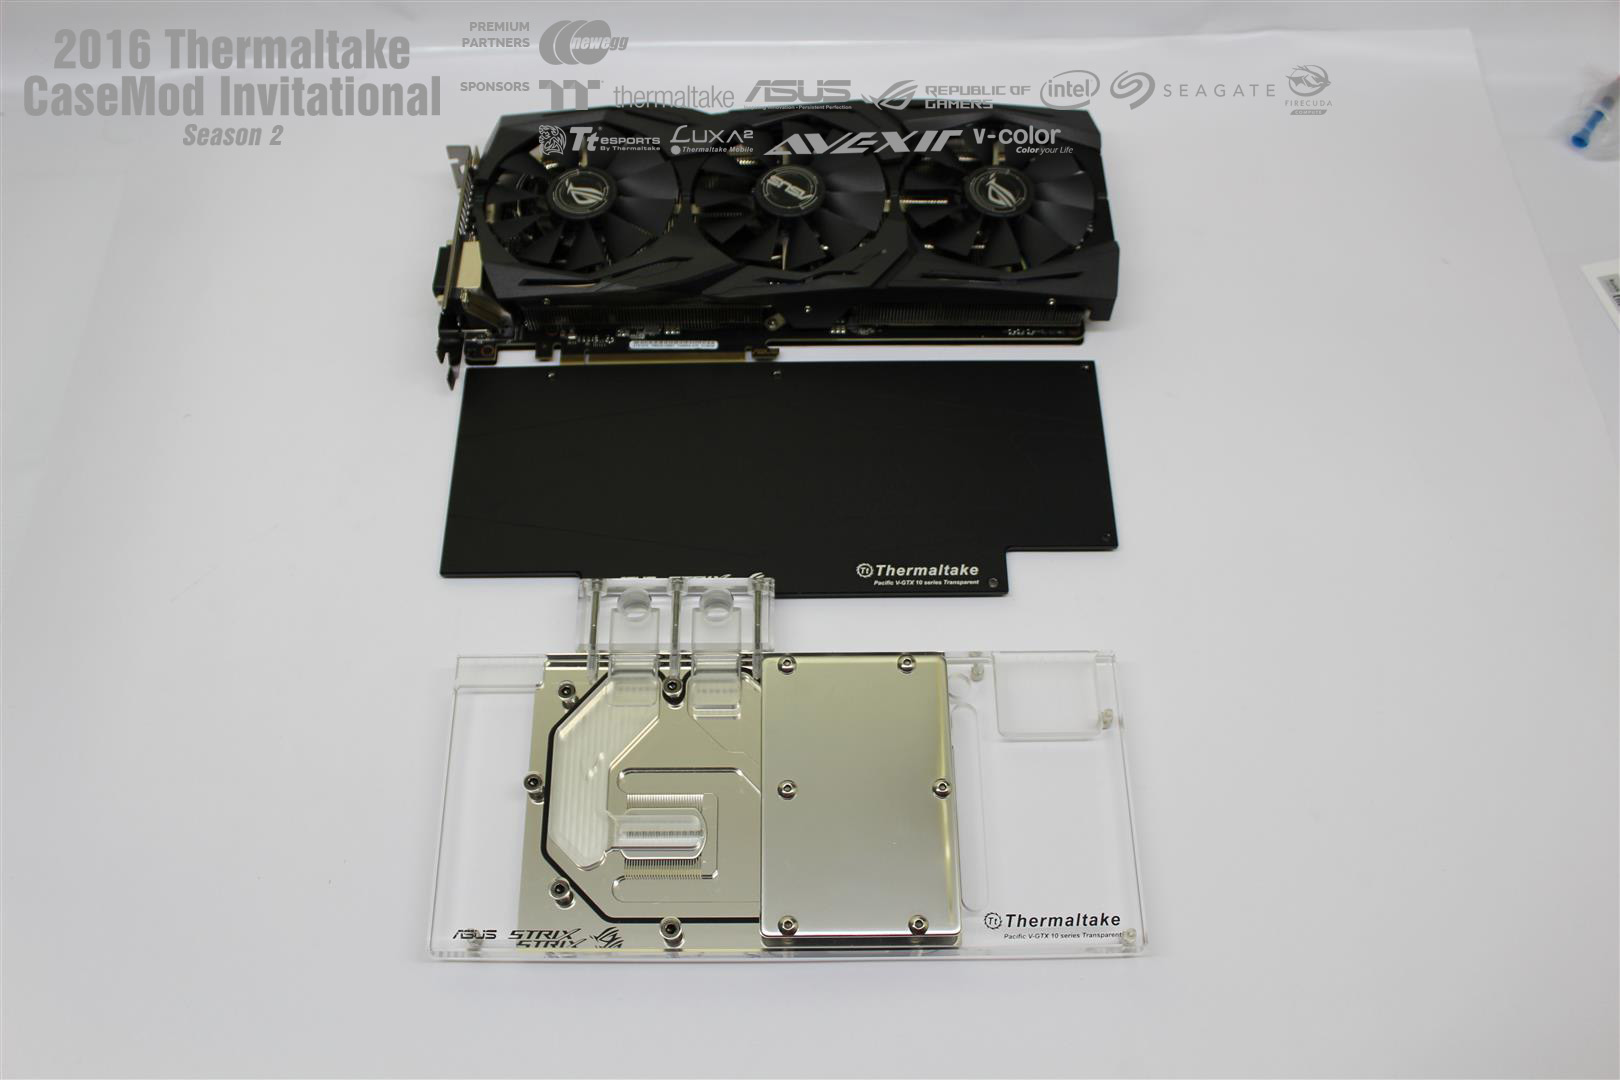
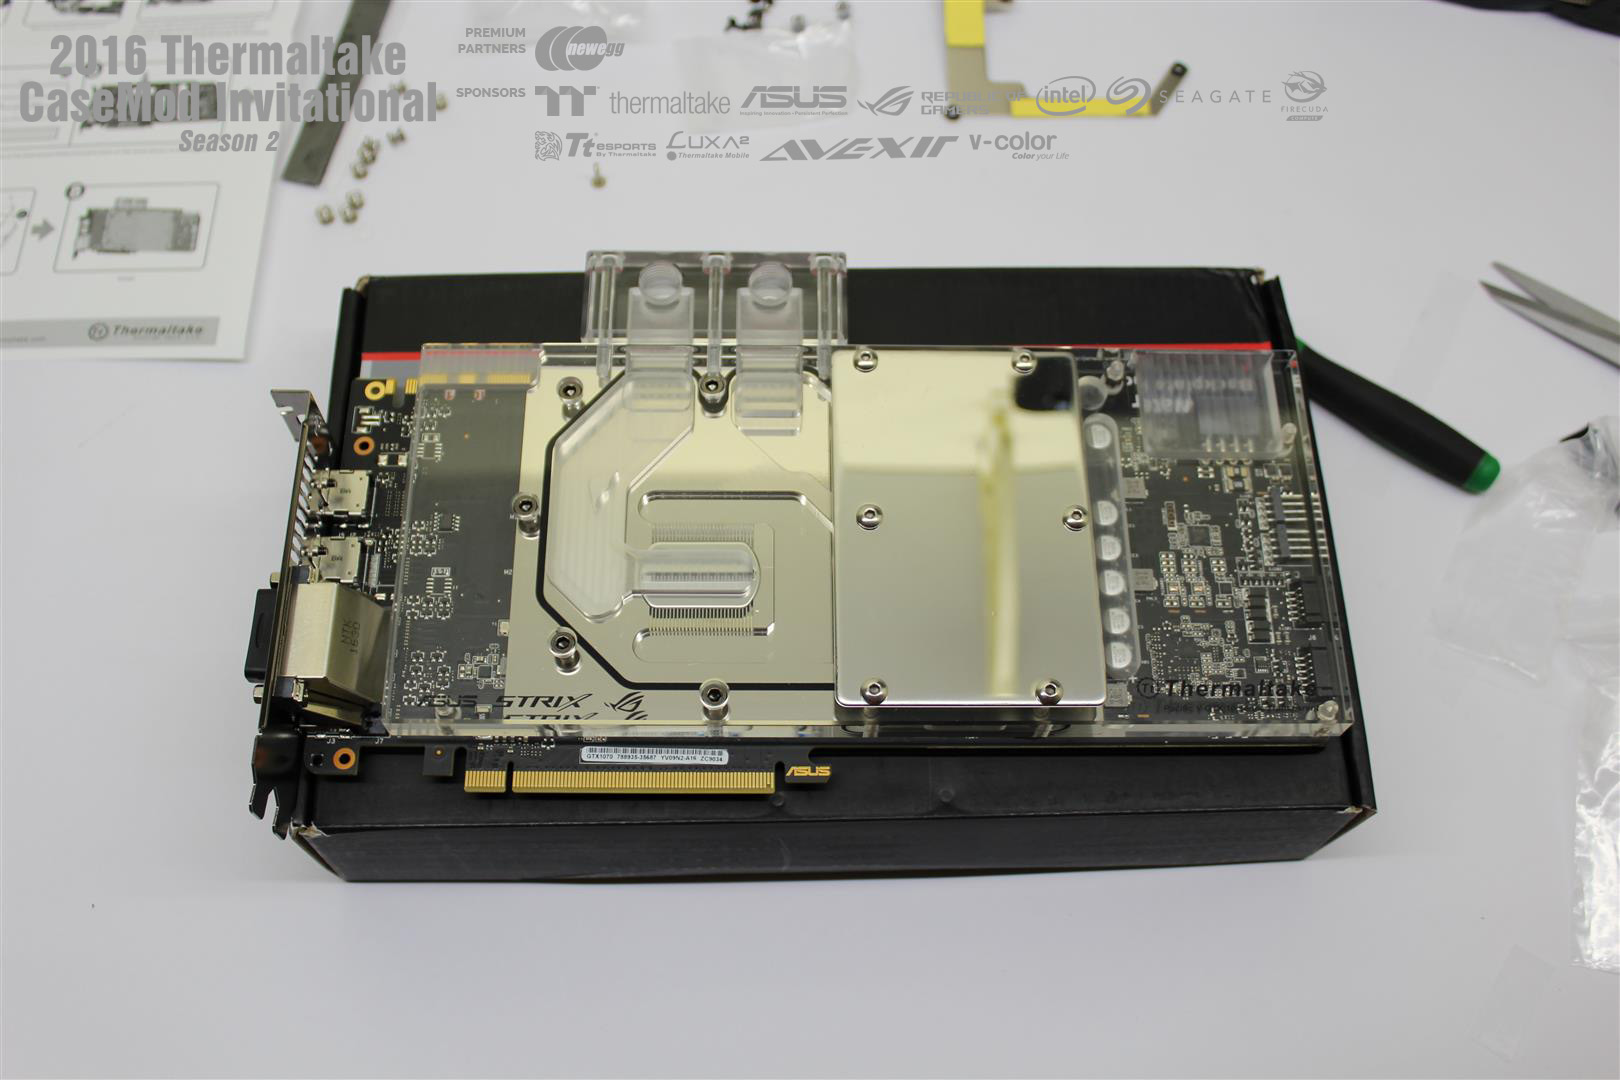
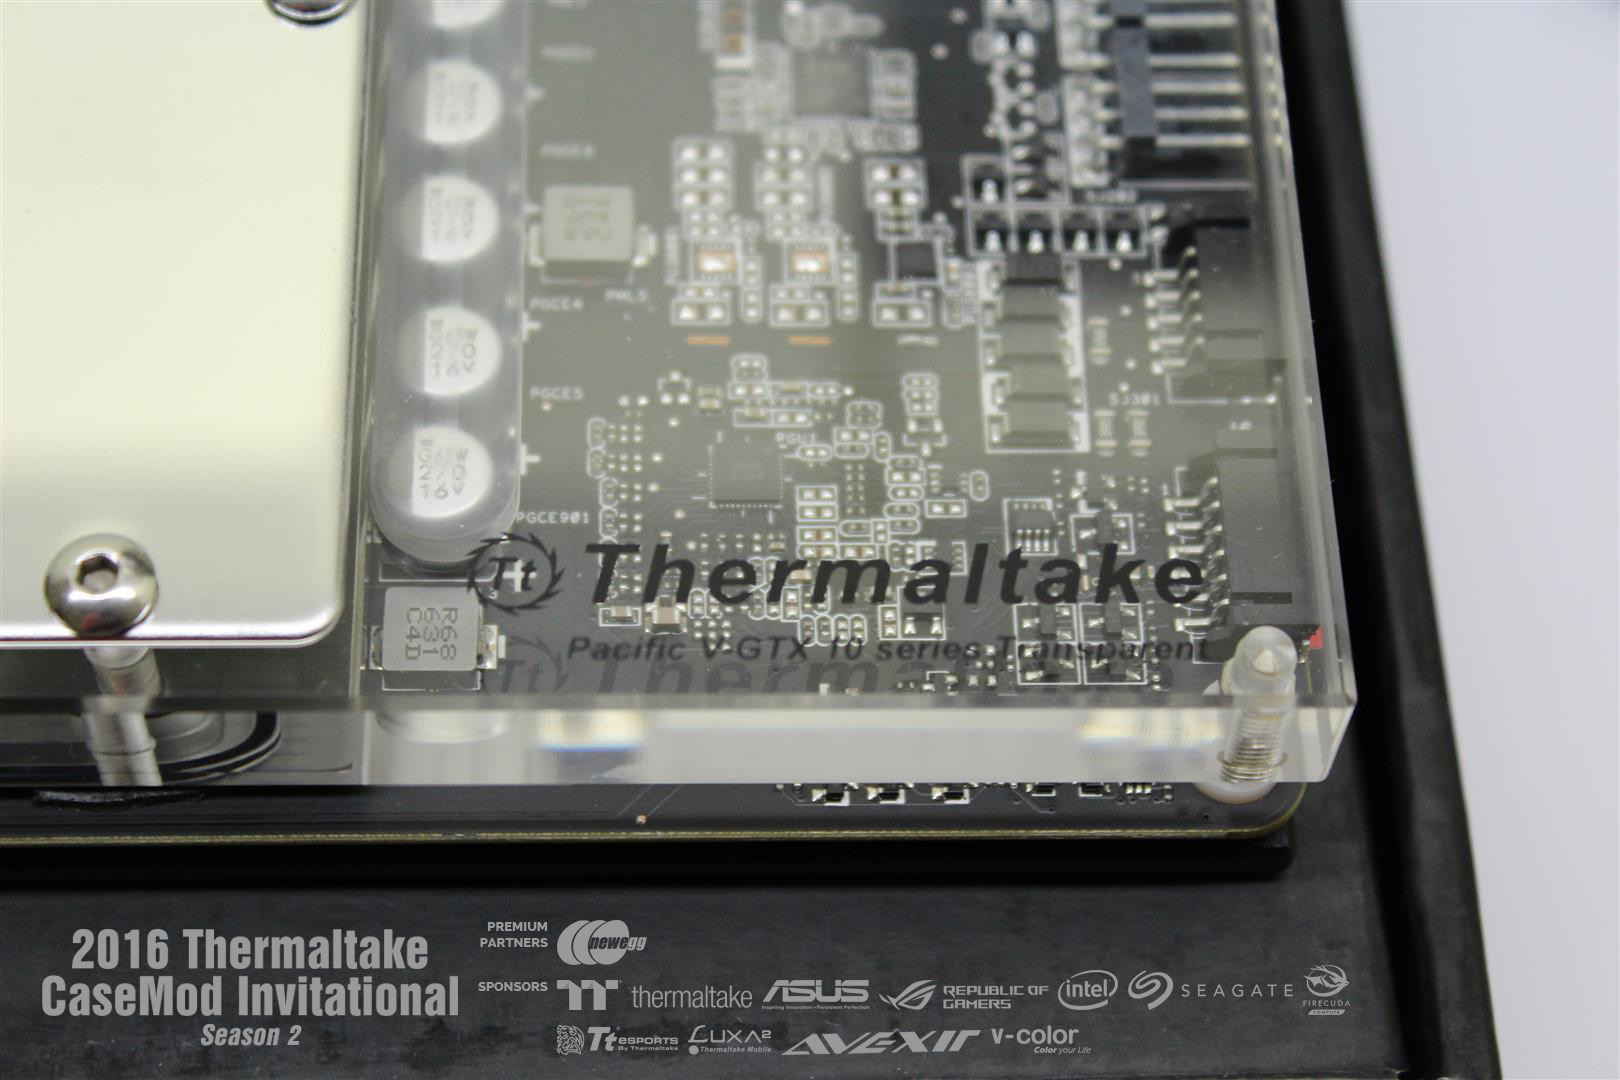
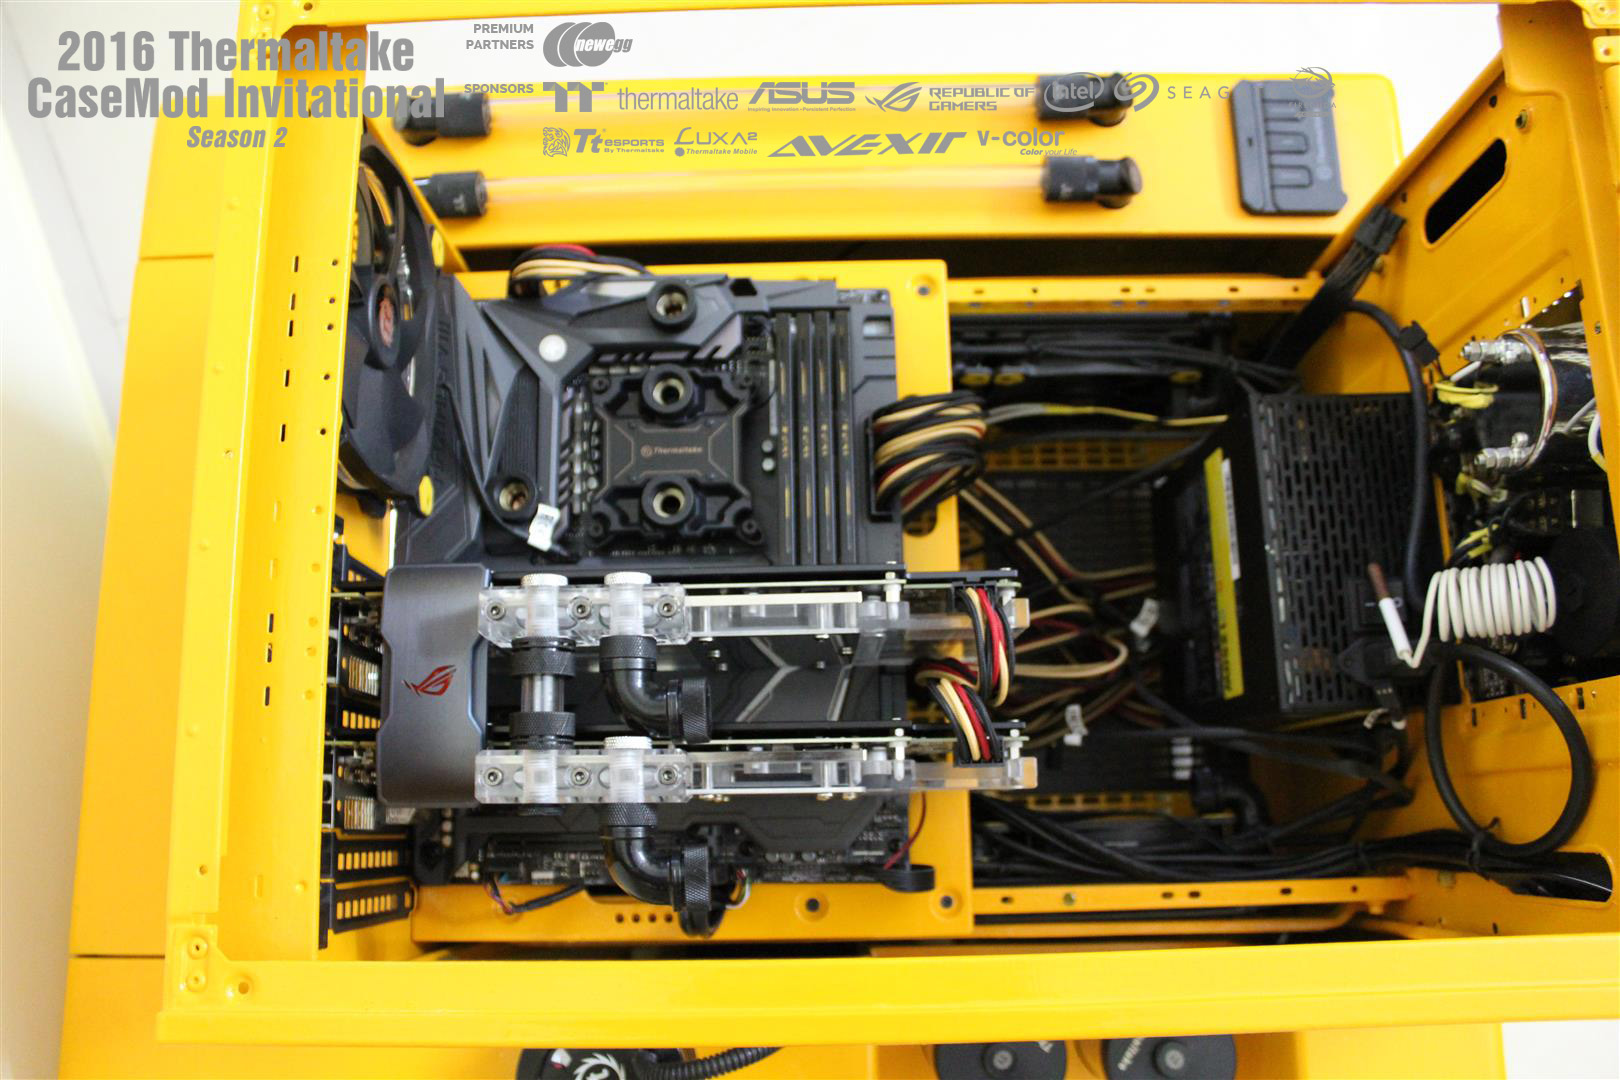
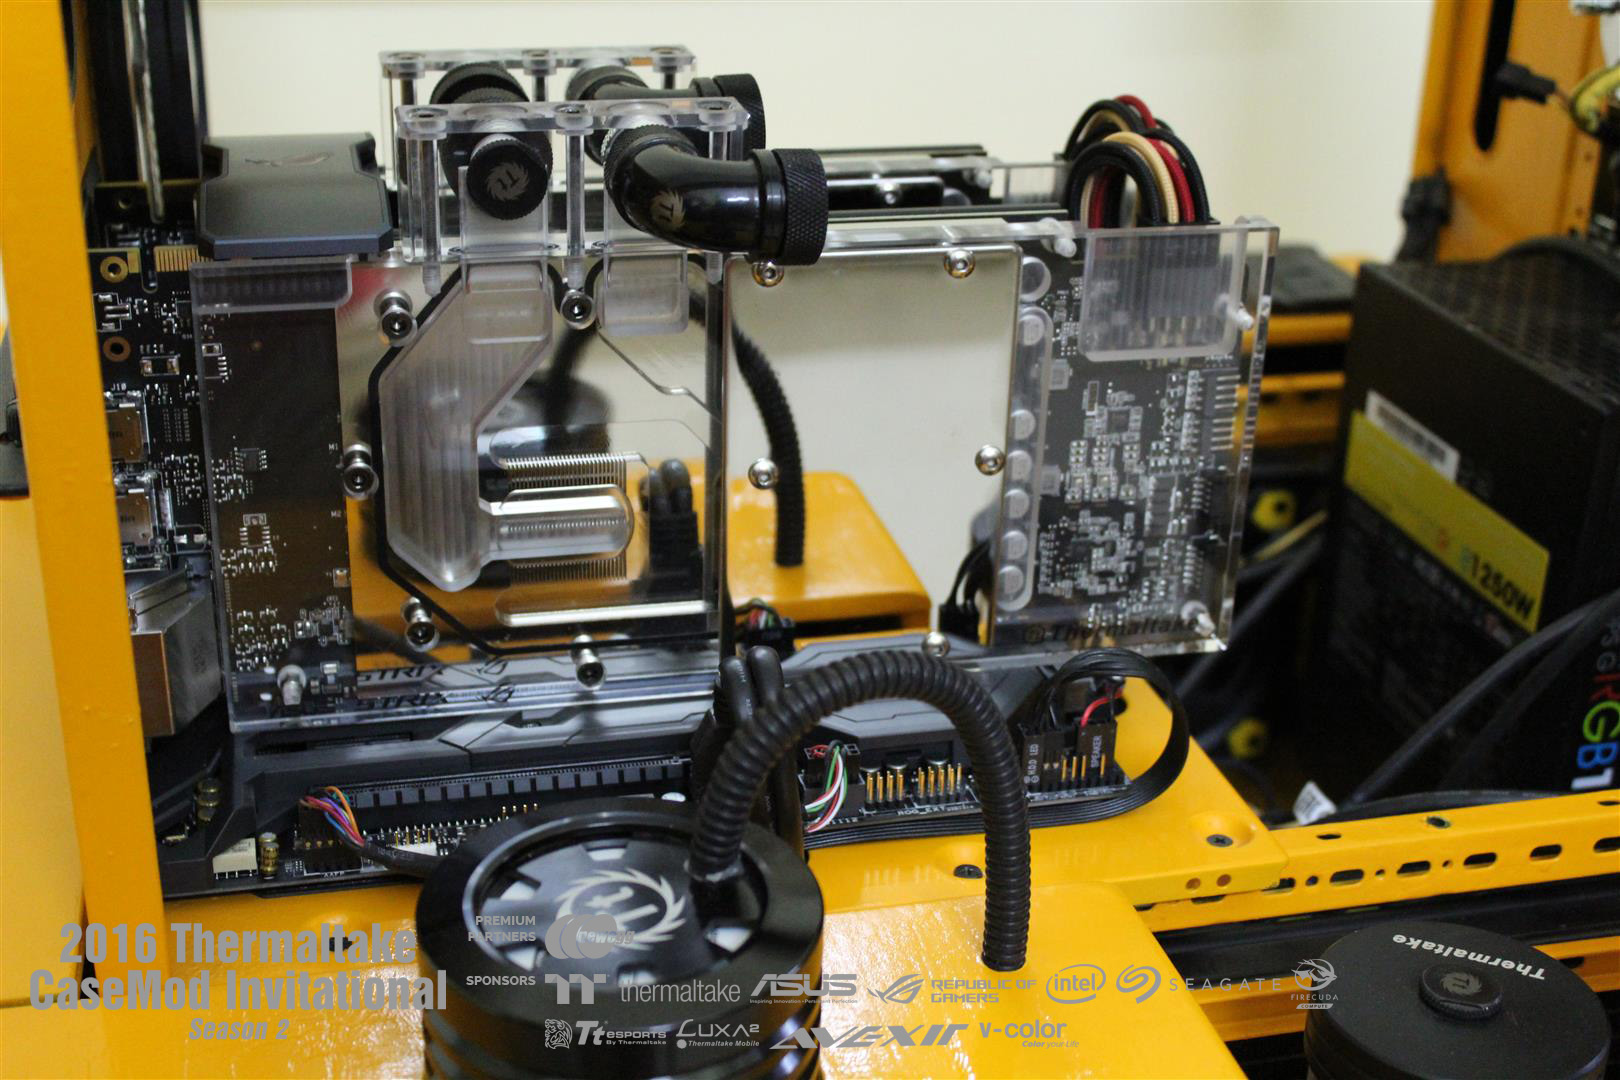
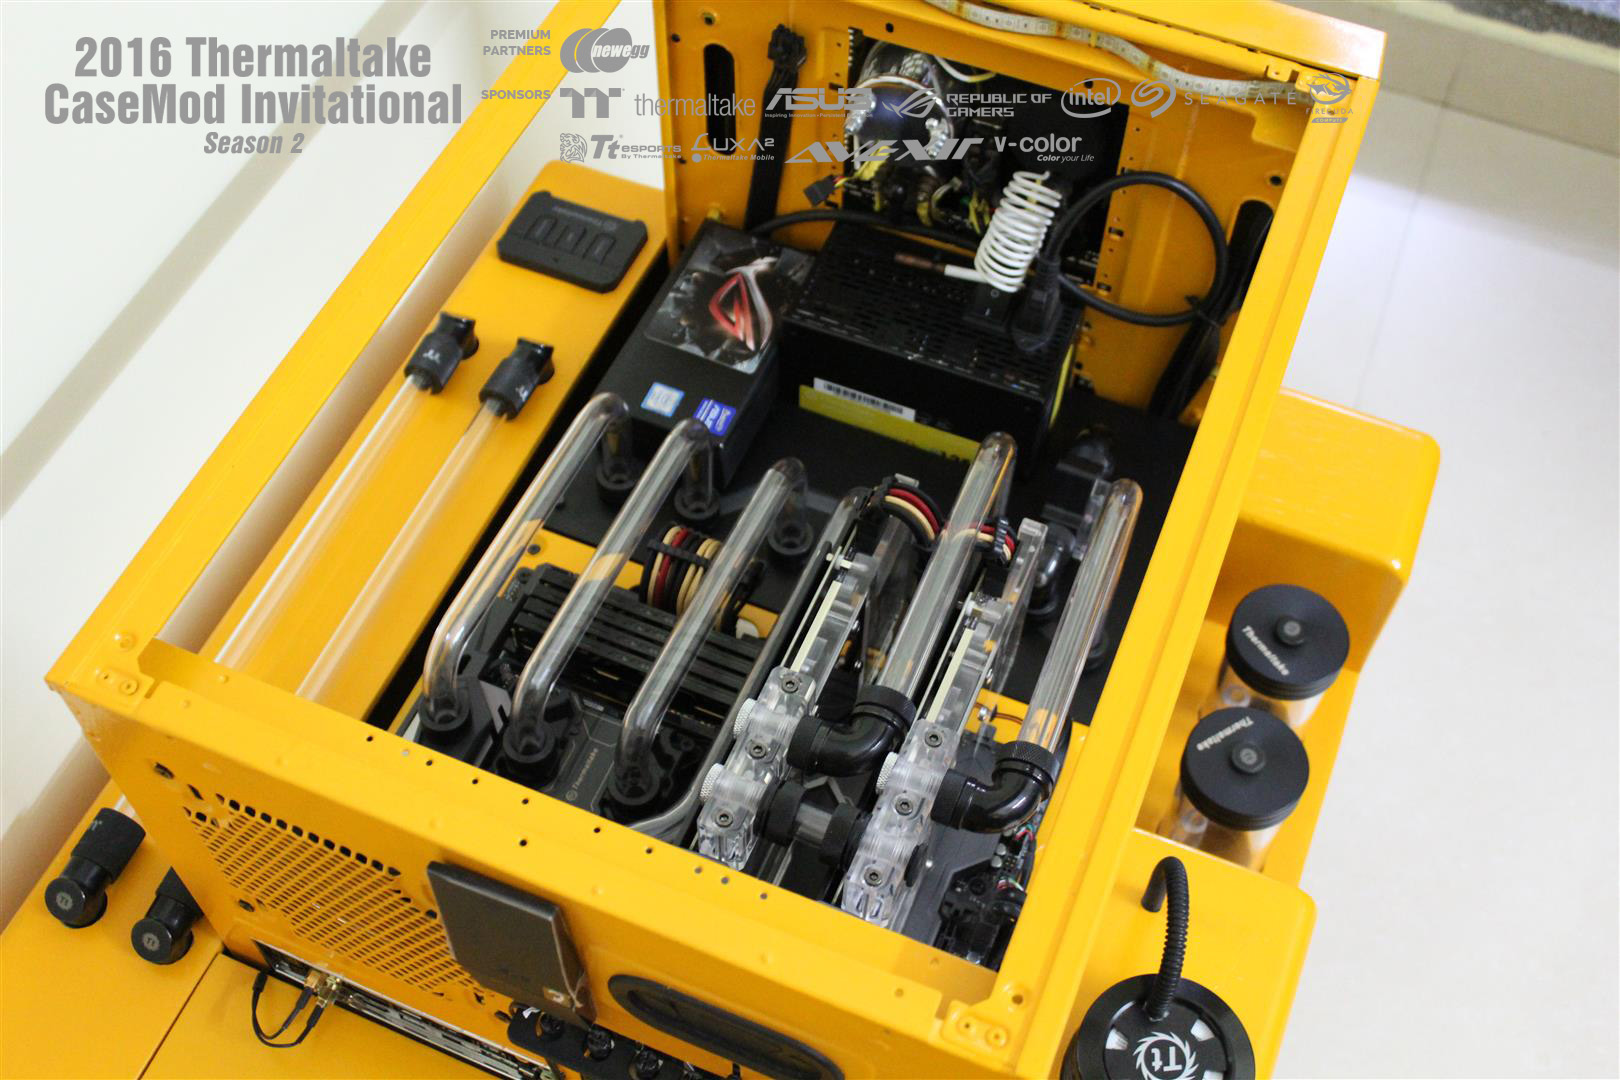
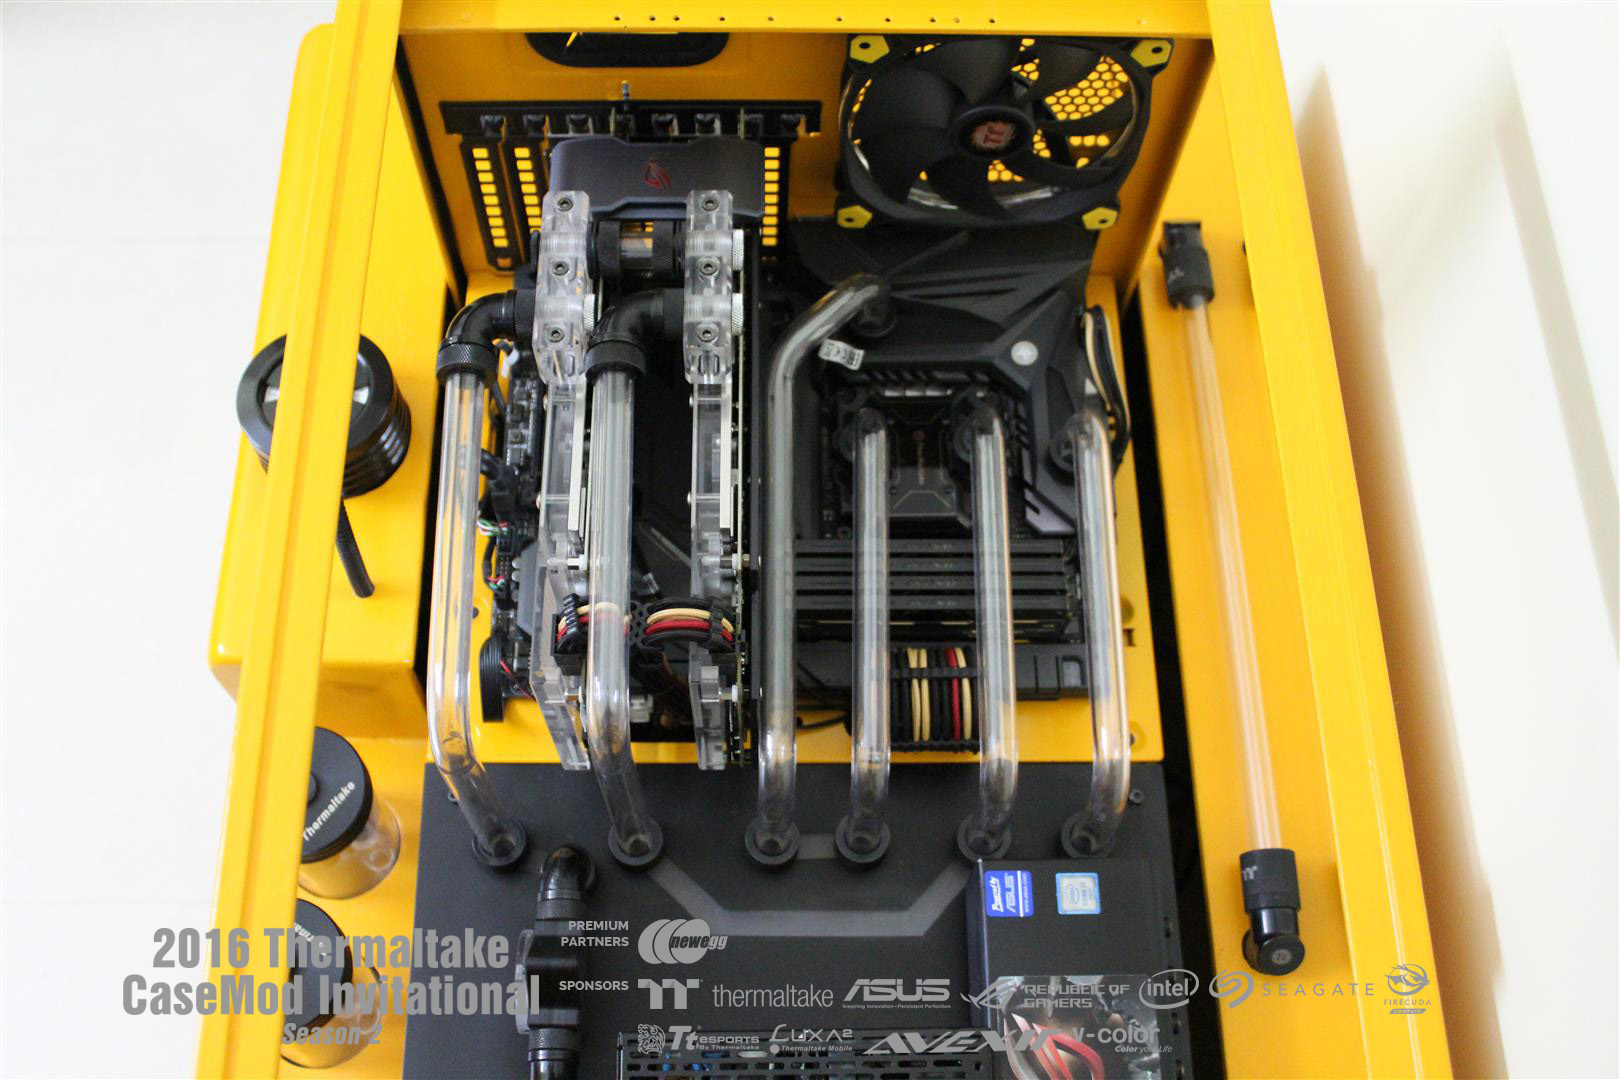
Slowly pushing the build towards its completion. Installing VGA water block on both graphic cards.
Test fitting, everything looks nice so fare.

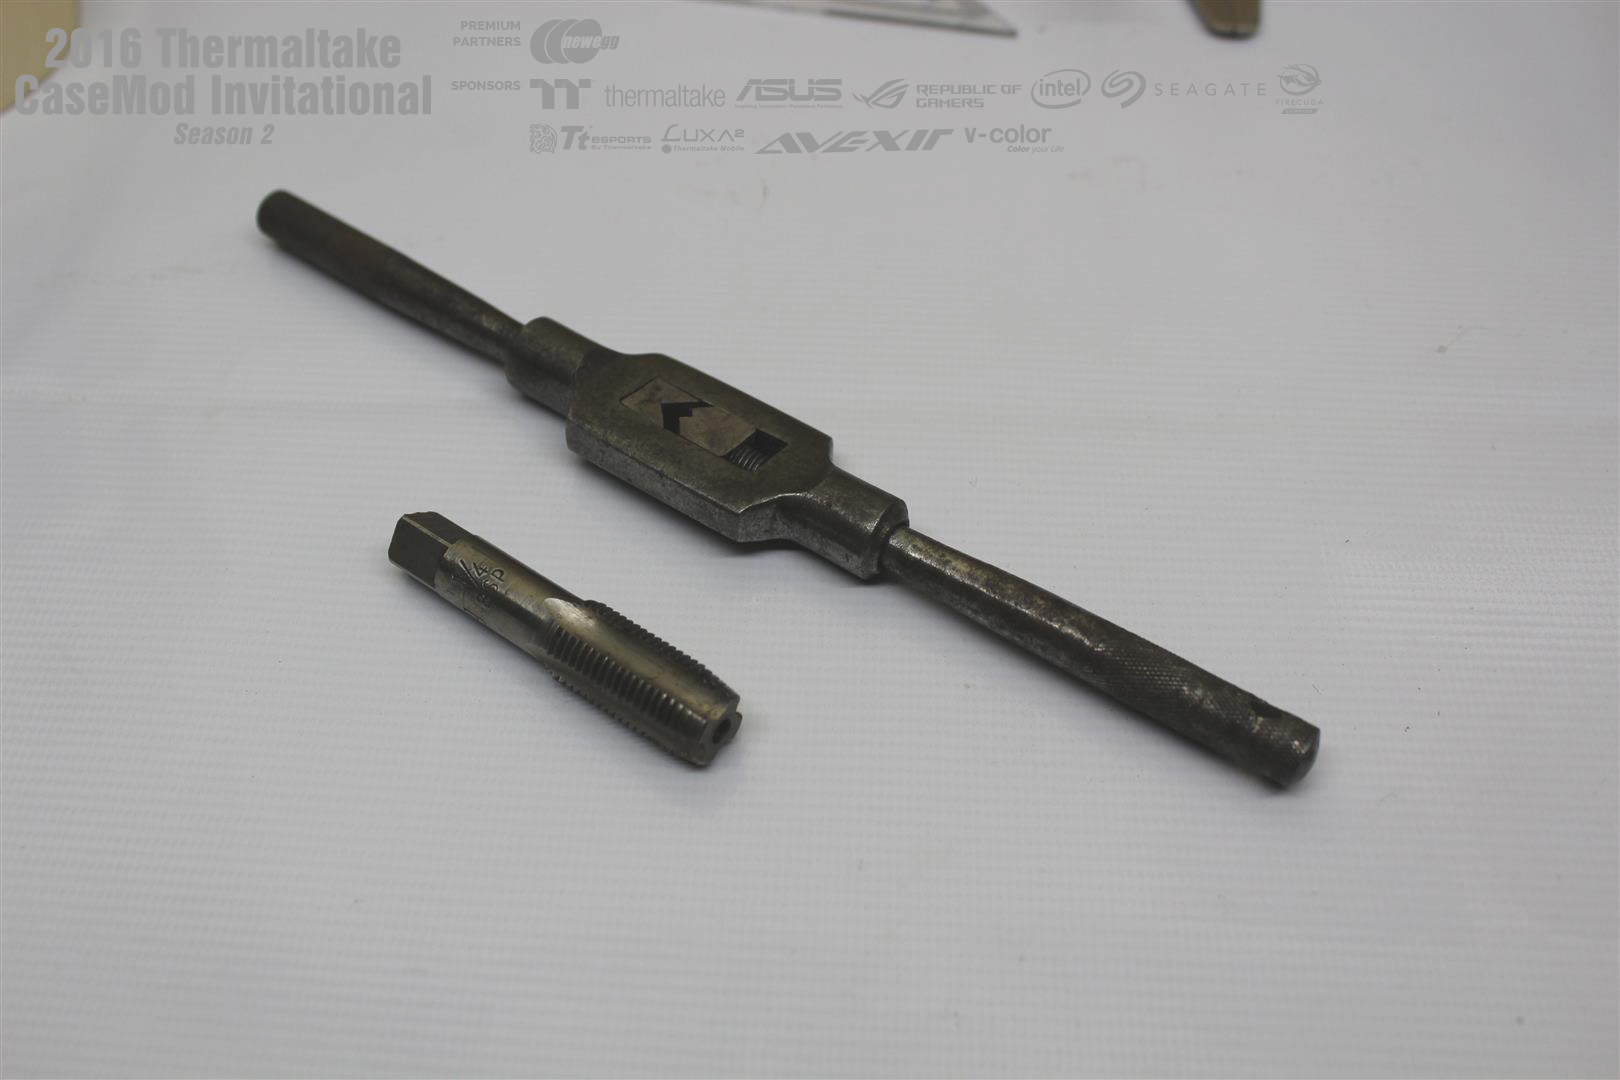
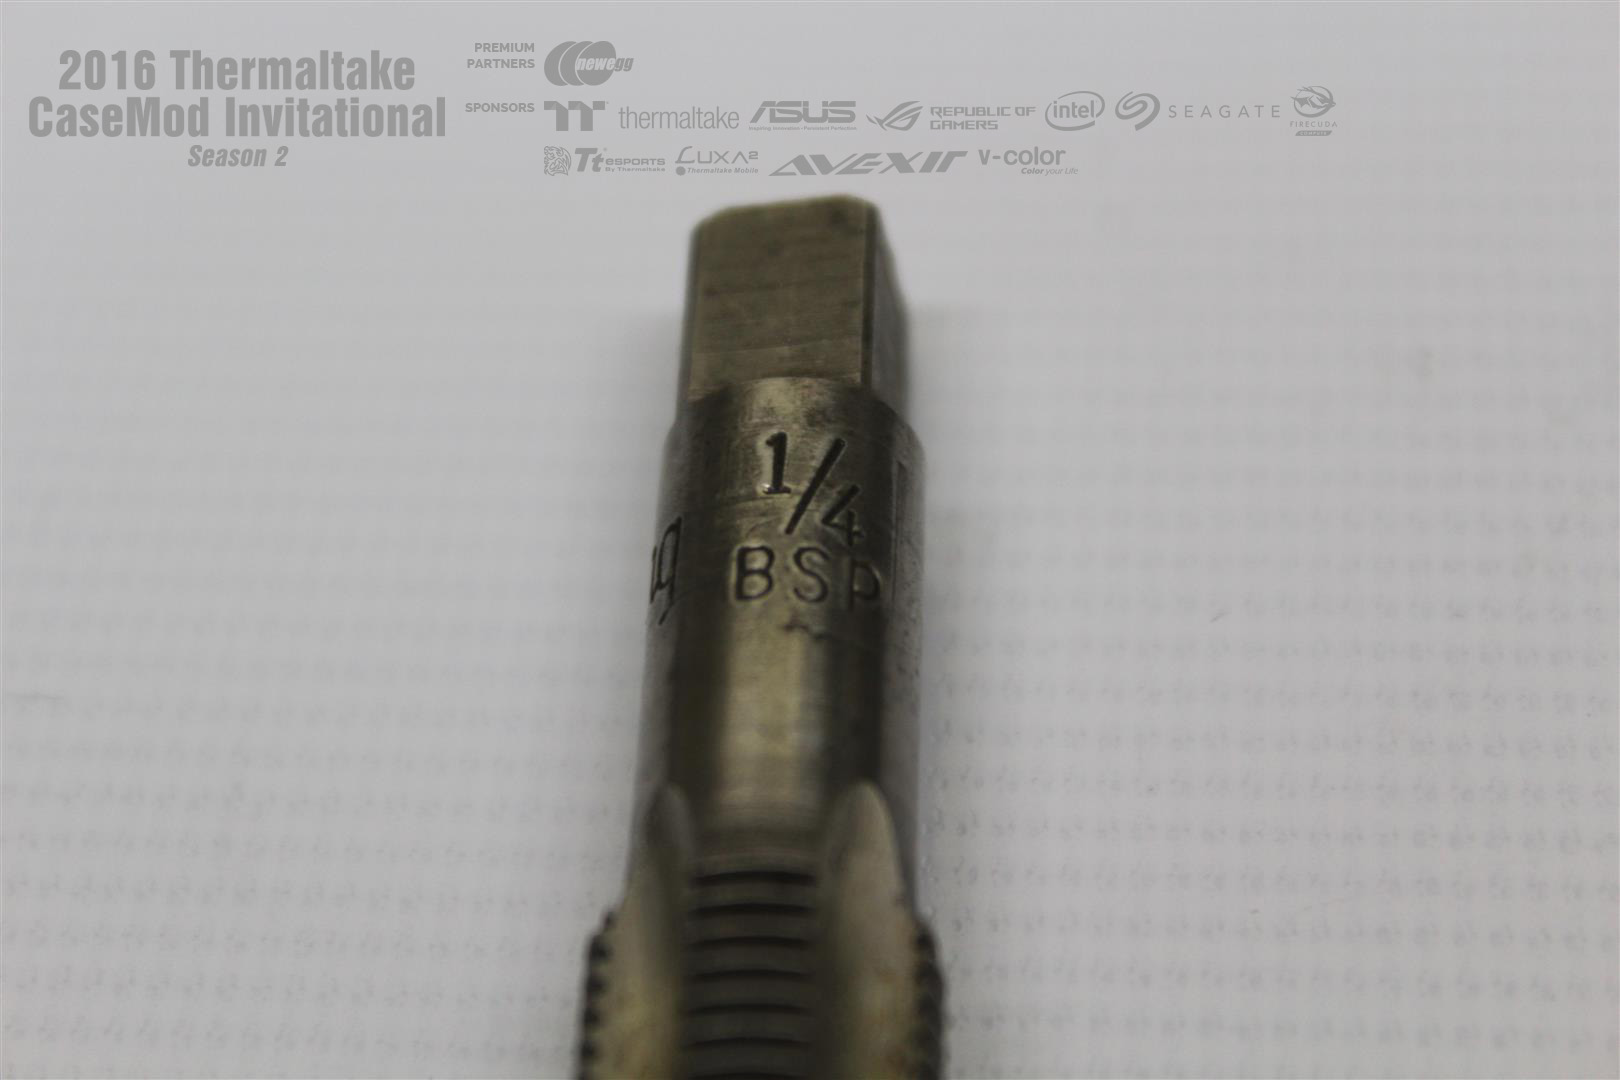
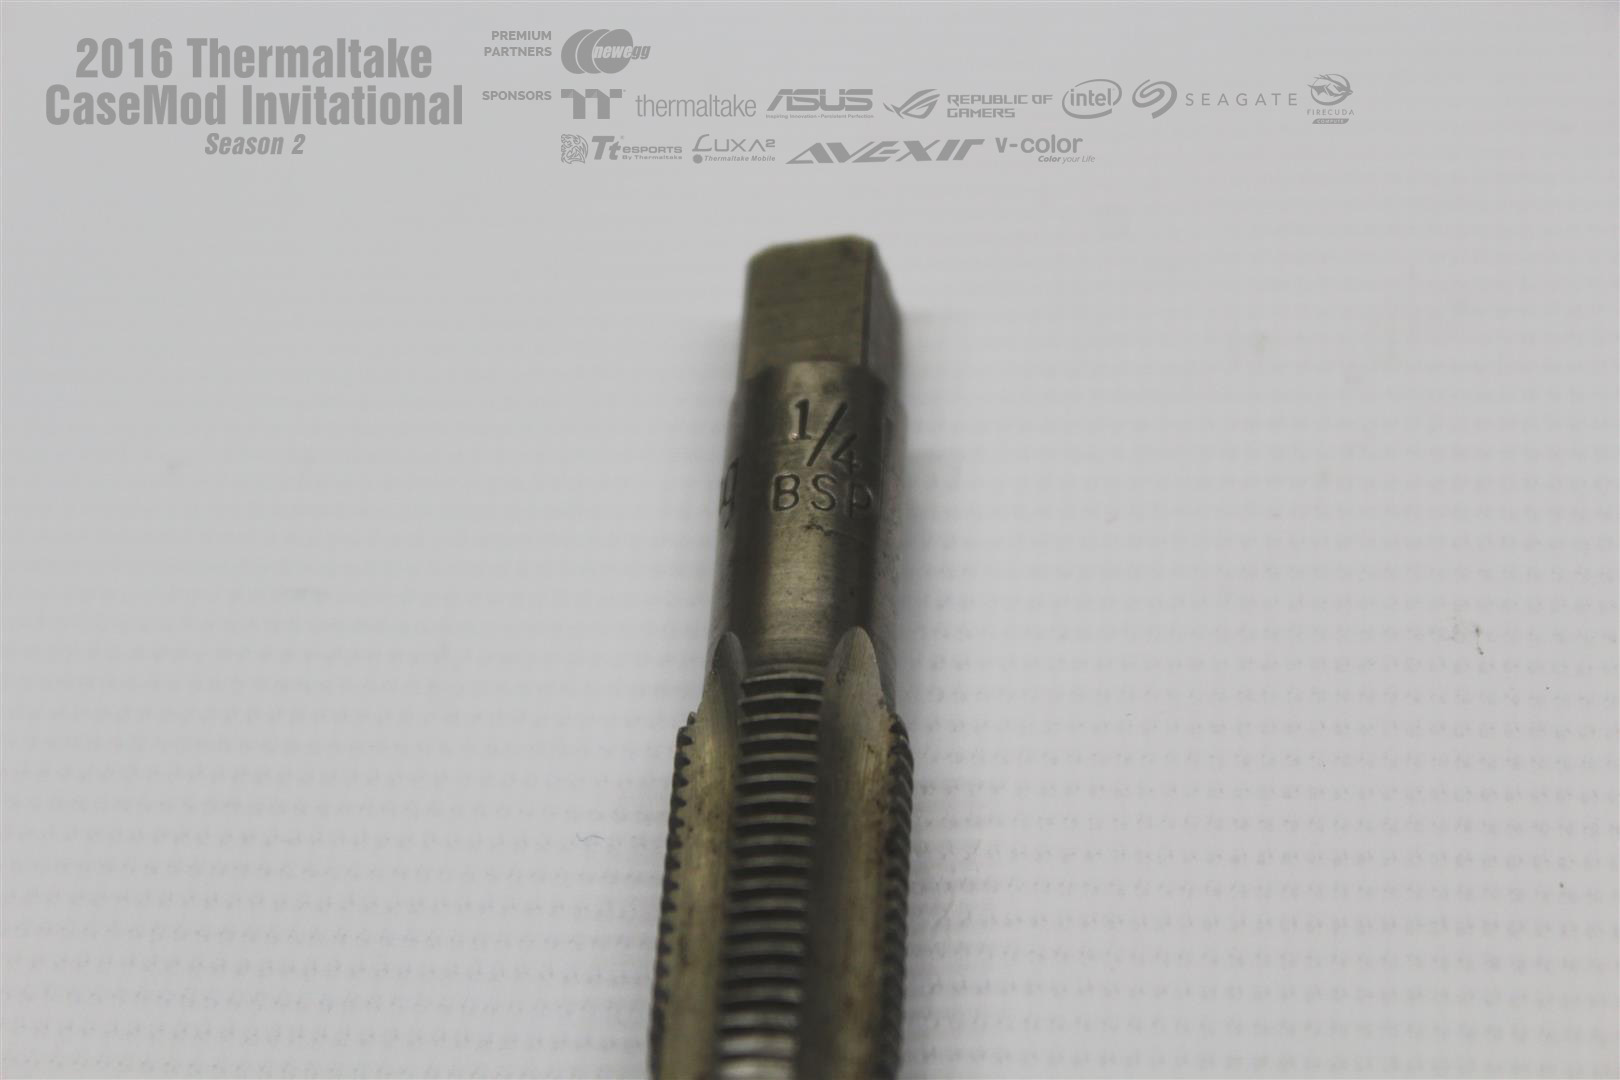
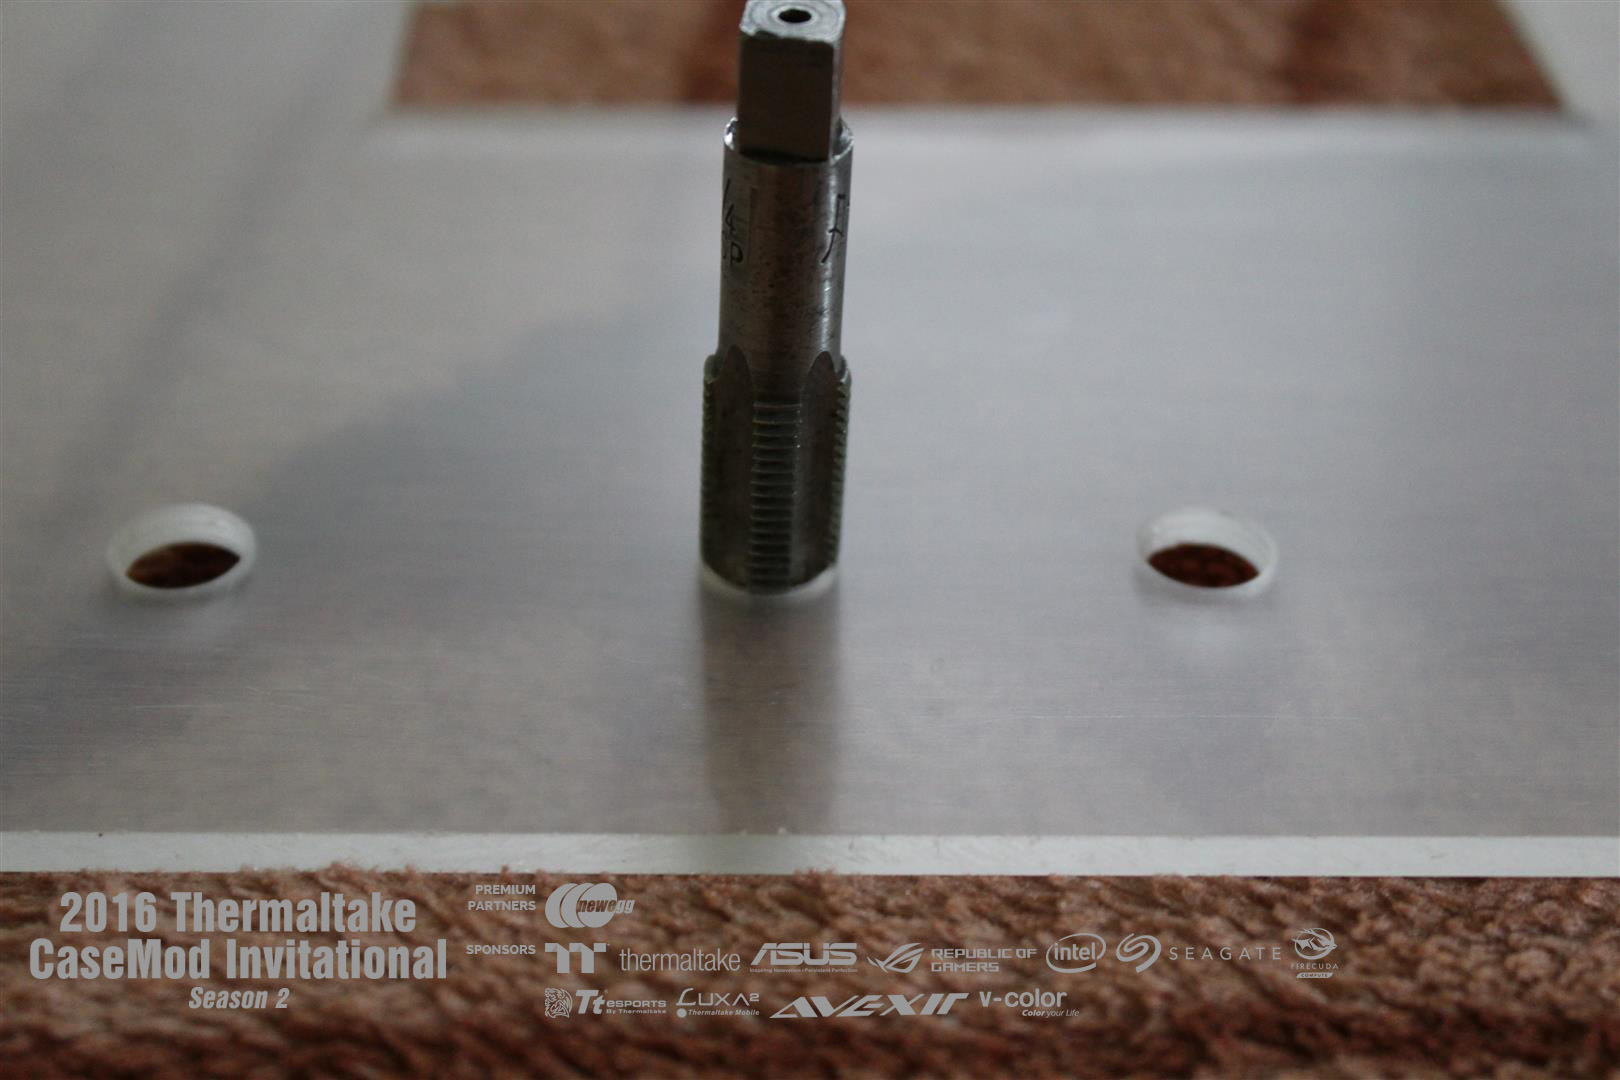
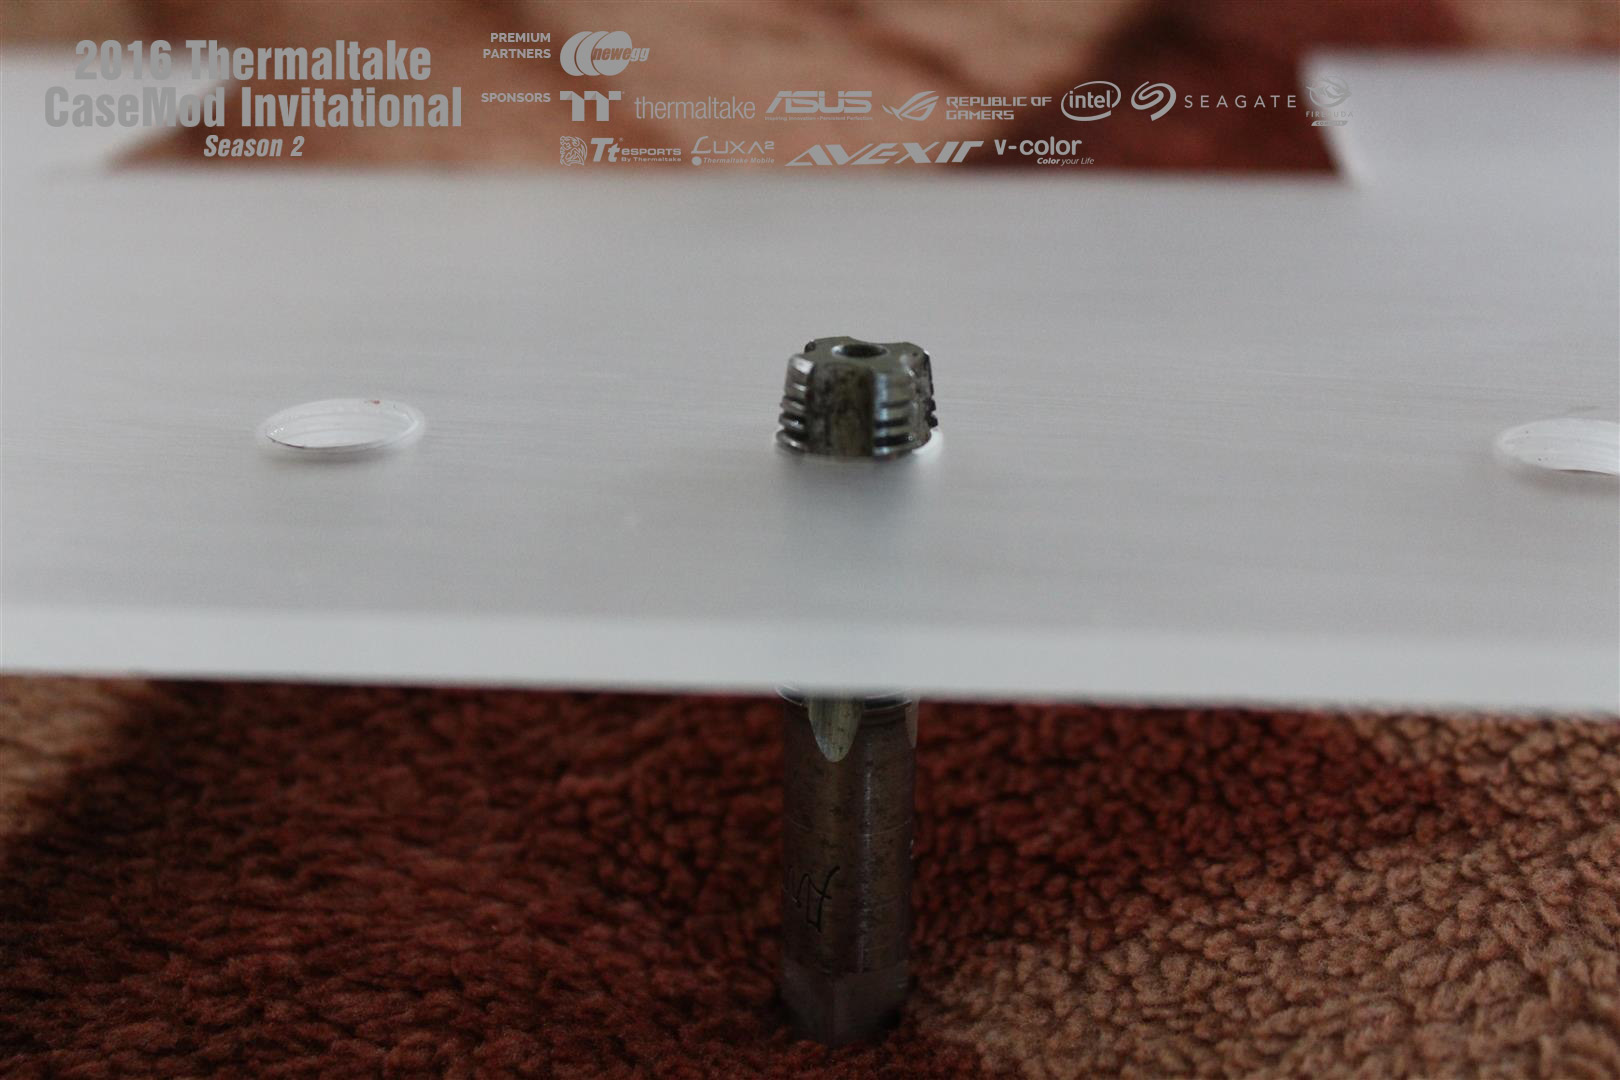
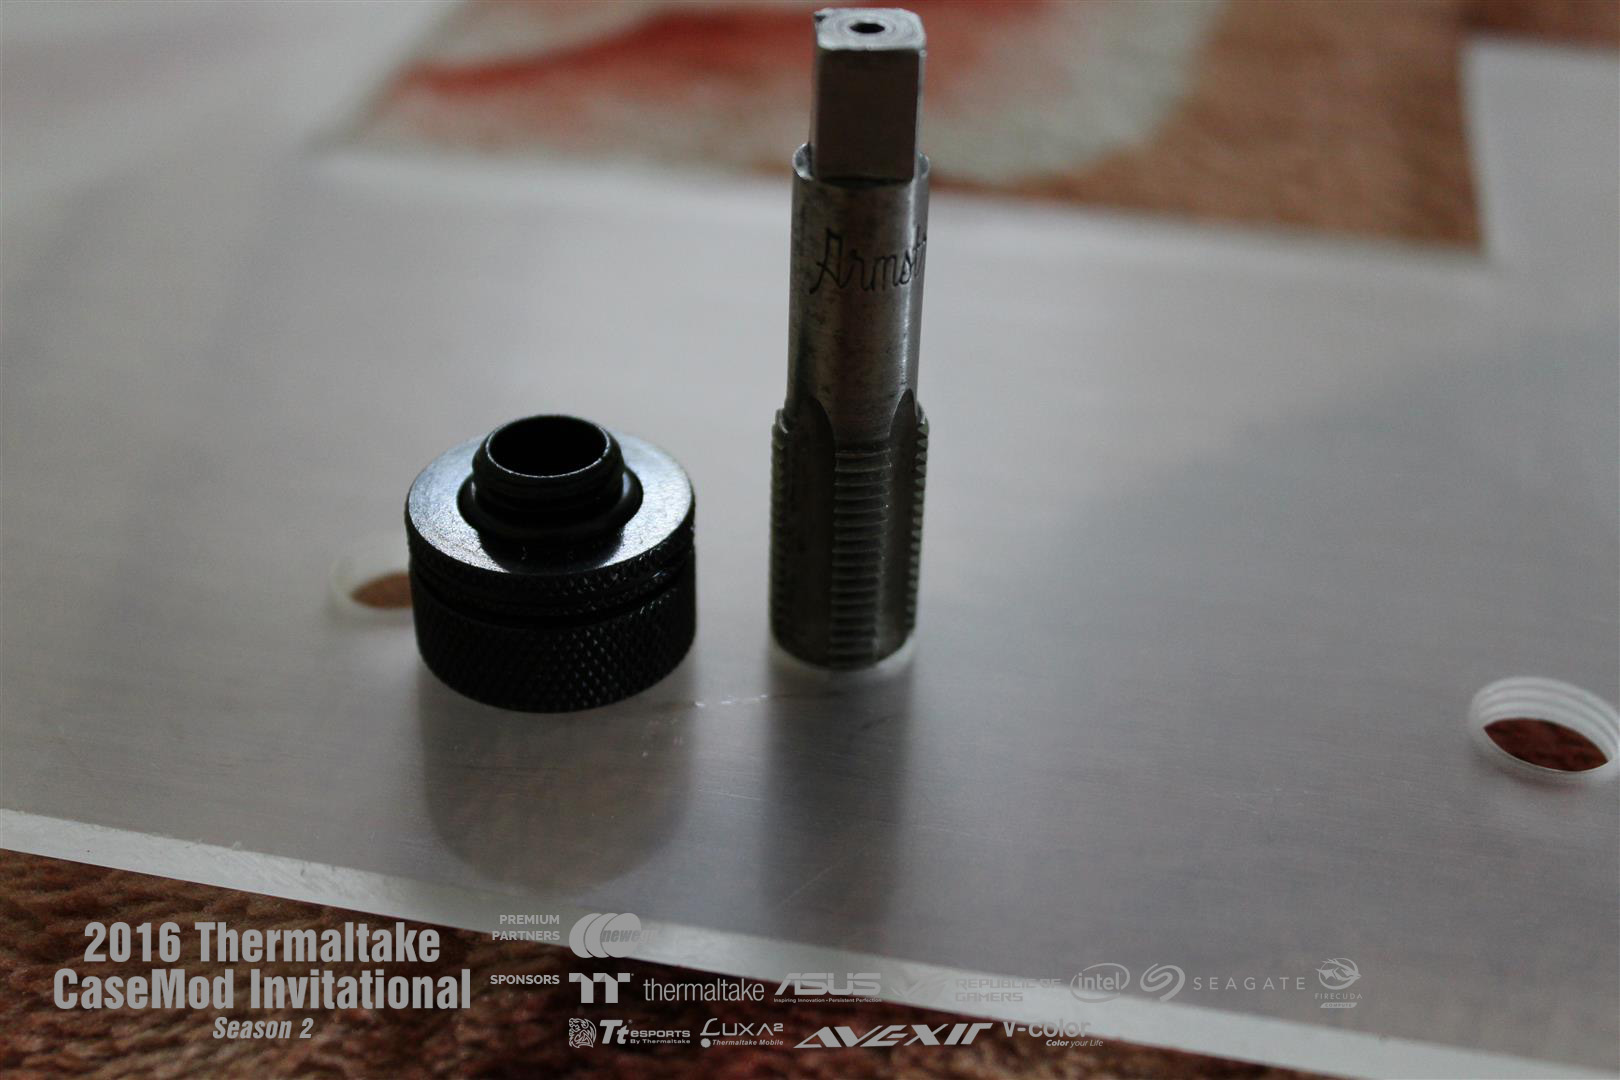
UPDATE : 15-Dec-2016
Final tool needed for this build is here, the G1/4 tap.

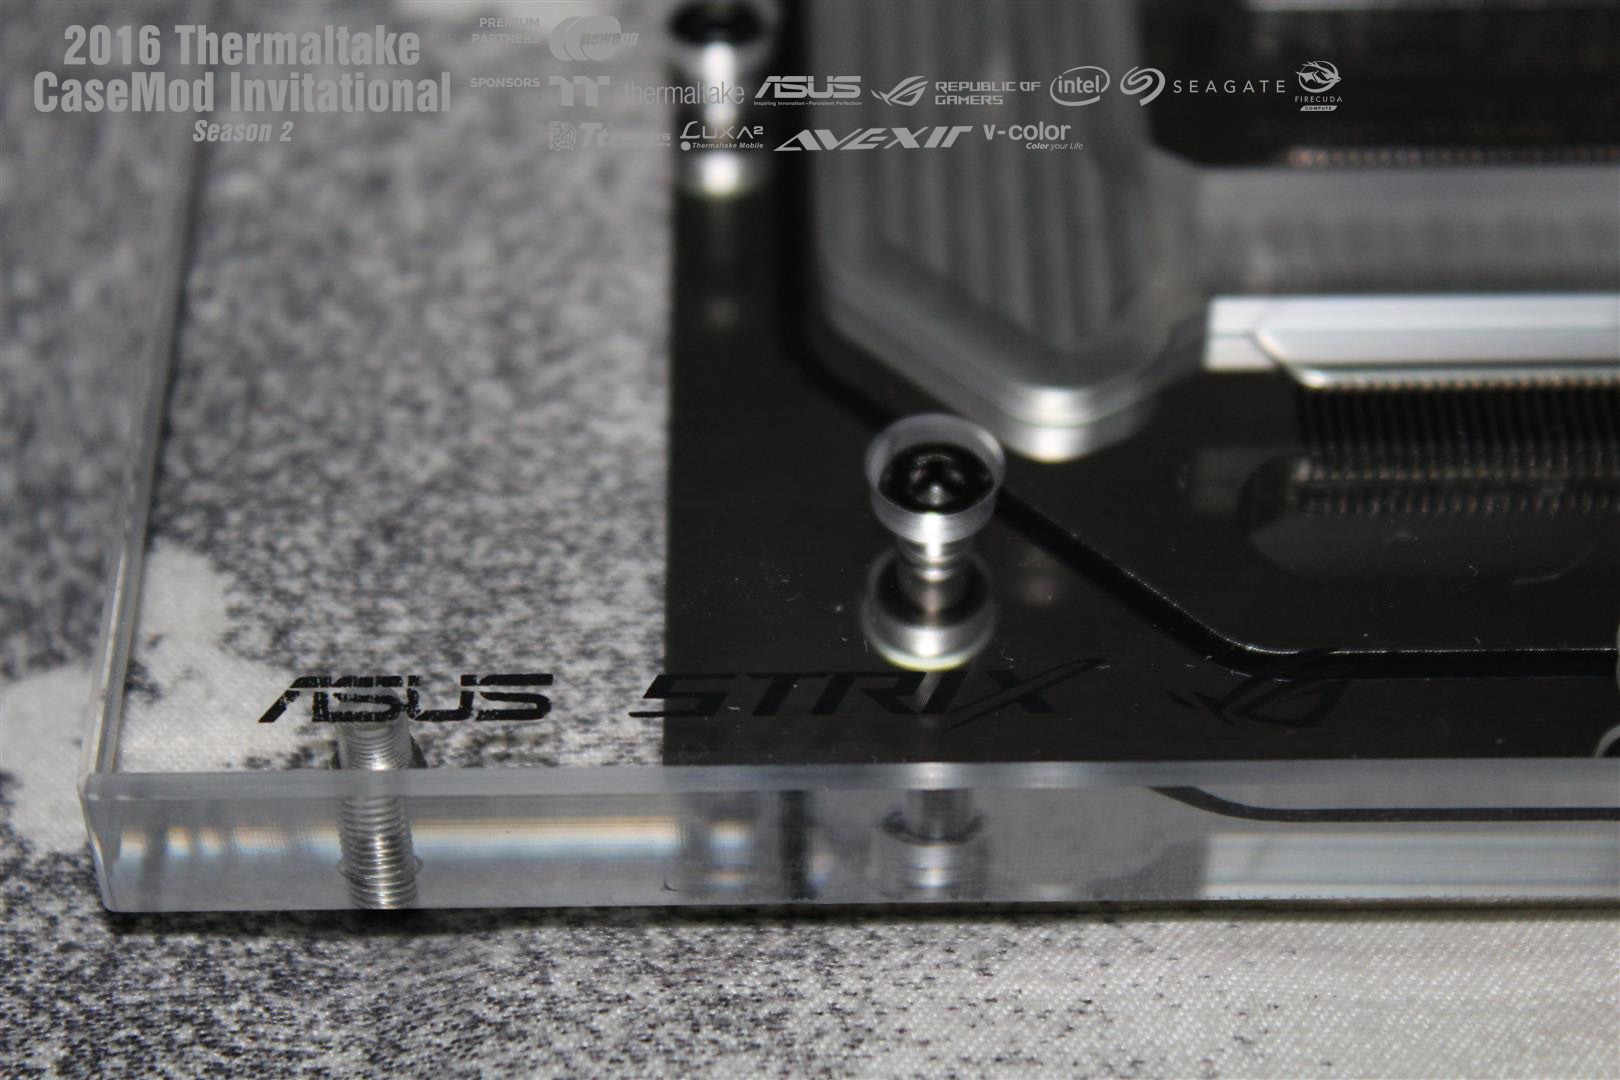
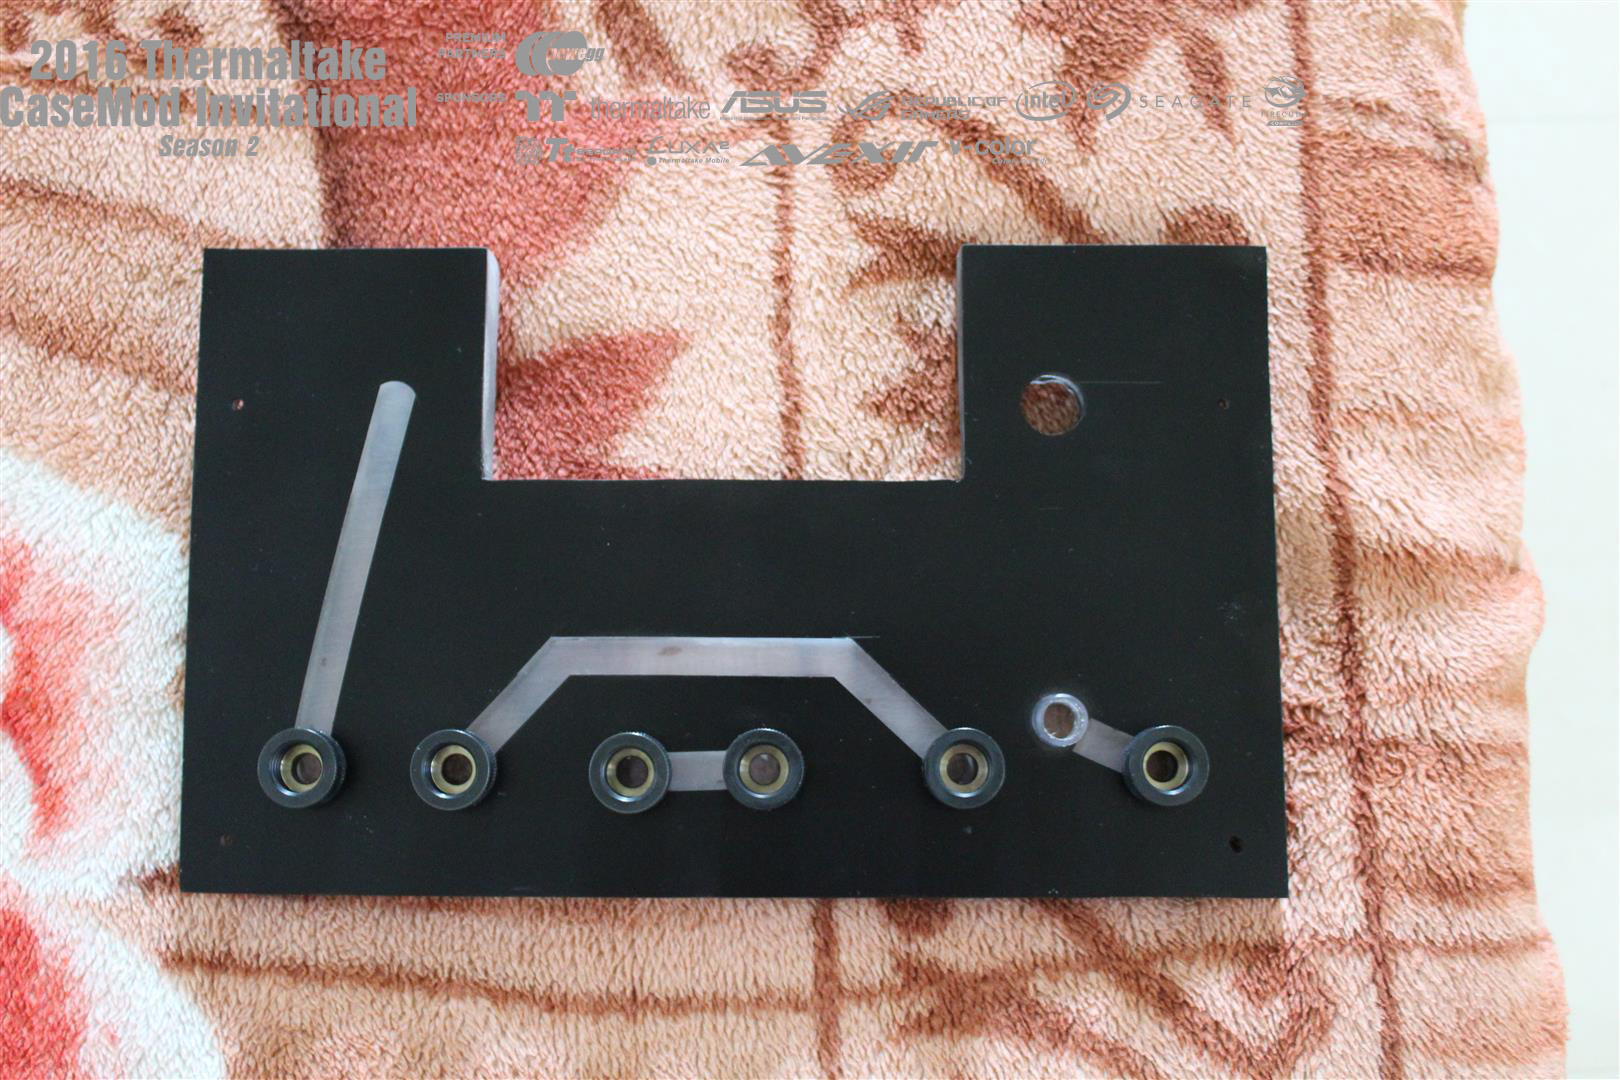
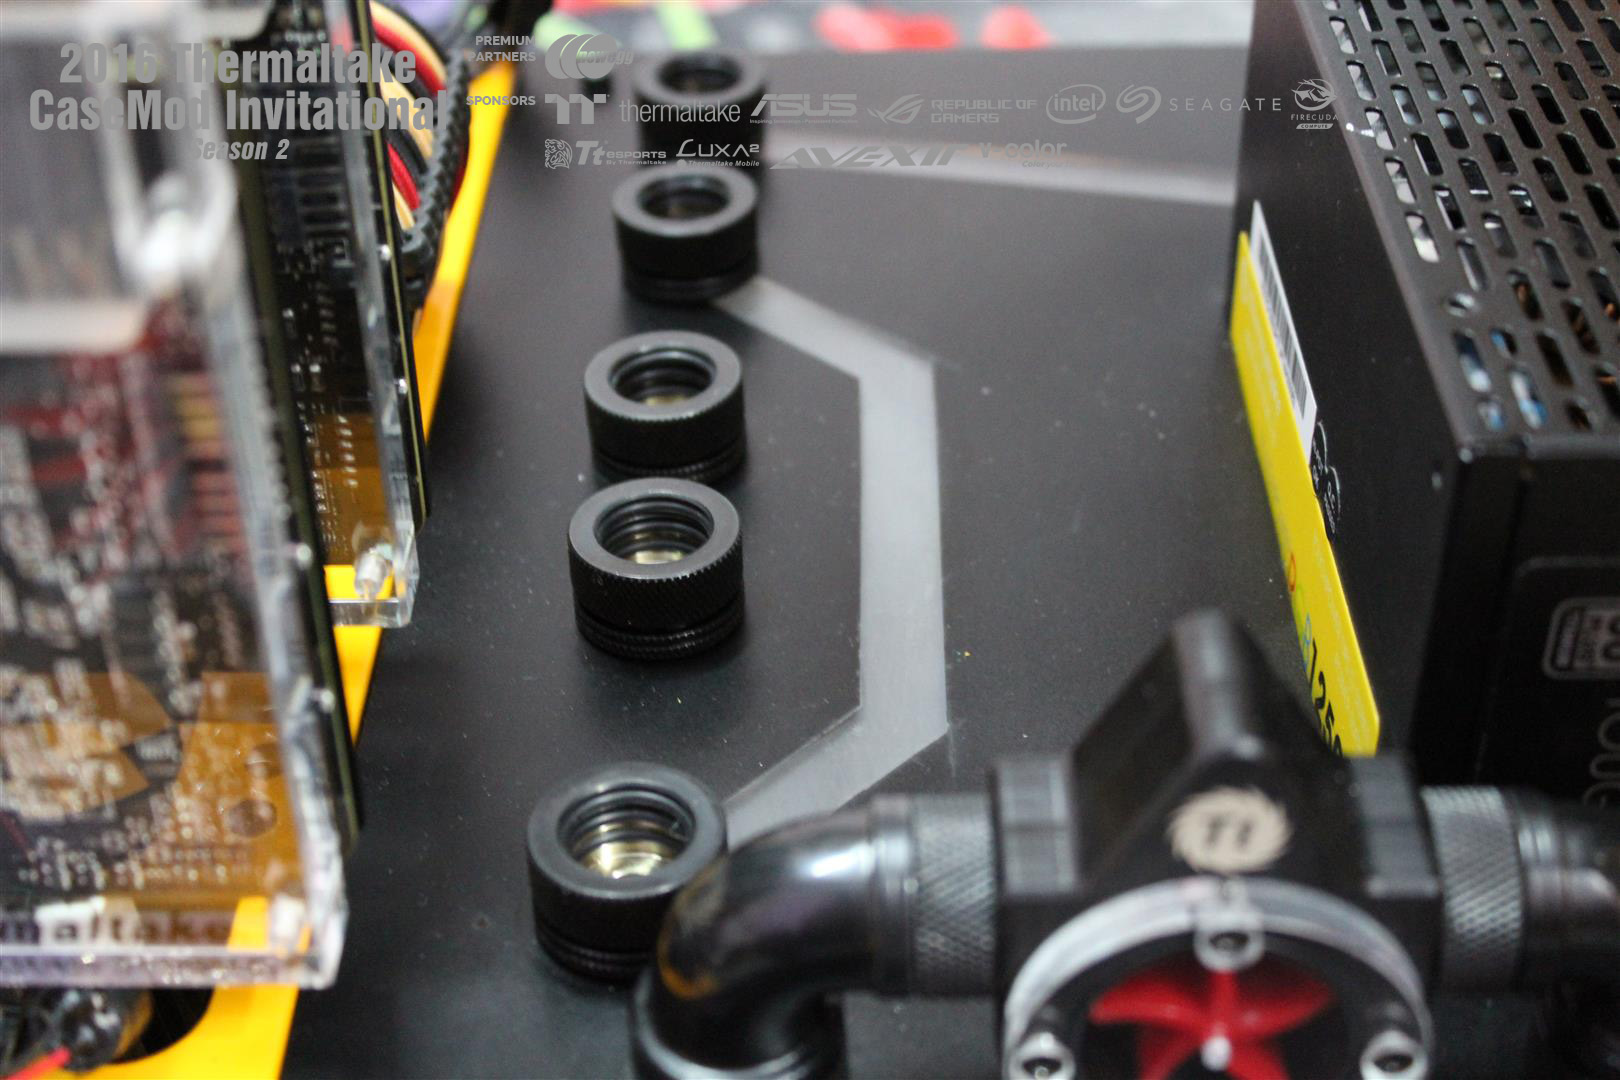
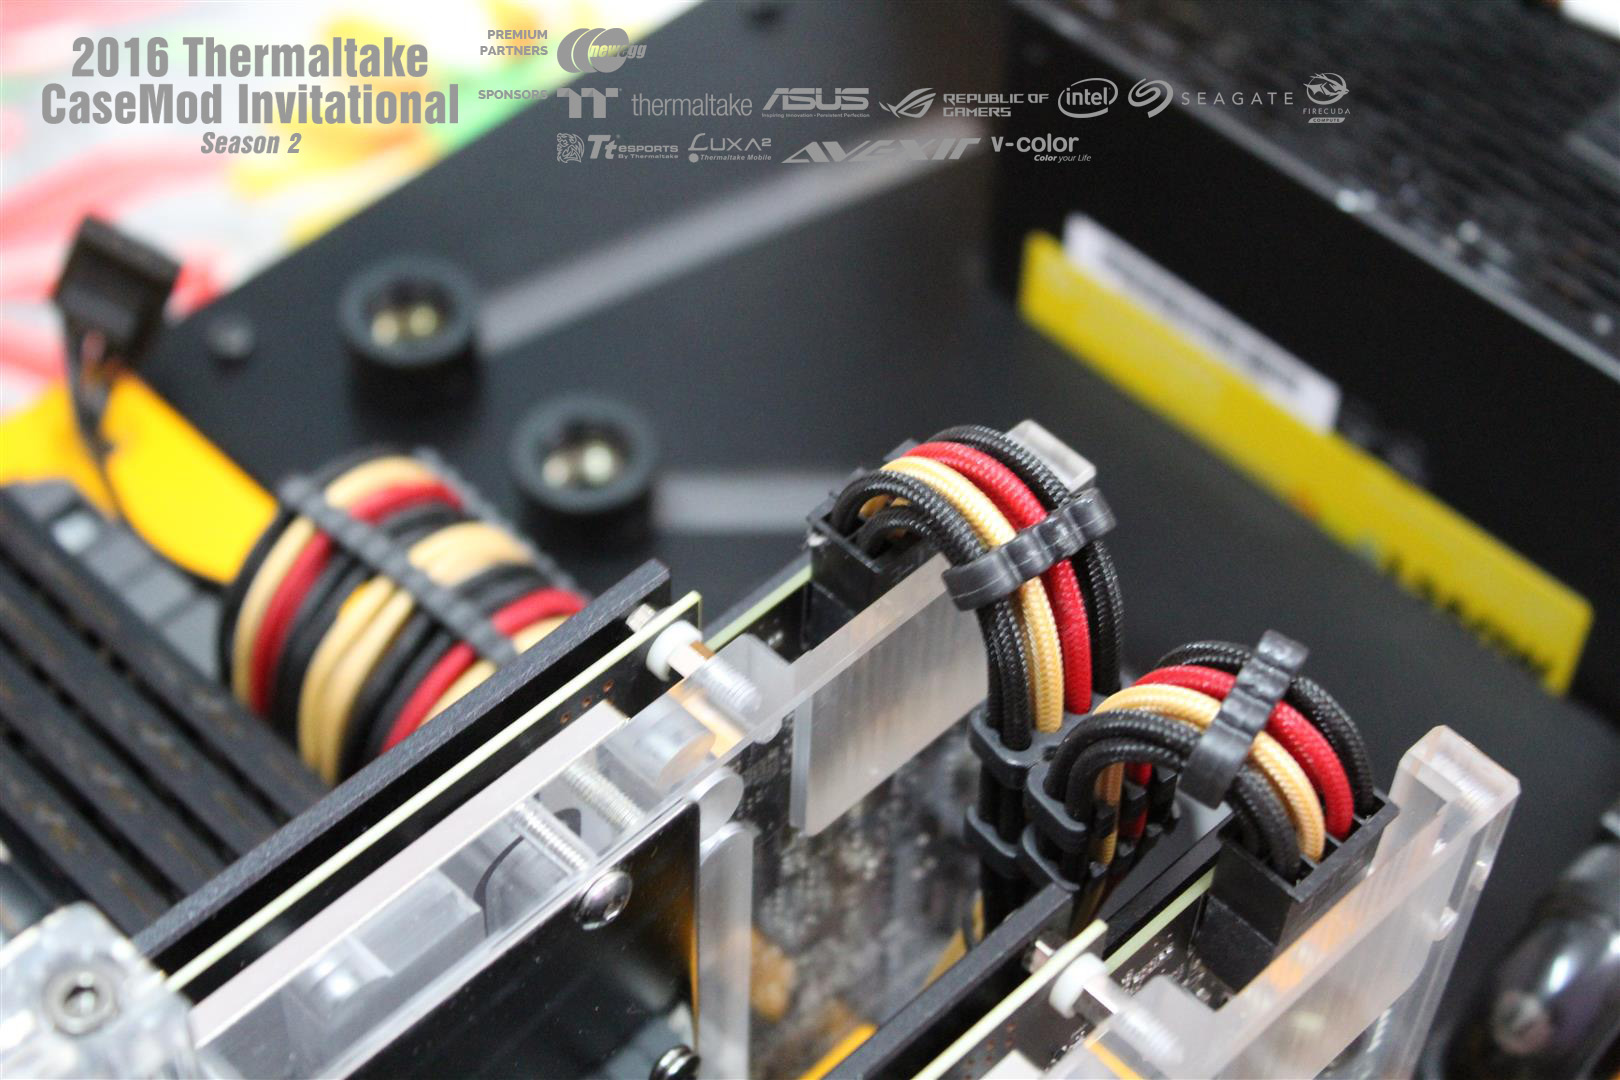
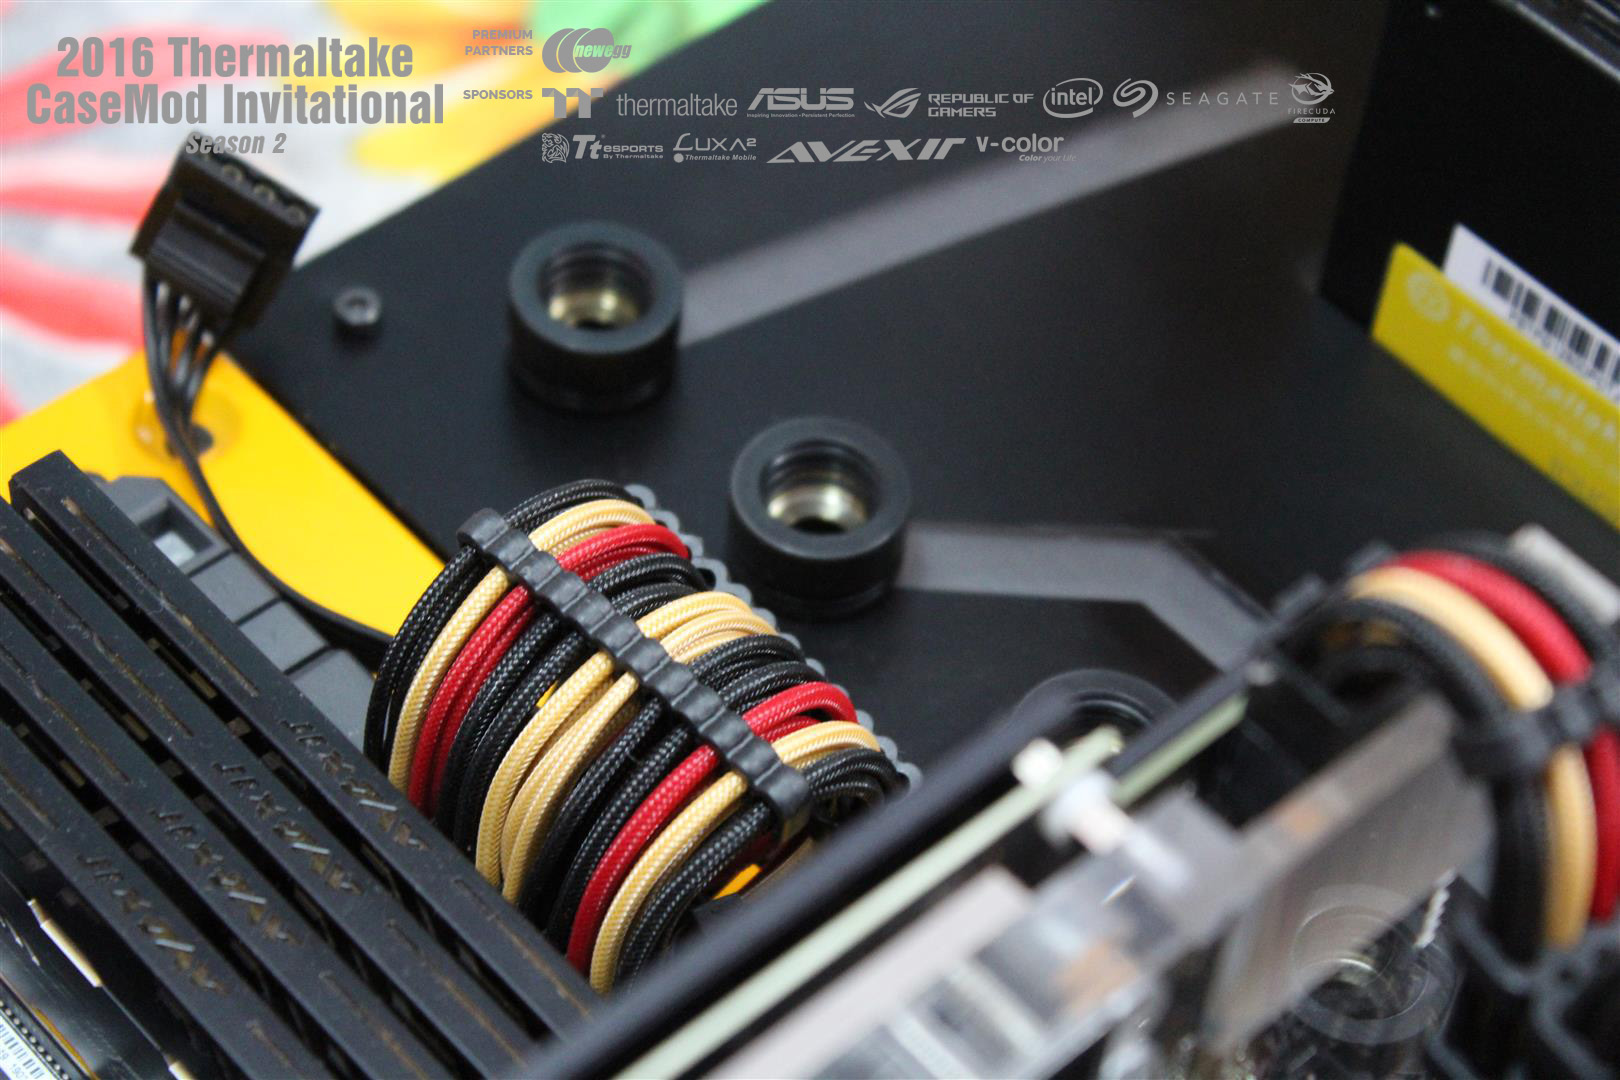
UPDATE : 17-Dec-2016
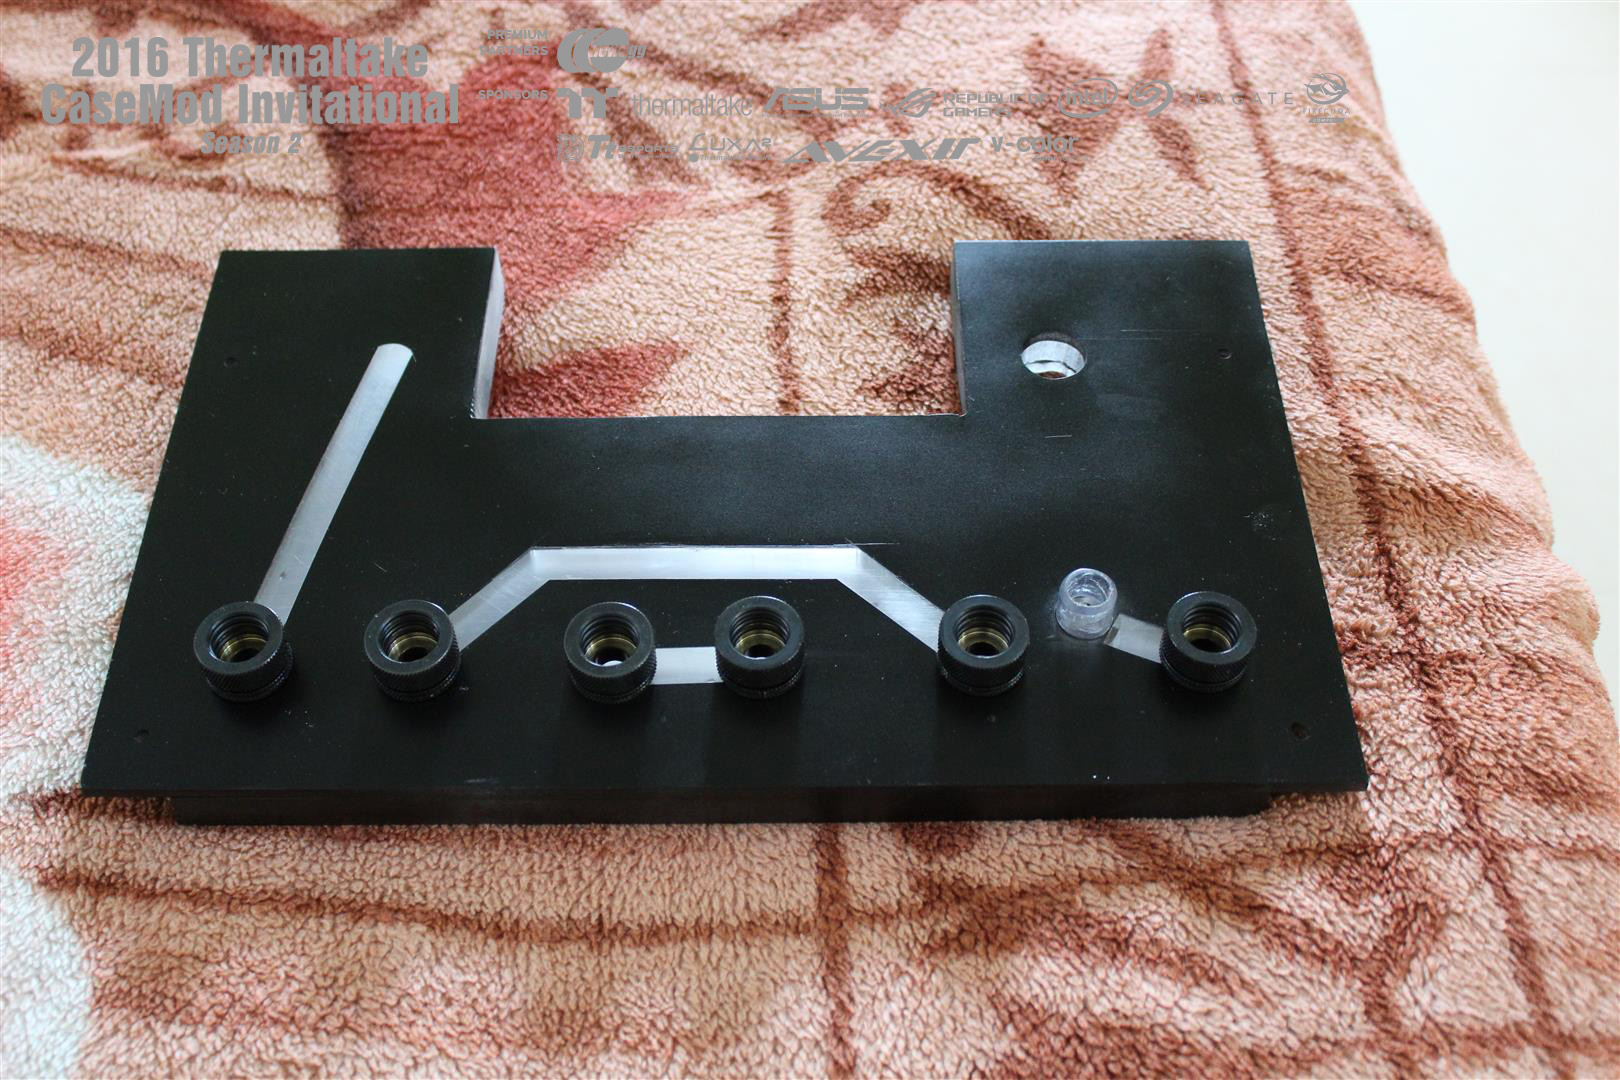
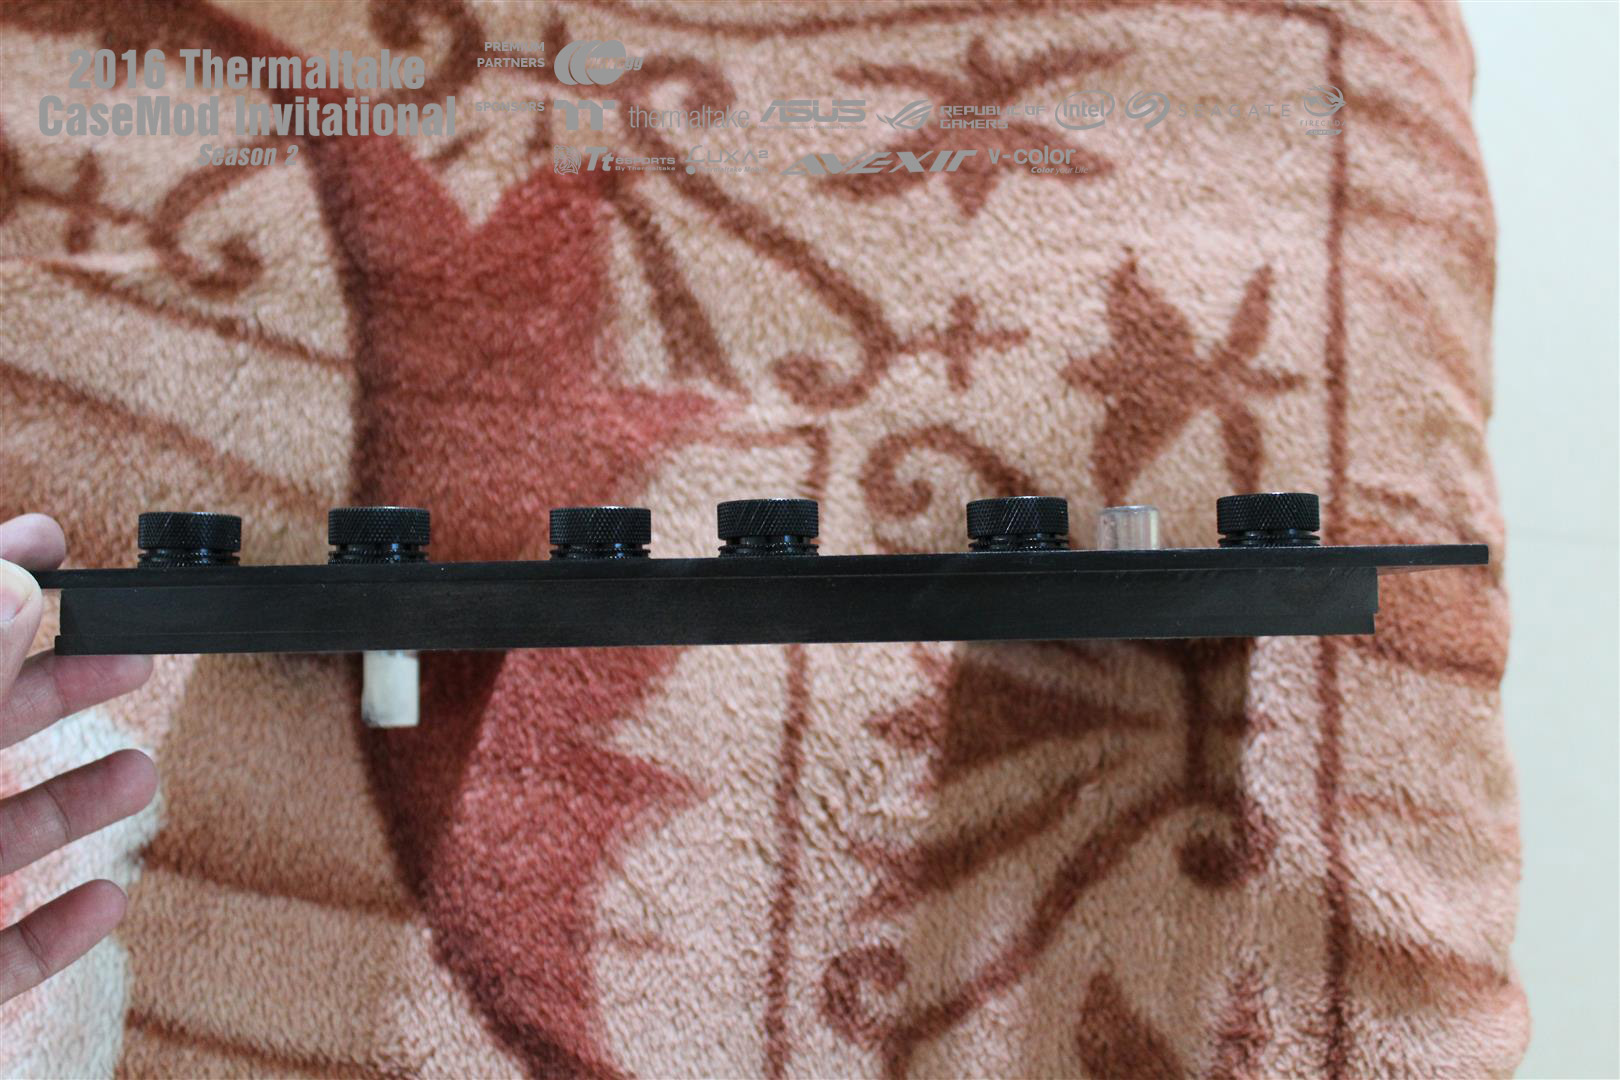
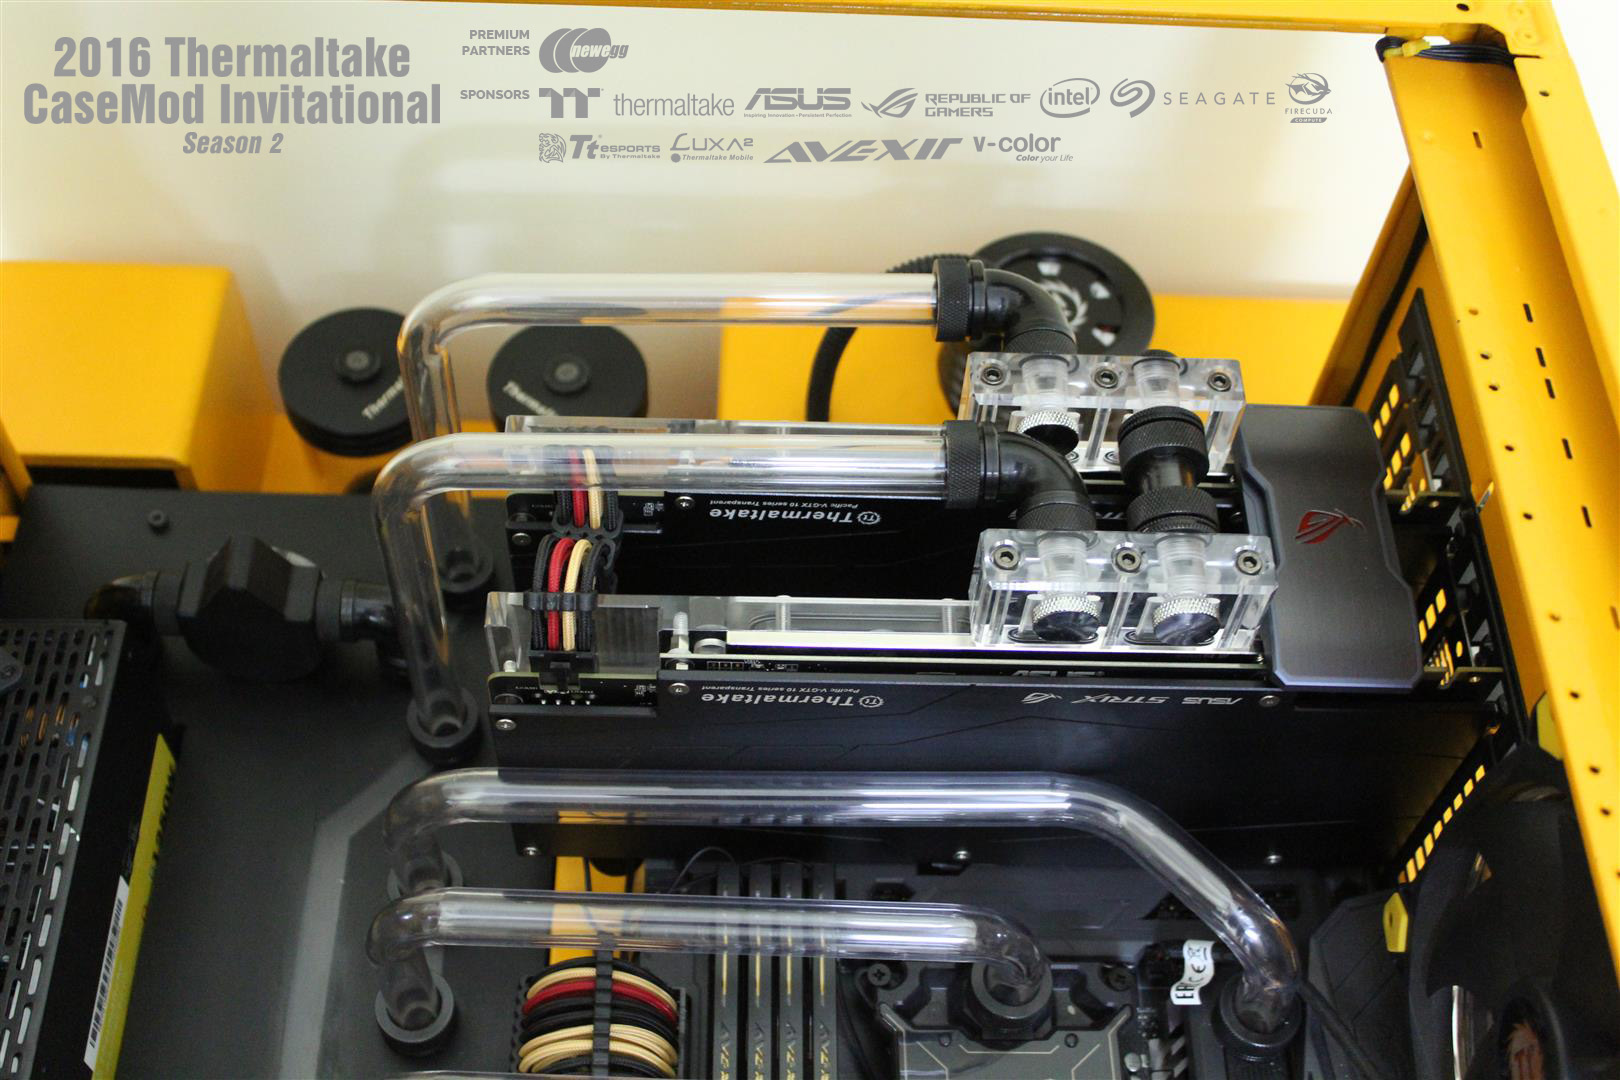
Making of liquid channel plate from sheets of acrylic. Cutting, drilling and then threading holes for compression fitting installation.
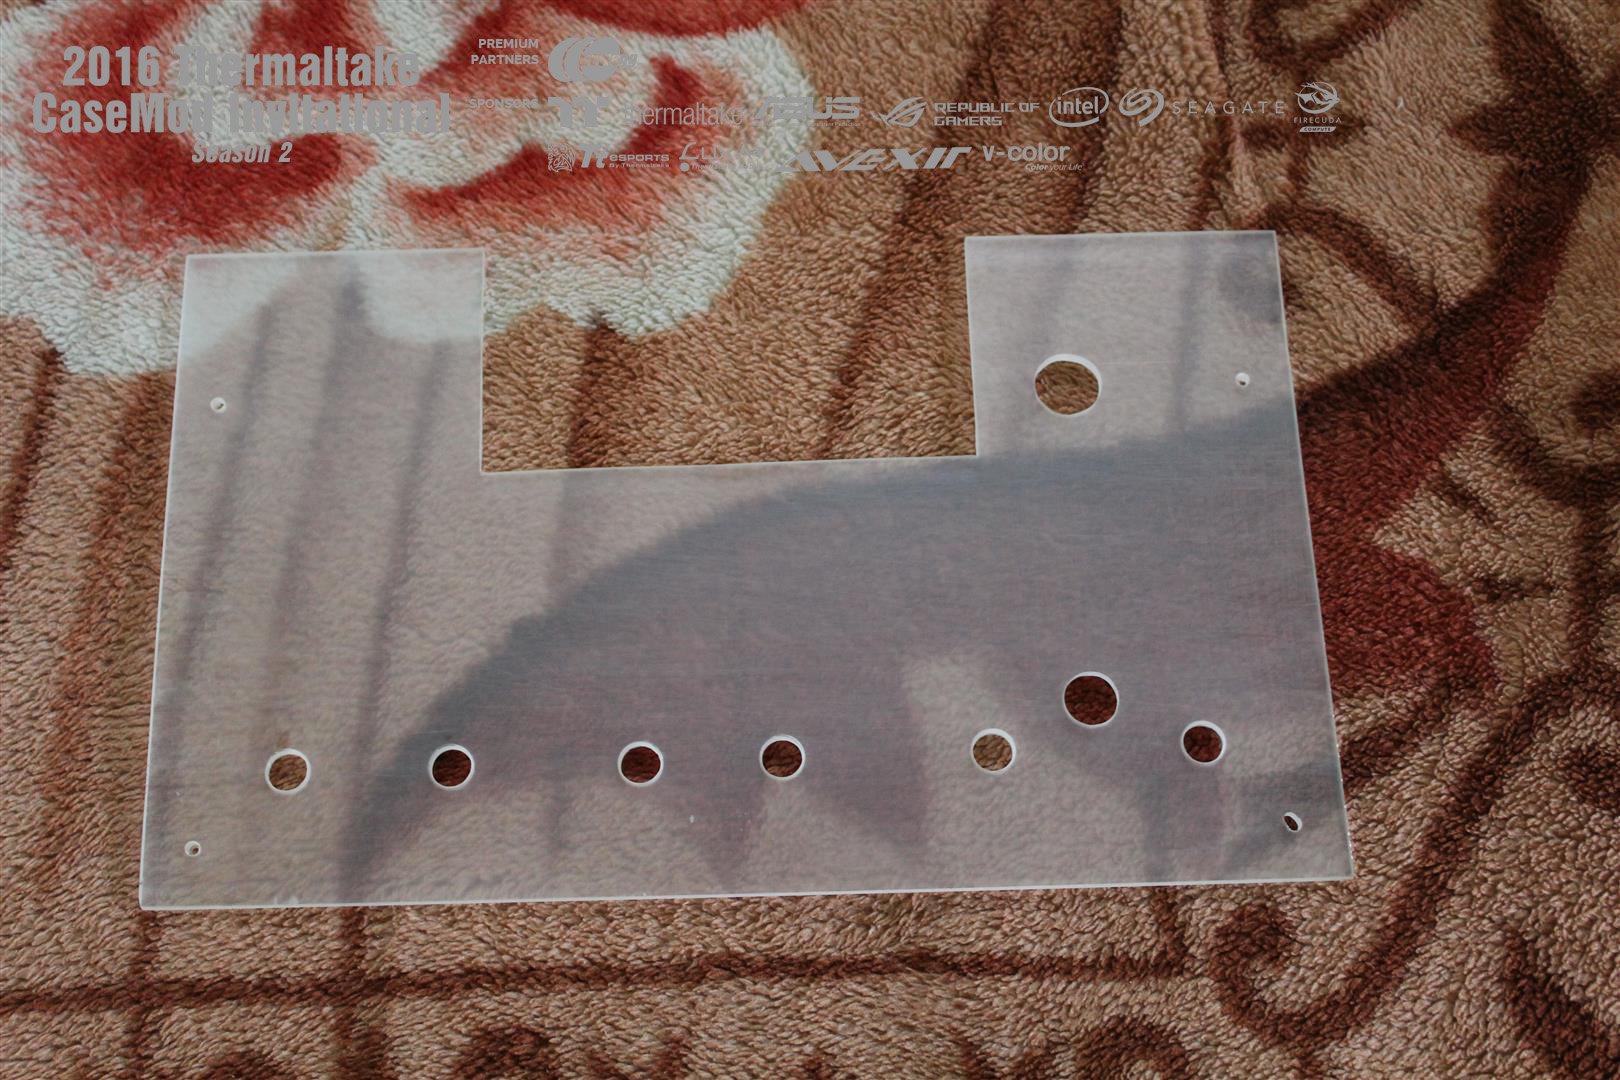
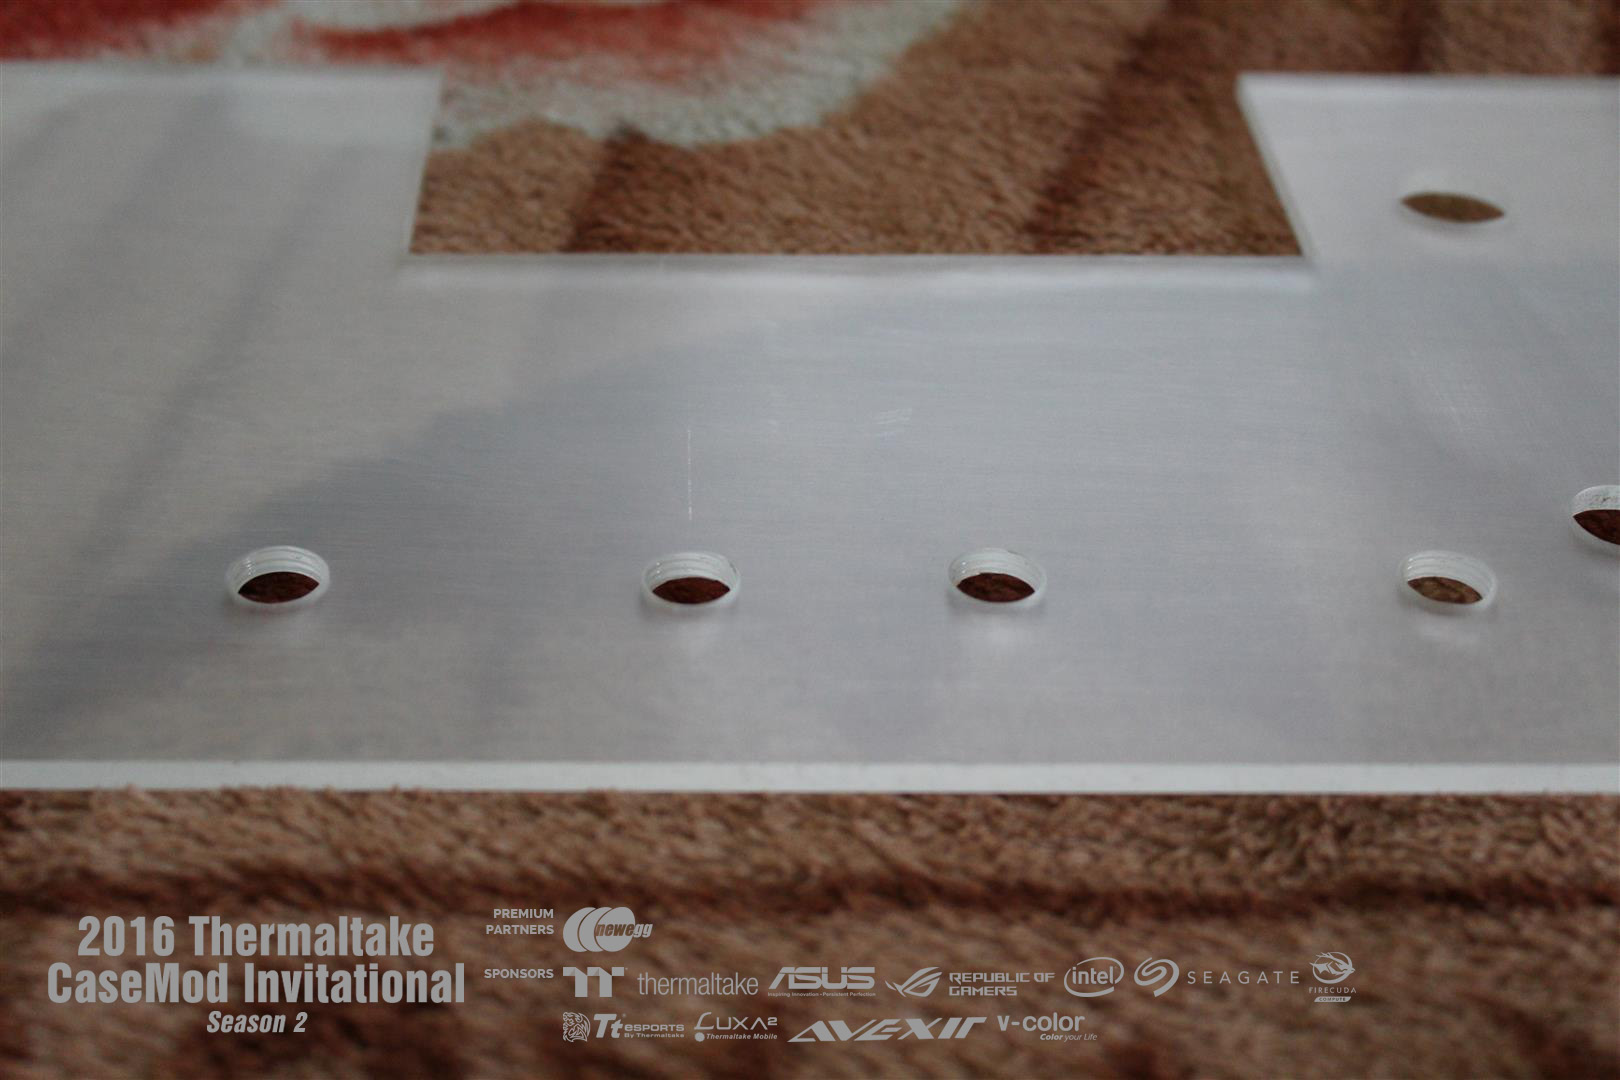
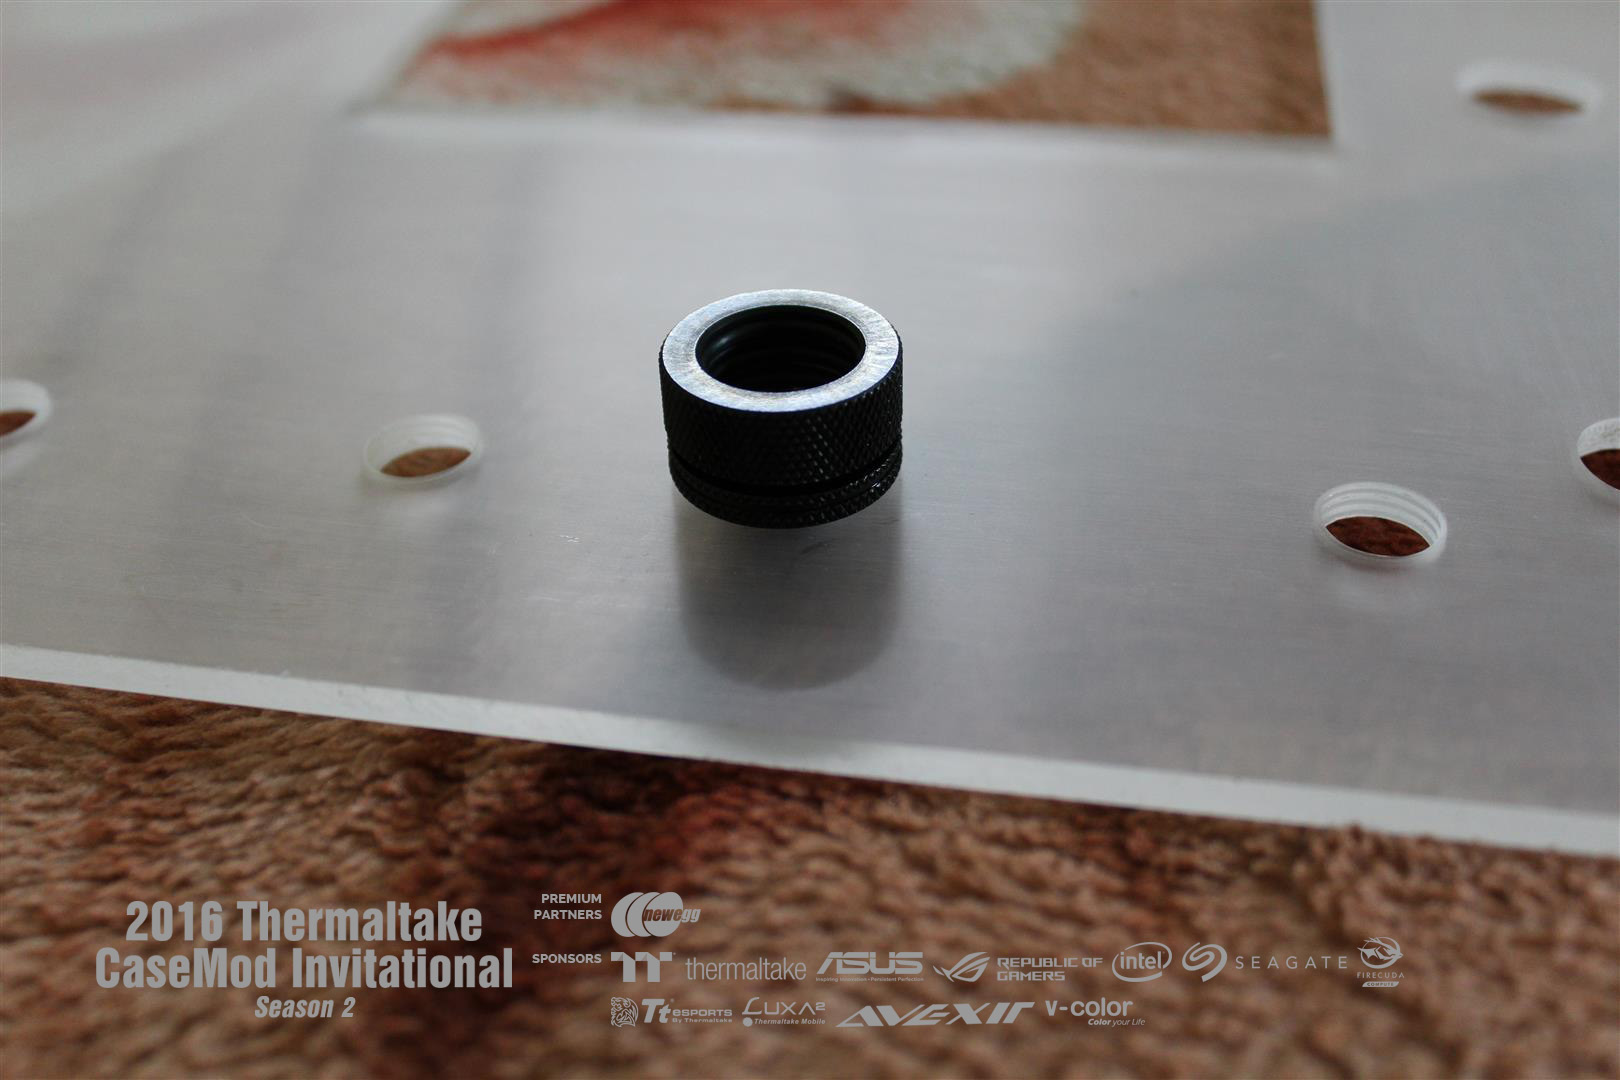
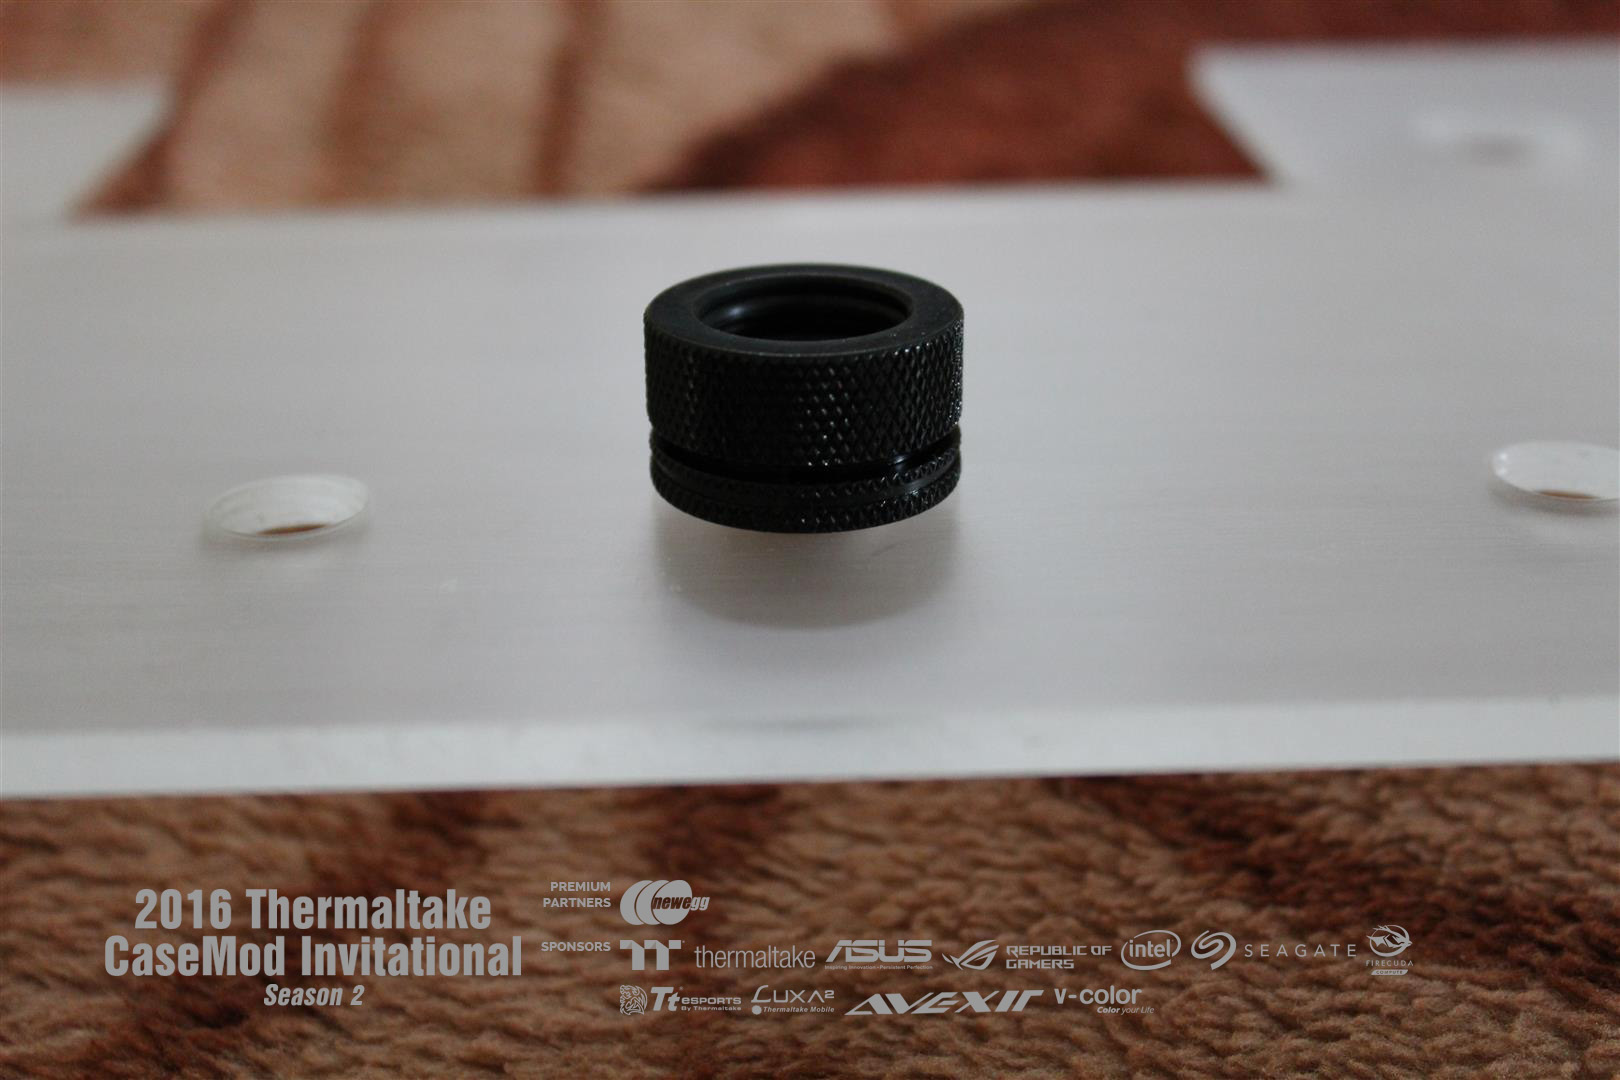

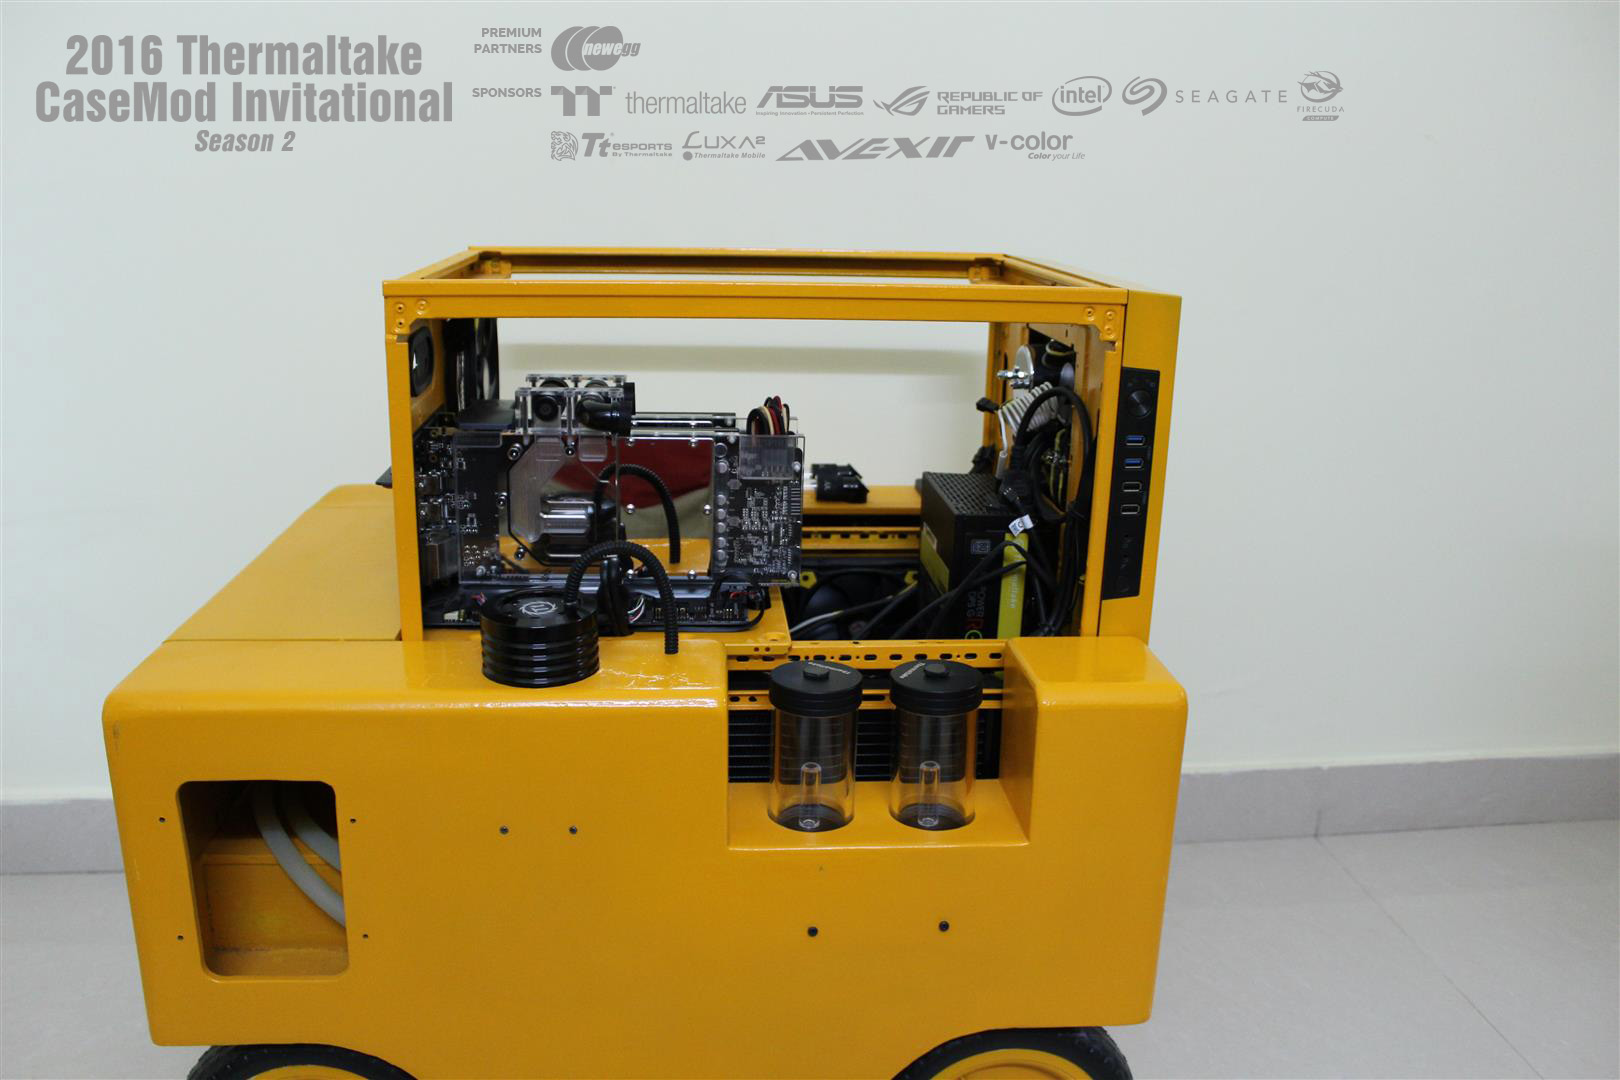
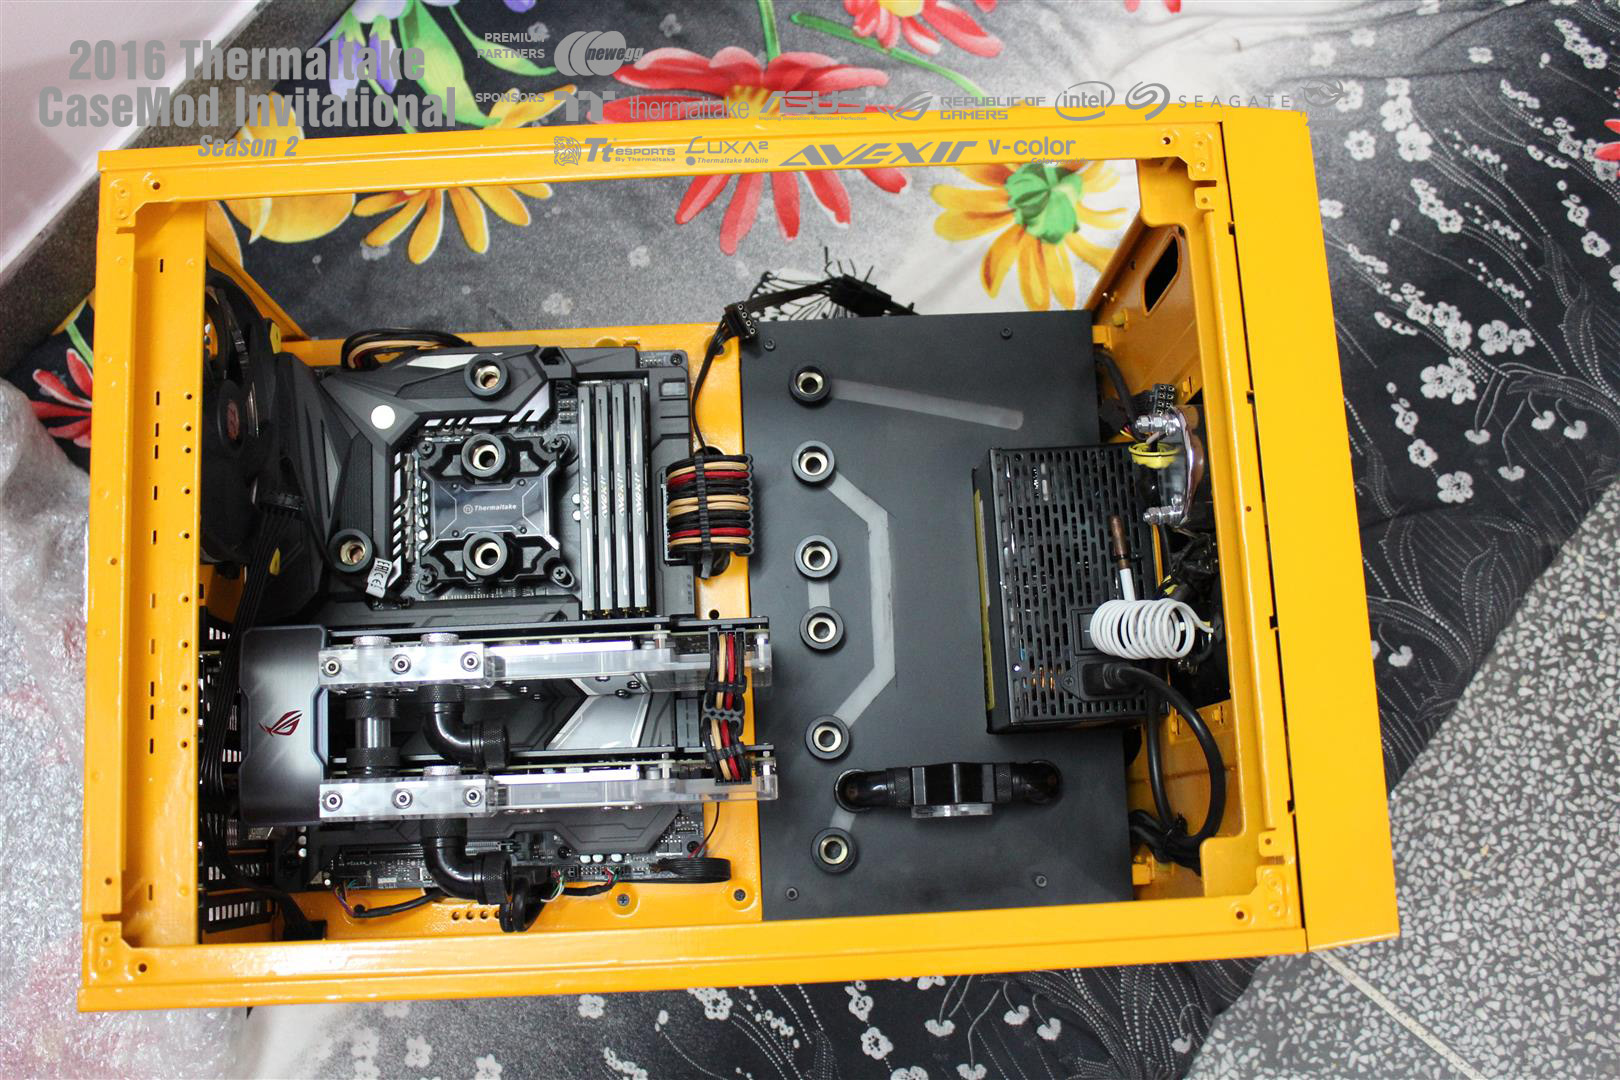
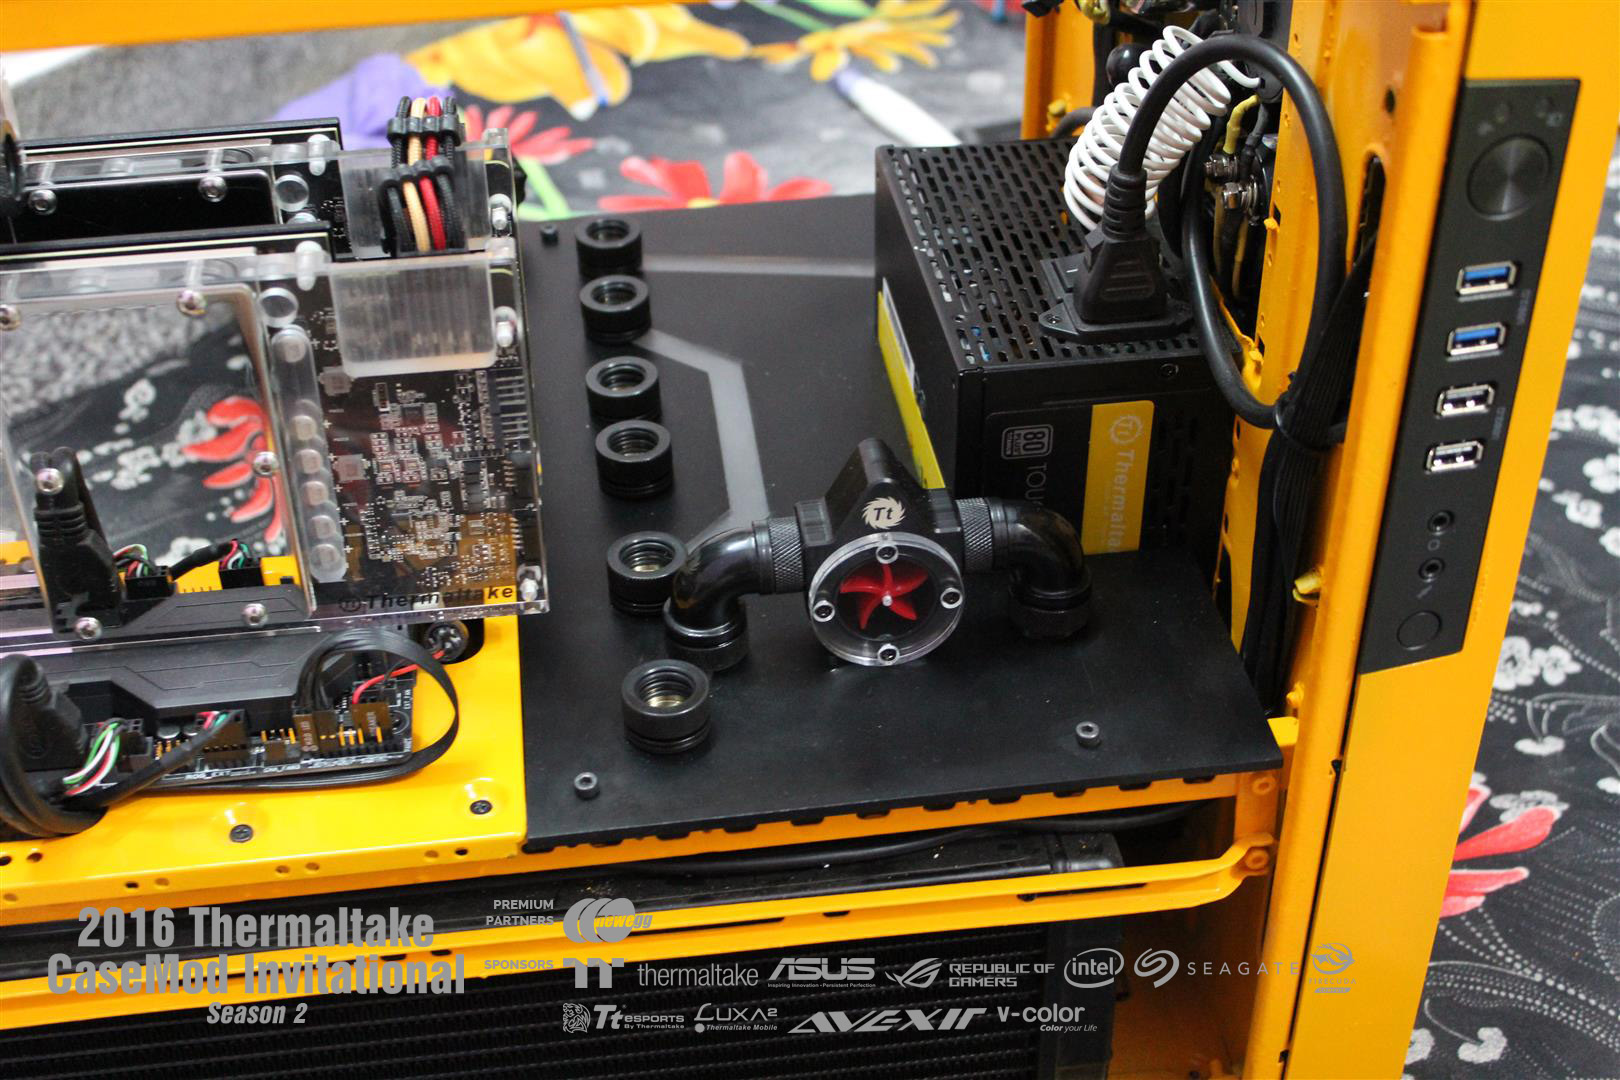
Now water channel is cut out from a 12mm thick acrylic sheet and everything is fused together with acrylic cement and installed inside the case.
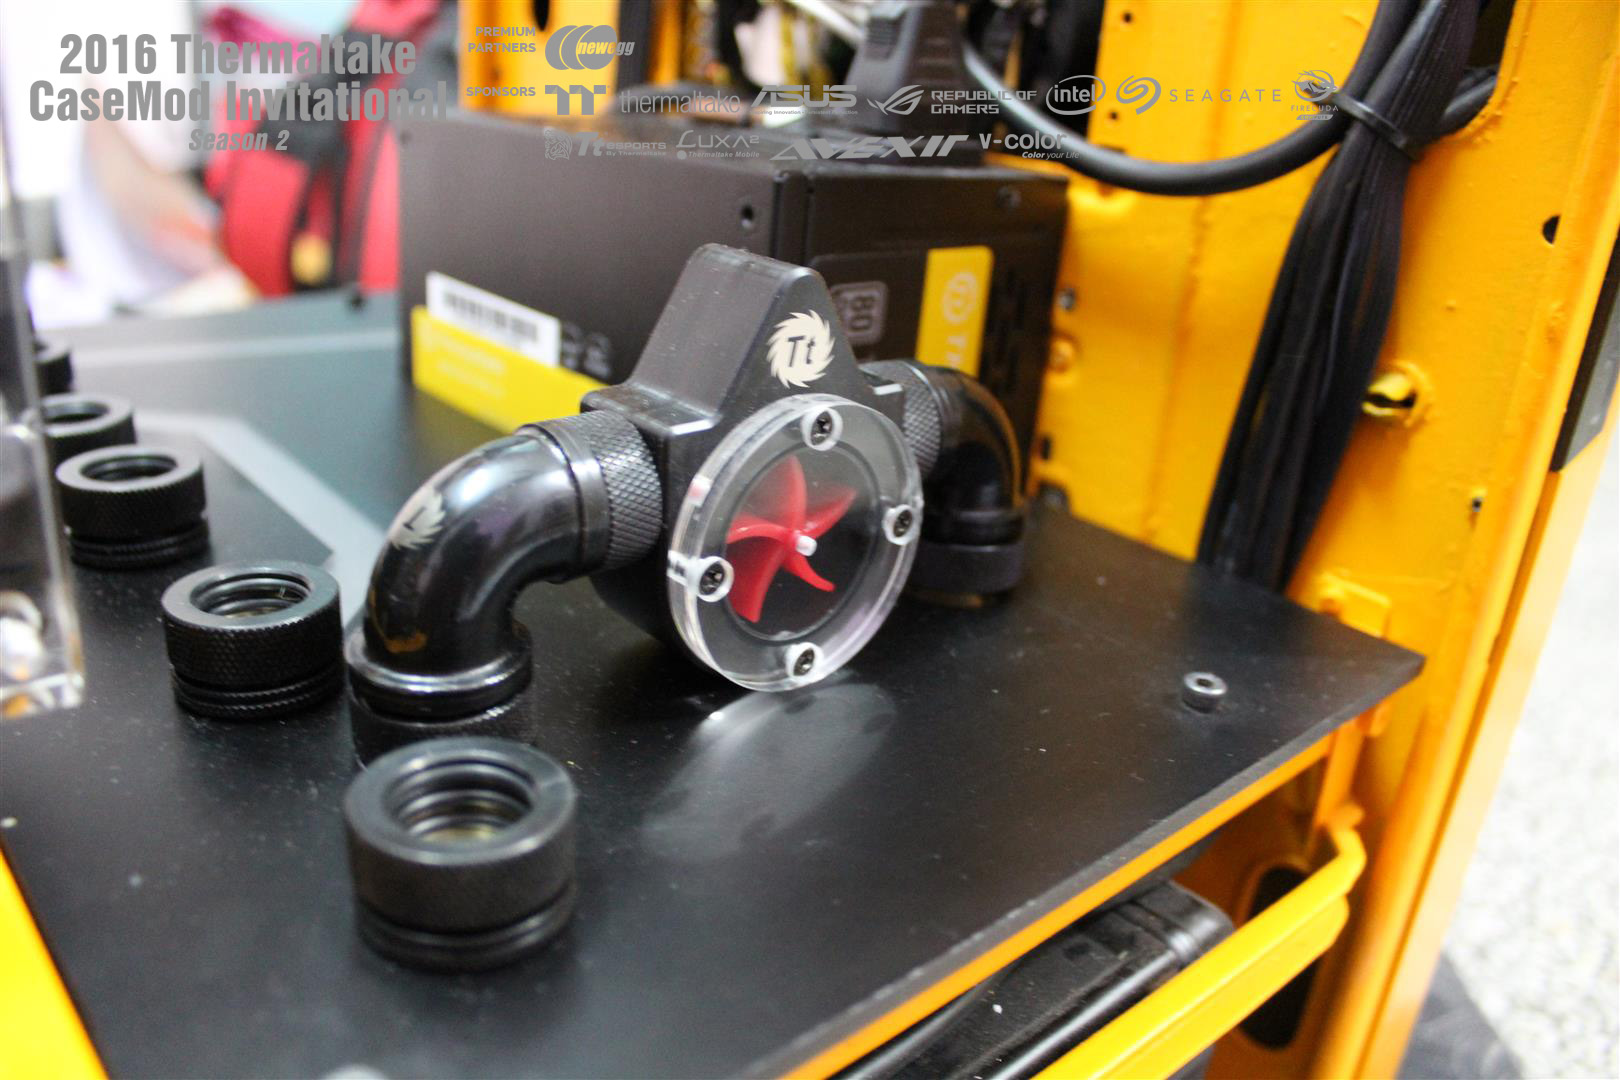
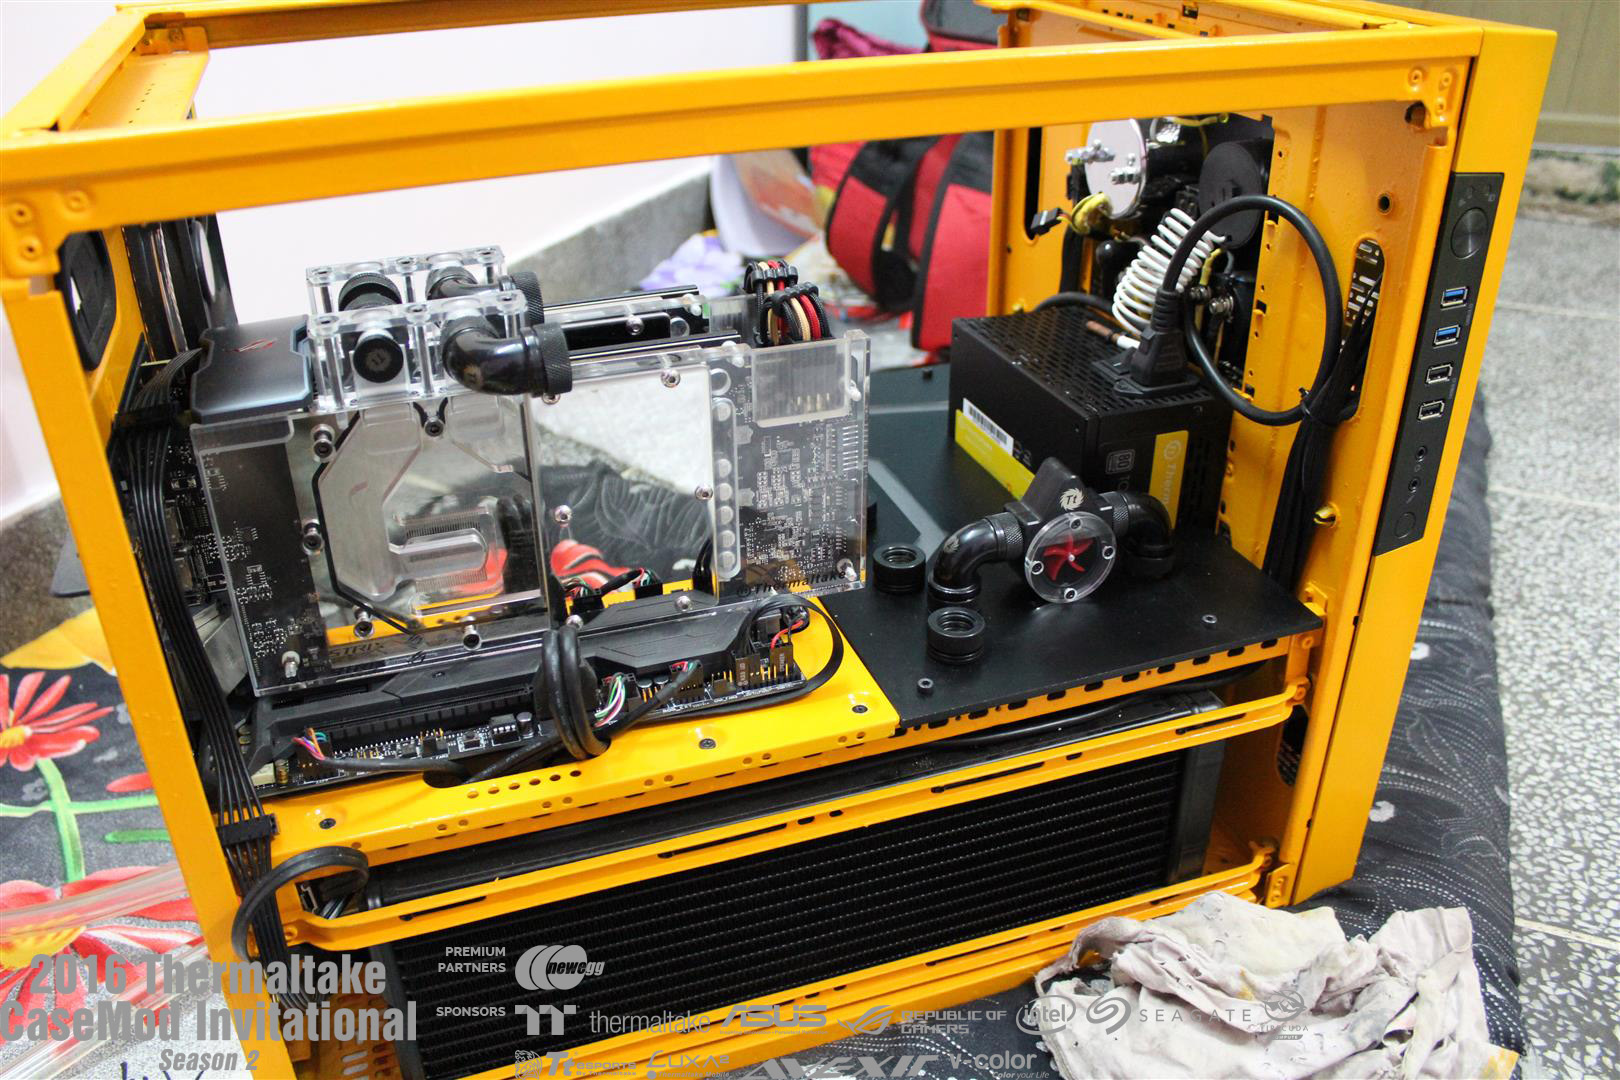
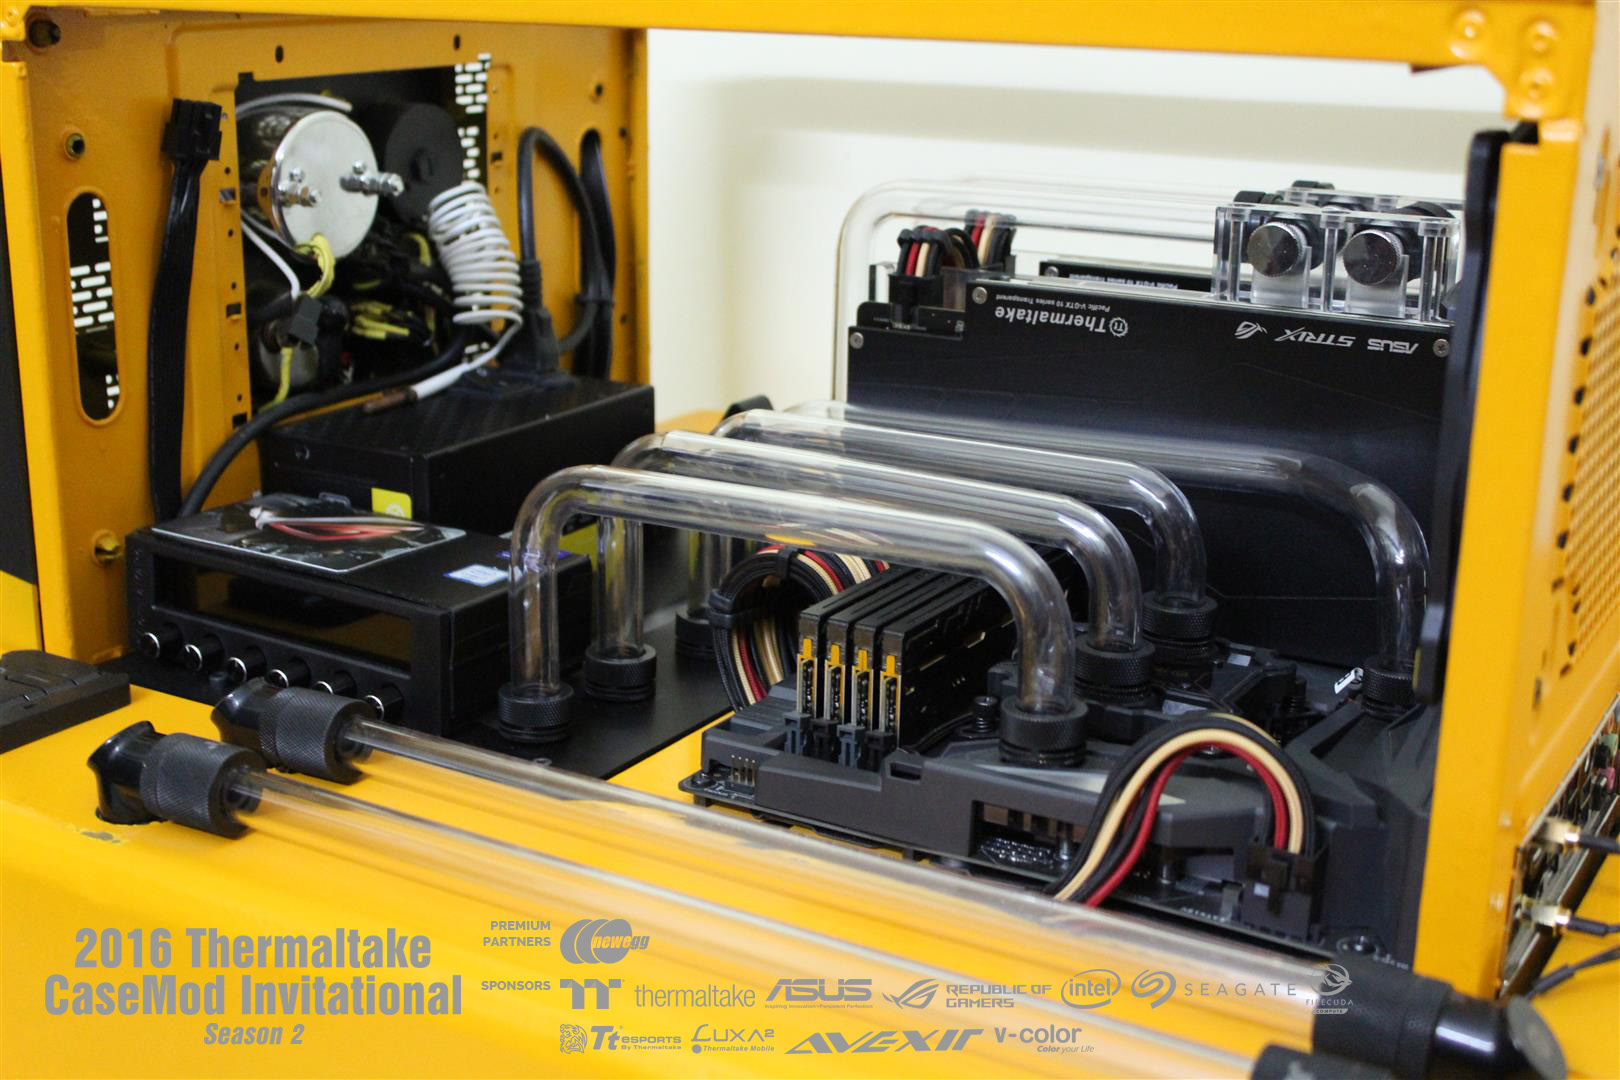
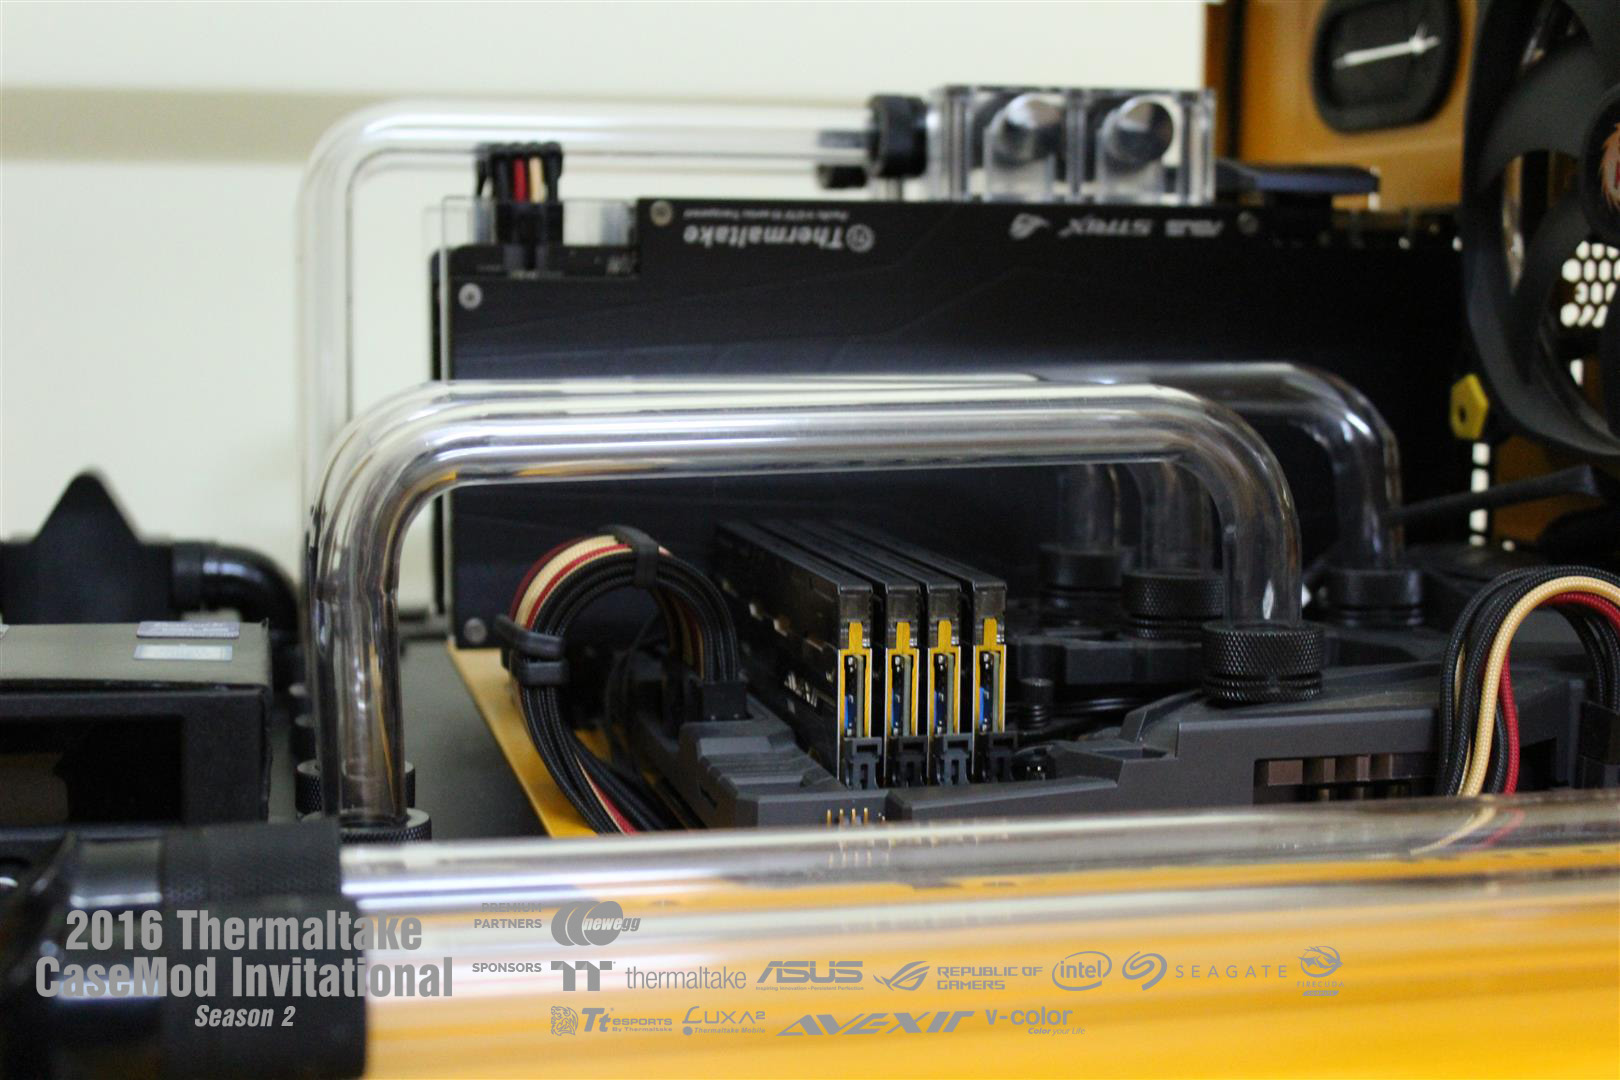
UPDATE : 20-Dec-2016
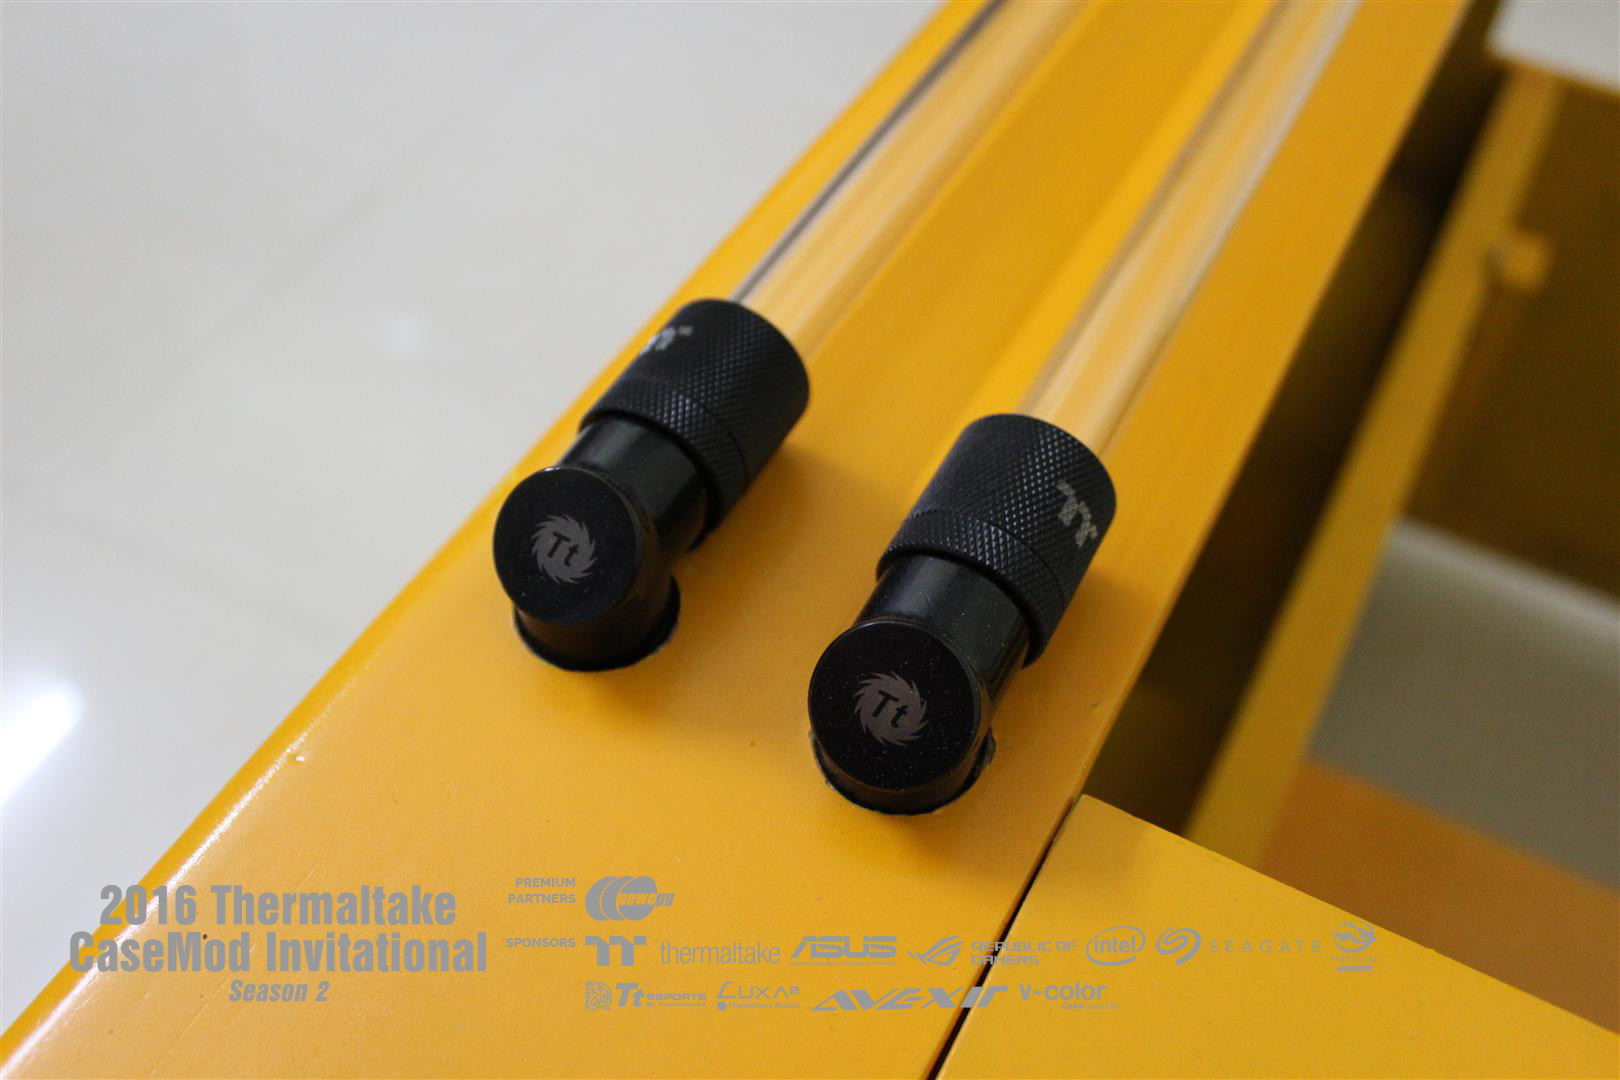
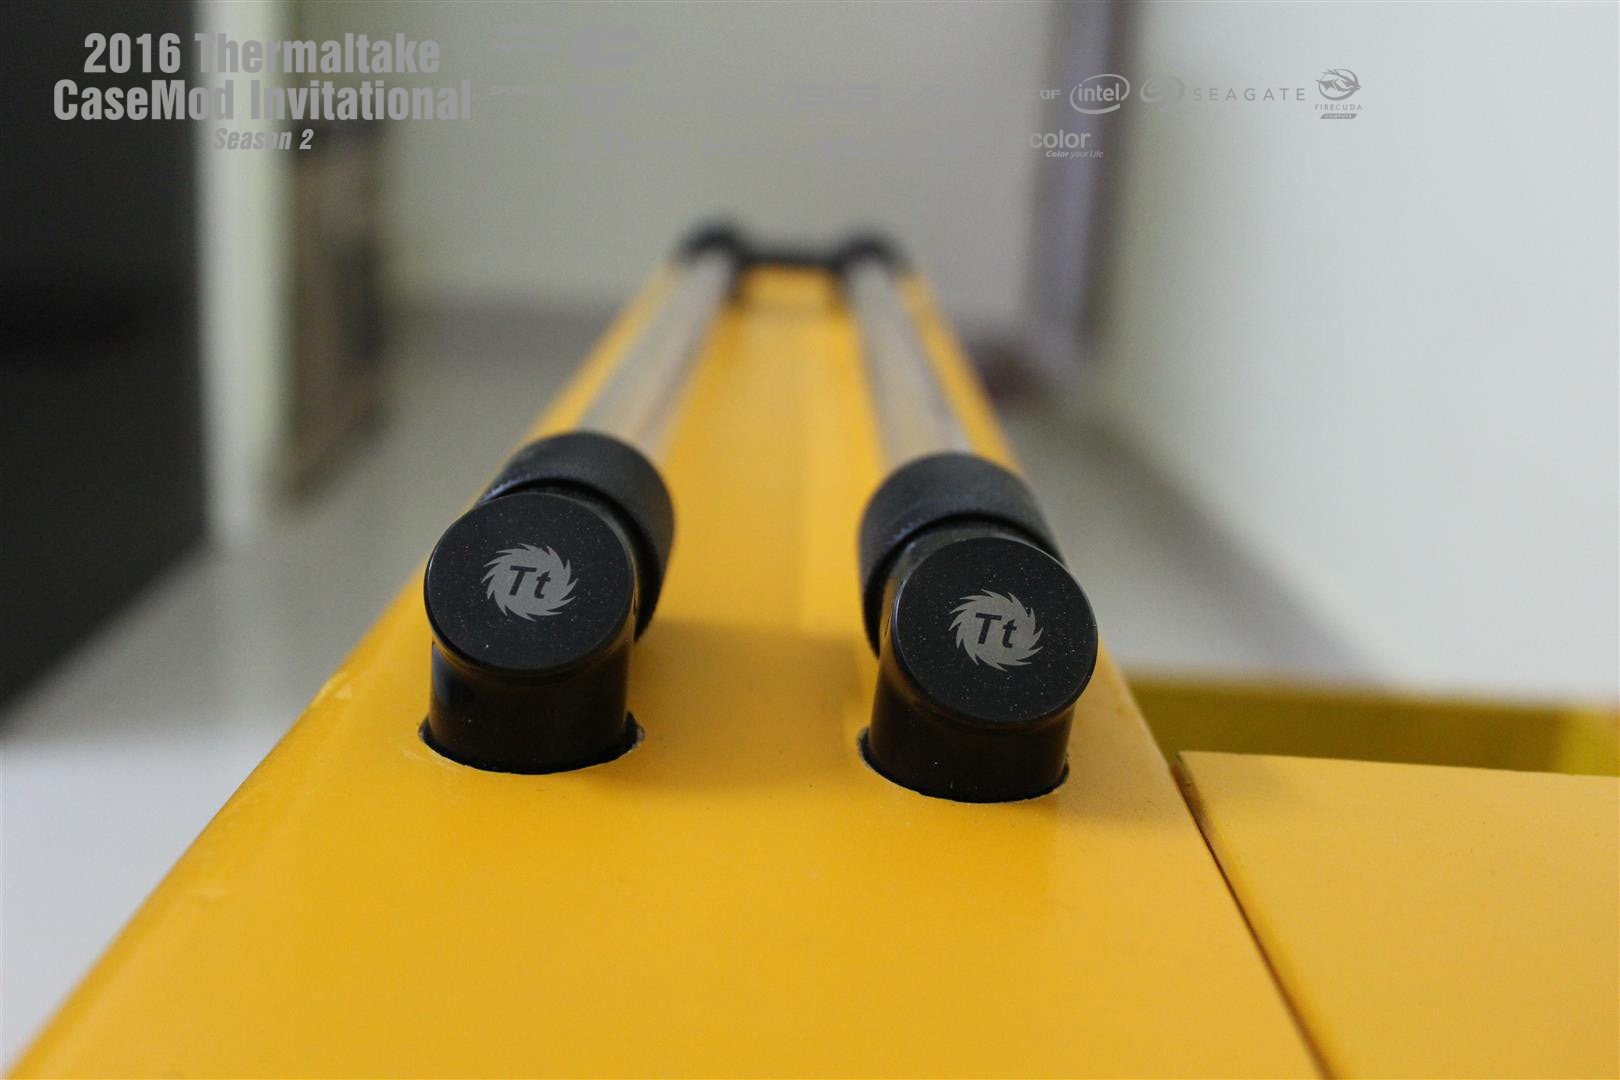
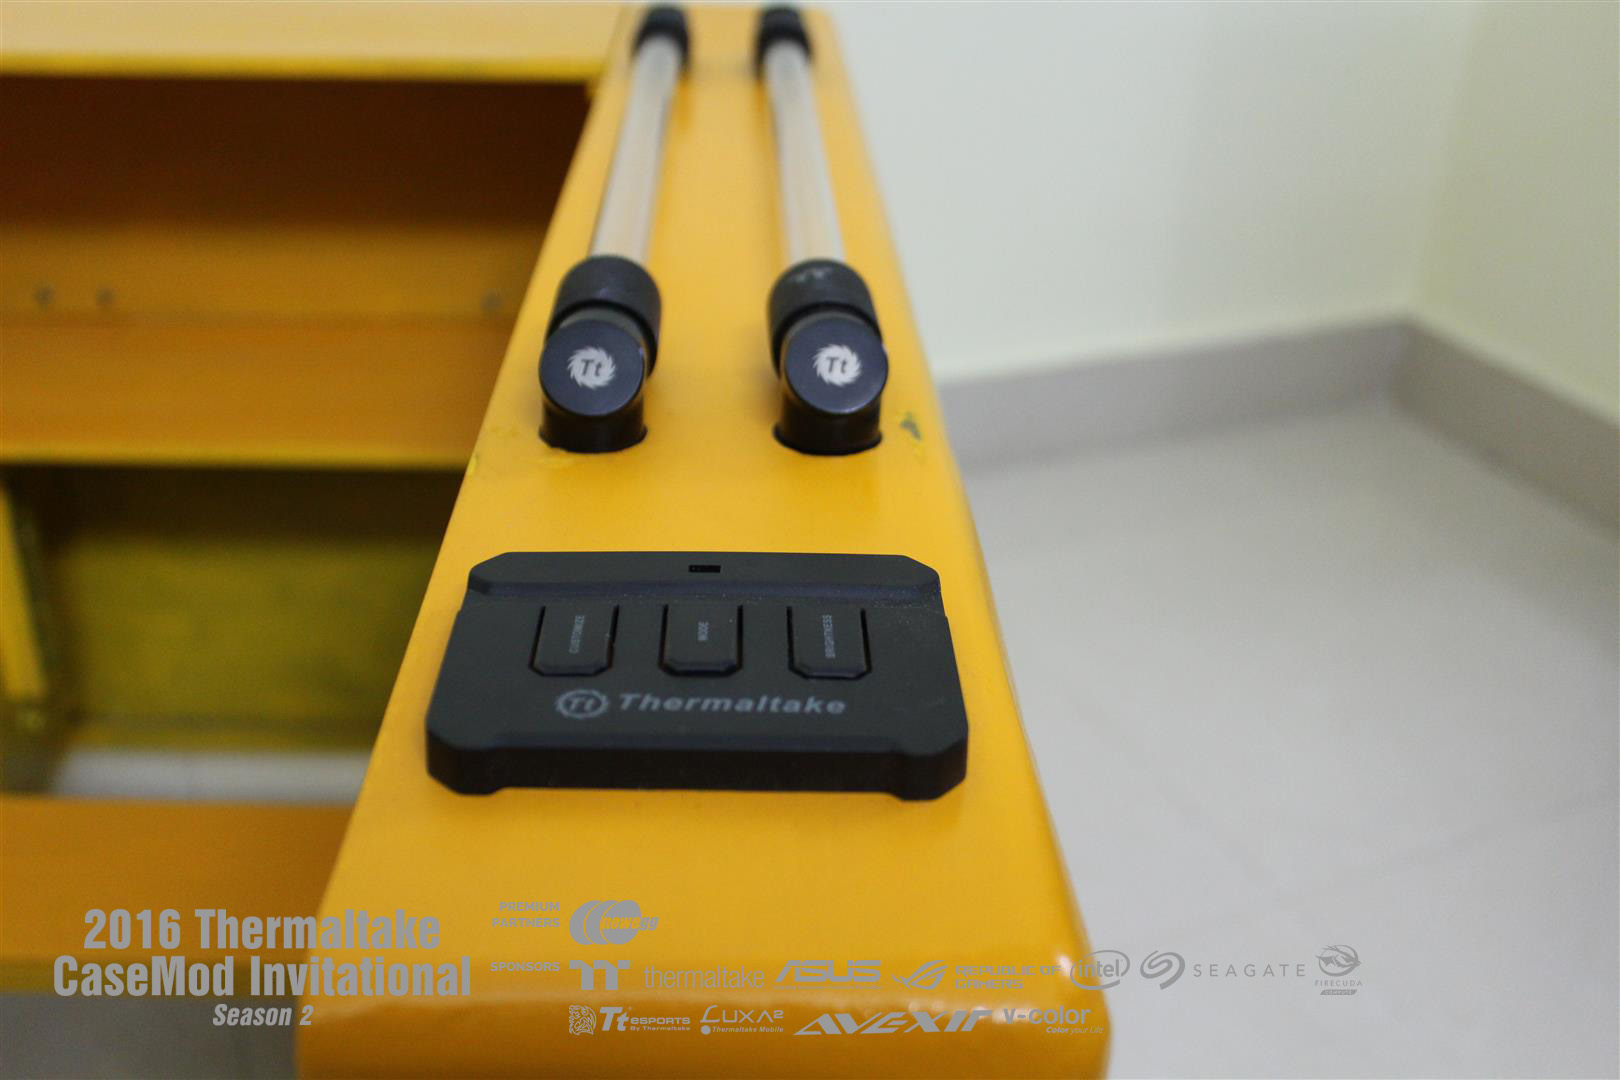
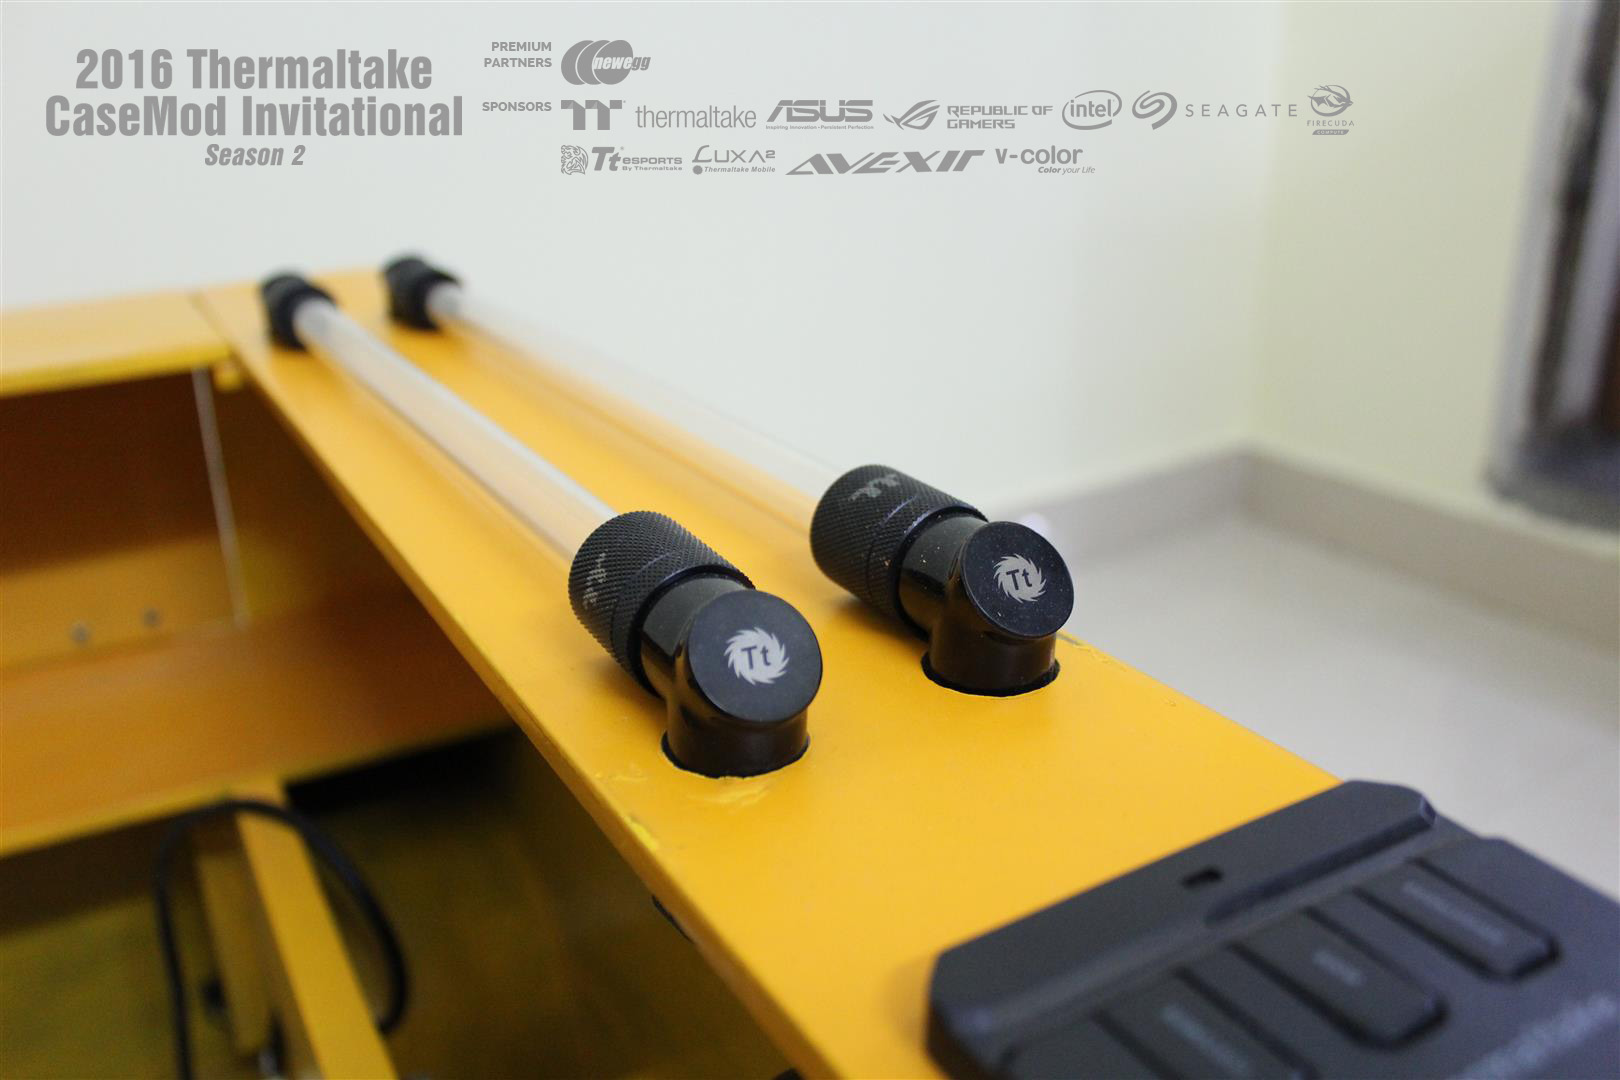
At last PETG tubes installation done. It was easy and perfect.
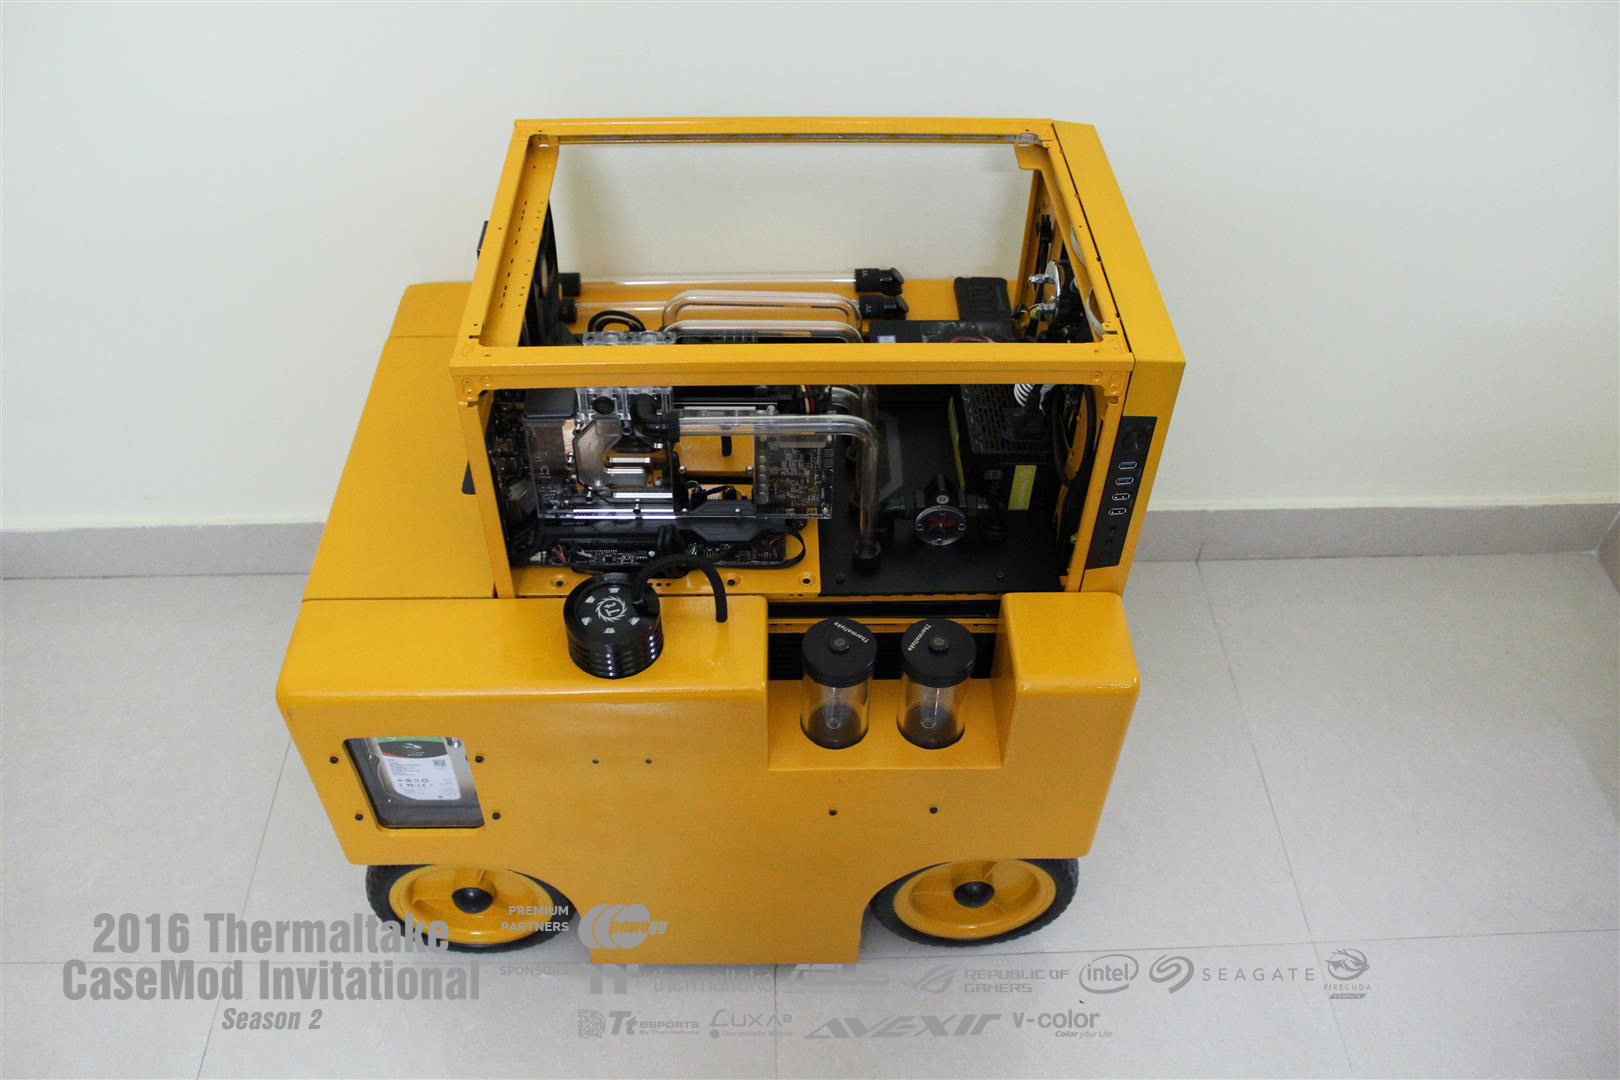
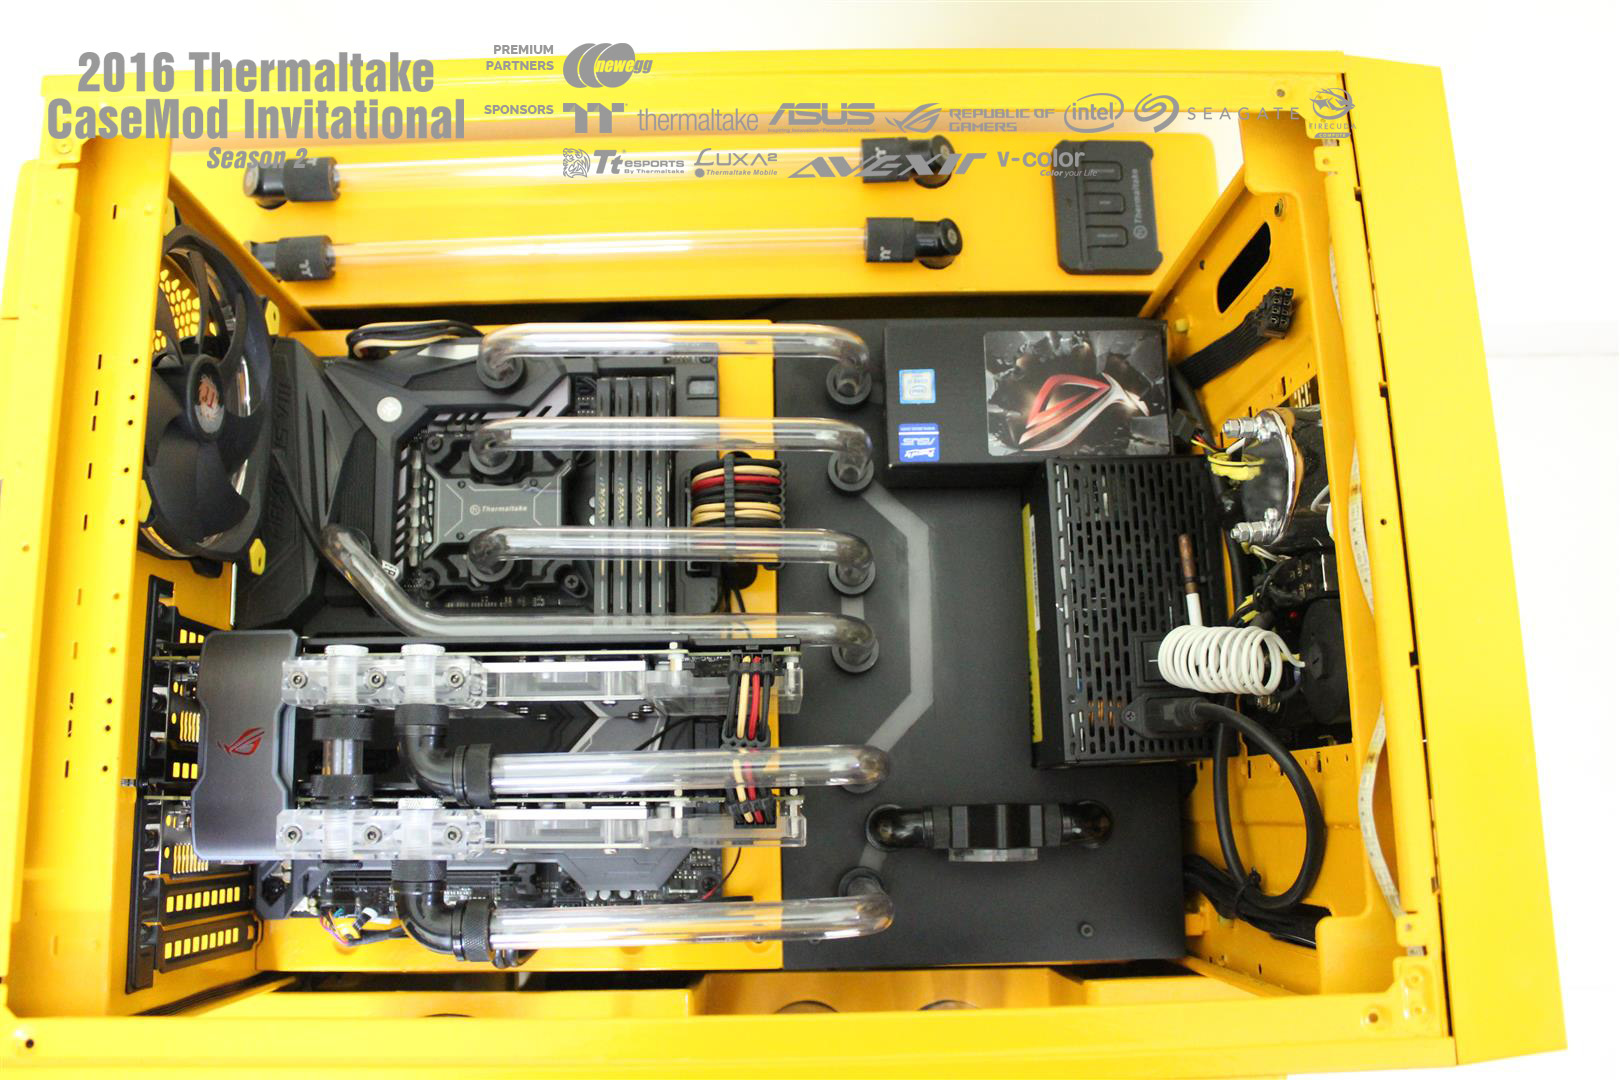

Yellow transparent side panels cut down to proper dimensions, look great.

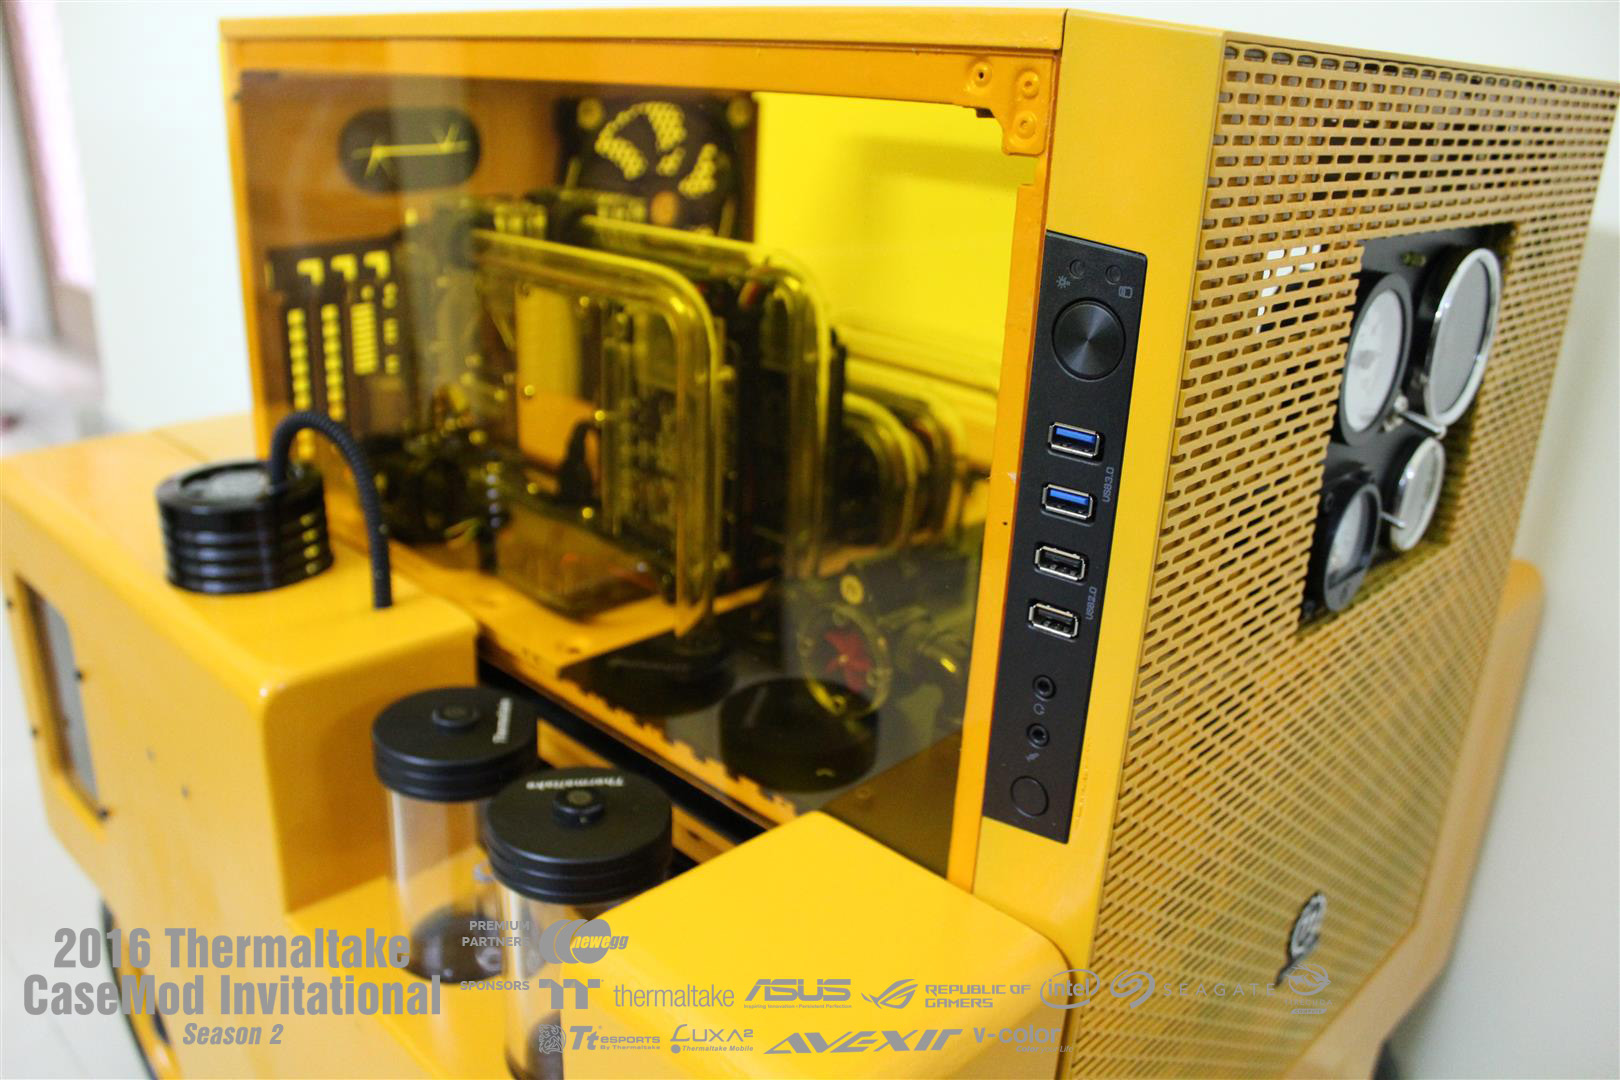

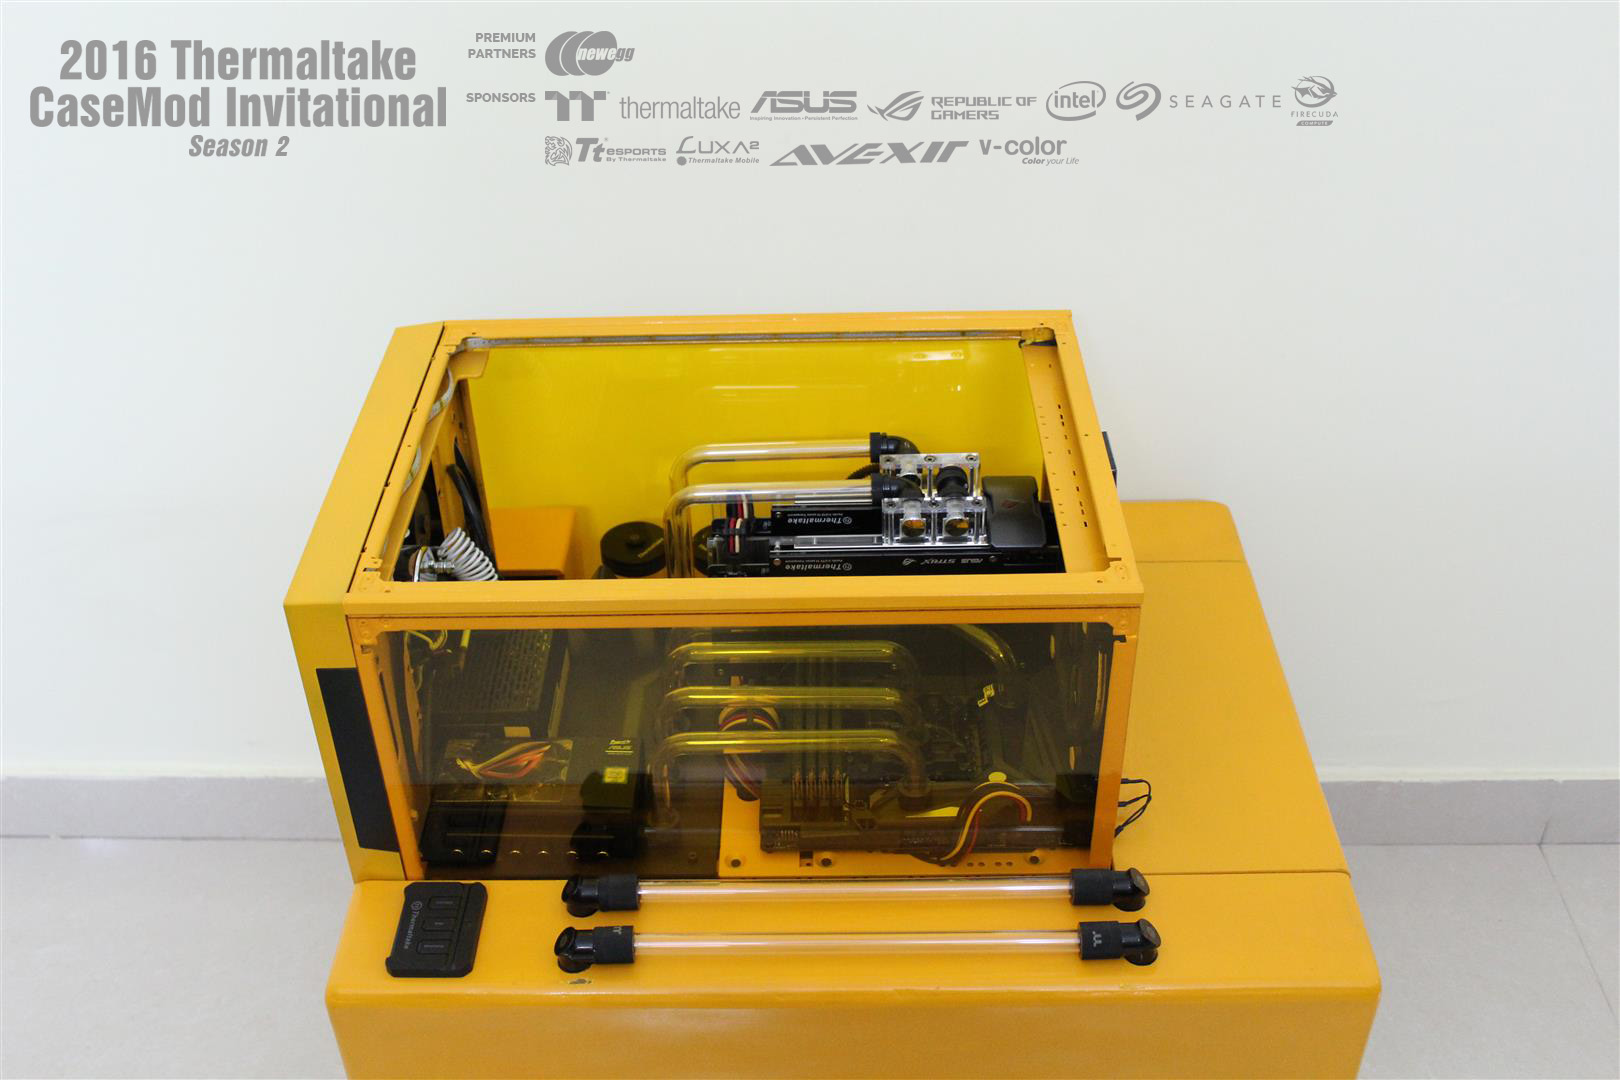
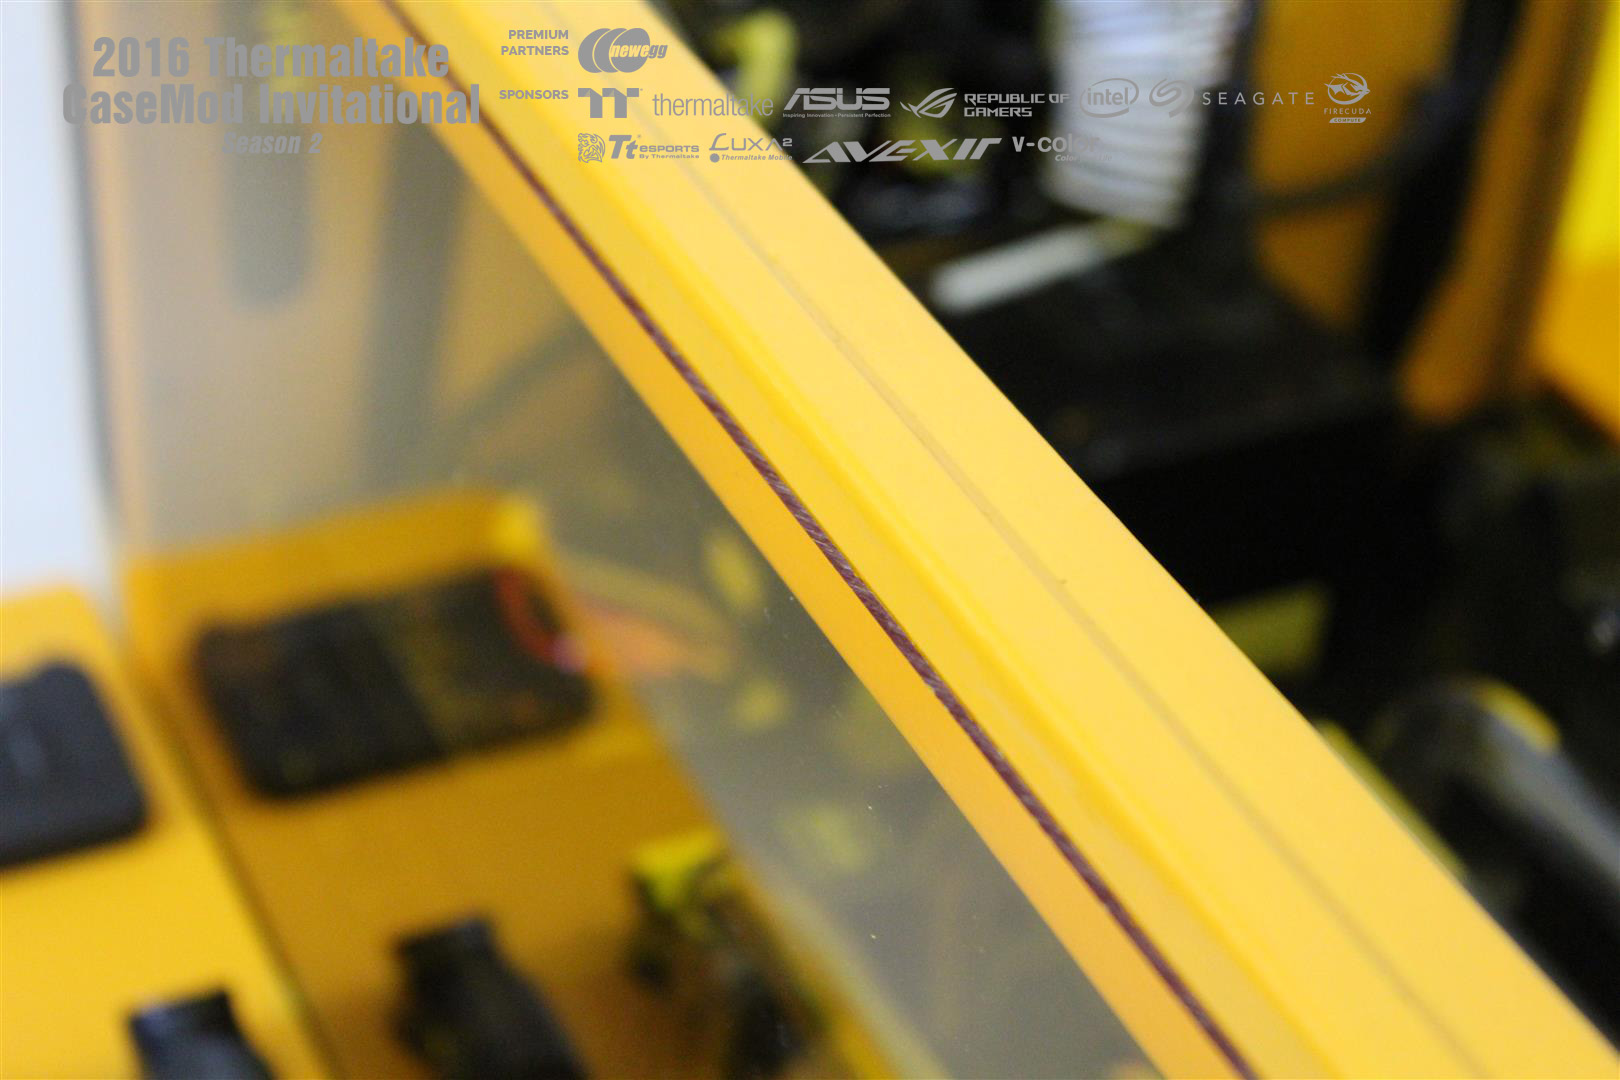
Still cutting marks are visible on side and edges, will be polishing for proper finish.